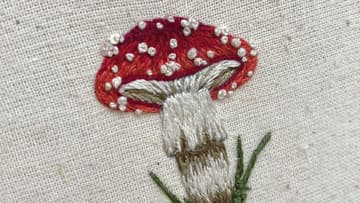
How to Embroider a Mushroom
Source: Stitch Gothica • Full tutorial: www.craftingstepbystep.com/embroidery/how-to-embroider-a-mushroom
- Difficulty
- Medium
- Hands-on time
- About 35 minutes
- Cost
- About $3 to $6
- Makes
- 1 embroidered mushroom hoop design
Tools
- embroidery hoop
- embroidery needle
- small embroidery scissors
- water-erasable fabric pen
Materials
- cotton or linen fabric
- red embroidery floss
- white embroidery floss
- brown embroidery floss
- green embroidery floss
Steps
1. Hoop the Fabric and Transfer the Design
Stretch your cotton or linen tight in the hoop, drum-tight so the fabric doesn't pucker when you stitch. Trace the fly agaric shape onto it - a rounded cap, a chunky stem, and a few blades of grass at the base.
Tip: Watch this step and set the design a touch above center in the hoop, since the cap reads wider than the stem and you want breathing room at the top.
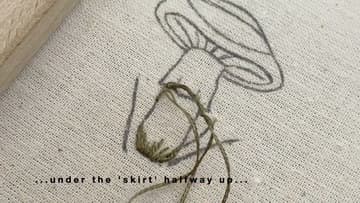
2. Start the Stem Base and First Grass
Work the very bottom of the stem and the first tufts of grass. Use brown floss for the earthy base of the stem and green for the grass, laying straight and long stitches that fan out like real blades.
Tip: Watch this step and vary the length of each grass blade. Blades that all end at the same height look fake.
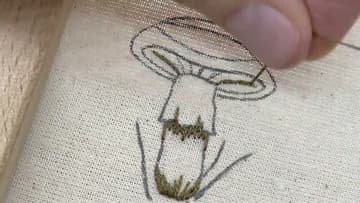
3. Outline the Cap and Stem
Before you fill anything solid, run a line of stitching around the cap and down the sides of the stem. This outline is your fence - it defines the edge so the fill has a hard border to butt up against.
Tip: Watch this step and keep the outline stitches short around the curve of the cap so the line stays smooth instead of chunky.
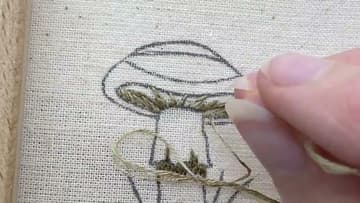
4. Fill the Stem with Long and Short Stitch
Switch to a grey-brown floss and pack the stem with long and short stitch. Rows of alternating stitch lengths blend into each other with no visible seam, which gives the stem that soft, slightly furry look real toadstools have.
Tip: Watch this step and stitch with two strands of floss for the stem. It fills faster than one and stays finer than three.
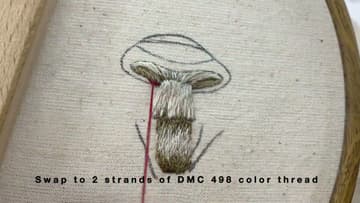
5. Fill the Red Cap
Now the fun part. Load up red floss and fill the cap with long and short stitch, starting at the crown and working down toward the edge.
Tip: Watch this step and mix two close reds if you have them. A slightly darker red near the edge adds depth to the cap.
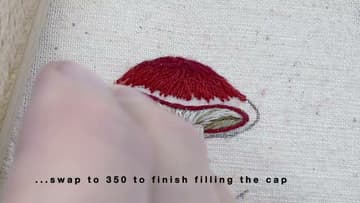
6. Add the Short Grass Detail
Ground the mushroom with a few more blades of short grass at the base of the stem. Straight stitches in green floss do the job - just poke the needle up and back down at an angle, fanning the blades out to the sides.
Tip: Watch this step and use two shades of green if you have them. A brighter and a darker blade side by side looks more natural.
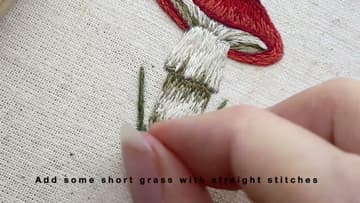
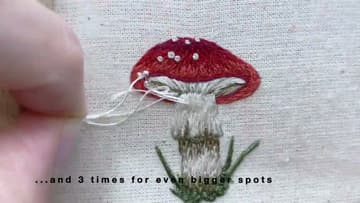
7. Add the White Spots with French Knots
Time for the signature dots. Bring white floss up through the cap, wrap it around the needle two or three times, then push the needle back down close to where it came up.
Tip: Watch this step and hold the working thread taut with your free hand as you pull the knot down. Loose tension is why french knots unravel.
8. Admire the Finished Mushroom
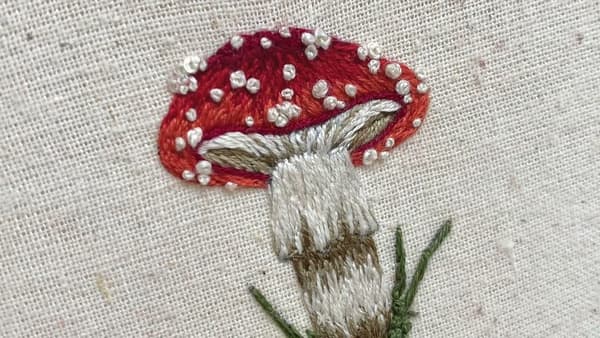
Here's the finished fly agaric in the hoop - red cap dotted with white knots, a soft textured stem, and grass at the base. Give the fabric a quick rinse to lift any leftover pen marks, let it dry, then decide how to display it.
Tip: Watch this step and finish the hoop back with a circle of felt glued behind the fabric for a tidy, wall-ready piece.