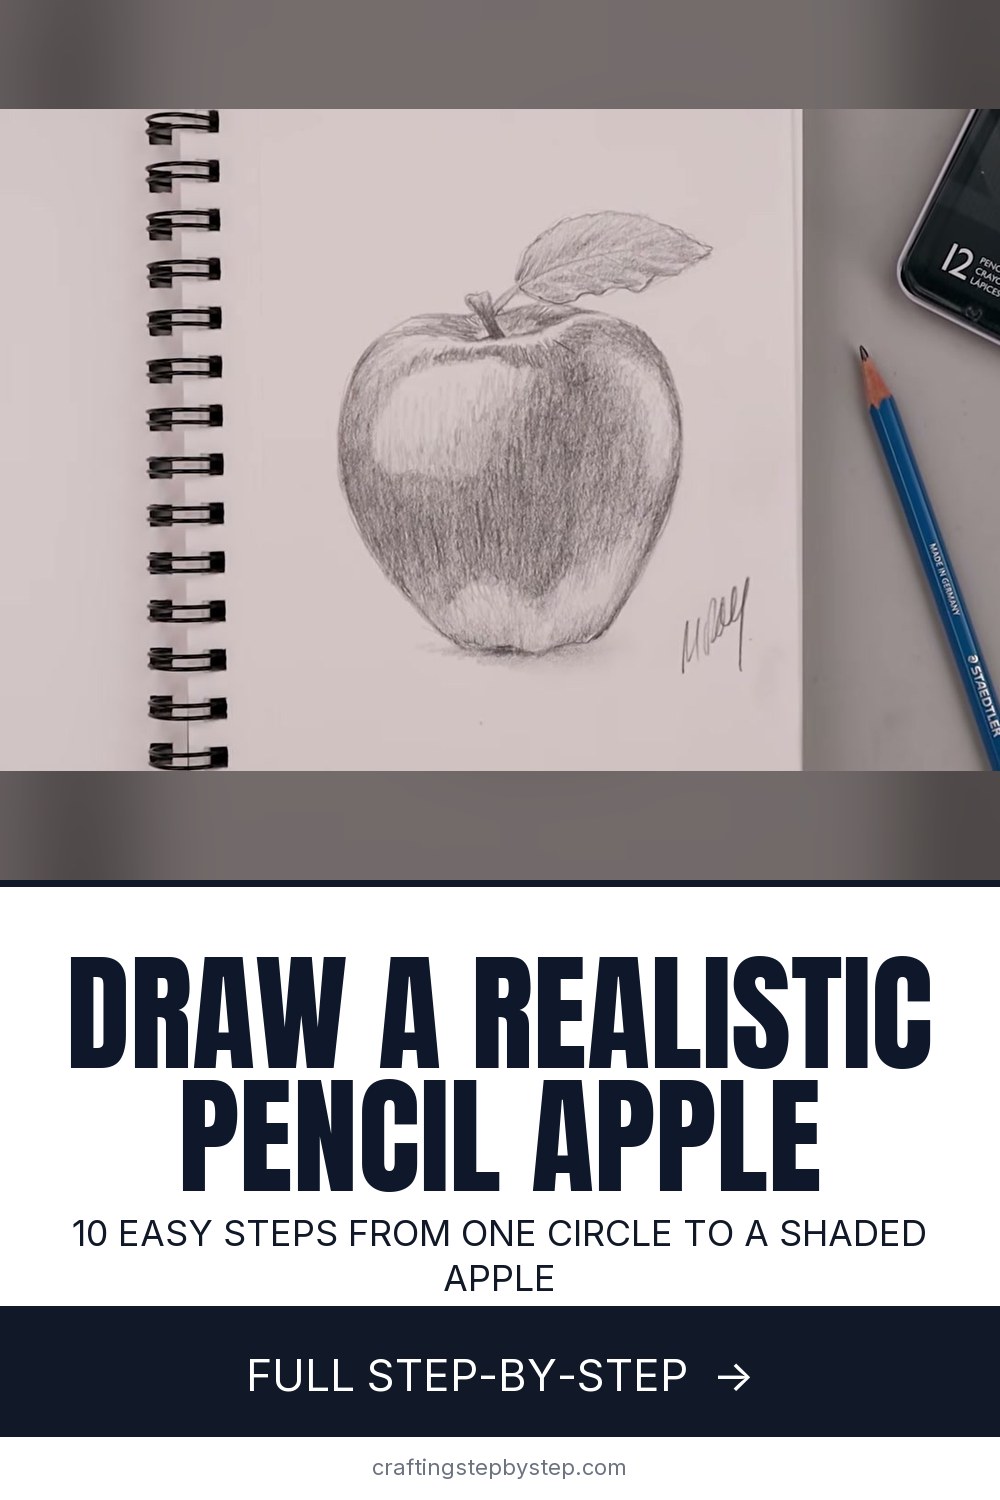
How to Draw an Apple

Save it for later. We'll email you a link, no password.

Find it again on your phone or computer, with your finished steps ticked.

You tapped Save

Save this project for later

We'll email you a link, no password.

How to Draw an Apple

  • Your saved projects in one list
  • Your ticked steps on any device

Check your inbox for an email from us. Not there? Look in your spam folder.

  • 10 steps
  • 11:21 video
  • Difficulty: Easy
  • About 30 minutes
  • Drawing

Based on a video by Cartooning Club Focus

Opens their YouTube channel

Steps written out by Crafting Step by Step · Published · Updated

The finished result: How to Draw an Apple

An apple is the classic first still life. It looks simple, but it teaches you how to see a lumpy silhouette, how to shade a round form, and how to set an object down on a table. This lesson from Cartooning Club Focus builds a realistic apple drawing in graphite, from one light circle to a fully shaded apple with a stem and leaf. Give it 20 to 40 minutes.

Supplies for a pencil apple drawing

A sketchbook, a soft pencil and an eraser are all you need. The video uses a 2B Staedtler Mars Lumograph for the whole drawing. It goes light when you press softly and dark when you lean in. A kneaded eraser cleans up the guide circle and lifts a highlight back out if you shade over it. A paper blending stump is optional for smoothing the shadow under the apple.

Keep a reference apple next to your page, real or printed. The whole method is looking, then drawing what you see.

Shading an apple like a sphere

Under the bumps, an apple is a ball. Light from the top left makes a bright patch on the upper left, a dark core shadow on the lower right, and a soft band of reflected light along the bottom edge. Outline the highlight shapes before you shade, so you know where to stop. Then build tone in layers with the side of the pencil, and finish with vertical strokes that follow the apple's natural streaks.

New to tone? Our how to shade guide covers pressure, hatching and blending.

Drawing the apple stem cavity

The stem does not sit on top of the apple. It grows out of a dip. Draw a small flat oval at the top for that dip, and let the outline of the apple rise on both sides of it like two shoulders. Start the stem inside the oval, angle it up and out, and make it wider at the top than at the base. Shade the inside of the dip a little darker. That small shadow sells the depth.

The cast shadow that grounds your apple

Skip the shadow and your apple floats. Darken the bottom edge where it touches the table, then pull a soft shadow out to the right, away from the light. Keep it darkest right at the contact point and fade it as it spreads. A thin strip of lighter tone between the apple and the shadow keeps the bottom edge readable.

Common apple drawing problems

  • It looks like a tomato. Make it wider at the top and narrower at the base, with small bumps along the bottom.
  • It looks flat. Leave the highlight as clean paper and push the core shadow darker.
  • The outline looks stiff. Use short sketchy lines, not one long stroke.
  • The page smudges. Rest your hand on a scrap of paper.

Apple drawing ideas to try next

Draw a second apple with a bite taken out, or slice one in half and draw the star of seeds in the middle. Group three apples together and let their shadows overlap. For fall, draw an apple next to a pumpkin drawing for a harvest still life. For a classroom card, a simple apple sketch with a name works well. The same light and shadow method carries over to a candle drawing from this channel. For more beginner basics, start at how to draw.

Free printable

Print the steps and supply list for this project

One page you can take to the table. Free with a free account, no password.

Get the free printable

What you'll need

Free, for this project

Get this checklist by email

  • All 5 tools and materials, with tick boxes
  • A link to print all 10 steps on paper, to keep by you while you craft

No password. The whole tutorial stays free on this page.

Quick answer

Draw a realistic apple in 10 steps: a circle guide, stem and leaf, then pencil shading for the highlight, core shadow and cast shadow. An easy project: about 30 minutes. You need 5 things, including sketchbook or drawing paper, graphite drawing pencil and kneaded eraser. The 10 steps start with sketch a Light Circle Guide for the Apple, shape the Apple Outline and Add the Stem and Leaf and pull In and Flatten the Bottom of the Apple.

Step-by-step guide

10 steps, about 11 minutes. Tap a picture to jump to that step. Your progress saves automatically.

Tick each step off as you go.

  1. Step 1: Sketch a Light Circle Guide for the Apple

    Watch this step · 0:33

    Start in the middle of your page and sketch a circle. Begin at the very top and work your way around with light, loose strokes. It does not need to be perfect. Go back over it to smooth out any flat spots. Look at your reference apple while you work. It is not a true circle, and this one is only a guide you will reshape and mostly erase later.

    Tip:

    Press softly. A guide line you can barely see is easy to erase.

    Back to all steps

  2. Step 2: Shape the Apple Outline and Add the Stem and Leaf

    Watch this step · 1:16

    Use the circle to find the real apple shape. An apple is wider along the top and narrower across the base. Bend the top line out past the circle on each side, then bring it down along the sides. Right on top, add a small flat oval. That is the stem cavity. From its center, angle the stem up and out toward the left, then sketch a leaf shape curling off to the right.

    Tip:

    Draw the leaf as one long curve along its center first. The edges hang off that line.

    Back to all steps

  3. Step 3: Pull In and Flatten the Bottom of the Apple

    Watch this step · 1:30

    Now work on the base. Pull the outline in toward the bottom on both sides so the apple tapers. Make it a bit longer than the circle if your reference is tall. Then go across the bottom and flatten it off with a slight curve. Smooth out the lines as you go. You should now see a clear apple shape sitting on top of the old guide circle.

    Tip:

    A flat bottom tells the viewer the apple is resting on something.

    Back to all steps

  4. Step 4: Erase the Guides and Refine the Apple Stem and Leaf

    Watch this step · 2:26

    Erase most of the circle underneath. Then add a fold across the top of the apple, where the skin curves down into the stem cavity. Give the stem some thickness. It is wider across the top and narrower where it meets the apple. Shade it in lightly. Then redraw the leaf with little ripples along the outer edge, almost like small points, and repeat them across the bottom edge.

    Tip:

    A kneaded eraser lifts graphite without tearing the paper. Dab, don't scrub.

    Back to all steps

  5. Step 5: Draw the Bumpy Apple Silhouette Along the Bottom

    Watch this step · 3:06

    Go around the whole silhouette and fix the details. Add a small bump on the back side where the outline tucks in. Smooth out the sides. Use short sketchy lines rather than one continuous stroke. One long line is hard to control. Across the bottom, draw three little bumps. Real apples have them, and they make yours read as an apple and not a ball. Then do one more cleanup.

    Tip:

    Keep glancing at your reference. This step is all about observation.

    Back to all steps

  6. Step 6: Outline the Highlight Shapes on the Apple

    Watch this step · 3:54

    Time to plan the light. The light comes from the top left, so the big highlight sits on the upper left of the apple. Lightly trace its edge. Start along the top, go down the side and back up. Trace a thinner highlight along the top edge and a little reflection on the right side. Then mark the soft band of reflected light across the bottom. These lines show you where not to shade.

    Tip:

    Highlights are shapes, not dots. Copy their exact outline from your reference.

    Back to all steps

  7. Step 7: Shade the Base Layer of Shadow on the Apple

    Watch this step · 4:50

    Switch to the side of your pencil. Shade around the highlights, darkest on the lower right where the core shadow sits, and lighter as you move toward the top. Bring the tone down toward the transition above the reflected light. Work in even layers and keep your pressure light. This is only the base layer. You will come back to darken and adjust it.

    Tip:

    Hold the pencil further back from the tip. You get softer, wider strokes.

    Back to all steps

  8. Step 8: Darken the Bottom and Contact Shadow Under the Apple

    Watch this step · 5:42

    Go around the outside edge and darken the back side, then fade it out. Along the bottom, darken the apple with vertical strokes and fade them up into the transition. Go darkest at the base. Then ground the apple. Shade right at the contact point where it touches the surface and pull that shadow out and away, fading it as it goes.

    Tip:

    Leave a sliver of light between the bottom bumps and the shadow so the edge stays crisp.

    Back to all steps

  9. Step 9: Add Vertical Texture Strokes Across the Apple

    Watch this step · 7:00

    Darken the center area, starting on the left side and working up. Apple skin has streaks that run up and down, so use vertical strokes to build that texture. Then step back and look at the whole drawing. Balance the tones. Push the center right a little darker. That extra darkness gives the apple more shape and definition than any outline could.

    Tip:

    Let your strokes follow the curve of the apple near the edges.

    Back to all steps

  10. Step 10: Shade the Apple Stem and Leaf and Draw the Leaf Veins

    Watch this step · 10:30

    Darken the tone of the stem, leaving a lighter edge on one side. Then add a medium tone to the leaf. Build the base tone first and layer the details on top. That makes the drawing easier and more accurate. Draw light veins inside the leaf, branching off the center line. Finish with a little more detail where you need it, and sign your apple drawing.

    Tip:

    Keep the leaf lighter than the darkest part of the apple so it doesn't steal the focus.

    Back to all steps

How to Draw a Sloth

Keep going

How to Draw a Sloth

You reached the last step

Save this project to come back to it

Your ticked steps, the free printable and your other saved makes, together in My Projects. Free, no password.

You tapped Save

Save this project for later

We'll email you a link, no password.

How to Draw an Apple

  • Your saved projects in one list
  • Your ticked steps on any device

Check your inbox for an email from us. Not there? Look in your spam folder.

Free printable

Printable sheet for this project

The bonus is hidden until you sign up.

Free with a free account, no password. Every step above stays open to everyone.

Products Used

The Checklist

How to Draw an Apple

Tools
4
Materials
1
Steps
10
Video
11 min

Tools we recommend

As an Amazon Associate we earn from qualifying purchases. Links on this page may be affiliate links - clicking them and buying doesn't change your price, but helps support Crafting Step by Step.

Tags

The Crafter's Weekly

New drawing tutorials, every Sunday

One short email with the week's best step-by-step guides. Free, no spam, unsubscribe anytime.

Test your knowledge

Did the lesson stick? Start with this one.

5 questions covering what you just read. No signup, no score saved, and you can stop after this one.

Question 1 of 5

What should you keep beside your page while drawing the apple?

Quick reference

Key takeaways from How to Draw an Apple

5 questions, answers, and one-line explanations. Tap to expand.

  1. 1.What should you keep beside your page while drawing the apple?

    Answer: A reference apple

    The method is looking, then drawing what you actually see.

  2. 2.How does an apple's shape differ from a plain circle?

    Answer: Wider on top, narrower at the base

    An apple has shoulders up top and tapers toward the bottom.

  3. 3.Where does the stem actually come from?

    Answer: A small dip at the top

    The stem grows from a cavity, with the outline rising on both sides.

  4. 4.With light from the top left, where is the darkest core shadow?

    Answer: Lower right

    The side facing away from the light, lower right, gets the core shadow.

  5. 5.Why use short sketchy lines for the outline?

    Answer: One long line is hard to control

    Short strokes let you adjust the shape as you go.

Did this work for you?

What's next

Related collections

Curated theme pages that include this tutorial.

Similar tutorials

Hand-picked next reads based on the one you just finished.

Liked this drawing tutorial?

Pick the crafts you want to hear about. One email every Sunday with new step-by-step tutorials. No spam, easy to unsubscribe.

Get more like this in your inbox

Weekly digest. Pick the categories you want. Unsubscribe anytime.

Send me tutorials about

We only email about new tutorials. Easy unsubscribe anytime.