This sea turtle is drawn from above, the way you would see one gliding under a boat. A pointed oval shell, long front flippers, a ring of border plates and a honeycomb of plates in the middle. The team at Art for Kids Hub draws it with a black marker, then colors it with green, gold and two browns. They aimed this one at older kids, around 11 and up, but it is a good grown-up project too.
What you need
Plain white paper and a black marker for the outline. For color, a light green, a yellow-brown or gold, a medium brown and a dark brown. Markers work for the base colors. Colored pencils are better for the shading and spots because you can press light or hard. There is no pencil sketch step, so go slowly and keep your lines loose. A wobbly line looks more natural on a turtle anyway.
Sea turtle anatomy in plain words
- Shell: an oval that is a little flat at the top, where the head comes out, and comes to a soft point at the tail end.
- Front flippers: long, bent like an arm with an elbow, and much bigger than the back ones. That is how sea turtles swim.
- Back flippers: short, rounded paddles that work like a rudder.
- Plates (scutes): a ring of small border plates and larger plates down the middle and sides.
Make it look realistic, not cartoony
The line drawing on its own still looks like a cartoon. The color is what changes it. Shade each plate dark at the edge and lighter in the middle, so the shell looks domed. Put big spots near the edges of the flippers and small ones toward the middle. Then darken the skin right next to the shell and inside the wrinkles. Use the side of the pencil tip for soft shading. For more on that, see how to shade and how to draw with colored pencils.
Common mistakes
- Flippers too short. Stubby front flippers make it a land turtle. Stretch them out past the sides of the shell.
- Head too big. Keep it small, about a quarter of the shell's width.
- Plates in neat rows. Real scutes are uneven. Let the shapes vary a little.
- Shading everything the same. Leave the middle of each plate lighter, or the shell goes flat and muddy.
Drawing with grandkids
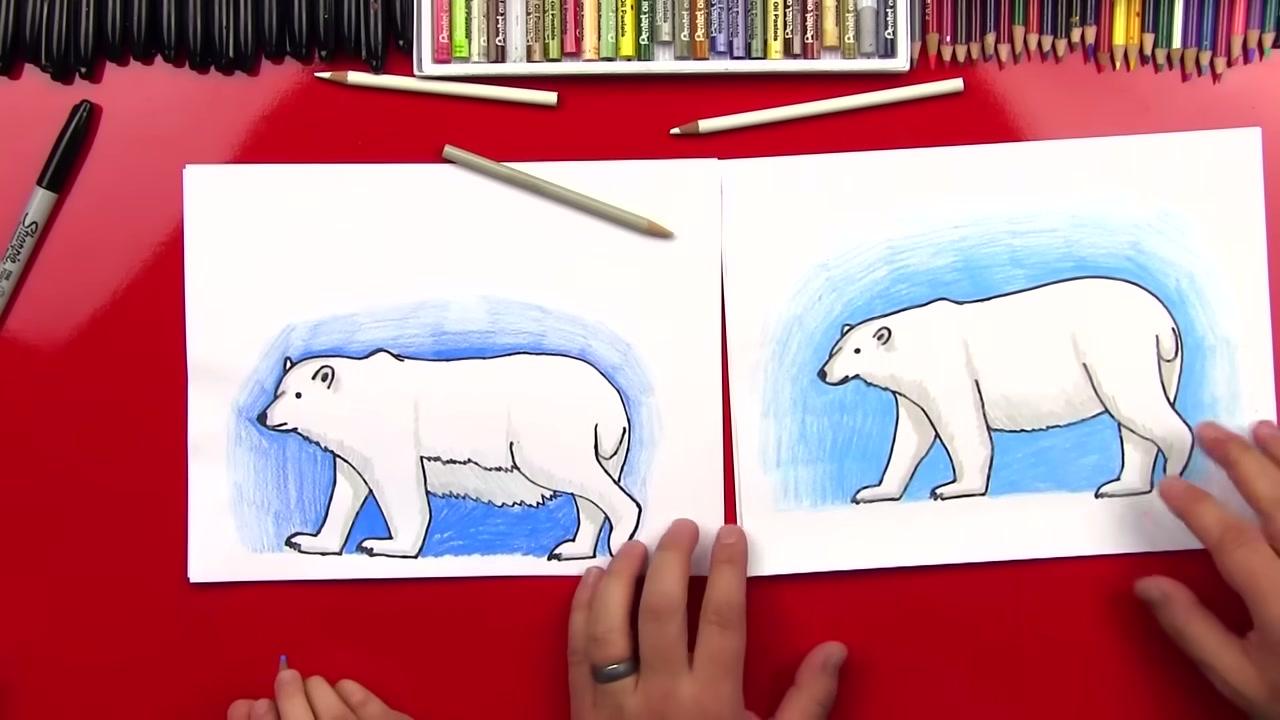
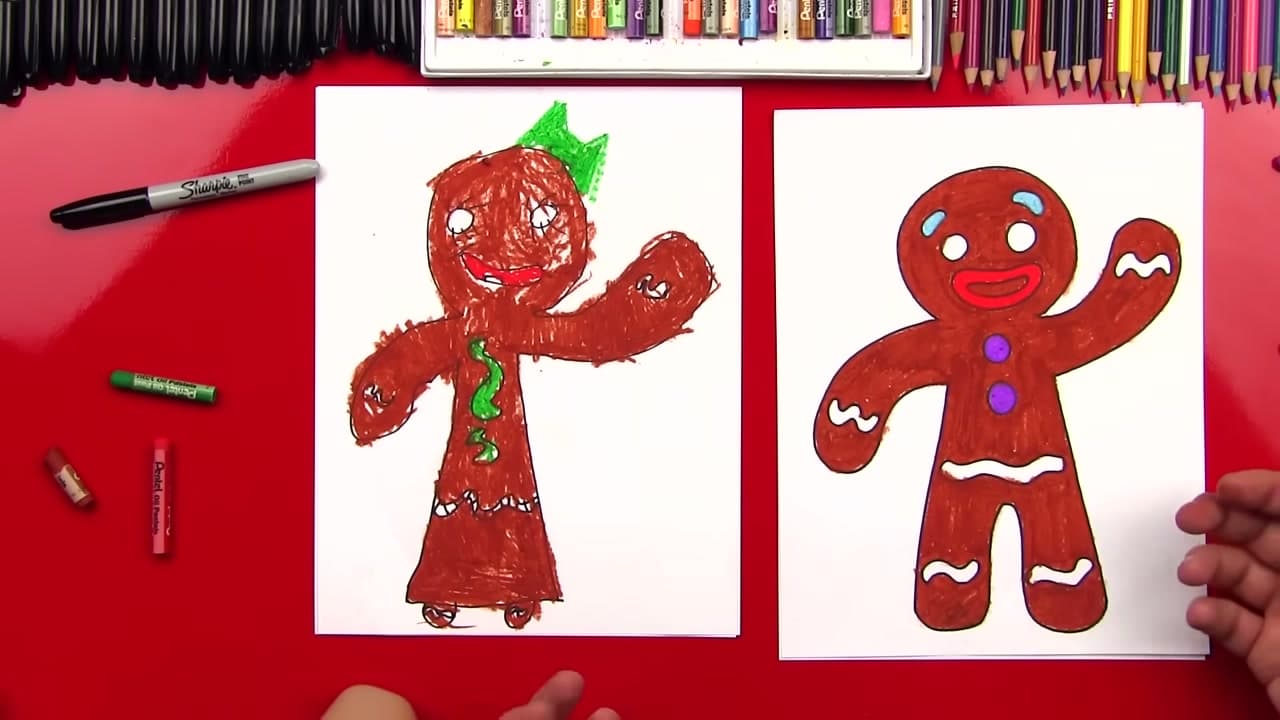
Draw side by side on two sheets, the way this video does, and take turns choosing the next step. Younger kids can stop after the marker outline and color it any way they like. Older kids can try the plate shading. Pause the video as often as you need. The coloring part goes fast. When you are done, cut the turtles out and glue them onto blue paper with a few wavy lines for water. That makes an easy ocean scene for the fridge.
Keep drawing ocean animals
Stay under the water with how to draw a fish or how to draw a shark. If you are new to drawing, how to draw covers the basic shapes and lines that every animal starts from.