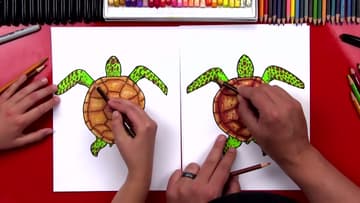
How to Draw a Sea Turtle (Realistic, Step by Step)
Source: Art for Kids Hub • Full tutorial: www.craftingstepbystep.com/drawing/how-to-draw-a-sea-turtle
- Difficulty
- Easy
- Hands-on time
- About 45 minutes
- Makes
- 1 sea turtle drawing

Tools
- black permanent marker
- colored pencils
- markers
Materials
- white drawing paper
Steps
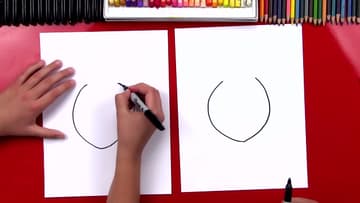
1. Draw the Sea Turtle Shell as a Pointed Oval
Start in the middle of the page. Draw a big curve for one side of the shell, then the other side.
Tip: Leave room on both sides of the shell. The front flippers reach a long way out.
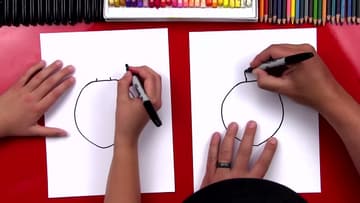
2. Add the Sea Turtle Neck and Head
Draw two short lines coming up out of the flat top of the shell. That is the neck.
Tip: If the head looks too round, make the point at the top a little sharper.
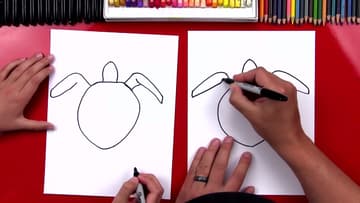
3. Draw the Long Front Flippers of the Sea Turtle
From the upper right side of the shell, draw a diagonal line going out, then curve it down. At the tip, curve again, then draw a straight line back toward the shell to make an elbow.
Tip: Turn your paper as you go. Curves are easier to draw when your hand moves toward you.
4. Draw the Sea Turtle Back Flippers and Tail
At the bottom of the shell, draw a short S line coming out on each side. Then draw a second S line on the outside of each one to close it into a small paddle.
Tip: Keep the two back flippers angled out, like the turtle is steering.
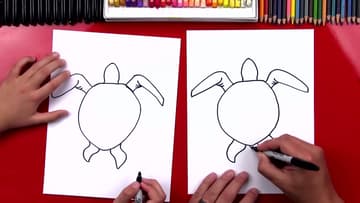
5. Add the Eyes and the Inner Border of the Turtle Shell
Put two small dot eyes near the top of the head. Then draw the border on the shell.
Tip: Keep the gap even all the way around. A ring that gets fat at one side looks off.
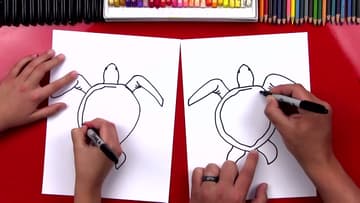
6. Divide the Sea Turtle Shell Border Into Segments
Draw short lines across the border ring to split it into small sections. They look a bit like bricks laid in a circle.
Tip: Do not measure. Slightly different widths look more natural than perfect spacing.
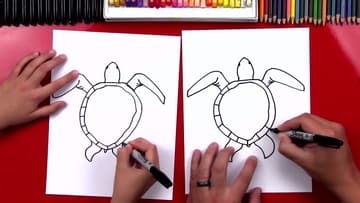
7. Draw the Plate Pattern in the Middle of the Turtle Shell
Draw two short lines down the middle of the shell. Close each side with a sideways V to make a six-sided center plate.
Tip: Do the top half first, then the bottom. It is easier to keep the pattern balanced.
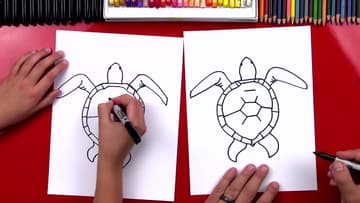
8. Color the Sea Turtle Body Green and the Shell Gold
Color the head, flippers and tail light green. Fill the shell plates and border with a yellow-brown or gold.
Tip: Color in one direction on the shell so the texture looks tidy under the shading.
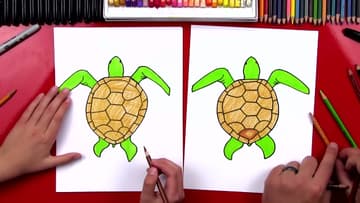
9. Shade Each Sea Turtle Shell Plate With Brown Pencil
Take a medium brown pencil. Go around the inside edge of each plate, pressing harder at the edge and lighter as you move toward the middle.
Tip: Use the side of the pencil tip, not the point, for smooth shading without hard lines.
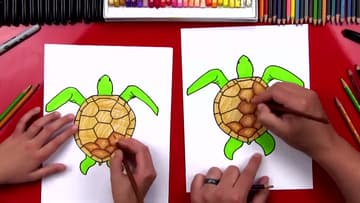
10. Add Brown Spots and Shading to the Sea Turtle Flippers
With dark brown, add spots to the flippers and head. Make them big near the outside edges and smaller toward the middle so they blend.
Tip: Press lightly first. You can always go darker, but colored pencil is hard to erase.