How to Make a Fall Leaf Garland

  • 7 steps
  • 5:10 video
  • Difficulty: Easy
  • Crochet

Based on a video by Jess Nicole Handmade

Opens their YouTube channel

Steps written out by Crafting Step by Step · Published

Watch the original video (opens YouTube)
The finished result: How to Make a Fall Leaf Garland
Also in:Crafts

A string of crochet leaves in rust, gold, olive and plum makes an easy piece of fall decor that lasts for years. Jess of Jess Nicole Handmade shows how she turns a pile of finished crochet leaves into a garland: block them, plan the order, then chain a cord and catch the leaves onto it in small clusters.

The garland itself is only chains, single crochet and slip stitch. If you can make a slip knot, you can make this.

How many leaves you need

Jess used 22 leaves for a 2 foot garland, set in clusters of two or three with 10 chains between each cluster. That works out to about 11 leaves per foot. For a mantel, plan on 4 to 5 feet and 45 to 55 leaves. For a doorway swag, measure with a piece of string first and drape it the way you want it to hang.

Any leaf pattern works. Mix shapes as well as colours: a few maple leaves, some oval birch leaves and a couple of narrow willow leaves look more natural than one shape repeated.

Making the leaves first

This tutorial starts with the leaves already made. Jess crochets hers from her own autumn leaves pattern set, but any free leaf pattern in worsted yarn will do. Small leaves take 5 to 10 minutes each, so a 2 foot garland is an evening or two of leaf making. Weave in the leaf ends as you go, but leave the stem tails short so they do not tangle in the cord.

Choosing yarn

Worsted weight wool is a good match with a 3.5 mm hook. It is firm, it holds a leaf shape and it takes steam well. Jess makes the cord in a dark brown so it reads as a twig and lets the leaves stand out. Cotton gives crisper leaves but will not shape with steam in the same way. Acrylic is fine for the cord, but test before you put an iron near acrylic leaves; too much heat makes them limp and shiny.

Steam blocking: do you need it?

Crochet leaves curl at the edges. Some curl looks like real dry leaves, so blocking is optional. To control it, hover a steam iron over each leaf on both sides without pressing, then let it dry. Drape a leaf over a clip or a rolled towel while it dries and it keeps a gentle curve. Wool takes this well. With other fibres, try one leaf first. For more on this, see how to block crochet.

Ways to hang and use it

  • Along a mantel or a bookshelf edge, tucked behind candlesticks.
  • Down the middle of a Thanksgiving table as a runner.
  • Wrapped around a grapevine wreath, like a fall wreath, for more colour.
  • Over a doorway or a stair rail, tied on with the end loops.

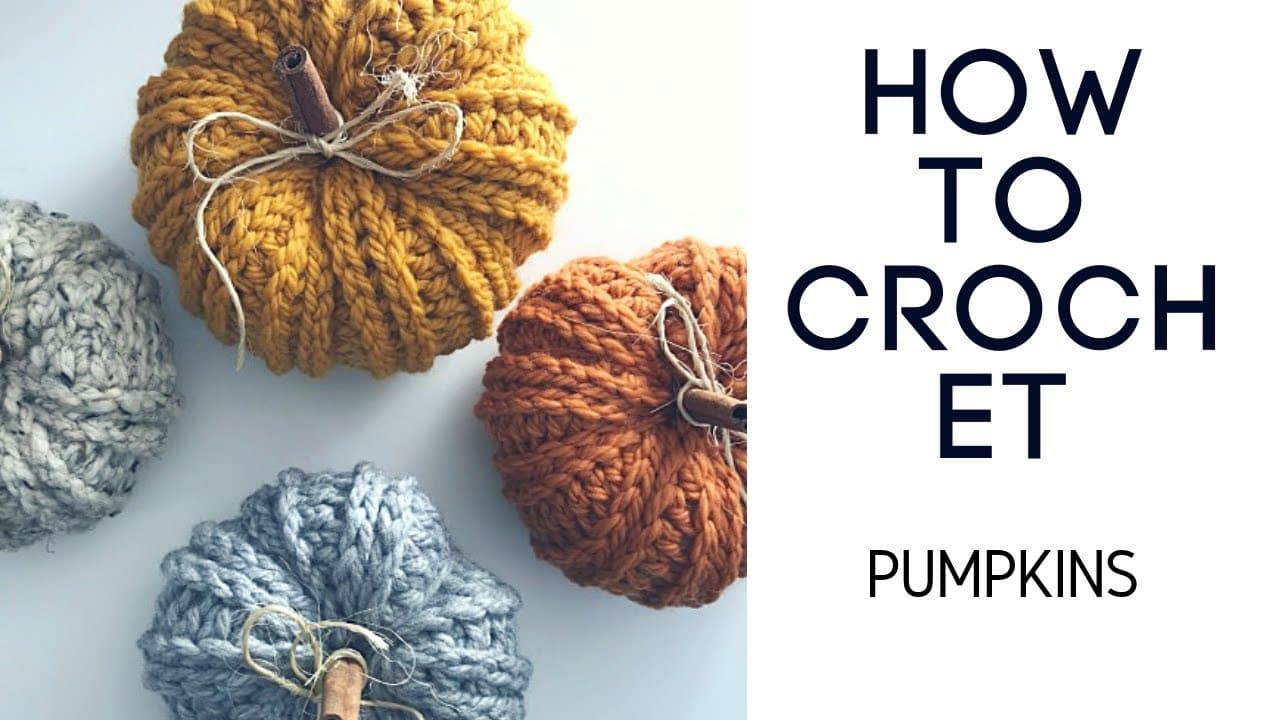
Add a few crochet pumpkins nearby and you have a whole autumn display made with the same yarn.

Troubleshooting

If the leaves flop and face down, you hooked them too far from the stem. Go through the stem or the very top of the leaf. If the cord stretches or twists, slip stitch back along it. That second pass firms it up. If the clusters look crowded, add more chains between them; if the garland looks sparse, go to three leaves per cluster.

New to crochet? Start with how to make a slip knot and how to single crochet. Those two moves are the whole garland.

What you'll need

Step-by-step guide

7 steps, about 5 minutes. Tap a picture to jump to that step. Your progress saves automatically.

Tick each step off as you go.

  1. Step 1: Steam Block the Crochet Leaves Flat

    Watch this step · 1:33

    This step is optional. Crochet leaves curl at the edges, which looks a bit like real dry leaves, but you can control it with steam. Set a steam iron to its steam setting and lay a leaf on a wool pressing mat. Hover the iron over the leaf and steam both sides without pressing down. Drape it over a clip to dry with a soft curve, or let it dry flat.

    Tip:

    Steam only wool or a fibre you have tested. Acrylic can go limp and shiny.

    Back to all steps

  2. Step 2: Lay Out the Crochet Leaves for the Garland

    Watch this step · 2:12

    Before you pick up the hook, lay all your leaves in a line on the table in the order you want them. Jess calls it leaf organizing. It is how you avoid two leaves of the same colour or shape sitting side by side. Spread the darkest colours out, and swap leaves around until the row looks balanced. Her 22 leaves made a 2 foot garland.

    Tip:

    Snap a phone photo of the layout in case it gets bumped.

    Back to all steps

  3. Step 3: Chain the Hanging Loop for the Leaf Garland

    Watch this step · 2:32

    Make a slip knot with your cord yarn on a 3.5 mm hook. Chain 10, then slip stitch into the first chain to close a small loop. That loop is how the garland hangs. Then chain 20 to make a short bare length of cord before the first leaves. Jess uses a dark brown worsted wool so the cord looks like a twig.

    Tip:

    Make the loop bigger if you want to hang it over a nail or hook.

    Back to all steps

  4. Step 4: Single Crochet Through Each Leaf to Attach It

    Watch this step · 3:34

    Pick up the first leaf from your layout and push the hook through the stem or the top of the leaf. Single crochet to fix it to the cord. Pick up the next leaf and single crochet through it the same way. When a leaf has a stem, go through the stem twice. Two stitches hold it more firmly. Jess starts with a cluster of two leaves.

    Tip:

    Hook near the stem so each leaf hangs face out, not upside down.

    Back to all steps

  5. Step 5: Chain 10 Between Leaf Clusters on the Garland

    Watch this step · 3:56

    After each cluster, chain 10 to leave a gap of bare cord. Then pick up the next two or three leaves in order and single crochet through each one. Keep going: a cluster, 10 chains, a cluster. Work from left to right along your layout so the colours land the way you planned them.

    Tip:

    Use more chains between clusters for a lighter look, fewer for a fuller one.

    Back to all steps

  6. Step 6: Make the End Loop and Slip Stitch Back Along the Garland

    Watch this step · 4:26

    Once the last leaf is on, chain 30. Count back 10 chains and slip stitch into that stitch to close a second hanging loop. Then slip stitch back along the whole cord, through every chain and past each cluster, until you reach the first loop. This second pass makes the cord firmer and stops it stretching. Cut the yarn and leave a long tail.

    Tip:

    Slip stitch loosely. Tight stitches pucker the cord.

    Back to all steps

  7. Step 7: Weave In and Felt the Garland Yarn Ends

    Watch this step · 4:34

    Thread each tail onto a tapestry needle and weave it back through the cord for a few inches. Do both ends. For extra security, Jess needle felts the ends. She lays the cord on a foam pad and stabs a barbed felting needle through the woven tail so the wool fibres lock together. The garland is then ready to hang.

    Tip:

    Felting works only on wool and other animal fibres.

    Back to all steps

Keep going

How to Crochet a Unicorn (Beginner Amigurumi)

Products Used

The Checklist

How to Make a Fall Leaf Garland

Tools
6
Materials
2
Steps
7
Video
5 min

Tools we recommend

As an Amazon Associate we earn from qualifying purchases. Links on this page may be affiliate links - clicking them and buying doesn't change your price, but helps support Crafting Step by Step.

Tags

Free printable

Get the Crochet Cheat Sheet

Every basic stitch on one printable page. No spam, one-click unsubscribe.

Did this work for you?

What's next

Related collections

Curated theme pages that include this tutorial.

Similar tutorials

Hand-picked next reads based on the one you just finished.

Liked this crochet tutorial?

Pick the crafts you want to hear about. One email every Sunday with new step-by-step tutorials. No spam, easy to unsubscribe.

Get more like this in your inbox

Weekly digest. Pick the categories you want. Unsubscribe anytime.

Send me tutorials about

We only email about new tutorials. Easy unsubscribe anytime.