How to Crochet a Mug Cozy (1-Skein Beginner Project)

CrochetEasy31:488 stepsBrowse more →
Also in:Crafts

By CraftingStepByStepPublished Updated

Based on a video by The Loopy Lamb.

A crochet mug cozy is the gift project that punches above its weight. One ball of cotton yarn, a single button, an hour of crocheting, and you've got something practical that someone will use every single morning for years.

This pattern is the Yvette mug cozy from Ashley Parker at The Loopy Lamb. It's beginner-friendly - if you know how to make a magic ring, work a single crochet, and add a double crochet, you can finish this in an afternoon. The textured side panels look more complicated than they are.

If you've never picked up a hook before, start with the easy crochet projects roundup and the essential supplies guide first. Otherwise grab your stash cotton and let's go.

Step-by-Step Guide

1

Step 1: Gather Your Supplies

2:00
Step 1: Step 1: Gather Your Supplies

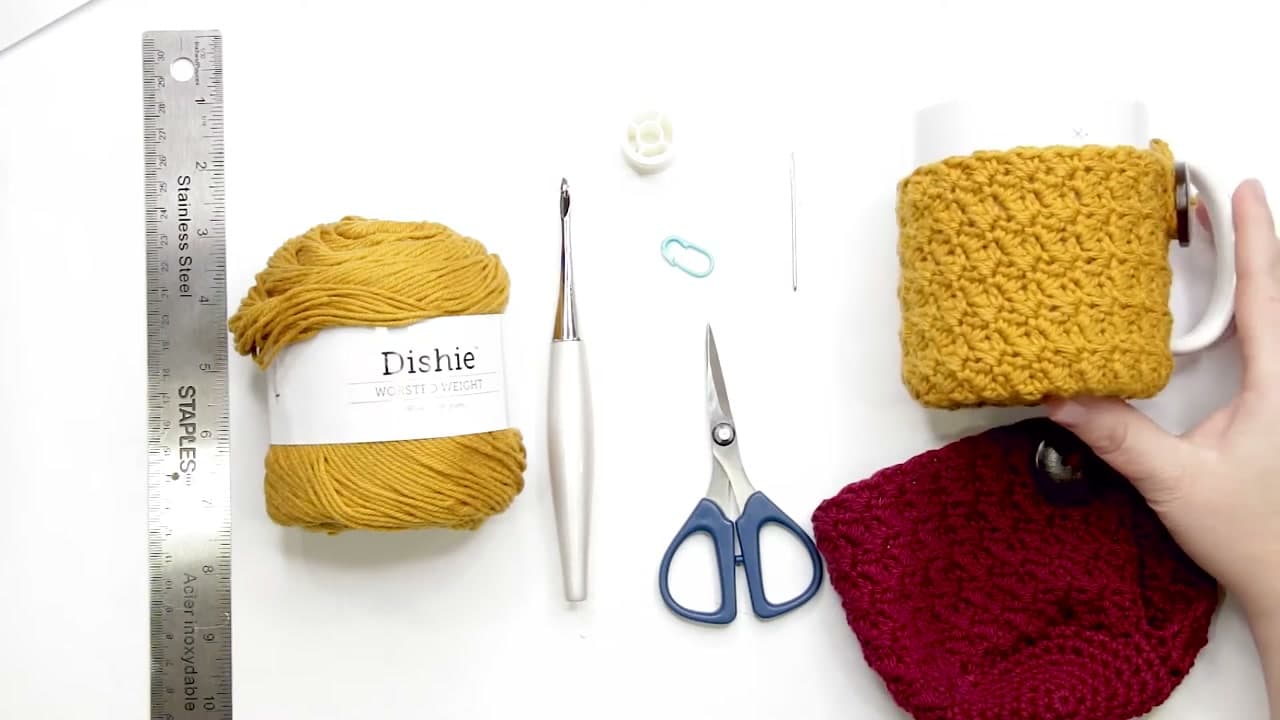
Lay everything out before you cast on. You need worsted-weight cotton yarn (about 28g or 54 yards - one ball of WeCrochet Dishie or Lily Sugar 'N Cream is more than enough), a size H/8 (5mm) crochet hook, scissors, a tapestry needle, a stitch marker, and a ruler.

You'll also need one 1.5-inch button and either a sewing needle with matching thread or a length of your project yarn for sewing the button on later. Cotton is the recommended fiber here - it doesn't have the fuzzy halo that acrylic does, so you won't get fibers on your lips when you sip your coffee.

Tip

Acrylic worsted-weight works fine if that's what you have on hand. Coffee doesn't get hot enough to melt it. Just pick an acrylic that isn't fluffy.
2

Step 2: Make a Magic Ring

3:35
Step 2: Step 2: Make a Magic Ring

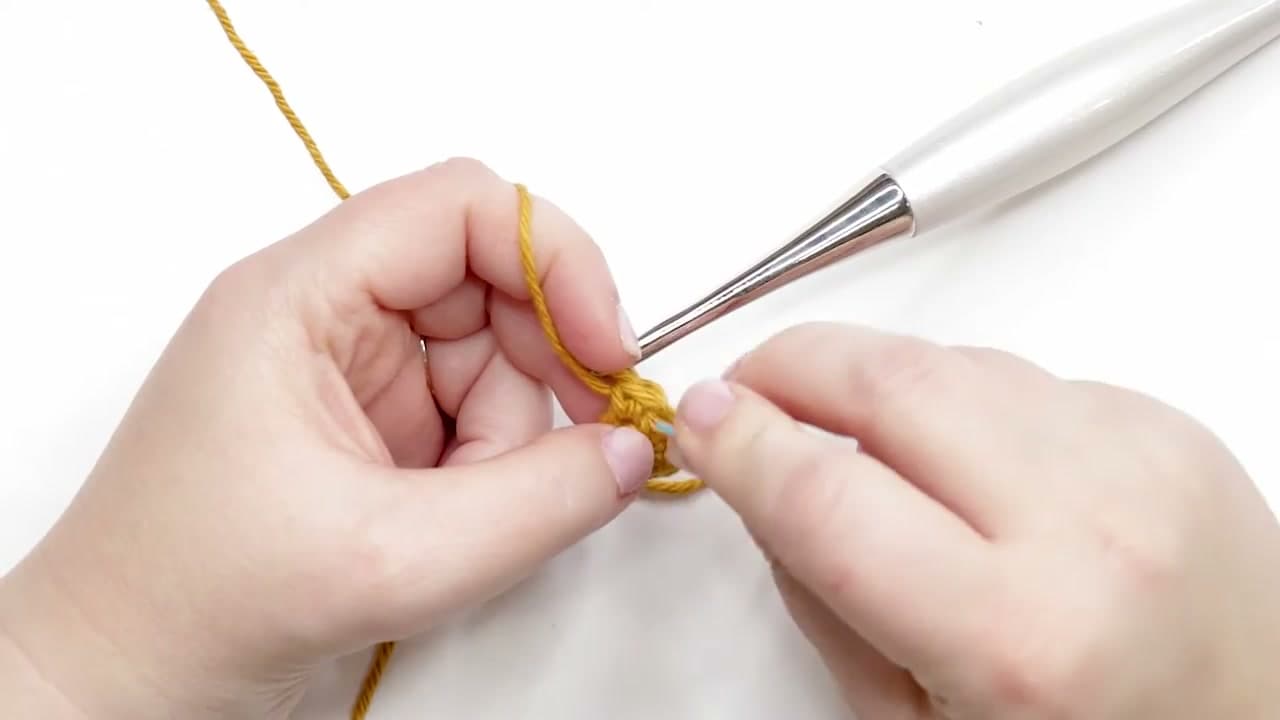
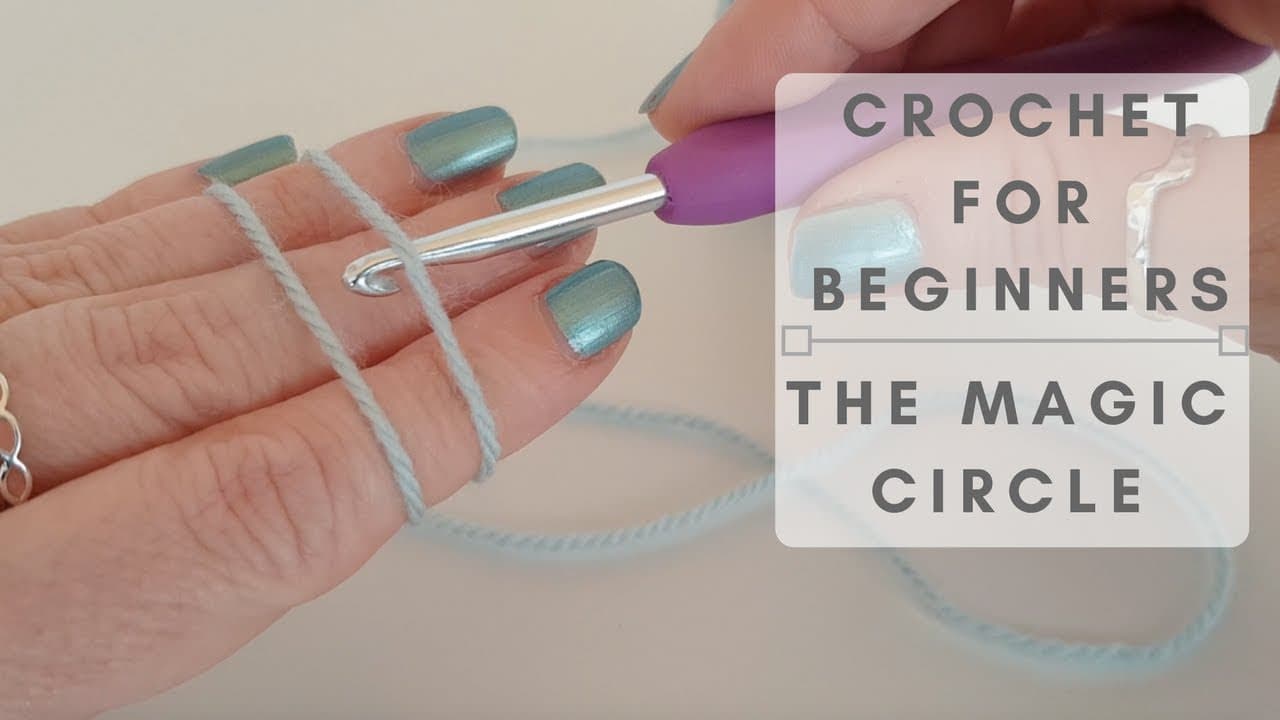
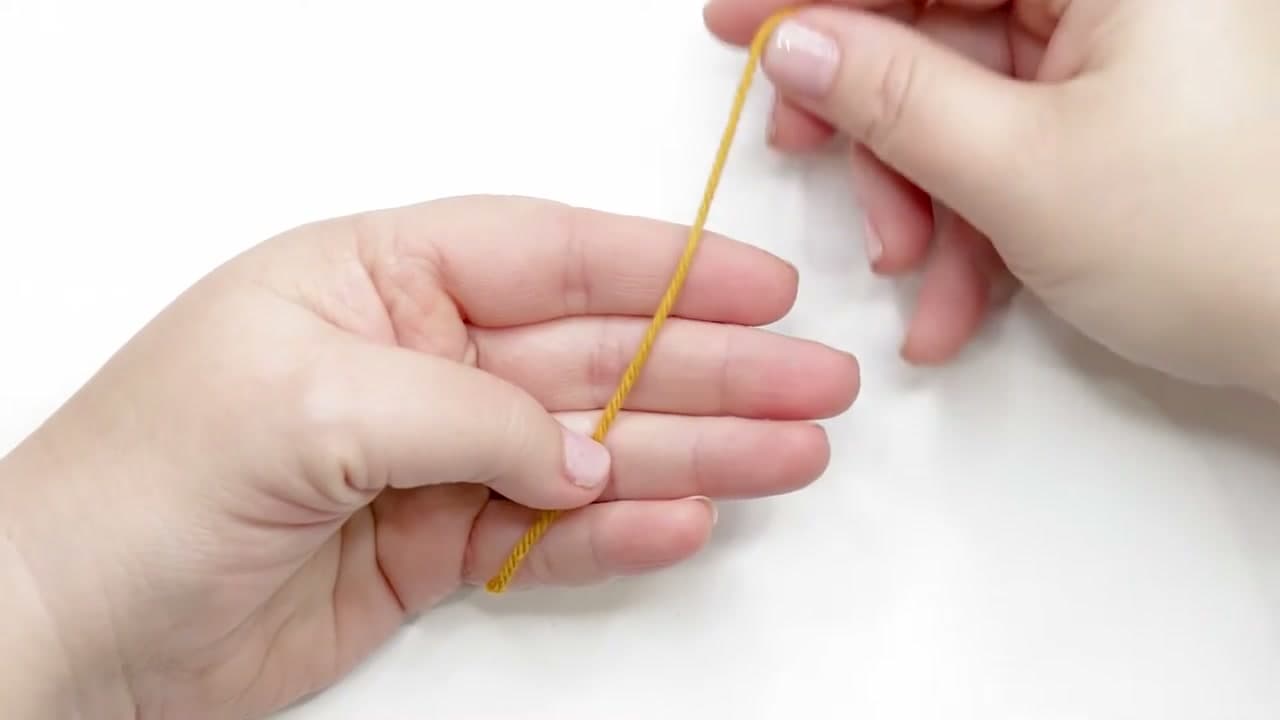
The cozy starts with a closed-center magic ring so there's no hole in the middle of the base. Lay the tail end across your palm and pin it under your thumb. Wrap the working yarn around your fingers, bring it across the back, and cross it over the front to form an X.

Insert your hook under the first strand and over the second, hook the second strand, and pull it back under the first. Twist your hand so the yarn forms a clean loop, yarn over with the working yarn, and pull through. That's your slip knot anchored to a closeable ring. If the wraps feel awkward, walk through the slower magic ring tutorial first - the rest of this pattern depends on getting it right.

Tip

Keep tension on the working yarn with your pinky. A magic ring that loosens halfway through round one will pull your stitches apart.

3

Step 3: Round 1 - Six Single Crochets in the Ring

6:20
Step 3: Step 3: Round 1 - Six Single Crochets in the Ring

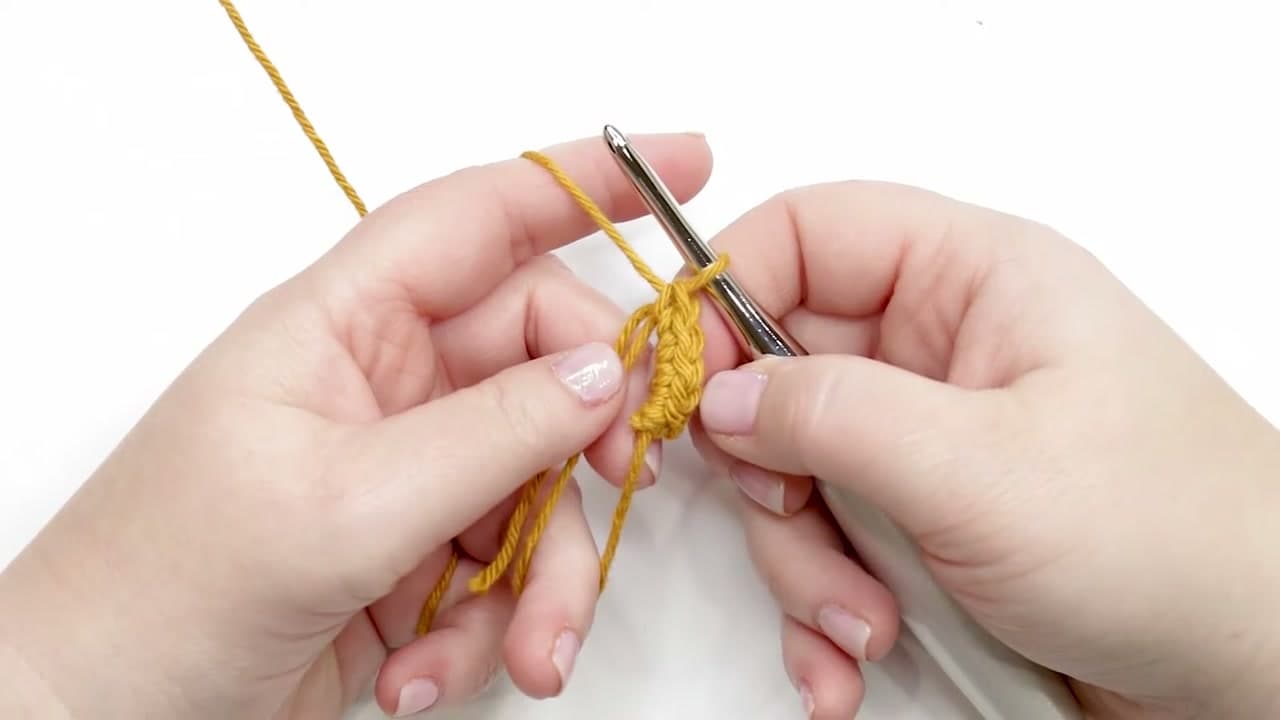
Round one is six single crochets into the magic ring. Insert your hook into the ring, catching both the ring and the yarn tail (working over the tail now means you skip weaving it in later). Yarn over, pull up a loop, yarn over, pull through both loops on your hook. That's one single crochet.

Make five more for a total of six. When you finish, pull on the tail end to close the ring. The base will look like a tight little flower with six V-stitches around the center.

Tip

Don't pull the magic ring closed until all six stitches are made. The ring needs to stay open while you crochet into it.

4

Step 4: Rounds 2 through 7 - Build the Base

7:40
Step 4: Step 4: Rounds 2 through 7 - Build the Base

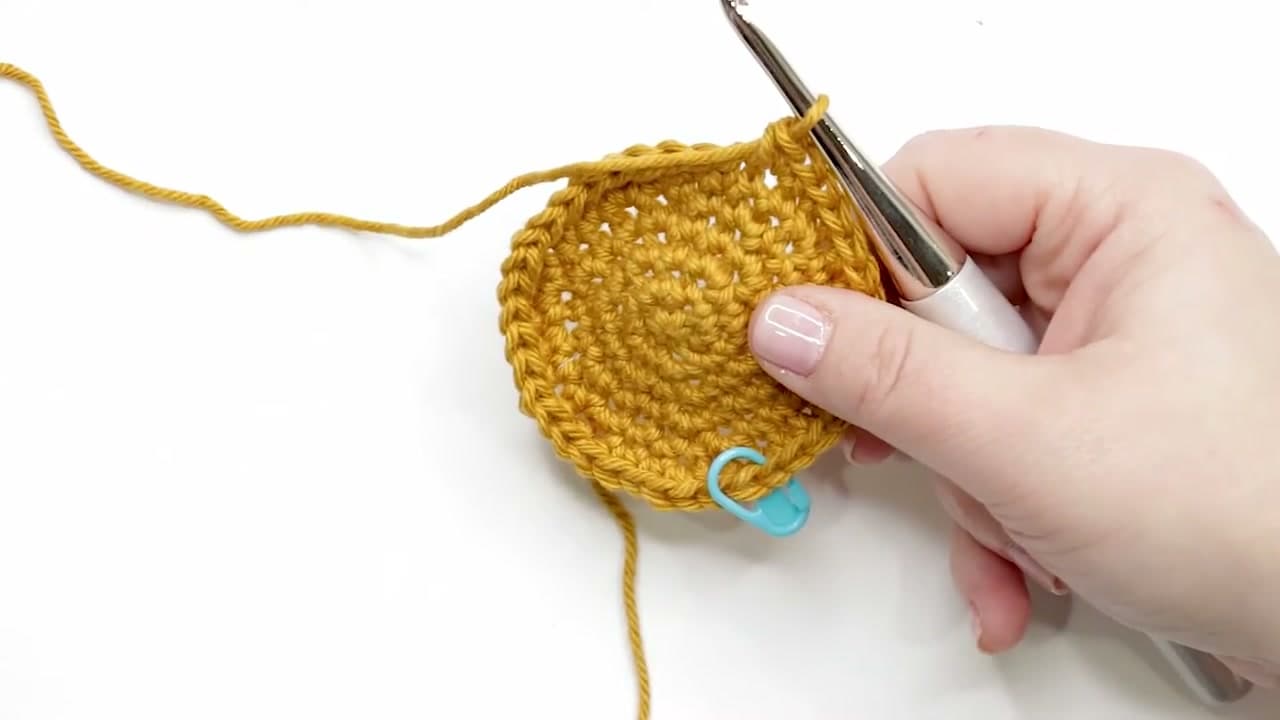
Now you're building a flat disc with single crochet increases in the round. Each round adds six stitches.

  • Round 2: 2 sc in each stitch (12 sts)
  • Round 3: sc, inc - repeat (18 sts)
  • Round 4: sc 2, inc - repeat (24 sts)
  • Round 5: sc 3, inc - repeat (30 sts)
  • Round 6: sc 4, inc - repeat (36 sts)
  • Round 7: sc 5, inc - repeat (42 sts)

An "inc" is two single crochets worked into the same stitch. You're working in a continuous spiral - no slip stitch to join, no chain to start. Move your stitch marker up to the first stitch of each new round so you don't lose your place.

Tip

Count your stitches at the end of every round. Catching a missed increase on round 4 is way easier than ripping back from round 7.

5

Step 5: Check Your Gauge

17:30
Step 5: Step 5: Check Your Gauge

Before you start the sides, measure. Lay the disc flat and measure across the widest point - front loop to front loop. You want 3.25 inches for a standard mug.

Hold the base against the bottom of your mug. It should match or sit a tiny bit smaller. If your mug is bigger than standard, work one more increase round (sc 6, inc - 48 sts) and re-measure. The base needs to fit, or the rest of the cozy will fight you.

Tip

If your gauge is off, change hook size before you change the pattern. Tight crocheters often need a 5.5mm hook; loose crocheters might drop to 4.5mm.

6

Step 6: Round 8 - Turn the Disc into Sides

19:05
Step 6: Step 6: Round 8 - Turn the Disc into Sides

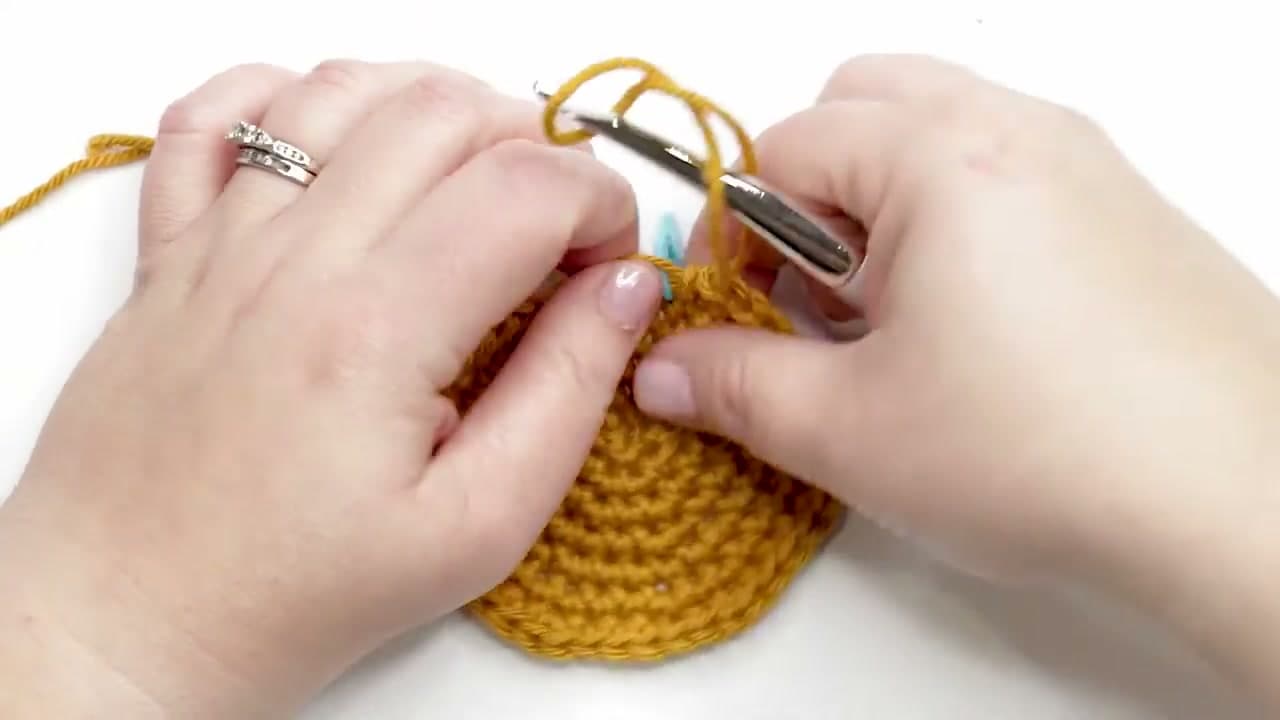
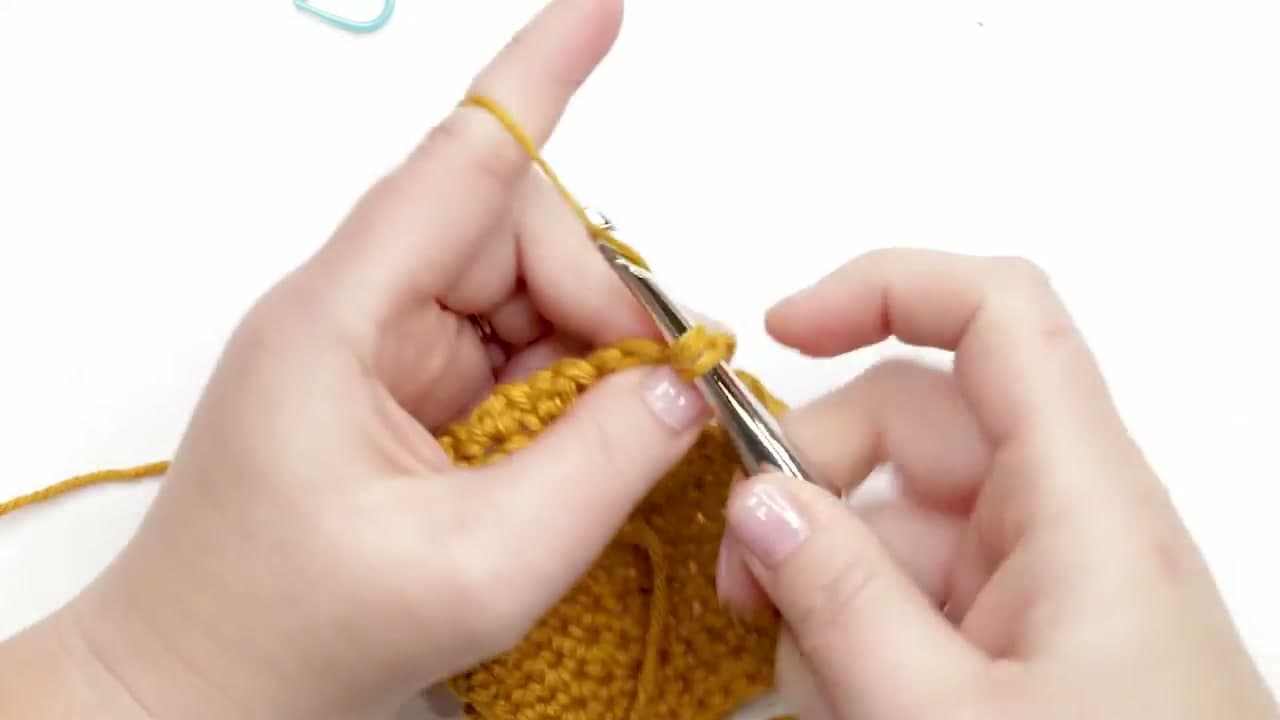
This is the round that bends the flat base upward into walls. Work every stitch in the front loop only - that one detail is what creates the fold.

The repeat is: 1 sc and 1 dc in the same stitch, skip the next stitch. Keep going around. When you have 3 stitches left, skip one, single crochet into the front loop of the next, and leave the very last stitch unworked - that gap becomes the space for your mug handle.

The texture you see forming on the side - that's the cluster of single + double crochet stacked in the same stitch. New to double crochet? The double crochet tutorial has the full breakdown.

Tip

The back loop is the strand furthest from you; the front loop is the one closest to you. Tilt the disc and you'll see them clearly.

7

Step 7: Rows 9 through 18 - Build the Body

23:15
Step 7: Step 7: Rows 9 through 18 - Build the Body

From here on you're working in rows, not rounds. Chain 1, turn, and now you're working in both loops again.

The body repeat is the same texture pattern: 1 sc and 1 dc in the same stitch, skip the next stitch, repeat across. When 2 stitches remain at the end of the row, skip one and single crochet into the very last. Chain 1, turn, and start the next row.

Repeat for ten rows total (rows 9 through 18). Try the cozy on your mug after row 18 - it should sit about half an inch below the rim. Too tall and you'll catch yarn on your lip when you sip. Add or subtract rows if your mug needs it.

Tip

Don't pull the chain-1 tight at the start of each row. A loose turning chain keeps the side edges from cupping inward.

8

Step 8: Buttonhole Loop, Sew the Button, Finish Up

28:55
Step 8: Step 8: Buttonhole Loop, Sew the Button, Finish Up

The button-and-loop closure is what makes this pin-worthy. Chain 21 off the last stitch of row 18. Skip those chains and slip stitch back into that last stitch to anchor the loop. Drop your hook into the edge of row 17 and slip stitch a second time - that second anchor keeps the loop from flopping around.

Wrap the cozy around your mug. Stretch the loop over the handle, mark where the button needs to sit on the opposite side, then fasten off with a 4 to 6 inch tail.

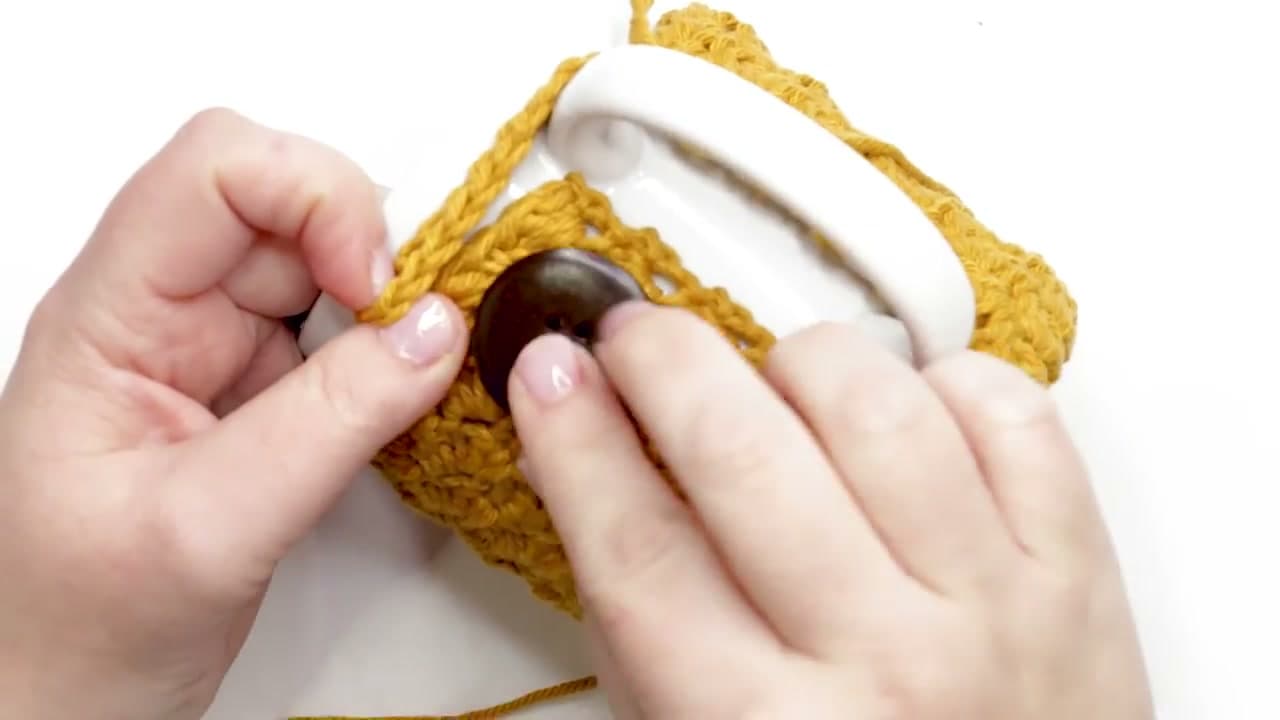
Sew the 1.5-inch button on with either matching thread or a length of your project yarn (a yarn needle threads through wooden buttons easily). Tie off on the back, then weave in all ends with your tapestry needle. Slide it over your favorite mug - done.

Tip

Adjust the chain count if your button is bigger or smaller than 1.5 inches. A 1-inch button needs about 16 chains; a 2-inch button needs about 24.

Products Used

☐ The Checklist

How to Crochet a Mug Cozy (1-Skein Beginner Project)

Tools
6
Materials
3
Steps
8
Video
32 min

Your Guide

The Loopy Lamb

As an Amazon Associate we earn from qualifying purchases. Links on this page may be affiliate links - clicking them and buying doesn't change your price, but helps support ShowMeStepByStep.

Tags

Test your knowledge

Did the lesson stick? Find out in 2 minutes.

5 quick questions covering what you just read. No signup, no score saved — just a gut check.

Quick reference

Key takeaways from How to Crochet a Mug Cozy (1-Skein Beginner Project)

5 questions, answers, and one-line explanations. Tap to expand.

  1. 1.Best yarn fiber for a mug cozy?

    Answer: Cotton worsted

    Cotton doesn't have the fuzzy halo acrylic does, holds shape, and washes well. ~28g or 54 yards is enough.

  2. 2.Why work over the tail in Round 1?

    Answer: Skip weaving later

    Insert hook into ring catching both the ring AND the yarn tail. Working over the tail now means no weaving in later.

  3. 3.Target base diameter for a standard mug?

    Answer: About 3.25 inches

    3.25 in for standard. Should match the bottom of your mug or be slightly smaller before you start the sides.

  4. 4.What turns the flat base UP into walls?

    Answer: Front loops only

    Round 8 worked in front loops only - that one detail creates the fold from flat disc into the side walls.

  5. 5.How is the closure created?

    Answer: Chain loop + button

    Chain 21 off the last stitch, slip stitch back to anchor. Sew the 1.5-inch button on the opposite side.

What's next

Related collections

Curated theme pages that include this tutorial.

Weekly Digest

Liked this crochet tutorial?

Pick the categories you want to hear about. Weekly digest of new step-by-step tutorials. No spam, easy unsubscribe.

Send me tutorials about

We only email about new tutorials. Easy unsubscribe anytime.