How to Crochet a Fox (Amigurumi Pattern, Step by Step)

CrochetMedium13:388 stepsBrowse more →

By CraftingStepByStepPublished

Based on a video by ComplicatedKnots.

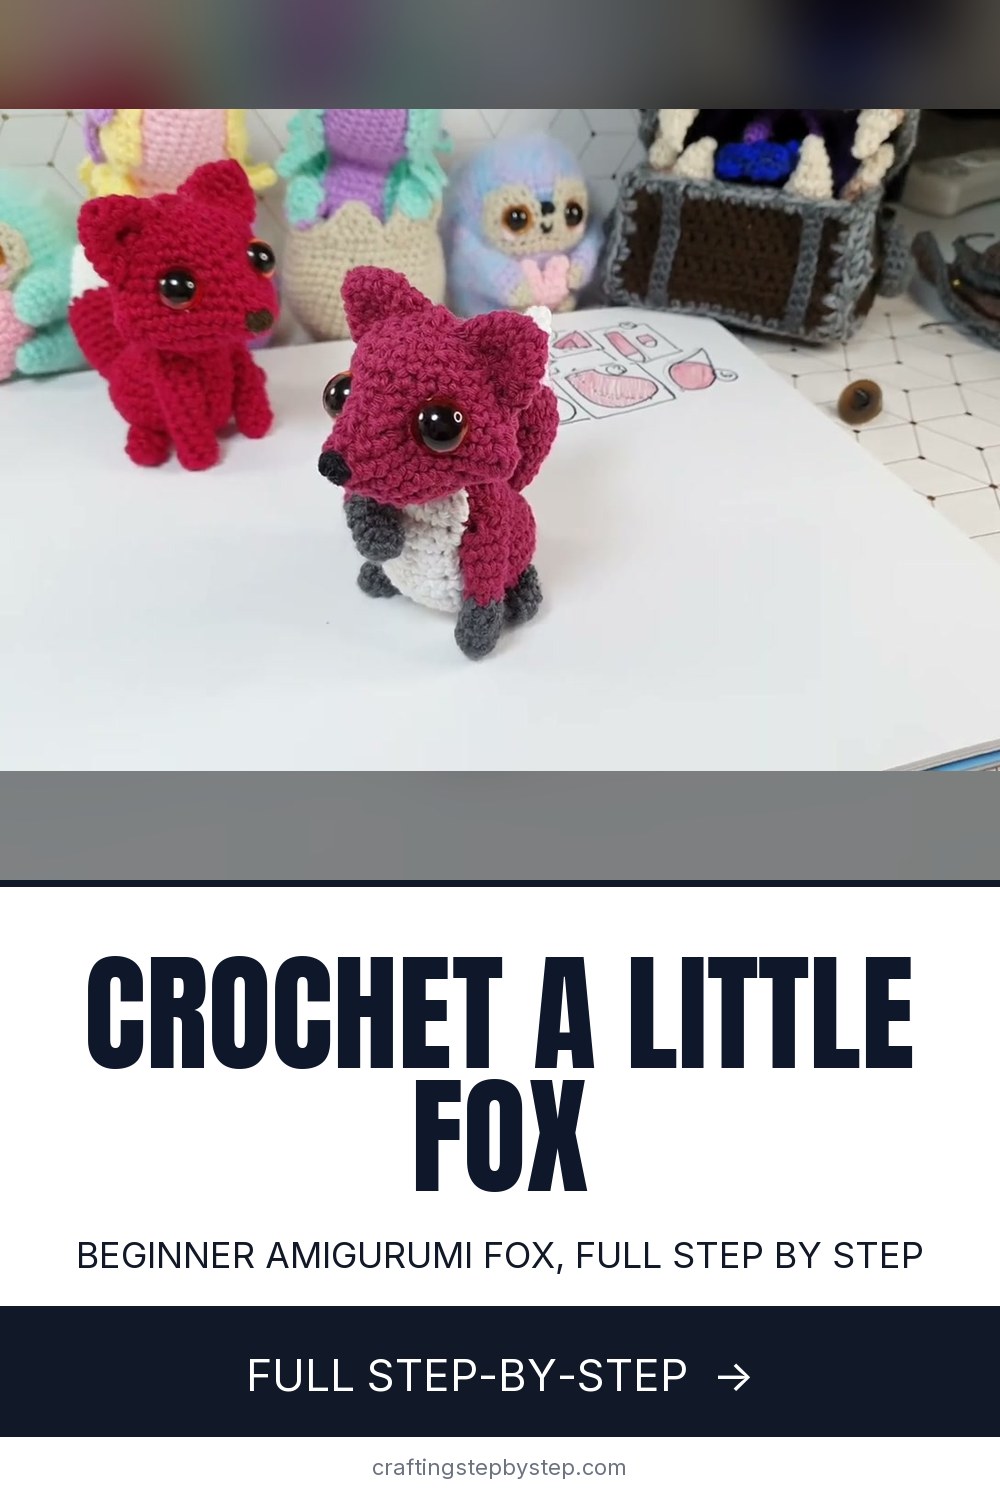
A crochet fox is one of those amigurumi that looks fiddly and turns out to be a fast, friendly make. ComplicatedKnots designed this one as a genuinely beginner-friendly pattern, and the whole thing comes together from a handful of small pieces: a shaped head, two ears, a jelly-bean body with a white belly, four legs, and a fat little tail. You work it all in a continuous spiral, so there's no counting rows off a chart.

The clever bit is the head. Instead of a plain ball, you push the snout and cheeks out with increase-threes and pull them back in with decrease-threes, which is how a round of stitches turns into a pointed fox face. Safety eyes go in while the head is still open, and a couple of tug stitches indent them so the fox looks alert instead of blank. If you have not worked one before, start with how to crochet a magic ring, since every piece here begins with one.

Two techniques do a lot of the heavy lifting: seating the eyes and stuffing firmly as you close each piece. For the eyes, attaching safety eyes to amigurumi is worth a quick read so the washers lock on straight. And once you have a fox under your belt, the same build - shaped head, ears, body, legs, tail - scales up to bigger animals like a crochet elephant.

Step-by-Step Guide

8 steps · about 14 minutes.Check off each step as you go and your progress saves automatically.

1

Step 1: Start the Head with a Magic Ring

1:35
Step 1: Step 1: Start the Head with a Magic Ring

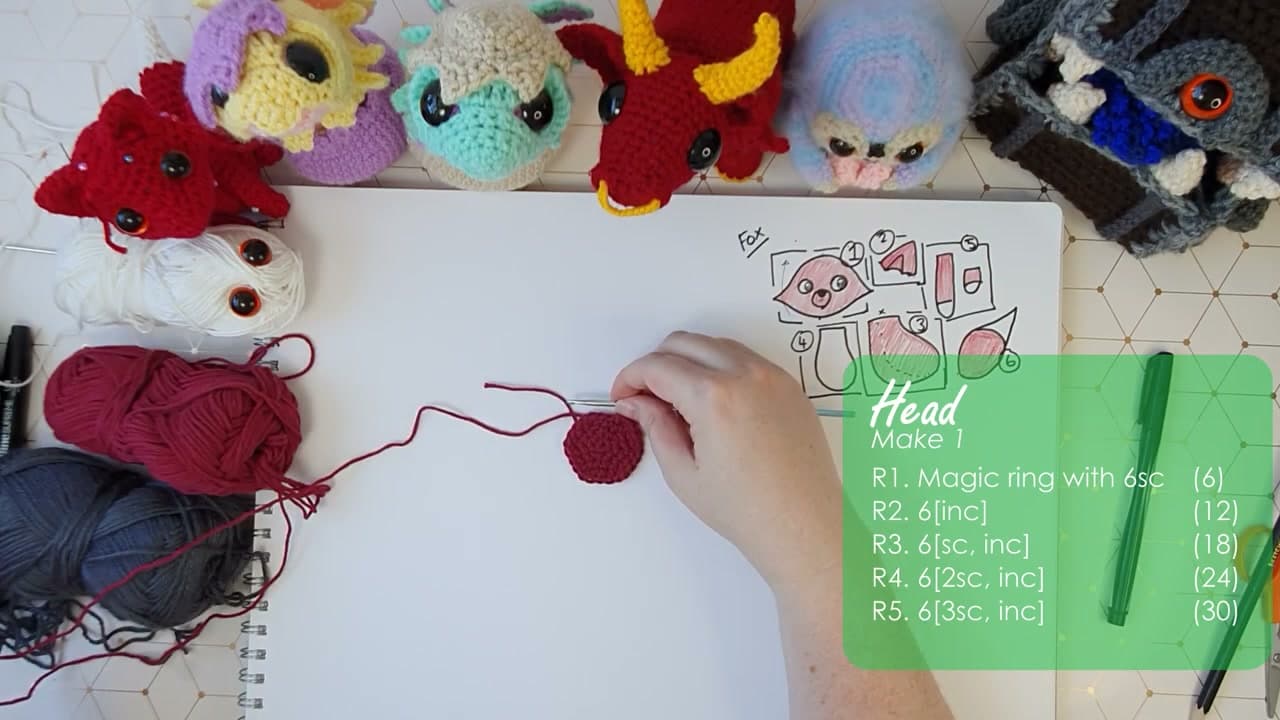
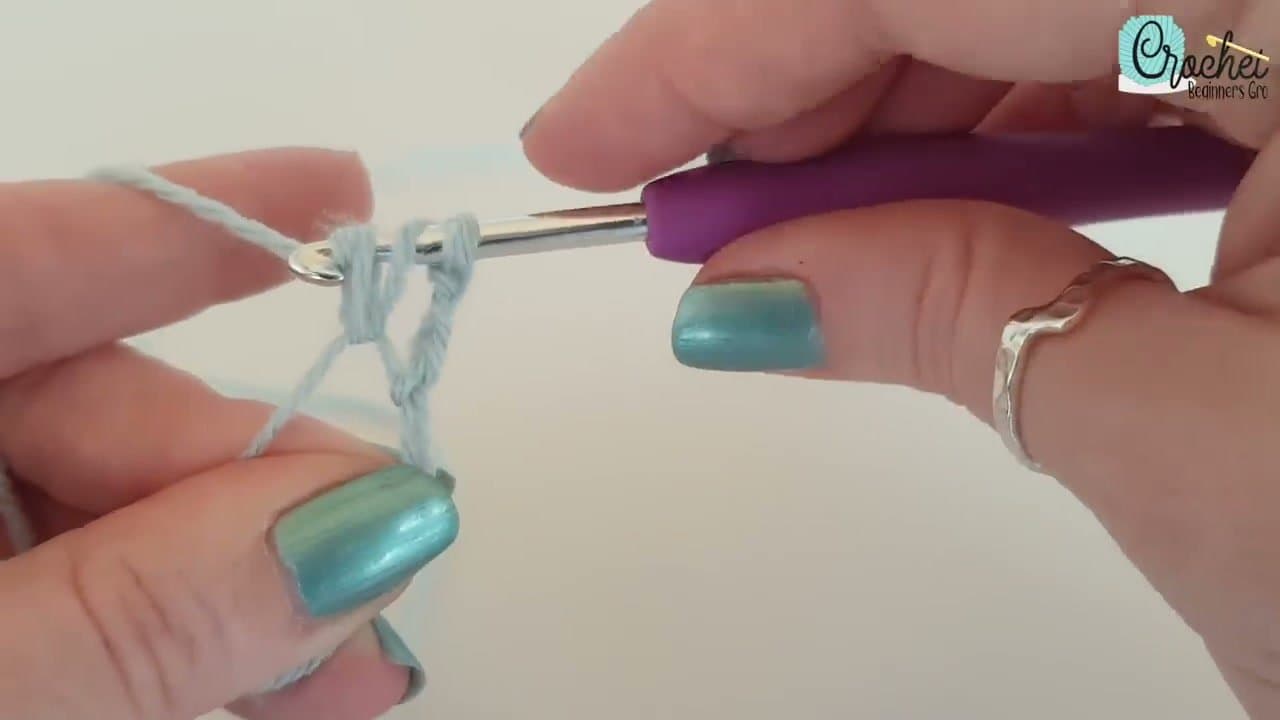
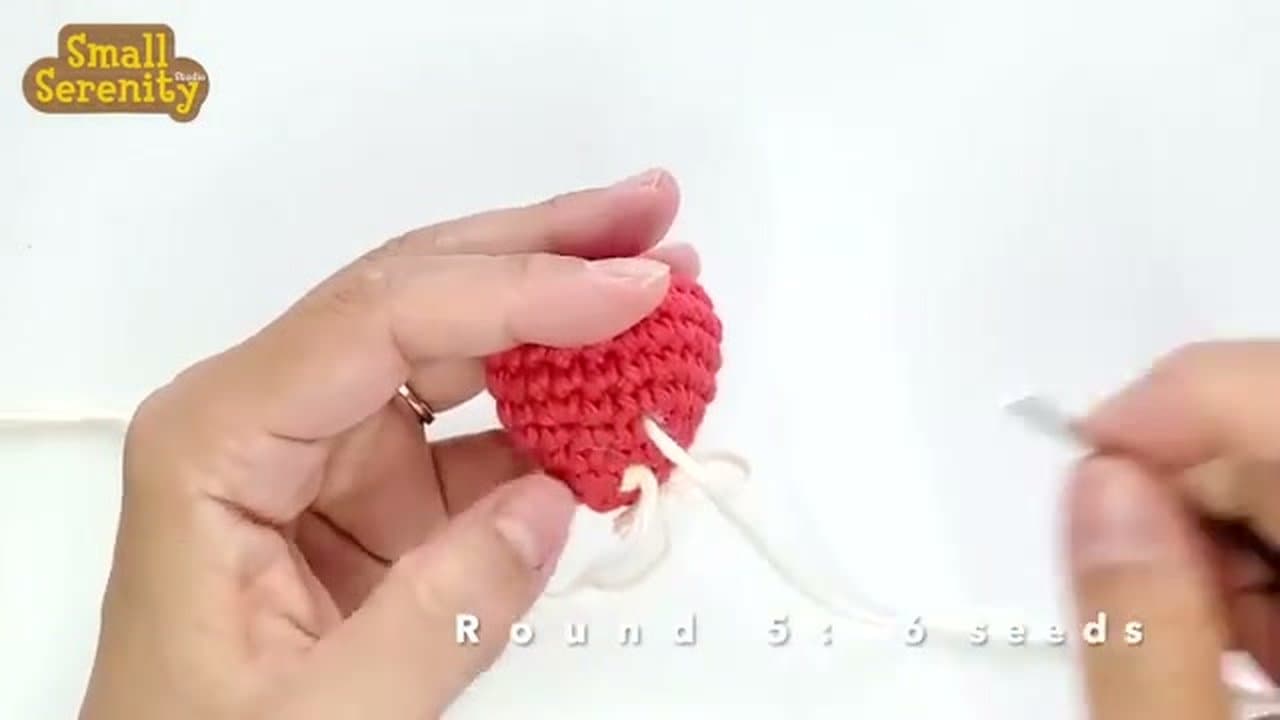
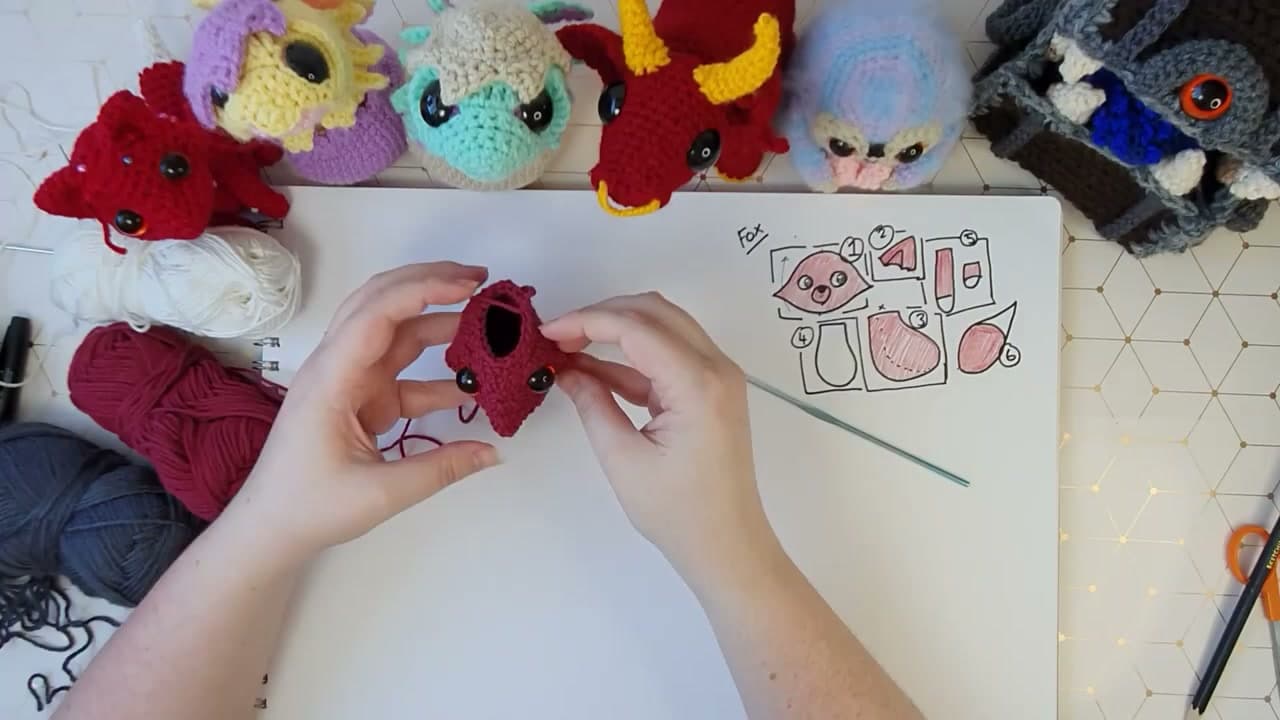
The head starts on the underside of the jaw. Begin with a magic ring of six single crochet, then work five rounds of increases to reach thirty stitches around. This flat, round base is what the whole face grows from.

Keep a stitch marker in the first stitch of each round. You are working in a continuous spiral with no join, so the marker is the only thing telling you where a new round begins.

Tip

Watch this step A 3.5mm hook with cotton yarn gives tight stitches so the stuffing does not show through. Pull each stitch snug as you go.
2

Step 2: Shape the Snout and Cheeks

2:15
Step 2: Step 2: Shape the Snout and Cheeks

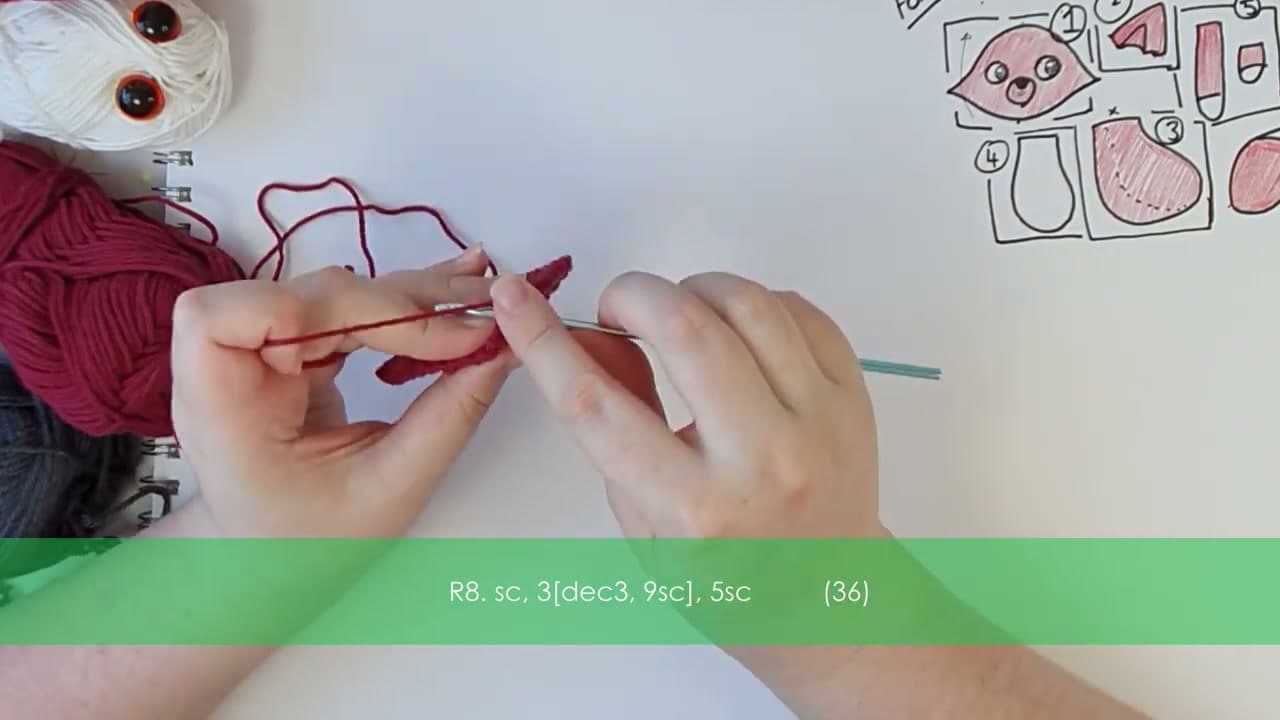
Now the head stops being a ball. You build the pointed snout and two cheeks using increase-threes and decrease-threes. An increase-three is three single crochet worked into one stitch, which pushes a point out. A decrease-three pulls three stitches into one, which draws the shape back in.

Work these where the pattern calls for them and the piece takes on a front point for the nose and two side points for the cheeks. That is the fox face taking shape.

Tip

Watch this step Invisible decreases keep the shaping smooth. Work the decrease-three through the front loops only if you want an even cleaner surface.

3

Step 3: Add the Safety Eyes and Stuff the Head

3:55
Step 3: Step 3: Add the Safety Eyes and Stuff the Head

Once the head is down to eighteen stitches, it is time for the eyes. Push a 15mm safety eye through the fabric on each side of the nose and clip the washer on the inside. Check the placement from every angle before you commit, because those washers do not come off.

Stuff the head firmly, then work the last two rounds to close the gap. To finish, thread a little yarn between the eyes and pull to indent them slightly. That small pull gives the fox its alert, characterful look.

Tip

Watch this step Over-squeeze the indent stitch when you lock it off. It loosens a touch as you knot it, so a firm pull settles into the right depth.

4

Step 4: Make the Ears

5:20
Step 4: Step 4: Make the Ears

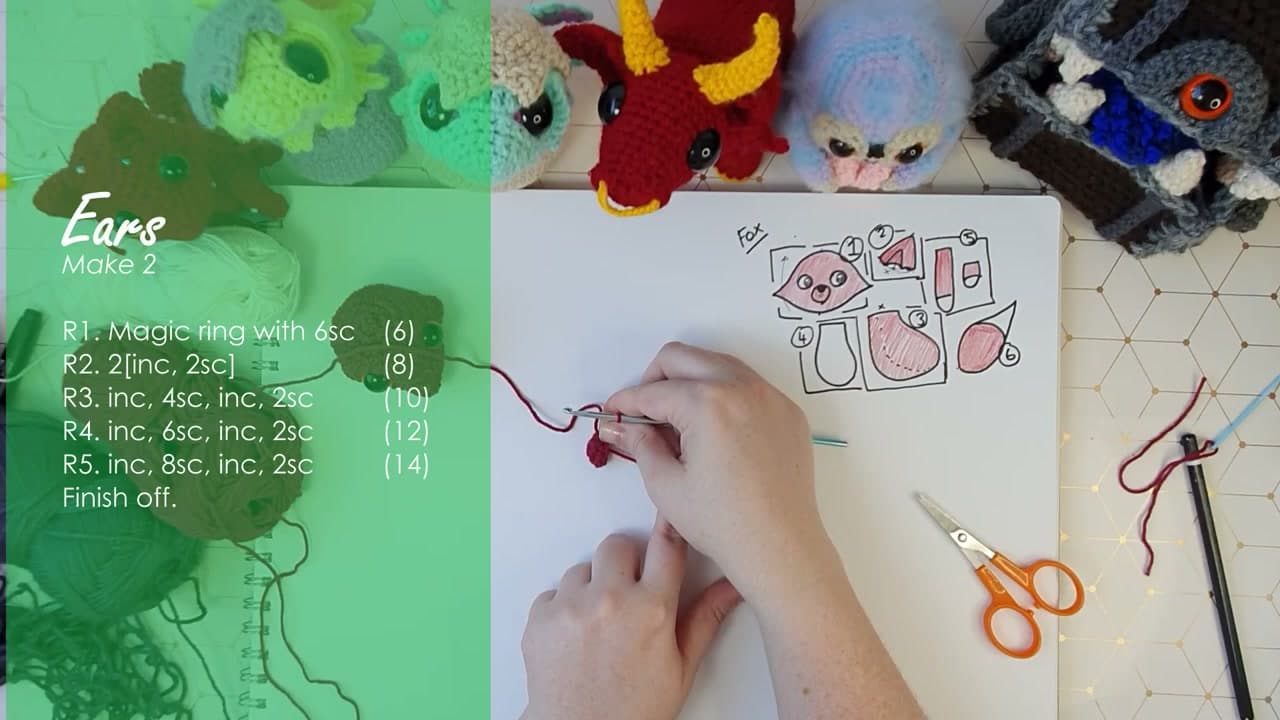
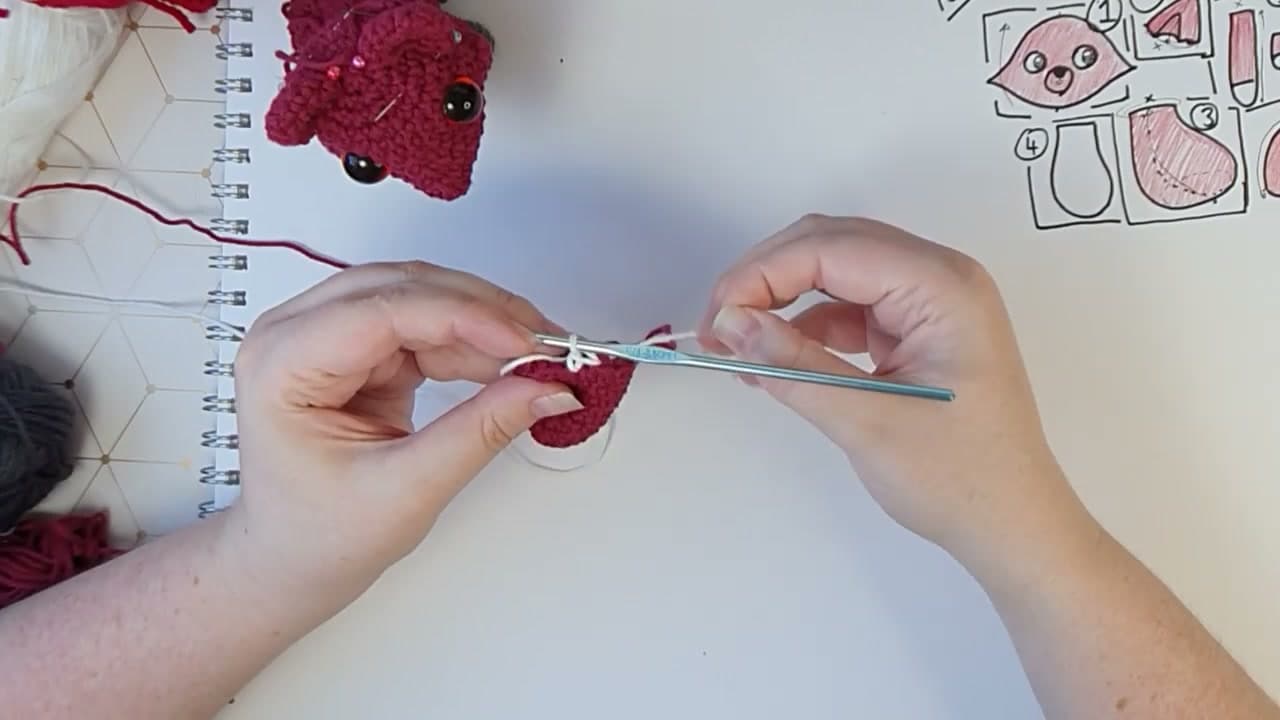
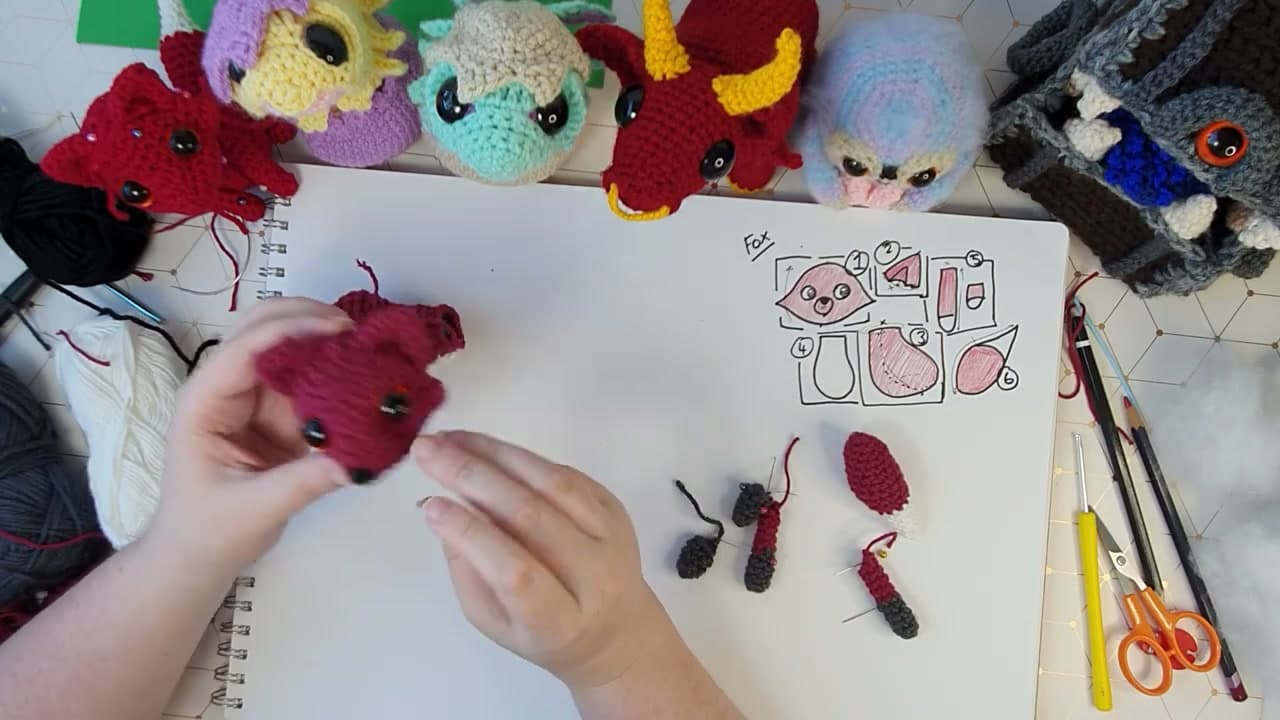
The ears start at the tip and spiral down to an open base, so you leave them unstitched at the bottom. Make two in your main fox color. They come off the hook as small pointed cones.

To shape each one, tuck the starting tail down inside, pinch the base flat, then fold it so it reads as a little triangle. Hold the ears up against the top of the head to see how they will sit before you sew anything.

Tip

Watch this step Make both ears before you sew either one. Working them side by side keeps them matched in size and shape.

5

Step 5: Crochet the Body and White Belly

6:30
Step 5: Step 5: Crochet the Body and White Belly

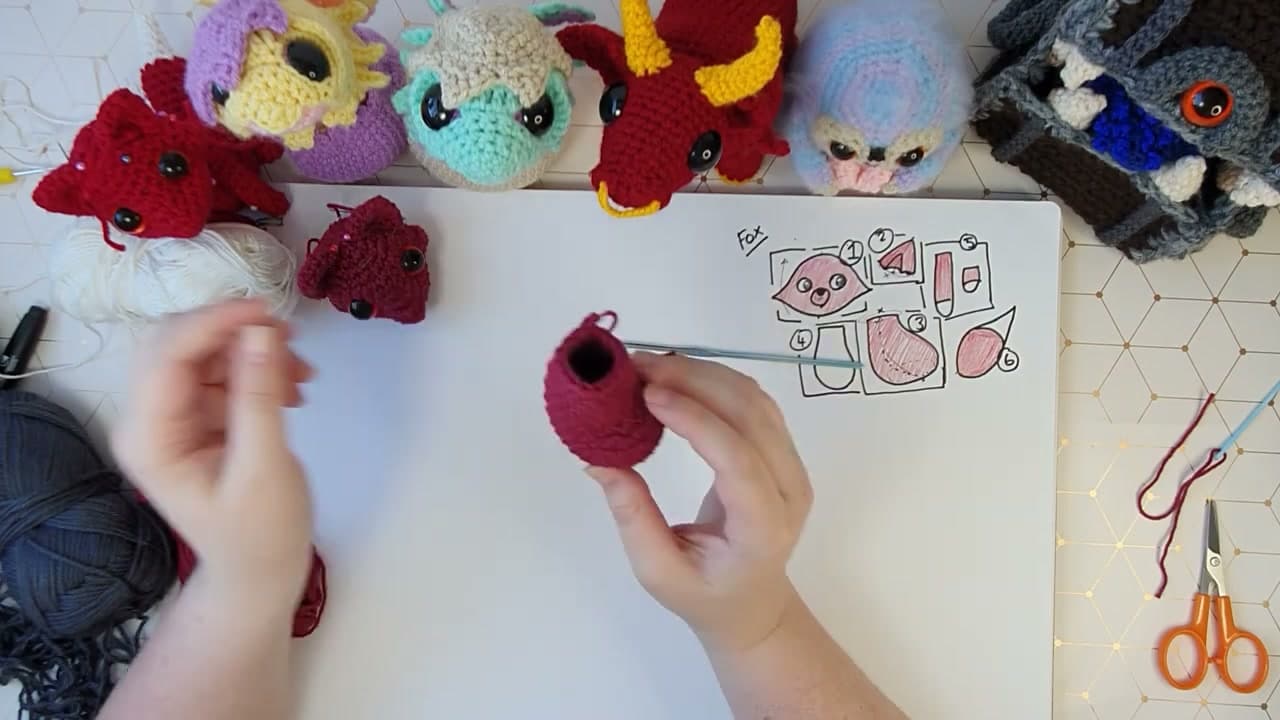
The body is a long jelly-bean tube. Start at the rump in your fox color and work up in a spiral to the neck, leaving the neck end open so you can join it to the head later. Stuff it firmly except for the very top couple of rounds.

Then switch to white and work the belly as a small flat bib, back and forth rather than in the round. The bib tucks under the jaw and runs down the front, giving the fox its pale chest.

Tip

Watch this step Flatten the open neck into a line when you attach it. That gives the body a teardrop shape instead of a round tube stub.

6

Step 6: Make the Legs and Feet

8:20
Step 6: Step 6: Make the Legs and Feet

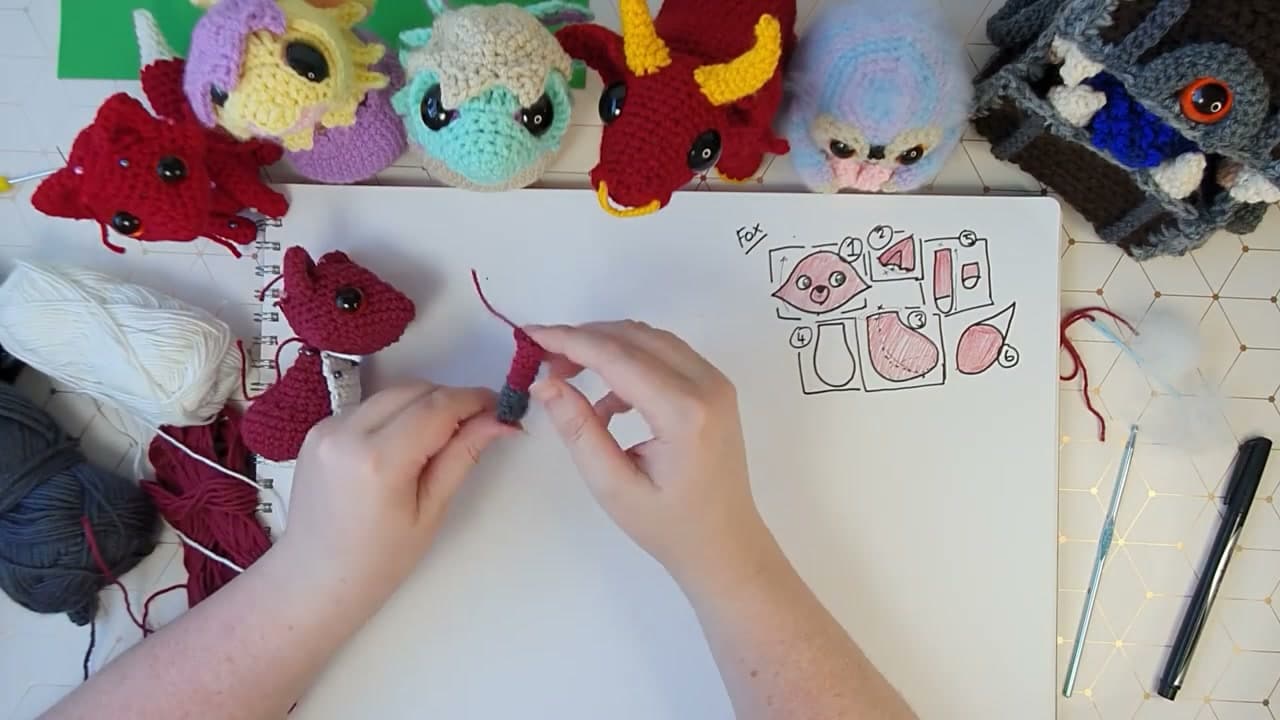
The fox needs four pieces down here. The two front legs are plain straight tubes: work the first few rounds in your grey foot color, then switch to the fox color for the rest of the leg. The two back feet are short grey nubs.

None of these get stuffed. Squish the back feet flat once they are off the hook. Lay all four pieces against the body to check the pose before you pin anything in place.

Tip

Watch this step Want longer back feet? Add a couple more rounds of six before you finish off. The nub length is a style choice, not a rule.

7

Step 7: Crochet the Tail with a Color Change

10:25
Step 7: Step 7: Crochet the Tail with a Color Change

The tail is the poofy part. Start in your fox color and work up toward the tip, then change to white near the end for the classic fox-tail marking. To swap colors, finish the last stitch in the old color, hold the old yarn aside, and complete the next stitch with the new one so the fresh color sits on the hook.

Stuff the tail firmly, using a poking tool to reach the tip. Roll it between your hands and squish it back into shape so it ends in a soft point.

Tip

Watch this step If the first stitch after a color change looks loose, tug the two yarn tails gently until it tightens up, then knot and hide them inside.

8

Step 8: Assemble the Fox

12:15
Step 8: Step 8: Assemble the Fox

Now bring it all together. Sew the white belly onto the body first, then attach the ears to the head and embroider a small black nose with a scrap of black yarn. Join the head to the body along the row that lines up the two cheek points, pinning first so you can set the head at the angle you like.

Sew on the legs and tail last. Because the front legs are straight tubes, you can curve one paw up and stitch it against the chest to pose your fox.

Tip

Watch this step Give the ear tails a gentle pull down toward the back of the head. It anchors the ears and blends them into the head more cleanly.

Products Used

☐ The Checklist

How to Crochet a Fox (Amigurumi Pattern, Step by Step)

Tools
5
Materials
4
Steps
8
Video
14 min

Your Guide

ComplicatedKnots

As an Amazon Associate we earn from qualifying purchases. Links on this page may be affiliate links - clicking them and buying doesn't change your price, but helps support ShowMeStepByStep.

Free printable

Get the Crochet Cheat Sheet

Every basic stitch on one printable page. No spam, one-click unsubscribe.

Did this work for you?

What's next

Related collections

Curated theme pages that include this tutorial.

Weekly Digest

Liked this crochet tutorial?

Pick the categories you want to hear about. Weekly digest of new step-by-step tutorials. No spam, easy unsubscribe.

Send me tutorials about

We only email about new tutorials. Easy unsubscribe anytime.