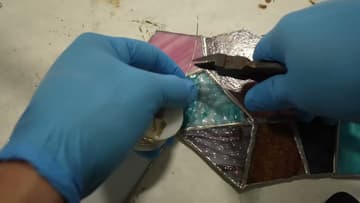
How to Solder Stained Glass
Source: MrStainedGlass • Full tutorial: www.craftingstepbystep.com/crafts/how-to-solder-stained-glass
- Difficulty
- Medium
- Hands-on time
- About 1 hour 15 minutes
- Cost
- About $20 to $40
- Makes
- 1 small stained glass panel

Tools
- Soldering iron
- Soldering iron stand
- Rheostat or iron controller
- Flux brush
- Needle nose pliers
- Fume extractor
- Safety glasses
- Wet sponge
- Tip cleaner
Materials
- 60/40 solder
- 50/50 solder
- Lead-free solder
- Gel flux
- Copper foil tape
- Sal ammoniac block
- Jump rings
- Nitrile gloves
Steps
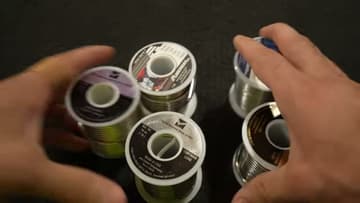
1. Pick Your Solder
Solder is an alloy with a low melting point, and the ratio on the label changes how it behaves. 60/40 is the copper foil default.
Tip: Getting lead poisoning from handling solder is difficult but not impossible. Wash your hands before eating and do not eat at the bench.
2. Choose a Soldering Iron
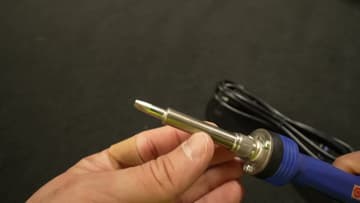
The Hakko FX-601 is the copper foil pick because the temperature control sits on the handle. That matters more than it sounds: a foil run and an edge bead want different heat, and so do different solder alloys.
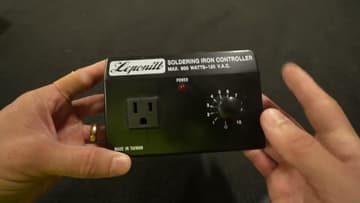
3. Add a Rheostat if Your Iron Has No Temperature Control
If your iron runs at one fixed temperature, you are not stuck. A rheostat - sold as a soldering iron controller - sits between the wall and the iron and dials the power down.
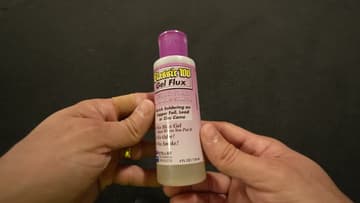
4. Get Your Flux and Safety Kit Ready
Flux is not optional. Solder will not wet bare copper foil without it - it beads up and rolls off instead of bonding.
Tip: Keep the flux in a small container with its own brush rather than dipping into the main jar. It stays clean and you waste less.
5. Keep the Tip Clean and Tinned
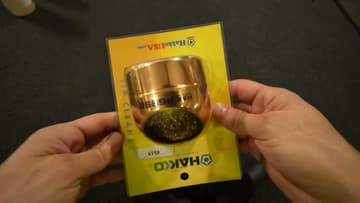
Your tip will get gunked up. That is normal, and a dirty tip is the reason a lot of beginners think their iron is faulty - oxidised tips stop transferring heat.
6. Flux the Copper Foil
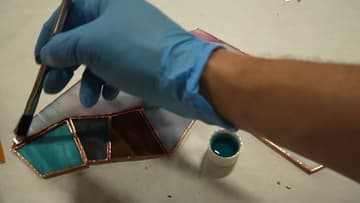
Brush flux along every foil line you are about to solder. On a small piece you can flux the whole thing at once and work through it.
7. Tack the Panel Together
Before running full beads, drop a small blob of solder at the joints to lock the pieces in position. Tacking first means nothing shifts while you are working, and it lets you check the layout one last time.
Tip: Work from a pattern with layout forms around the edge. It holds everything square while you tack.
8. Run the Bead
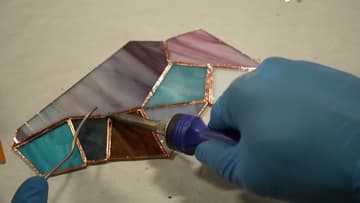
Feed solder onto the fluxed foil and move joint to joint rather than trying to run the whole length in one pass. A good bead is smooth and rounded, high in the middle and tapering into the glass on both sides.
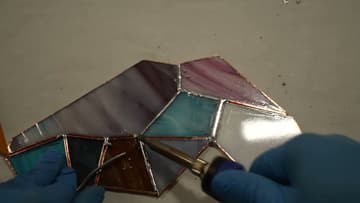
9. Tin the Perimeter and Run the Edge Bead
The outside edge needs tinning on both faces before you can bead it, otherwise the edge bead has nothing to hold on to. Textured glass takes a little more solder along the edge, because the texture lifts the foil off the surface and there is more gap to fill.
Tip: Stand the panel on edge and work along it. Trying to edge bead a flat panel means fighting gravity the whole way.
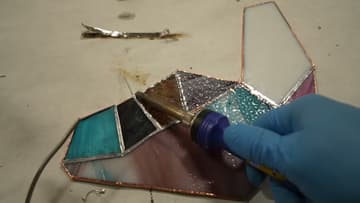
10. Attach the Jump Ring and Finish the Sides
Solder jump rings onto a joint, never into the middle of a foil run. A ring in the middle of a run will eventually pull away and drop the panel on the floor.