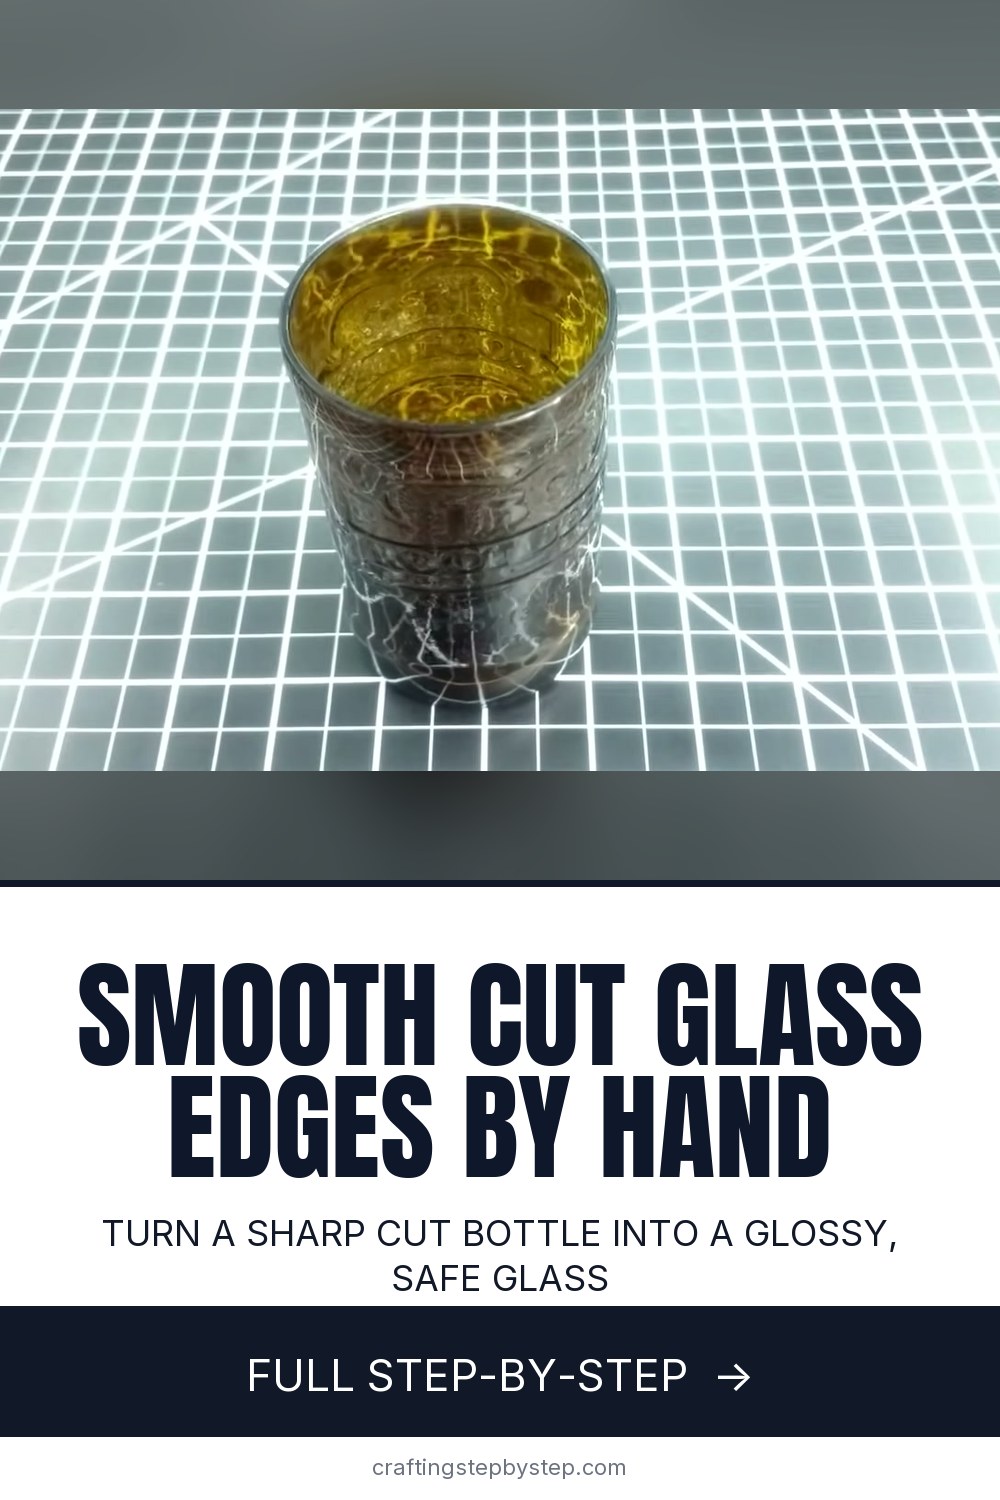
How to Smooth Cut Glass Edges by Hand With Wet Sandpaper

The finished result: How to Smooth Cut Glass Edges by Hand With Wet Sandpaper
  • Difficulty: Easy
  • About 30 minutes
  • 8 steps

You tapped Save

Save this project for later

We'll email you a link, no password.

How to Smooth Cut Glass Edges by Hand With Wet Sandpaper

  • Your saved projects in one list
  • Your ticked steps on any device

Check your inbox for an email from us. Not there? Look in your spam folder.

Print

Steps written out by Crafting Step by Step from How Do You? DIY's video (opens YouTube) (4:08). Published .

A freshly cut bottle or jar has a rim that can slice a finger. Sanding it smooth turns it into a drinking glass, a candle holder or a planter you can handle without worry. The How Do You? DIY channel shows the whole job by hand with wet/dry sandpaper and a tub of water. No power tools. It takes about half an hour and the rim ends up glossy.

How to smooth cut glass edges: what you need

  • Wet/dry sandpaper in several grits. 80 grit to level the cut, then 150, 220, 320, 400, 1000 and 2000 to polish. A mixed pack covers it.
  • A tub of water. The paper must stay wet the whole time.
  • Safety glasses and a dust mask. Glass dust is the real hazard here.
  • Paper towels for wiping the rim and the table.

Why wet sanding matters

Dry sanding glass throws fine dust into the air, and that dust is bad to breathe. Water traps it as a gray slurry you can wipe away. It also keeps the paper from clogging, so each sheet cuts faster and lasts longer. Keep a tub beside you and dip the paper often. If the paper feels dry or squeaks, add water.

Sanding vs polishing

The coarse 80 grit stage does most of the work. It levels the uneven cut and takes off the sharp inner and outer edges. Every grit after that only removes the scratches left by the one before. That is why the polishing stages go much faster. Stop at 400 grit for a soft frosted rim, or carry on to 2000 for a clear, shiny one.

GritJobRough time
80Level the cut, remove sharp edges10 to 15 min
150 to 400Remove scratches, frosted finish1 to 2 min each
1000 to 2000Polish to a gloss1 to 2 min each

Keeping the rim even

Turn the bottle a quarter turn every so often while you sand. Held in one position, your hand presses harder on one side and the rim comes out lopsided. Draw a few marker lines on the glass if it helps you track the turns. Press down firmly but steadily. Pressing harder does not speed things up much and makes chips more likely.

Troubleshooting

  • A small chip in the rim. Stay on 80 grit until the chip is sanded below the new flat line, then carry on.
  • The rim stays cloudy. You moved up a grit too soon. Go back one grit for another minute.
  • A crack running down from the cut. Stop. The glass will not hold, so recycle it and cut a new bottle.

Ideas for your smoothed glass

Beer and wine bottles become tumblers, vases and votive holders. A cut jar makes a tea light lantern. Smoothed bottle bottoms work as small dishes for rings or succulents. A set of matching tumblers from the same brand of bottle makes a thoughtful handmade gift.

Related glass projects

Need a cut to start with? Follow how to cut a glass bottle. For flat sheet glass, see how to use a glass cutter and how to grind stained glass. Once your tumblers are smooth, etching glass adds a frosted design.

Free printable

Print the steps and supply list for this project

One page you can take to the table. Free with a free account, no password.

Get the free printable

What you'll need

Free, for this project

Get this checklist by email

  • All 6 tools and materials, with tick boxes
  • A link to print all 8 steps on paper, to keep by you while you craft

No password. The whole tutorial stays free on this page.

Quick answer

How to smooth cut glass edges on a bottle or jar with wet/dry sandpaper: level the rim at 80 grit, then polish up to 2000 for a safe, glossy edge. An easy project: about 30 minutes. Materials cost about $2 to $5. You need 6 things, including cut glass bottle or jar, safety glasses and dust mask. The 8 steps start with check the Sharp Rim of the Cut Glass Bottle and wet the 80 Grit Sandpaper for Smoothing Cut Glass.

Step-by-step guide

8 steps, about 4 minutes. Tap a picture to jump to that step. Your progress saves automatically.

Tick each step off as you go.

  1. Step 1: Check the Sharp Rim of the Cut Glass Bottle

    Watch this step · 0:38

    Look closely at the cut. A freshly separated bottle never has a flat top. The rim dips and rises, and both the inner and outer edges are sharp enough to cut skin. Handle it by the body, not the rim. Put on safety glasses and a dust mask now. Sanding glass makes fine dust, even when you keep everything wet.

    Tip:

    Planning more than one cut on a bottle? Score all the lines first, then cut, sand and polish one before making the next.

    Back to all steps

  2. Step 2: Wet the 80 Grit Sandpaper for Smoothing Cut Glass

    Watch this step · 0:48

    Lay a sheet of 80 grit wet/dry sandpaper flat on your work surface, grit side up. Pour or splash plenty of water over it. The paper should stay wet through the whole sanding stage, so keep a tub of water within reach. Water holds the glass dust down as a paste and stops it from floating into the air.

    Tip:

    Regular sandpaper falls apart when wet. The back of the sheet must say wet/dry or waterproof.

    Back to all steps

  3. Step 3: Sand the Cut Glass Rim Flat in Small Circles

    Watch this step · 0:56

    Turn the bottle upside down and set the cut rim on the wet paper. Hold the sheet still with one hand. With the other, press down and move the bottle in small circles. Give it a quarter turn every so often so the pressure spreads evenly. Holding it one way the whole time wears one side down faster and leaves the rim lopsided.

    Tip:

    Draw a few marker lines down the bottle so you can see how far you have turned it.

    Back to all steps

  4. Step 4: Wipe the Glass Rim to Check the Sanding Progress

    Watch this step · 1:55

    Every few minutes, lift the bottle and wipe the rim dry with a paper towel. The sanded parts look frosted and flat. Any shiny spots or dips are still low and need more time on the paper. Keep sanding and checking until the frosted band runs all the way around the rim in an even ring. This stage takes the longest.

    Tip:

    Hold the rim against the light. Gaps between the rim and a flat surface show the low spots.

    Back to all steps

  5. Step 5: Sand the Inner and Outer Edges of the Cut Glass

    Watch this step · 2:10

    Once the top is flat, round off the corners. Wrap a wet piece of the 80 grit paper over the rim and rub it along the outer edge, turning the bottle as you go. Then work the inner edge the same way. Go slowly here, since your fingers are close to the glass. Stop when no part of the rim feels sharp.

    Tip:

    Fold the paper over a finger for the inside edge. It reaches farther into narrow necks.

    Back to all steps

  6. Step 6: Clean the Glass Grit Off the Table Before Polishing

    Watch this step · 2:32

    The first stage leaves a gray slurry of glass and sandpaper grit on the table. Wipe it all up with a damp paper towel before you move on. Loose coarse grit under a finer sheet will scratch the rim again and undo your work. Rinse the bottle too. Then lay down a sheet of 150 grit paper and wet it.

    Tip:

    Wipe the slurry with a damp towel and throw the towel away. Do not rinse glass grit down the sink.

    Back to all steps

  7. Step 7: Work the Glass Edge Through 150 to 400 Grit

    Watch this step · 3:20

    Each polishing stage follows the same pattern. Sand the flat rim in circles for a minute or two, then sand the inner and outer edges. Wipe the rim dry and look at it. Move up to 220, then 320, then 400 grit. Every stage removes the scratches from the last one, so the rim gets smoother and less cloudy each time.

    Tip:

    Stop at 400 grit if you like a soft frosted rim. It feels smooth on the lips already.

    Back to all steps

  8. Step 8: Polish the Cut Glass Edge With 1000 and 2000 Grit

    Watch this step · 3:55

    For a glossy finish, keep going with 1000 grit wet/dry paper, then 2000. Use the same routine: rim first, then the edges, plenty of water. The 1000 grit makes the biggest jump in shine. The 2000 grit adds a little more polish on top. Rinse and dry the bottle, and it is safe to drink from.

    Tip:

    Wash the finished glass in warm soapy water to clear any fine grit left inside.

    Back to all steps

How to Weave on a Lap Loom: A Beginner Landscape Tapestry

Keep going

How to Weave on a Lap Loom: A Beginner Landscape Tapestry

Keep going with crafts

More on this topic, picked for this project.

You reached the last step

Save this project to come back to it

Your ticked steps, the free printable and your other saved makes, together in My Projects. Free, no password.

You tapped Save

Save this project for later

We'll email you a link, no password.

How to Smooth Cut Glass Edges by Hand With Wet Sandpaper

  • Your saved projects in one list
  • Your ticked steps on any device

Check your inbox for an email from us. Not there? Look in your spam folder.

Free printable

Printable sheet for this project

The bonus is hidden until you sign up.

Free with a free account, no password. Every step above stays open to everyone.

Products Used

The Checklist

How to Smooth Cut Glass Edges by Hand With Wet Sandpaper

Tools
4
Materials
2
Steps
8
Video
4 min

Tools we recommend

As an Amazon Associate we earn from qualifying purchases. Links on this page may be affiliate links - clicking them and buying doesn't change your price, but helps support Crafting Step by Step.

Tags

The Crafter's Weekly

New crafts tutorials, every Sunday

One short email with the week's best step-by-step guides. Free, no spam, unsubscribe anytime.

Did this work for you?

What's next

Related collections

Curated theme pages that include this tutorial.

Similar tutorials

Hand-picked next reads based on the one you just finished.

Liked this crafts tutorial?

Pick the crafts you want to hear about. One email every Sunday with new step-by-step tutorials. No spam, easy to unsubscribe.

Get more like this in your inbox

Weekly digest. Pick the categories you want. Unsubscribe anytime.

Send me tutorials about

We only email about new tutorials. Easy unsubscribe anytime.