How to Smooth Cut Glass Edges by Hand With Wet Sandpaper
Source: How Do You? DIY • Full tutorial: www.craftingstepbystep.com/crafts/how-to-smooth-cut-glass-edges
- Difficulty
- Easy
- Hands-on time
- About 30 minutes
- Cost
- About $2 to $5
- Makes
- 1 smoothed glass

Tools
- safety glasses
- dust mask
- tub of water
- paper towels
Materials
- wet/dry sandpaper, 80 to 2000 grit
- cut glass bottle or jar
Steps
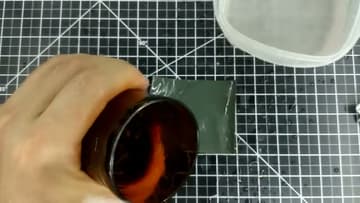
1. Check the Sharp Rim of the Cut Glass Bottle
Look closely at the cut. A freshly separated bottle never has a flat top.
Tip: Planning more than one cut on a bottle? Score all the lines first, then cut, sand and polish one before making the next.
2. Wet the 80 Grit Sandpaper for Smoothing Cut Glass
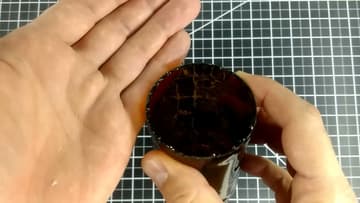
Lay a sheet of 80 grit wet/dry sandpaper flat on your work surface, grit side up. Pour or splash plenty of water over it.
Tip: Regular sandpaper falls apart when wet. The back of the sheet must say wet/dry or waterproof.
3. Sand the Cut Glass Rim Flat in Small Circles
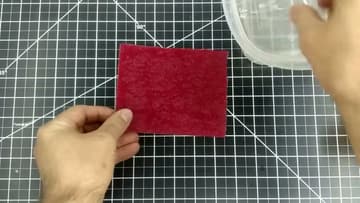
Turn the bottle upside down and set the cut rim on the wet paper. Hold the sheet still with one hand.
Tip: Draw a few marker lines down the bottle so you can see how far you have turned it.
4. Wipe the Glass Rim to Check the Sanding Progress
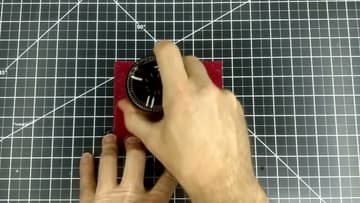
Every few minutes, lift the bottle and wipe the rim dry with a paper towel. The sanded parts look frosted and flat.
Tip: Hold the rim against the light. Gaps between the rim and a flat surface show the low spots.
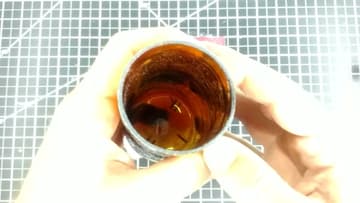
5. Sand the Inner and Outer Edges of the Cut Glass
Once the top is flat, round off the corners. Wrap a wet piece of the 80 grit paper over the rim and rub it along the outer edge, turning the bottle as you go.
Tip: Fold the paper over a finger for the inside edge. It reaches farther into narrow necks.
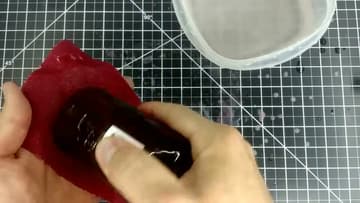
6. Clean the Glass Grit Off the Table Before Polishing
The first stage leaves a gray slurry of glass and sandpaper grit on the table. Wipe it all up with a damp paper towel before you move on.
Tip: Wipe the slurry with a damp towel and throw the towel away. Do not rinse glass grit down the sink.
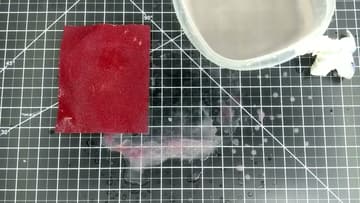
7. Work the Glass Edge Through 150 to 400 Grit
Each polishing stage follows the same pattern. Sand the flat rim in circles for a minute or two, then sand the inner and outer edges.
Tip: Stop at 400 grit if you like a soft frosted rim. It feels smooth on the lips already.
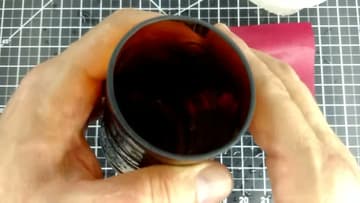
8. Polish the Cut Glass Edge With 1000 and 2000 Grit
For a glossy finish, keep going with 1000 grit wet/dry paper, then 2000. Use the same routine: rim first, then the edges, plenty of water.
Tip: Wash the finished glass in warm soapy water to clear any fine grit left inside.