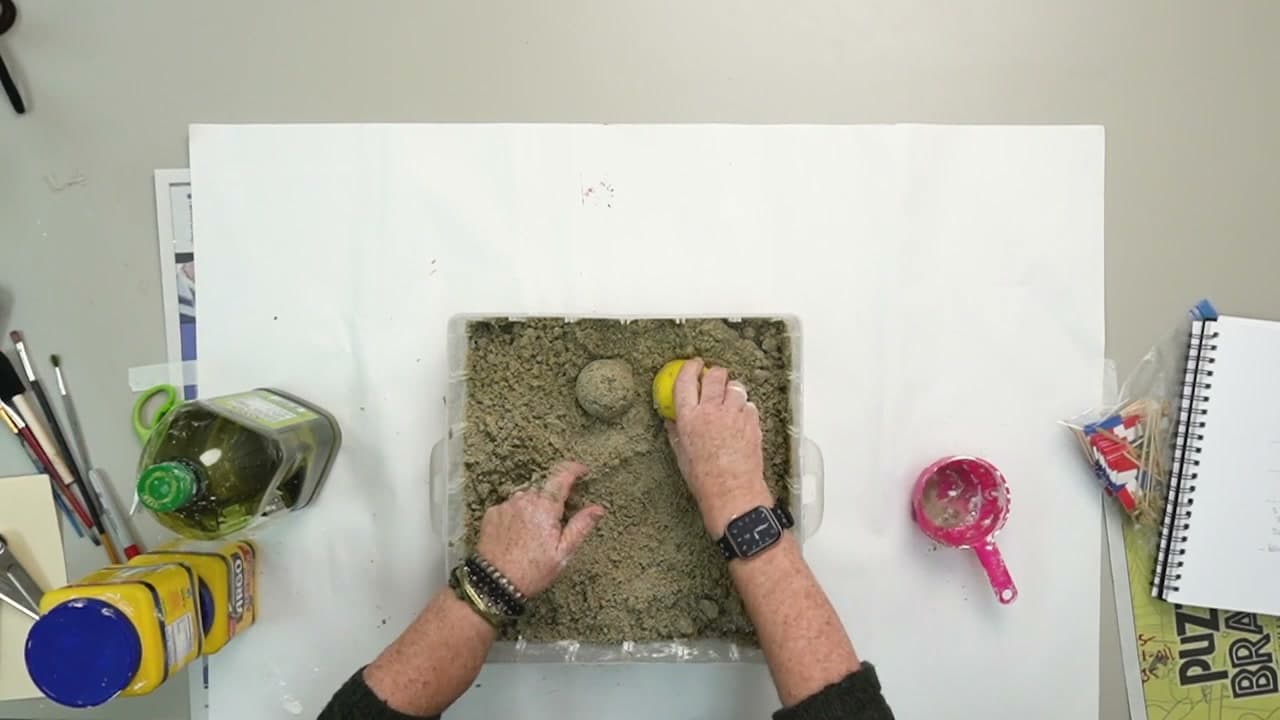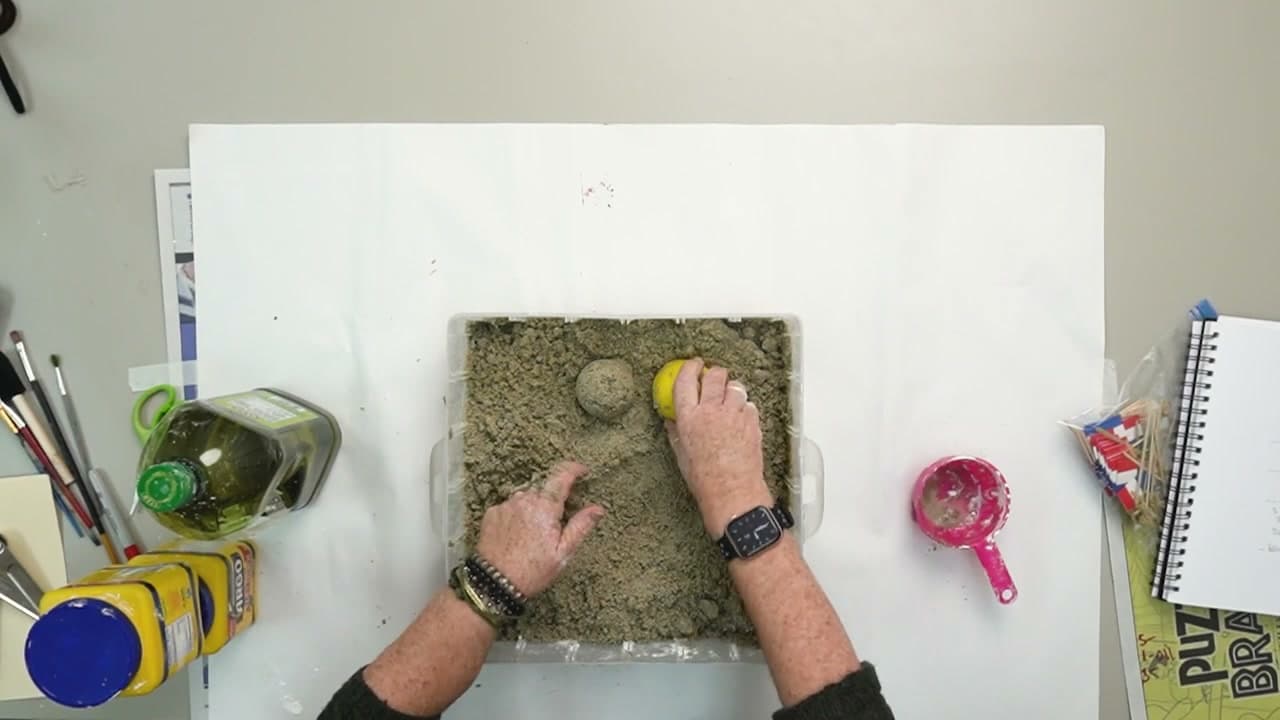
How to Make Kinetic Sand

CraftsEasy6:558 stepsPart of DIY Crafts for BeginnersBrowse more →
The finished result: How to Make Kinetic Sand
Also in:Other Crafts

By CraftingStepByStepPublished

Based on a video by Alameda Arts.

Kinetic sand out of a tub costs a startling amount for how little you get. This version costs about the price of a bag of play sand and a box of cornstarch, and it does the same things: it flows, it clumps, and it holds a shape when you press it.

Miss Kate of Alameda Arts mixes a whole bin of it on camera using three ingredients and no slime starter, no borax and no glue. Five cups of play sand, three cups of cornstarch, one cup of oil. Most of the ten minutes is your hands in the bin, which is half the fun of it.

It is a good rainy day project and it is messy in the way kids like, so set up outdoors or on a drop cloth. For more of the same sort of thing, there is slime and playdough, or salt dough ornaments if you want something that dries hard and keeps.

What you'll need

Step-by-Step Guide

8 steps · about 7 minutes.Check off each step as you go and your progress saves automatically.

1

Scoop Five Cups of Play Sand into a Bin

1:38
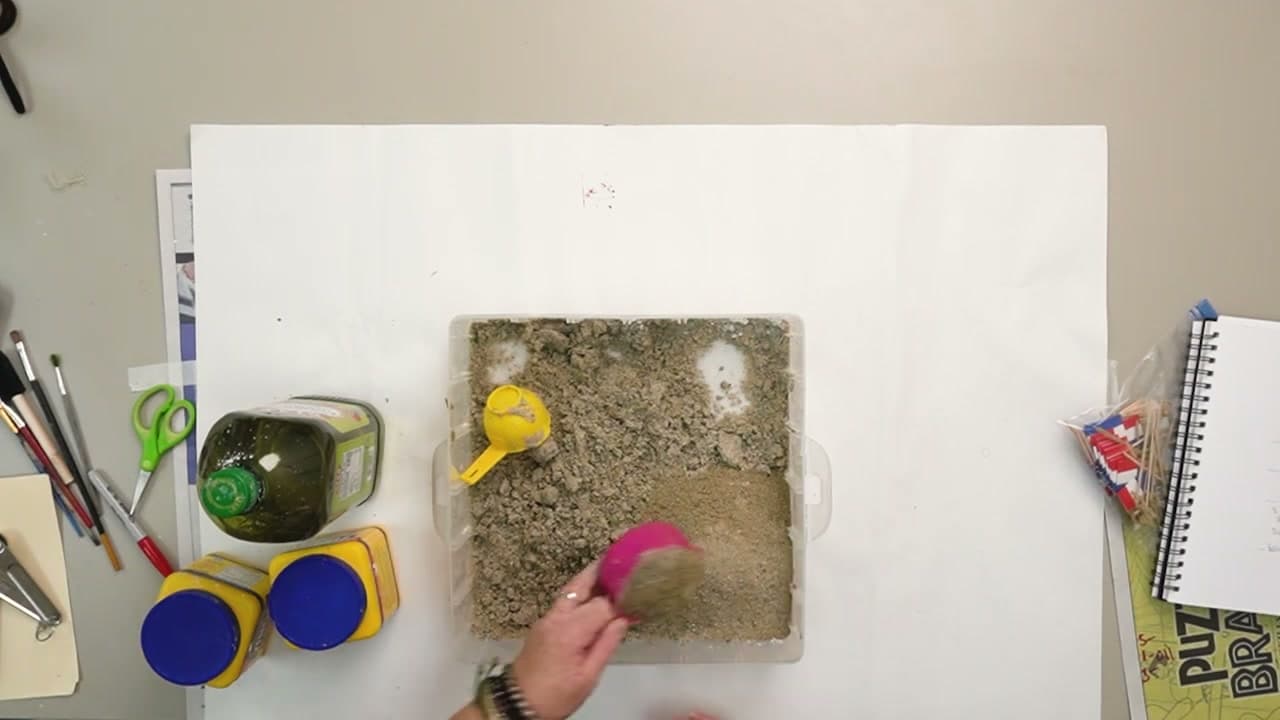
Step 1: Scoop Five Cups of Play Sand into a Bin - How to Make Kinetic Sand

Set a wide plastic bin on a drop cloth or take the whole job outside. Scoop five level cups of dry play sand into it with a one cup measure, counting out loud as you go so you do not lose your place. Level the top of each cup off with your finger.

Play sand from the hardware store is the right kind. It is washed and sifted for sandboxes, so it pours clean and does not carry the grit and shell fragments you get from a beach.

Tip

A bin wider than it is deep makes the mixing far easier. Anything around the size of an under-bed storage box gives your hands room to work.
2

Add Three Cups of Cornstarch to the Sand

1:53
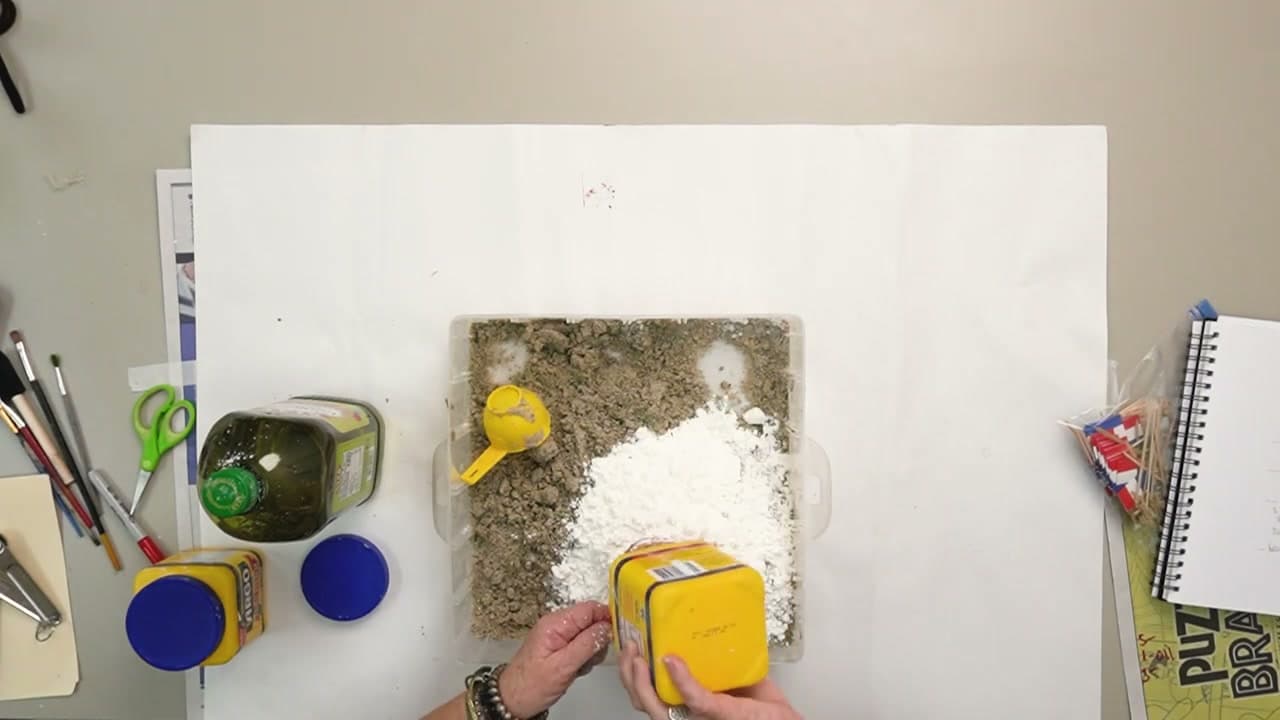
Step 2: Add Three Cups of Cornstarch to the Sand - How to Make Kinetic Sand

Measure three cups of cornstarch and tip them straight onto the sand in one pile in the middle. Keeping it in a heap rather than scattering it lets you see at a glance how much has gone in.

Cornstarch is what turns loose grains into sand that sticks to itself, so the five to three ratio is worth getting right. Scrape the measure level each time. A cup packed down heavy throws the whole batch off.

Tip

Cornstarch goes by cornflour in the UK and Australia. Same product, same box, different name on the label.

Used in this stepcornstarch
3

Mix the Play Sand and Cornstarch Together

2:25
Step 3: Mix the Play Sand and Cornstarch Together - How to Make Kinetic Sand

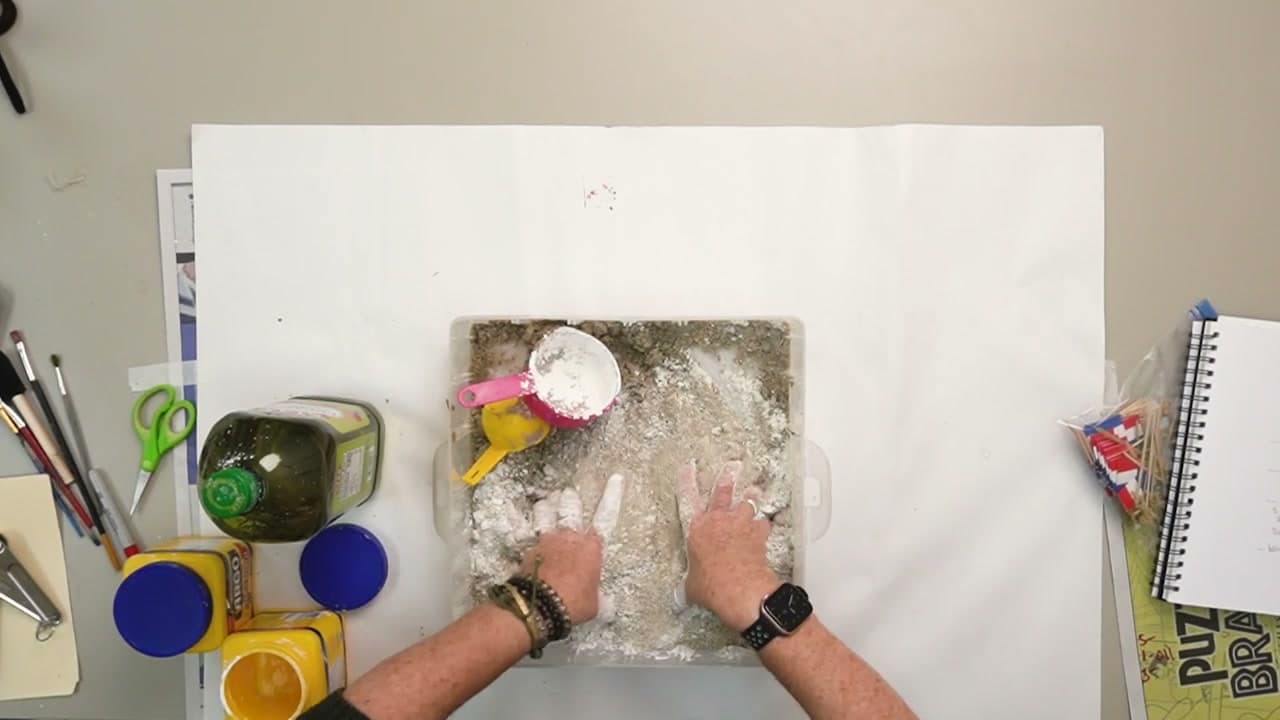
Put both hands in and turn the two together. Rake your fingers along the bottom of the bin and lift, rather than stirring across the surface, because the cornstarch sinks and hides down there.

Keep going until the white streaks are gone and the whole bin reads as one even grey. Then push the mix out toward the sides to leave a shallow well in the middle, the way you would for bread dough.

Tip

Gloves are fine if you would rather not get coated. The creator goes bare handed, and the cornstarch brushes straight off dry skin.

Used in this stepdisposable gloves
4

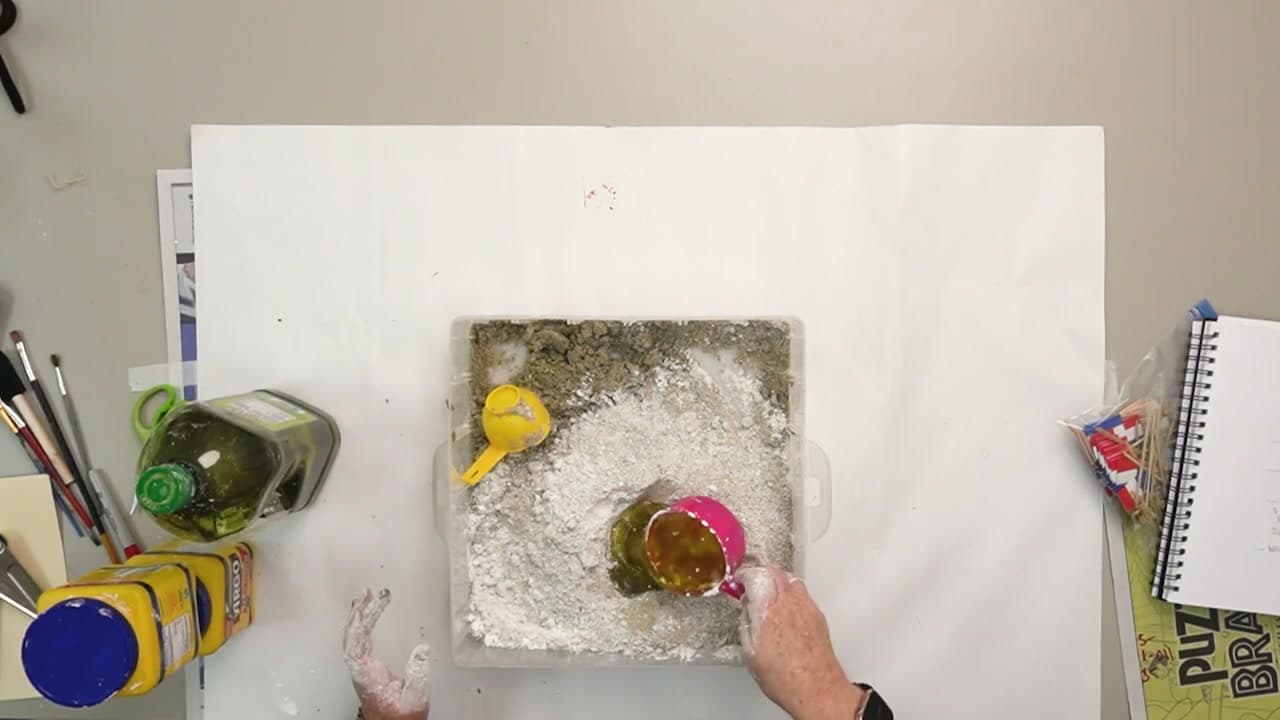
Pour One Cup of Oil into a Well in the Middle

3:03
Step 4: Pour One Cup of Oil into a Well in the Middle - How to Make Kinetic Sand

Fill a one cup measure with cooking oil and pour it into the well. Olive, vegetable, canola, whatever is open in the cupboard. The oil is doing a mechanical job, not a chemical one, so the type does not change the result.

Pouring into the well instead of across the top keeps the oil in one pool. That matters more than it sounds, because chasing a spreading slick of oil around a wide bin is the fiddly part of this whole thing.

Tip

Measure the oil over the sink or over the bin. A cup of oil tipped onto a table is a worse mess than the sand ever makes.

5

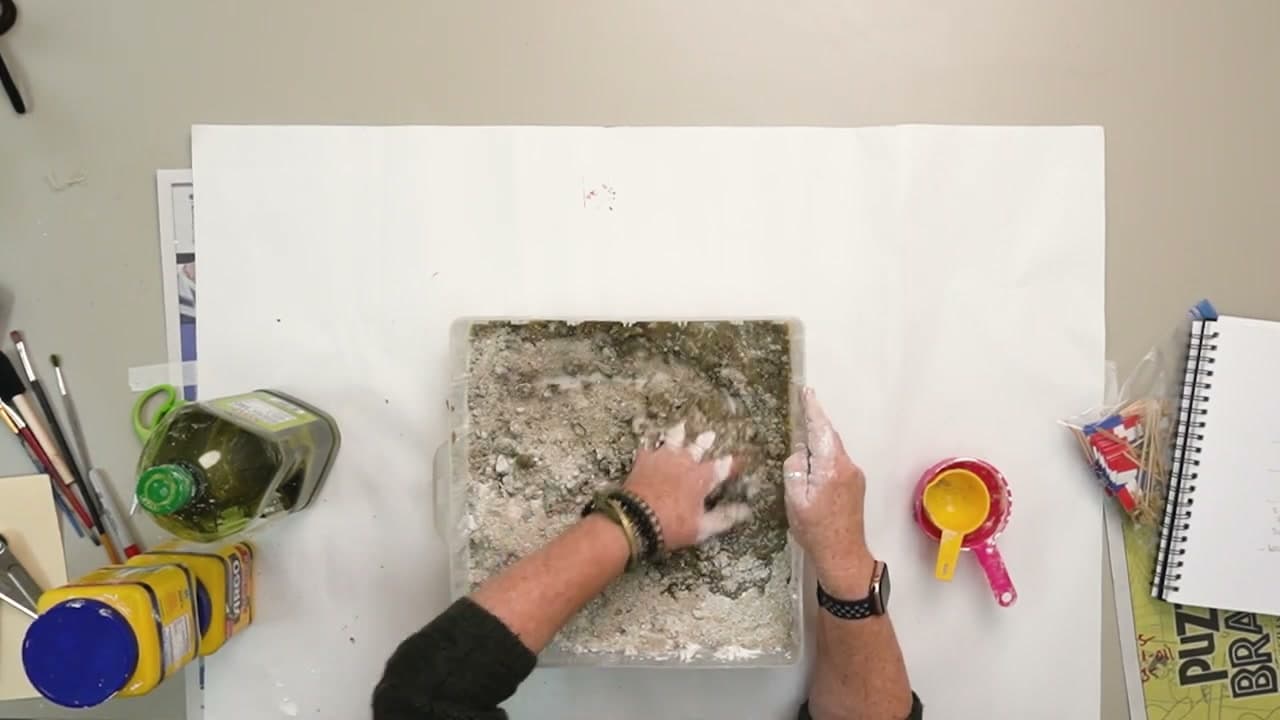
Rub the Oil Through the Sand with Your Hands

3:37
Step 5: Rub the Oil Through the Sand with Your Hands - How to Make Kinetic Sand

Pull the dry mix in over the oil and start rubbing handfuls between your palms. For the first minute it looks wrong, wet in one place and powdery an inch away, and that is exactly what it should look like.

Hunt down the shiny patches and bury them under dry sand from the edges. Squeeze, release, squeeze again. Every squeeze pushes oil into grains that have not been coated yet.

Tip

Do this over a drop cloth or outdoors. Sand and oil together get into carpet in a way neither one does on its own.

Used in this stepplastic drop cloth
6

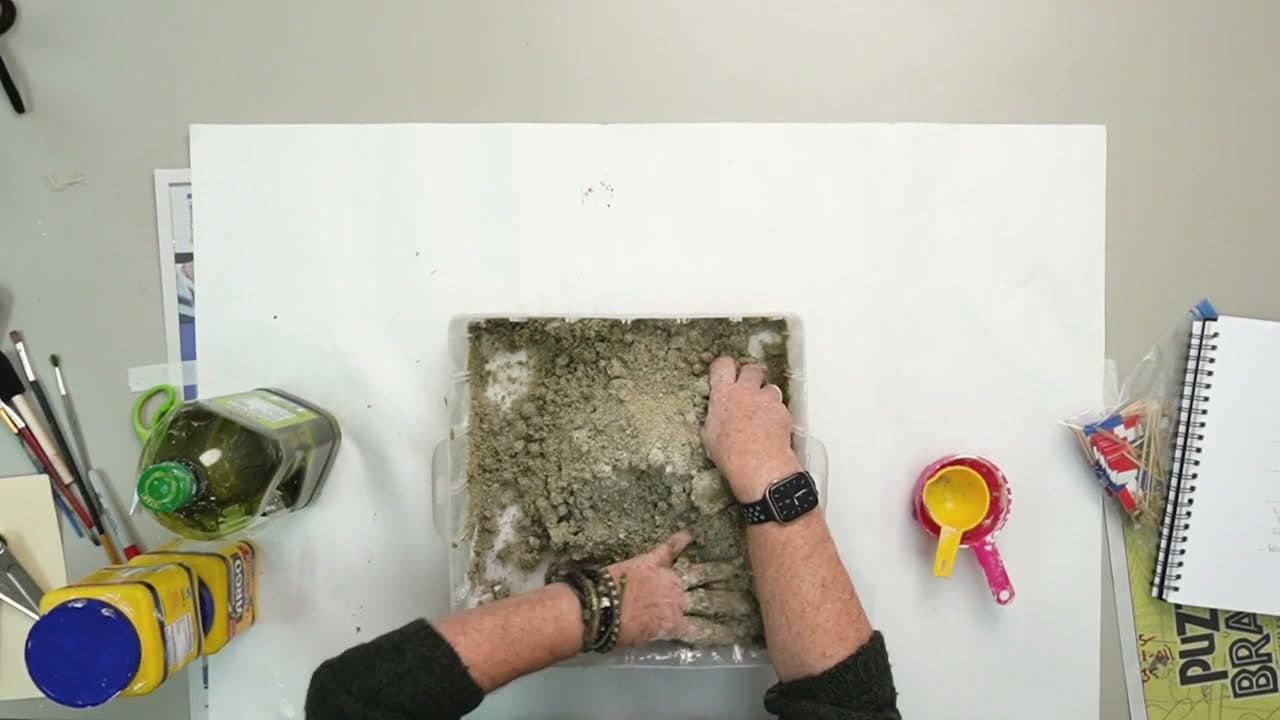
Keep Mixing Until No Dry Cornstarch Is Left

5:05
Step 6: Keep Mixing Until No Dry Cornstarch Is Left - How to Make Kinetic Sand

Work the whole bin, corner to corner. Lift from underneath and let the mix fall back through your fingers so you can see what is in there. Pale crumbs that puff into dust are cornstarch that never met the oil.

Fold those dry pockets toward the damper sand rather than reaching for the oil bottle. There is enough oil in the bin already. It has not travelled yet.

Tip

Give it a good five minutes of honest mixing. Most batches that come out wrong were stopped too early, not measured wrong.

Used in this stepdisposable gloves
7

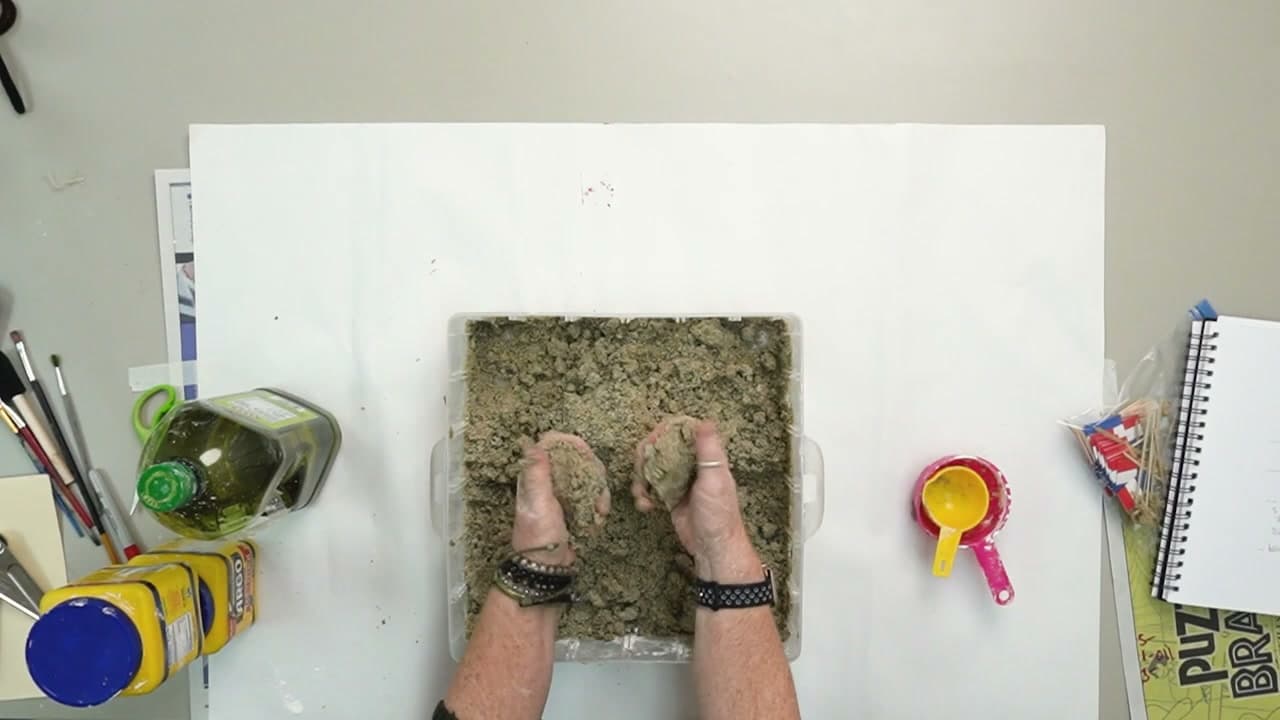
Press the Kinetic Sand Flat to Check It Packs

5:45
Step 7: Press the Kinetic Sand Flat to Check It Packs - How to Make Kinetic Sand

Flatten the surface with your palms and lean on it. Finished kinetic sand takes the print of your hand and keeps a clean edge, and a fistful squeezed and opened stays in one lump instead of falling apart.

Crumbly means it needs more mixing, so put your hands back in for another minute. Greasy or slick means work in a few spoonfuls of cornstarch, a little at a time, until it stops shining.

Tip

The mix keeps for months in a lidded bin. If it dries out over the winter, a teaspoon of oil worked through brings it back.

Used in this stepcornstarch
8

Press a Cup into the Kinetic Sand to Mold a Dome

6:07
Step 8: Press a Cup into the Kinetic Sand to Mold a Dome - How to Make Kinetic Sand

Push an upturned cup or a sand mold down into the packed surface, give it a small twist, then lift it straight up. A dome should stand there on its own. Build three or four in a row across the bin.

Then slice them apart with the edge of your hand and watch the sand fall in that slow, heavy way. Squash it all flat and do it again. Spoons, cookie cutters and beach molds all work.

Tip

Kids will play with this longer than they play with the store bought version, because there is enough of it to build with.

Used in this stepsand moldssand toy set

Keep going

How to Draw a Fox - Realistic Pencil Sketch in 8 Steps

Products Used

The Checklist

How to Make Kinetic Sand

Tools
6
Materials
3
Steps
8
Video
7 min

Tools we recommend

Your Guide

Alameda Arts

As an Amazon Associate we earn from qualifying purchases. Links on this page may be affiliate links - clicking them and buying doesn't change your price, but helps support CraftingStepByStep.

Tags

Sunday How-To

New crafts tutorials, every Sunday

One short email with the week's best step-by-step guides. Free, no spam, unsubscribe anytime.

Did this work for you?

What's next

Related collections

Curated theme pages that include this tutorial.

Weekly Digest

Liked this crafts tutorial?

Pick the categories you want to hear about. Weekly digest of new step-by-step tutorials. No spam, easy unsubscribe.

Send me tutorials about

We only email about new tutorials. Easy unsubscribe anytime.