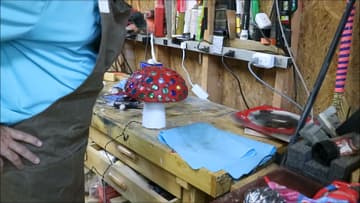
How to Make Concrete Mushrooms for the Garden
Source: ChrisGagnon DIY • Full tutorial: www.craftingstepbystep.com/crafts/how-to-make-concrete-mushrooms
- Difficulty
- Medium
- Hands-on time
- About 1 hour 30 minutes
- Wait time
- 24 hours
- Cost
- About $20 to $35
- Makes
- 1 concrete mushroom

Tools
- Mixing bucket
- Margin trowel
- Cordless drill
- Masonry drill bit
- Plastic bowls for moulds
- Styrofoam cups
- Nitrile gloves
- Safety glasses
- Sponge
Materials
- Sand topping mix
- Flat glass gems
- PVC pipe offcut
- Cooking oil or wax
- Exterior spray paint
- Lacquer thinner
- Solar LED lights
- Concrete sealer
Steps
1. Gather the Moulds, Gems and Mix
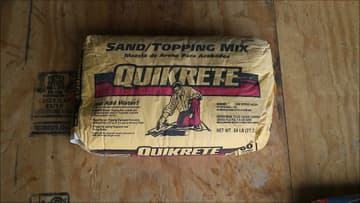
The shopping list is short. A few plastic bowls in graduating sizes from a dollar store, a bag of flat glass gems, and sand topping mix.
2. Mix the Concrete Stiff
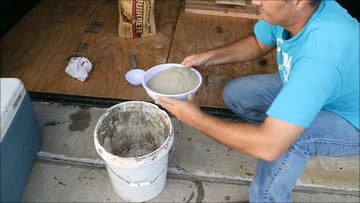
Mix it stiffer than feels right. Somewhere around thick oatmeal.
Tip: Mix a full batch for the cap in one go. A second batch mixed to a slightly different consistency shows as a colour difference in the finished piece.
3. Fill the Bowl Mould
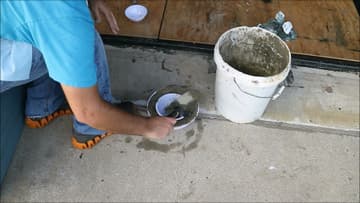
Trowel the mix into the largest bowl right up to the rim. Then press the smaller bowl down into the middle.
4. Release the Cap
Once it has cured, work the plastic bowl off. Tap around the outside and it should let go - the inside of a plastic bowl is smooth enough that concrete does not grip it hard.
Tip: If a bowl really will not release, it is cheap enough to cut. Do not lever against the concrete edge and chip the cap.
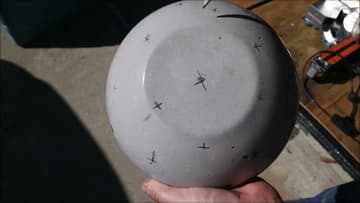
5. Drill the Gem Holes
Mark where you want the gems and drill each spot with a masonry bit. A hammer drill and a masonry bit make short work of it.
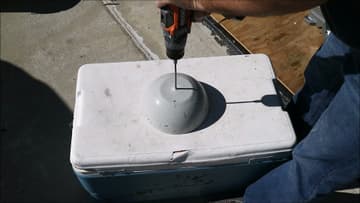
6. Set the Glass Gems
Press a glass gem into each drilled hole, flat face out. Use two sizes if you have them and scatter them rather than laying out a grid.
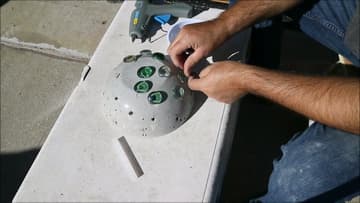
7. Skim a Second Coat Over the Cap
Mix a small second batch and smear it across the whole cap, working it around every gem. This fills the gaps at the edge of each hole and locks the gems in.
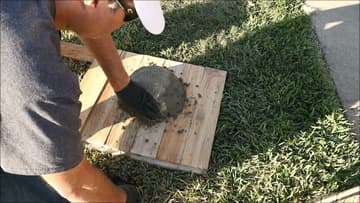
8. Cast the Stem
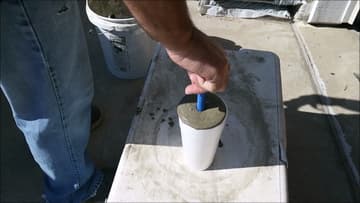
The stem is a styrofoam cup filled with concrete around a short piece of pipe. The pipe makes a channel through the middle, which is how the solar light wires get from the cap down and out of sight.
Tip: Push the pipe in before the concrete stiffens and check it is vertical from two directions. A leaning channel makes the cap sit crooked.
9. Paint It
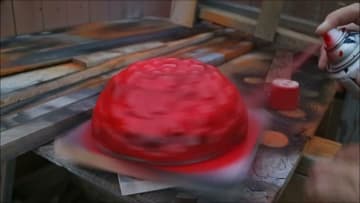
White base coat first, then the colour. Concrete is grey and drinks pigment, so a colour sprayed straight onto bare concrete comes out muddy.
10. Clean the Gems and Fit the Lights
Wipe the overspray off each gem with lacquer thinner. A sponge with a scouring pad on one side is the fast way - the sponge holds the thinner and the rough side lifts the paint.
Tip: Seal the concrete before it goes outside for a winter. Unsealed concrete takes on water, and water that freezes inside a cast piece cracks it.