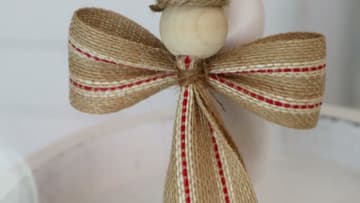
How to Make Christmas Ornaments
Source: The Cozy Christmas Cottage • Full tutorial: www.craftingstepbystep.com/crafts/how-to-make-christmas-ornaments
- Difficulty
- Easy
- Hands-on time
- About 1 hour 30 minutes
- Wait time
- 30 minutes
- Cost
- About $10 to $20
- Makes
- a set of 4 ornaments, a wreath, a drop, a snowman and an angel

Tools
- Hot glue gun
- Craft scissors
- Wire cutters
- Large eye craft needle
- Foam brush
- Tassel maker
Materials
- Unfinished wood beads assorted sizes
- 1 inch wood beads
- 1.5 inch wood beads
- Jute twine
- Floral wire
- Chunky yarn
- Wired burlap ribbon
- Gingham ribbon
- White craft paint
- Black permanent marker
- Orange permanent marker
- Glue sticks
Steps
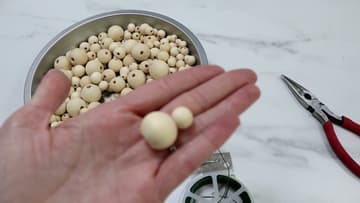
1. Buy Wood Beads in Three Sizes
All five ornaments are built from plain unfinished wood beads. Buying a mix of sizes is what makes them look like a set instead of five unrelated things.
Tip: Check the hole size before buying. Some craft beads have holes too narrow for jute, which is what most of these ornaments hang from.
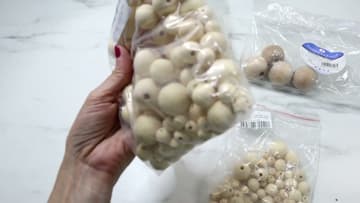
2. Tip the Beads Into a Shallow Pan
Before anything else, empty the bags into a pie tin or a baking tray. This sounds like a fussy extra step.
Tip: Sort roughly by size as you tip them in. You will be reaching for a specific size over and over.
3. Thread the Wreath Onto Floral Wire
Cut a length of floral wire and start threading beads on in a repeating pattern - one medium, one small, one medium, one small. Silver wire disappears better than green, but either works, because the beads cover almost all of it.
Tip: Leave two or three inches of bare wire at each end. That is what you twist together, and it is very easy to leave yourself too little.
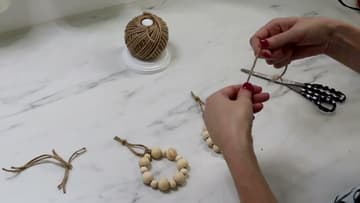
4. Close the Ring and Tie a Jute Bow
Bend the beaded strand into a circle, twist the two wire ends together two or three turns, and snip off the excess. Push the twist round so it sits behind a bead rather than out in the open.
Tip: Tie the bow before you trim the jute tails. It is much easier to even them up once the knot is set.
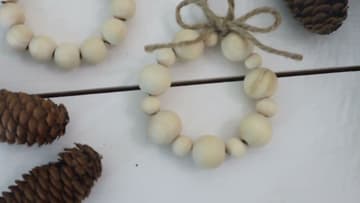
5. String a Drop Ornament on Jute
The drop is the same idea in a straight line, and it is the fastest of the five. Thread a length of jute onto a large-eye needle and string beads down it.
Tip: A dab of glue on the bottom knot stops it working loose after a few seasons in a storage box.
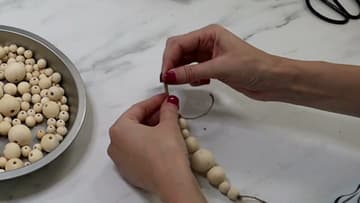
6. Wrap Yarn Around a Tassel Maker
Wrap yarn around a tassel maker about 30 times. A stiff piece of cardboard cut to the length you want does exactly the same job, so do not buy a tool for this unless you want one.
Tip: Count your wraps on the first one and write the number down. It is the only way to get a matching set.
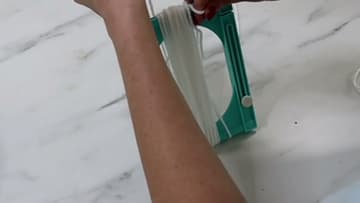
7. Tie the Top, Tie the Neck, Cut the Bottom
Pull the length you laid in the groove tight around the whole bundle and knot it, then slide the bundle off the frame. Cut a second piece of yarn and wrap it around the tassel about an inch below the top, tying it off to form the neck.
Tip: Hang the tassel up and let it settle for a minute before the final trim. The strands drop unevenly and cutting them flat while pinched gives a crooked hem.
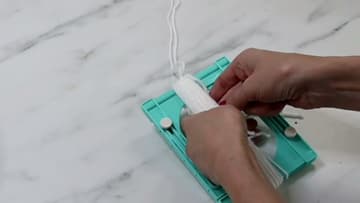
8. Add Beads to the Hanger, Then Paint
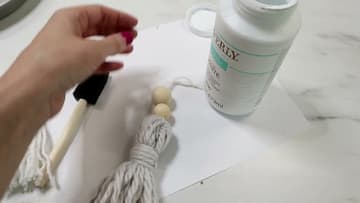
Thread two or three wood beads onto the tassel's hanging cord with the needle so they sit just above the neck. This small move is what pulls the whole set together.
Tip: Paint the beads before threading them, not after. Paint on the cord stiffens it and the bead stops sliding.
9. Build the Snowman and Draw His Face
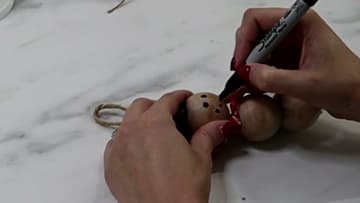
Stack three beads on a length of jute, largest at the bottom. The 1.5-inch beads make a good-sized snowman; 1-inch makes a smaller one that suits a narrow tree.
Tip: Practise the face on a spare bead first. Marker on bare wood cannot be wiped off.
10. Fold the Angel From Two Ribbon Loops
The angel is two loops of wired ribbon and one bead. Fold a length of ribbon into a loop and glue the ends together for the body.
Tip: Wired ribbon holds the wing shape. Unwired ribbon goes limp as soon as you hang it.