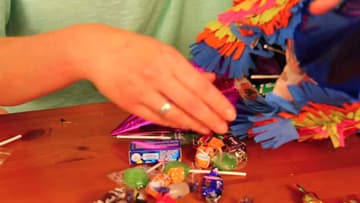
How to Make a Pinata
Source: BeforeAndAfterTV • Full tutorial: www.craftingstepbystep.com/crafts/how-to-make-a-pinata
- Difficulty
- Medium
- Hands-on time
- About 1 hour 30 minutes
- Wait time
- 24 hours
- Cost
- About $10 to $20
- Makes
- 1 pinata

Tools
- mixing bowl
- whisk
- craft knife
- scissors
- paintbrush
Materials
- star or round foil balloon
- 5 cone party hats
- masking tape
- newspaper
- 1 cup flour
- crepe paper in assorted colors
- white craft glue
- string
- candy
Steps
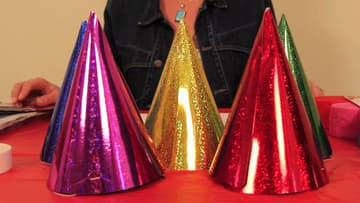
1. Start With Five Party Hats
The clever part of this build is that the star points are just cone party hats. Five of them, in whatever colours you want the tips to be.
Tip: Foil balloons hold their shape better than latex under wet paper mache, and a star-shaped one gives the points something to sit on.
2. Tape the Cones On
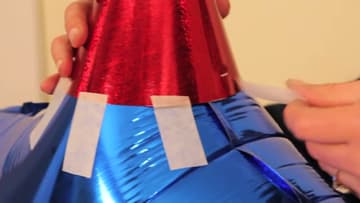
Inflate the balloon, then slide a party hat over each of the five points and tape it down with masking tape. You only need enough tape to hold it steady.
Tip: Masking tape rather than clear tape here. Paste soaks into masking tape and grips it; it slides straight off the shiny stuff.
3. Mix the Paper Mache Paste
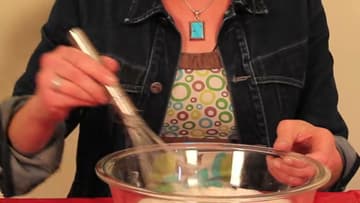
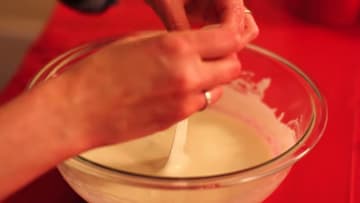
Whisk one cup of plain flour into one and a half cups of water until there are no lumps left. You want it about the consistency of thin pancake batter.
Tip: Mix it in a wide bowl rather than a deep one. You need room to drag full-length strips through it.
4. Dip and Strip the Newspaper
Tear newspaper into strips about two inches wide. Dip a strip, swirl it through the paste, then draw it out between two fingers to squeeze off the excess.
Tip: Tear the newspaper rather than cutting it. Torn edges feather into each other and disappear; cut edges leave visible ridges.
5. Build Up Three to Four Layers
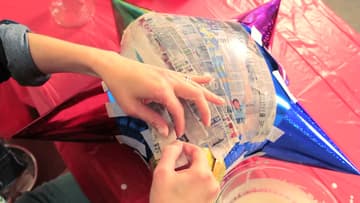
Start in the middle of the balloon and work outward, overlapping each strip over the last. Use shorter pieces around the cones where the curve is tight, and take the paper over the join so the balloon and the hat become one shape.
Tip: Let each layer dry before you add the next. Piling wet layers on wet gives you a shell that stays soft in the middle.
6. Stand It in a Jar to Dry
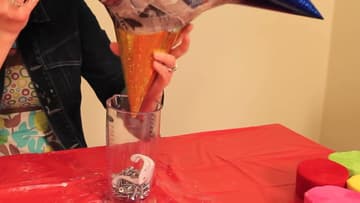
Sit the piñata point-down in a tall jar so it dries evenly on both sides. Weight the jar with something heavy, screws or bolts, or the whole thing tips over.
Tip: Give it overnight at least. Paper mache that feels dry on the surface is often still damp underneath.
7. Cut the Candy Hole
Once it is properly dry, cut a hatch with a craft knife, somewhere it will be hidden by fringe later. Cut three sides and leave the fourth as a hinge if you want a flap you can close again.
Tip: The balloon usually pops or shrivels once you cut in. That is fine, the paper shell is the structure now.
8. Cut the Fringe
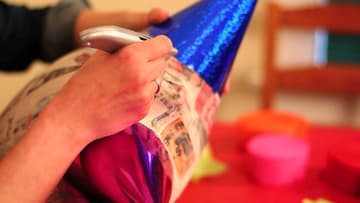
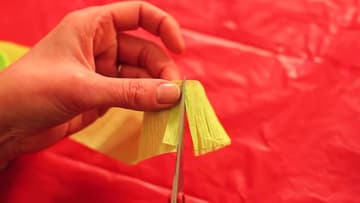
Fold a length of crepe paper over on itself about three inches deep, then cut a fringe along the folded edge, stopping short of the fold. Folding first gives you double thickness, which is what makes the finished fringe look dense instead of thin and stringy.
Tip: Cut the fringe strips before you start gluing. Doing them one at a time between glue coats is how this project turns into an all-day job.
9. Glue the Fringe in Rings
Thin white craft glue with a splash of water so it brushes on easily, then paint a band onto the shell and press a fringe strip down. Work in rings, overlapping each new strip so it hides the glued edge of the one before.
Tip: Concentric rings of alternating colour are what give a piñata its look. Random placement reads as a mess from any distance.
10. Fill It and Seal It Up
Thread a length of string through the top for hanging, then fill it with wrapped sweets. Tape a piece of card over the hatch, fringe over the top of it, and nobody will find the seam.
Tip: Tie the hanging string around one of the internal cone bases if you can reach. String taped only to the shell tears out on the first swing.