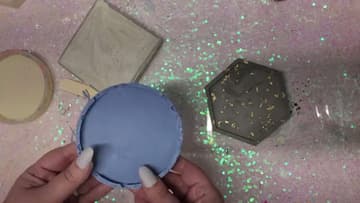
How to Make a Concrete Trinket Dish
Source: Creatively Erica • Full tutorial: www.craftingstepbystep.com/crafts/how-to-make-a-concrete-trinket-dish
- Difficulty
- Easy
- Hands-on time
- About 25 minutes
- Wait time
- 24 hours
- Cost
- About $8 to $15
- Makes
- 1 plaster trinket dish
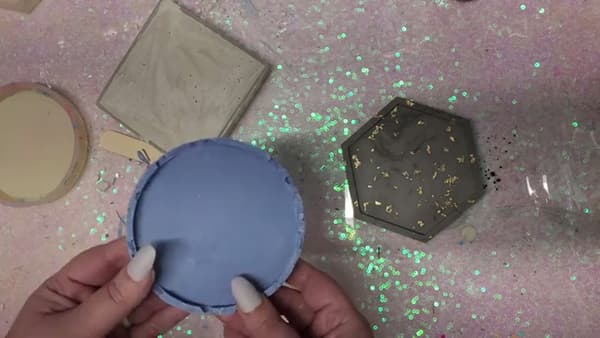
Tools
- measuring cup
- mixing cups
- stir stick
- silicone molds
Materials
- plaster of paris
- water
- acrylic paint
- mica powder
- metallic foil flakes
Steps
1. Gather Your Supplies
Erica uses a pottery -and-ceramics plaster mix she found at the craft store for under eight dollars. Set out your plaster, water, and a couple of silicone molds.
Tip: Make sure the plaster is the pottery-and-ceramics type. Other plaster blends are made for different projects and won't set up the same way.
2. Set Up Your Mixing Station
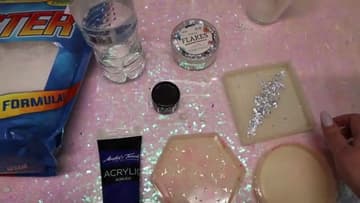
Line up a plastic cup and a stir stick for each dish you plan to make, and set your empty molds within reach. This plaster sets fast, so having everything ready keeps you from scrambling once the batter is mixed.
Tip: Mix one dish at a time. If you batch all your cups at once, the later ones start hardening before you can pour them.
3. Mix the Plaster
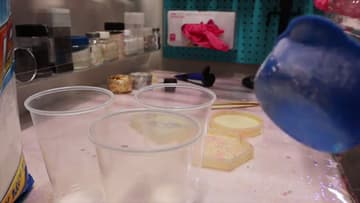
The ratio is two parts plaster to one part water. Erica uses two-thirds cup of plaster to one-third cup of water per dish.
Tip: Add the plaster to the water, not the other way around. It blends smoother and clumps less.
4. Tint and Pour
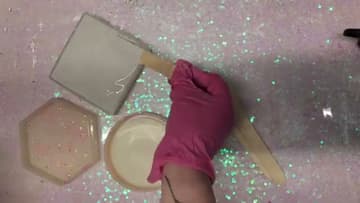
Stir a little acrylic paint or mica powder into the batter to color it. A small amount goes a long way, so start light and add more if you want it deeper.
Tip: Want sparkle? Drop a few metallic foil flakes into the bottom of the mold before you pour so they show on the finished face.
5. Fill the Mold and Pop the Bubbles
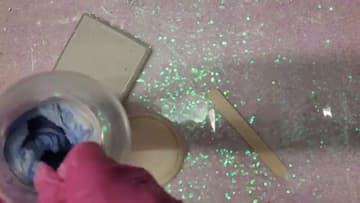
Use your stir stick to push the plaster into every corner of the mold. Getting it all the way into the crevices is what keeps the edges clean.
Tip: Tap firmly and give it a few passes. Erica lost one dish to bubbles that settled in the bottom edge.
6. Let It Set and Demold
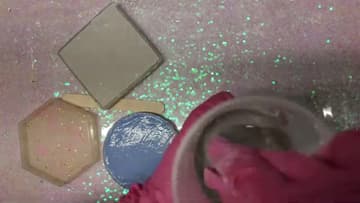
Give the plaster about an hour to firm up. The package says you can demold at 30 minutes, but a little extra time is safer.
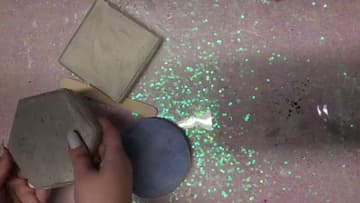
Tip: Peel the mold away from the dish rather than pulling the dish out. The flexible silicone releases the edges without chipping them.
7. Cure and Enjoy
Set the demolded dishes aside for a full 24 hours to cure all the way through. They won't look any different, but they'll harden completely.
Tip: If you want a smoother finish, a light sanding of the edges once cured knocks down any rough spots from the mold seam.