How to Draw a Wolf: 10-Step Beginner Pencil Tutorial

Based on a video by Cartooning Club How to Draw

Opens their YouTube channel

Steps written out by CraftingStepByStep · Published · Updated

Watch the original video (opens YouTube)
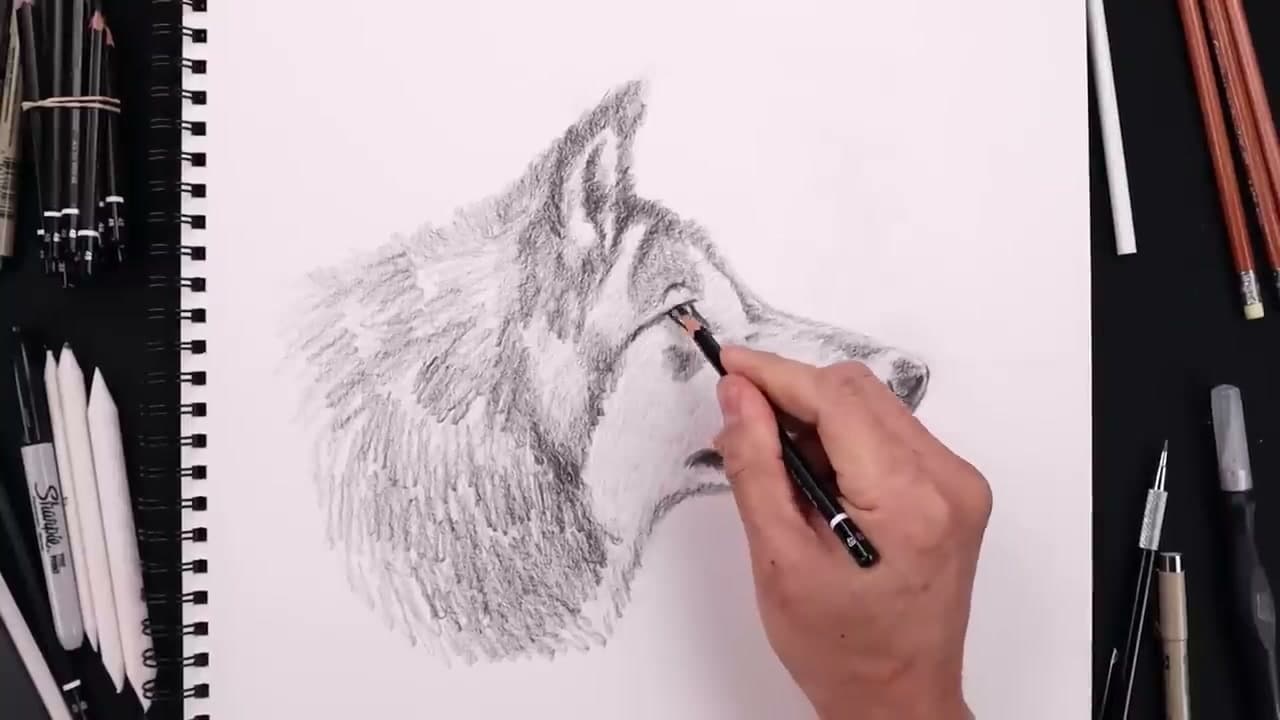
The finished result: How to Draw a Wolf: 10-Step Beginner Pencil Tutorial
Also in:Painting

Drawing a wolf looks intimidating until you break it down. Get the head shape and guidelines down first, drop the features in the right places, then save the fur for last. Start with fur strokes and the drawing falls apart, because the structure underneath is wrong and no amount of shading will fix it.

This walkthrough follows Mr Ty of Cartooning Club How to Draw, a working art director with over 30 years at Microsoft and Activision Blizzard. The wolf is a pencil head in profile, the friendliest angle for a first attempt. You start with one circle for the skull, add cross guidelines, build the ear and muzzle on top, then layer eye detail and fur texture.

Try this after how to draw a dog and how to draw a cat. The wolf borrows the canine head construction from the dog and the eye shading from the cat. If the sketching feels like guesswork, the fundamentals are at how to draw.

Wolf head proportions

A wolf and a husky share almost every bone, so the difference lives in proportion. Give the wolf a long, narrow muzzle, about one skull-circle in length. Keep the ears smaller than you think and set them back on the head. A short face and big upright ears read as husky every time.

The eye sits high, angled up at the outer corner.

Drawing fur that looks like fur

Fur grows in clumps, not single hairs. Draw each clump as a small tapered shape that follows the direction the coat grows: forward down the nose, back over the cheek, straight down the neck ruff. Put your darkest strokes in the gaps between clumps and leave the tops lighter. That contrast is what makes a wolf drawing look soft instead of scratched.

Value plan, pencils and blending

Decide where the darks go before you shade. The eye, the nose and the inner ear are the darkest spots on the page. The cheek ruff stays light, with only a few dark strokes underneath each clump to separate it.

  • HB for the block-in and guidelines
  • 2B to 6B for the darks, built up in layers
  • A kneaded eraser pinched to a point to lift highlights and stray hairs
  • A blending stump for the soft undertone, used before the fur strokes, not after

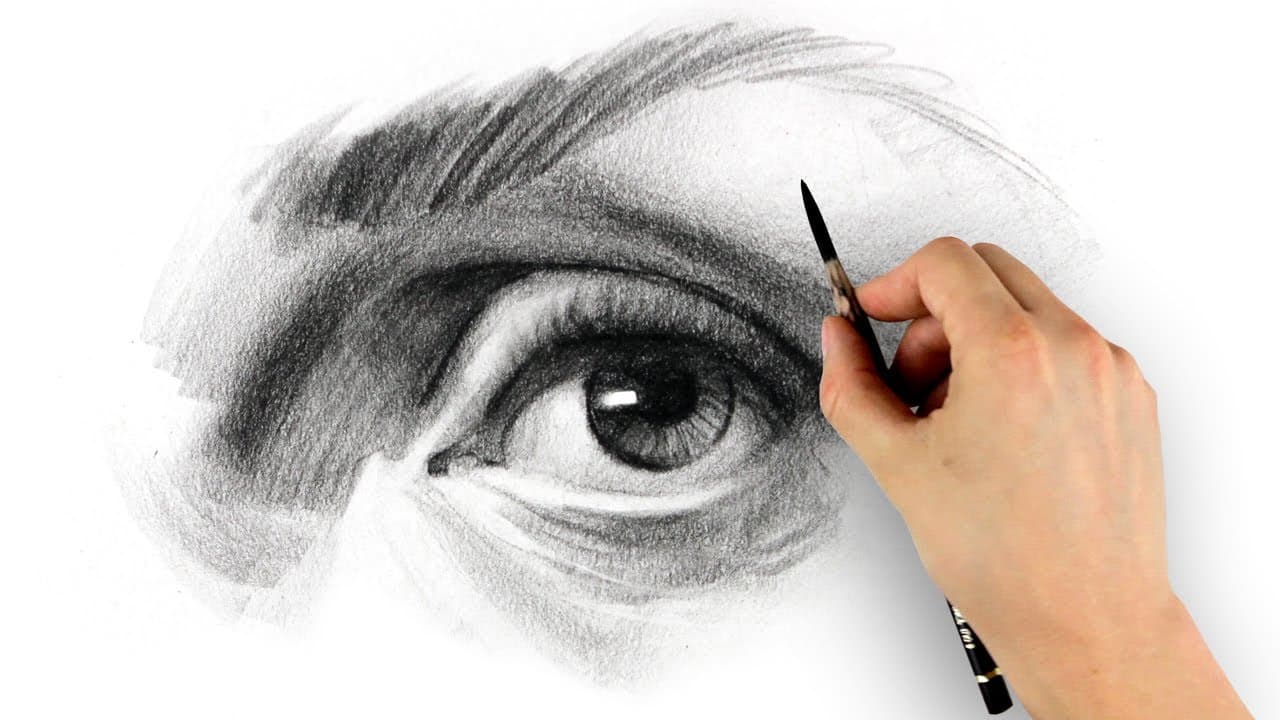
For more on building tone, see how to shade.

Wolf drawing ideas to try next

  • Howling wolf. Tip the head circle back so the muzzle points up and open the jaw.
  • Full body, sitting. Add an oval chest and a bean for the haunch under the same head.
  • Cartoon wolf for kids. Bigger eyes, a rounder head and a few zigzag lines for fur.
  • Wolf under a moon. A dark silhouette against a big pale circle makes a good October drawing.

Common mistakes

  • Outlining every hair. It turns the coat into wire. Draw clumps and let the edges break up.
  • Smudging the whole face grey. Keep the paper white on the cheek and brow so the darks have something to push against.
  • Eyes set too far forward. A wolf eye sits back near the skull circle, not out on the muzzle. Pushed forward, it reads as a cartoon.

Once the wolf feels comfortable, how to draw the female figure is a good next jump into proportion.
What you'll need

Step-by-step guide

10 steps, about 20 minutes. Tap a picture to jump to that step. Your progress saves automatically.

Tick each step off as you go.

  1. Step 1: Sketch the Head Circle

    Watch this step · 0:22

    Hold your pencil on its side and use the flat edge to lightly sketch a circle in the middle of the page. Start at the top, work down the left side, across the bottom, and back up the right. Keep the pressure light - this is a guideline, not a finished line.

    The circle is the skull. Everything you draw next - ear, muzzle, eye, neck - hangs off this single shape. Get the size right for the paper you're working on, and leave space on the right side for the muzzle to extend.

    Tip:

    The side-grip pencil hold (flat edge against the paper) gives a softer, lighter mark than the writing grip. It's also faster to erase if the circle is too big or off-center.

    Back to all steps

  2. Step 2: Add the Cross Guidelines

    Watch this step · 0:47

    Draw a straight vertical line from the top of the circle down through the middle and out the bottom of the page. Then run a horizontal line through the center of the circle, left to right.

    These two lines split the circle into four quarters. The top half is where the ear and forehead go. The bottom half holds the muzzle and mouth. The center cross is where the eye will eventually sit. With the guidelines in place, the rest of the features have an anchor and won't drift around the page.

    Tip:

    If you have a ruler handy, use it for the vertical guideline only. The horizontal can stay freehand - a slight wobble actually helps the final drawing feel less mechanical.

    Back to all steps

  3. Step 3: Draw the Ear Shape

    Watch this step · 1:15

    From the top of the circle, just left of the vertical guideline, draw a straight line up and to the right at a steep angle. Stop about a third of a circle-width above the head. That's the tip of the ear.

    Then bring a second line back down toward the head, landing just past where you started. The ear is a tall, pointed triangle - more like a coyote's ear than a dog's. The angle and the height of this triangle are what make the animal read as a wolf, so don't round it off.

    Tip:

    Wolf ears are taller and more pointed than dog ears. If your shape ends up rounded at the tip, the drawing will start looking like a husky or a German shepherd instead of a wolf.

    Back to all steps

  4. Step 4: Block In the Muzzle and Jaw

    Watch this step · 2:15

    From the base of the ear on the left side, run a straight line angled down and to the right - this is the top of the head sloping toward the snout. Then flatten the edge of the muzzle starting from that line, angling down and back toward the circle.

    Repeat the same angled line on the lower jaw, then round out the bottom of the mouth so the muzzle closes into a soft point. The whole muzzle should look like a stretched-out triangle pointing right. The line for the bottom of the mouth bends in slightly under the snout to suggest the lower lip.

    Tip:

    Keep the muzzle in proportion - it should land roughly one circle-width long. Too short and you have a fox. Too long and you have a greyhound.

    Back to all steps

  5. Step 5: Sketch the Neck, Back, and Eye

    Watch this step · 2:55

    From the bottom of the muzzle, angle a line down and back toward the vertical guideline for the front of the neck. Then run another line from the base of the ear sloping down and out for the back of the head and the start of the neck mane.

    Right where the lower jaw meets the edge of the circle, drop in a small circle for the eye. This is just placement at this stage - no detail yet. The eye sits high on the head, close to the muzzle, which is how a wolf looks alert and predatory rather than friendly and floppy.

    Tip:

    Place the eye where the horizontal guideline crosses the muzzle line. That intersection is the natural anchor for the eye on almost every canine head.

    Back to all steps

  6. Step 6: Refine the Eye and Side-of-Head Folds

    Watch this step · 4:00

    Switch to the tip of your pencil for a finer line. Define the top of the eyelid with a soft curve from the right side of the eye circle bending across and down toward the corner. Round out the front of the eyeball below, working around toward the bottom.

    From the base of the ear, draw a small fold running straight down toward the center guideline, then bend it forward under the chin. This crease separates the side of the head from the cheek and is what gives the wolf a sense of bone structure underneath the fur.

    Tip:

    Lightly erase any guidelines that are now buried under cleaner lines. A kneaded eraser dabbed (not rubbed) lifts graphite without smearing.

    Back to all steps

  7. Step 7: Shade the Eye

    Watch this step · 4:50

    Now darken the inside of the eyeball. Press a little harder with the tip of the pencil to lay down a solid dark tone around the edge of the eye, then fade it across the middle so a small highlight stays bright.

    Draw a small oval in the center for the pupil and fill it in completely. The wolf eye should look intense - one tiny bright highlight against a dark iris is what does the trick. Add a soft shadow above the eye for the brow ridge.

    Tip:

    Leave a single small white dot near the top of the pupil for the catchlight. That tiny highlight is what makes the eye read as wet and alive instead of flat.

    Back to all steps

  8. Step 8: Shade the Nose and Muzzle

    Watch this step · 7:00

    Build up the nose with heavy, dense shading. The tip of the nose is the darkest part of the whole drawing - go in with the tip of the pencil and press firmly. Add a small dark notch for the nostril on the side.

    Then drop a soft shadow under the muzzle and along the mouth line. The bottom of the mouth should fade into a thin line that disappears toward the neck. Keep the cheek and lower jaw lighter so the muzzle pops forward.

    Tip:

    The nose is almost black. Don't be shy with the pressure - if you can still see paper texture through the nose, it isn't dark enough.

    Back to all steps

  9. Step 9: Add Fur to the Forehead and Ear

    Watch this step · 9:40

    Switch to the side of your pencil and lay down short directional strokes across the top of the head, the forehead, and the back of the ear. Every stroke should follow the direction the fur grows - forward over the brow, up toward the ear tip, back along the side of the head.

    Add a dark shadow inside the ear all the way around the rim. The ear interior is one of the darkest spots on a wolf, second only to the nose. Build it up in passes rather than pushing hard on a single stroke.

    Tip:

    Vary the length and pressure of the fur strokes. Identical parallel lines look fake. A little chaos in the strokes reads as natural fur.

    Back to all steps

  10. Step 10: Build Fur Texture and Final Contrast

    Watch this step · 13:40

    Fill the rest of the head, cheek, and neck with the same short fur strokes, working in the direction the fur grows. The cheek fur sweeps back and down. The neck mane fur drops straight down. The fur along the brow runs forward toward the nose.

    Once the fur layer is in, go back over the whole drawing with the sharp tip of the pencil and push the contrast harder. Darken the shadows in the ear, around the eye, and under the chin. Lift any fur strokes that got too heavy with the kneaded eraser. The final wolf should have a clear range from near-white highlights to deep black shadows.

    Tip:

    Take a photo of the drawing on your phone and look at it as a thumbnail. If the wolf still reads at that size, the contrast is right. If it looks flat and gray, push the darks darker.

    Back to all steps

Keep going

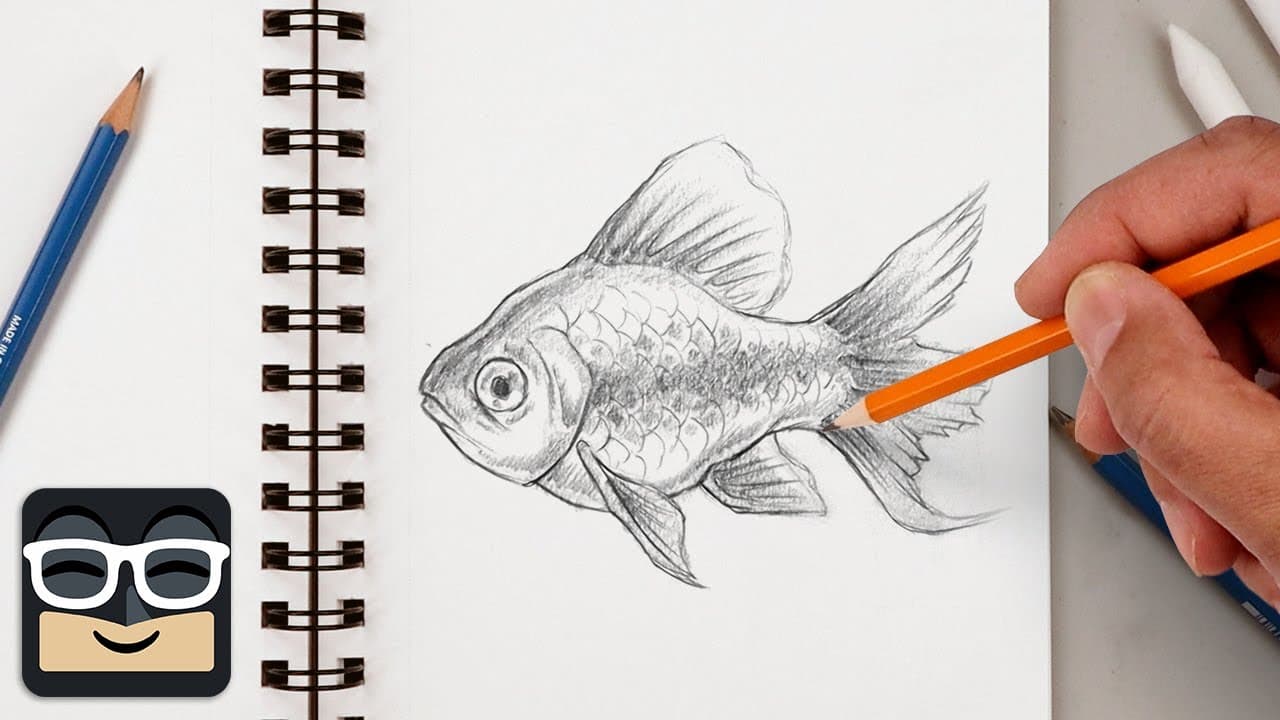
How to Draw a Fish (Step by Step Goldfish Tutorial)

Products Used

The Checklist

How to Draw a Wolf: 10-Step Beginner Pencil Tutorial

Tools
5
Steps
10
Video
20 min

Tools we recommend

As an Amazon Associate we earn from qualifying purchases. Links on this page may be affiliate links - clicking them and buying doesn't change your price, but helps support CraftingStepByStep.

Tags

The Crafter's Weekly

New crafts tutorials, every Sunday

One short email with the week's best step-by-step guides. Free, no spam, unsubscribe anytime.

Test your knowledge

Did the lesson stick? Start with this one.

5 questions covering what you just read. No signup, no score saved, and you can stop after this one.

Question 1 of 5

First shape on the page?

Quick reference

Key takeaways from How to Draw a Wolf: 10-Step Beginner Pencil Tutorial

5 questions, answers, and one-line explanations. Tap to expand.

  1. 1.First shape on the page?

    Answer: Skull-sized circle

    Circle for the skull. Everything else - ear, muzzle, eye, neck - hangs off this single shape.

  2. 2.Wolf ear shape vs dog ear?

    Answer: Tall pointed triangle

    Taller and more pointed than dog ears. If your tip ends up rounded, the drawing reads as husky or shepherd.

  3. 3.Where does the eye anchor?

    Answer: Where guidelines cross

    Horizontal guideline crosses the muzzle line. That intersection is the natural anchor for the eye on canine heads.

  4. 4.Darkest part of the whole drawing?

    Answer: The wolf nose

    Tip of the nose - press firmly with the pencil tip. If you can see paper texture through it, not dark enough.

  5. 5.Right way to draw fur strokes?

    Answer: Direction fur grows

    Short directional strokes following growth direction - forward over brow, up toward ear tip, back along the side.

Did this work for you?

What's next

Related collections

Curated theme pages that include this tutorial.

Similar tutorials

Hand-picked next reads based on the one you just finished.

Liked this crafts tutorial?

Pick the crafts you want to hear about. One email every Sunday with new step-by-step tutorials. No spam, easy to unsubscribe.

Get more like this in your inbox

Weekly digest. Pick the categories you want. Unsubscribe anytime.

Send me tutorials about

We only email about new tutorials. Easy unsubscribe anytime.