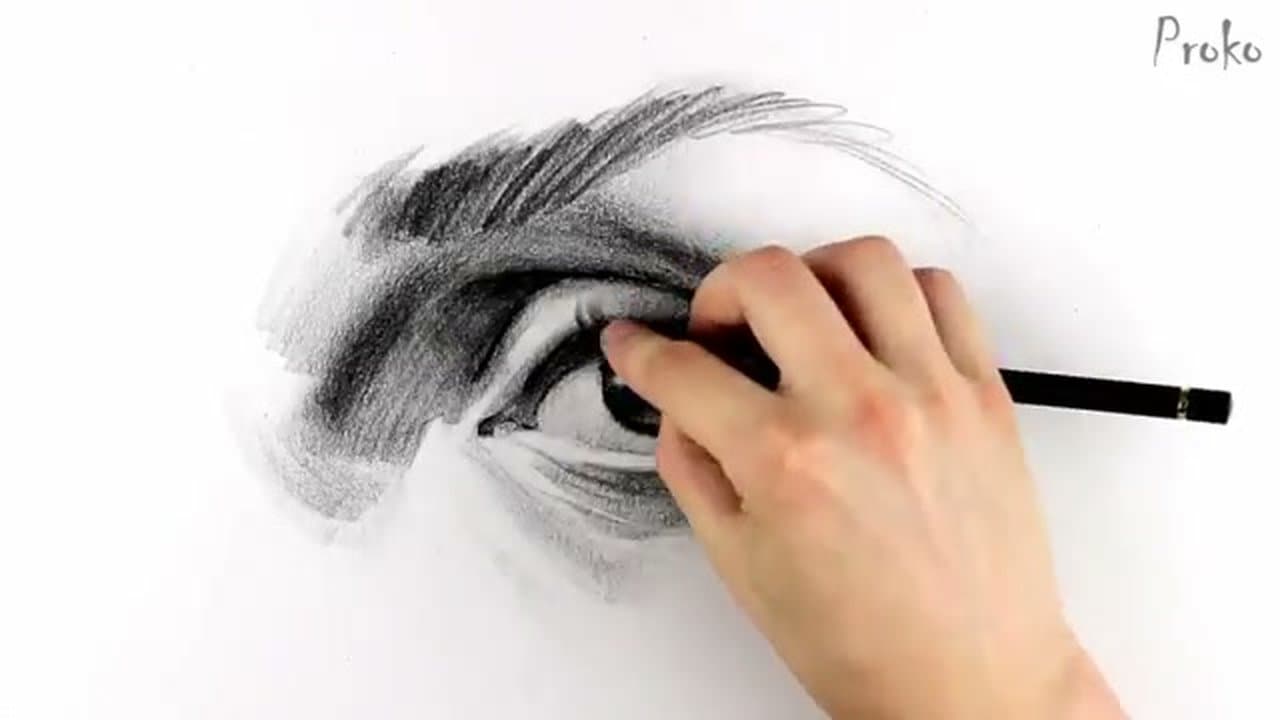
How to Draw an Eye - Step by Step

The finished result: How to Draw an Eye - Step by Step
Also in:Painting

By CraftingStepByStepPublished Updated

Based on a video by Proko.

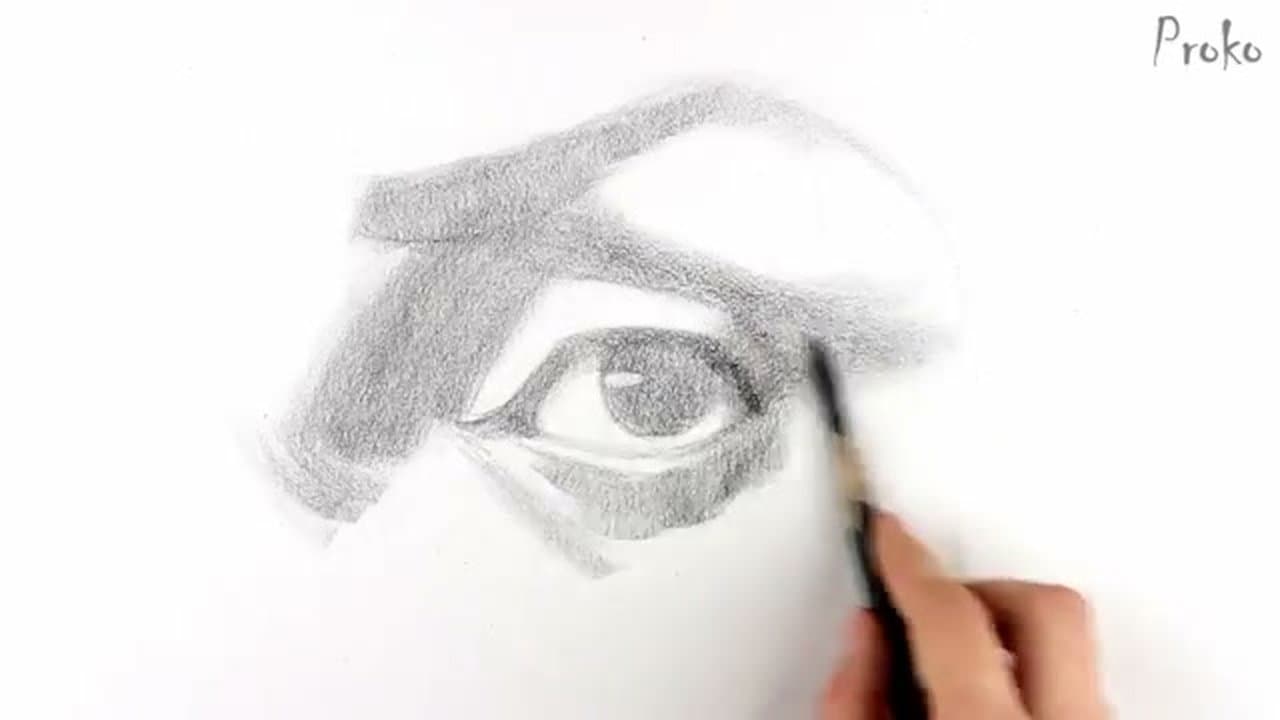
The eye is the part of a portrait everyone looks at first, and the part most beginners flatten into a generic almond with a dot in the middle. The fix is to stop drawing the eye as a symbol and draw it as a 3D ball sitting in a curved socket, with lids that wrap around it.

Stan Prokopenko (Proko) works in a fixed order: structural lay-in, a two-value light and shadow block, dark accents, then halftones and cleanup. The 7 steps below follow it. Give a single eye 30 to 45 minutes at first.

What you need

  • An HB for the lay-in, a 2B and 4B for the shadow block, a 6B for the darkest accents
  • A kneaded eraser - it lifts graphite off instead of scrubbing it in
  • Smooth or hot-press paper - toothy paper fights the small gradations
  • A blending stump, and a hand mirror pointed at your own eye for reference

Where the eye sits, and how far apart the pair goes

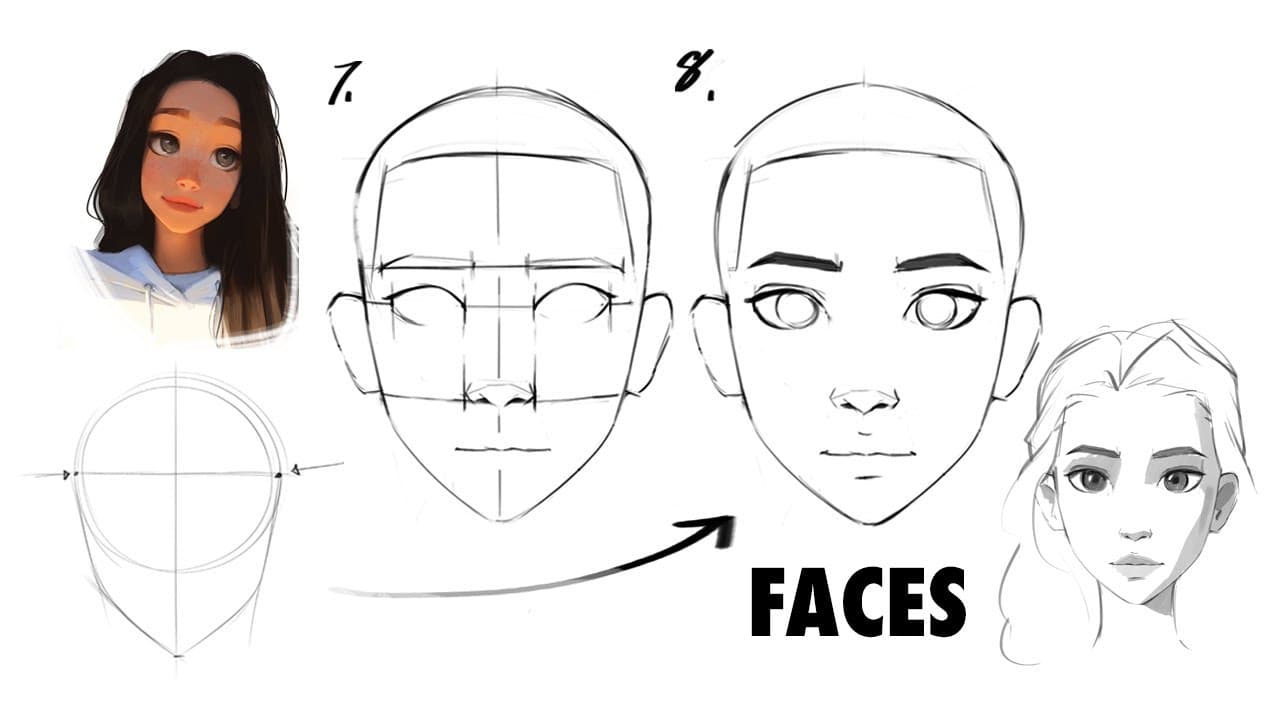
The gap between two eyes is one eye wide. Draw the pair, then measure the eye you have and lay that distance into the middle. Too short reads pinched, too wide drifts toward cartoon.

Eyes also sit about halfway down the head, not near the hairline, and beginners place them too high almost every time. Head layout is in how to draw a face.

The shapes inside the eye

Three shapes do the work: the sclera, the iris, and the pupil. The iris is a circle facing you, an ellipse once the head turns. Draw the whole circle lightly and erase what the lid covers, so it stays round instead of egg-shaped.

The upper lid has real thickness and casts a shadow across the top of the iris - the one detail separating a drawn eye from a flat sticker. The sclera is never white either, so bare paper makes it look lit from inside.

The highlight, and why you leave that paper white

Find the highlight before you shade the lit side. It sits where the eyeball turns most directly toward the light, usually straddling the edge of the iris and pupil, and both eyes get it in the same relative spot. Leave it as untouched paper and shade around it. An eraser lifts graphite back out but never returns paper to full white, so a late-recovered highlight reads grey and fuzzy. One per eye - two sparkles reads as glass.

Lashes that do not turn into spikes

Lashes grow out of the lid thickness, not off the outline of the eye, and they grow in clumps. Draw them in groups of three or four, vary the lengths, let a few cross. Upper lashes are longer and sweep toward the temple; lower ones are short and sparse. The lash line does more work than the lashes: a soft dark band tucked along the top lid reads as lashes from arm's length and never becomes that row of evenly spaced spikes.

Drawing a pair that match

Matching eyes are not mirror copies. Unless the head is dead-on you see them from different angles, so the far eye sits narrower and its iris compresses into an ellipse. Build both together - both sockets, then both almonds, then both irises - checking left against right. Hold the drawing to a mirror when you are done; reversed, a lopsided pair jumps out.

Common mistakes

  • A fully round iris. The top lid always covers part of it. A complete circle reads as shock, or a doll.
  • Outlining the eye in hard black. Your darks belong in the lash line and the crease; a uniform line around the sclera flattens the ball.
  • Forgetting the tear duct. The inner corner is a small soft wedge sitting lower than the outer one. Skip it and a well-shaded eye still looks wrong.
  • Mirror-image lashes. Identical curves at identical spacing look drawn. Real clumps are uneven and differ between lids.

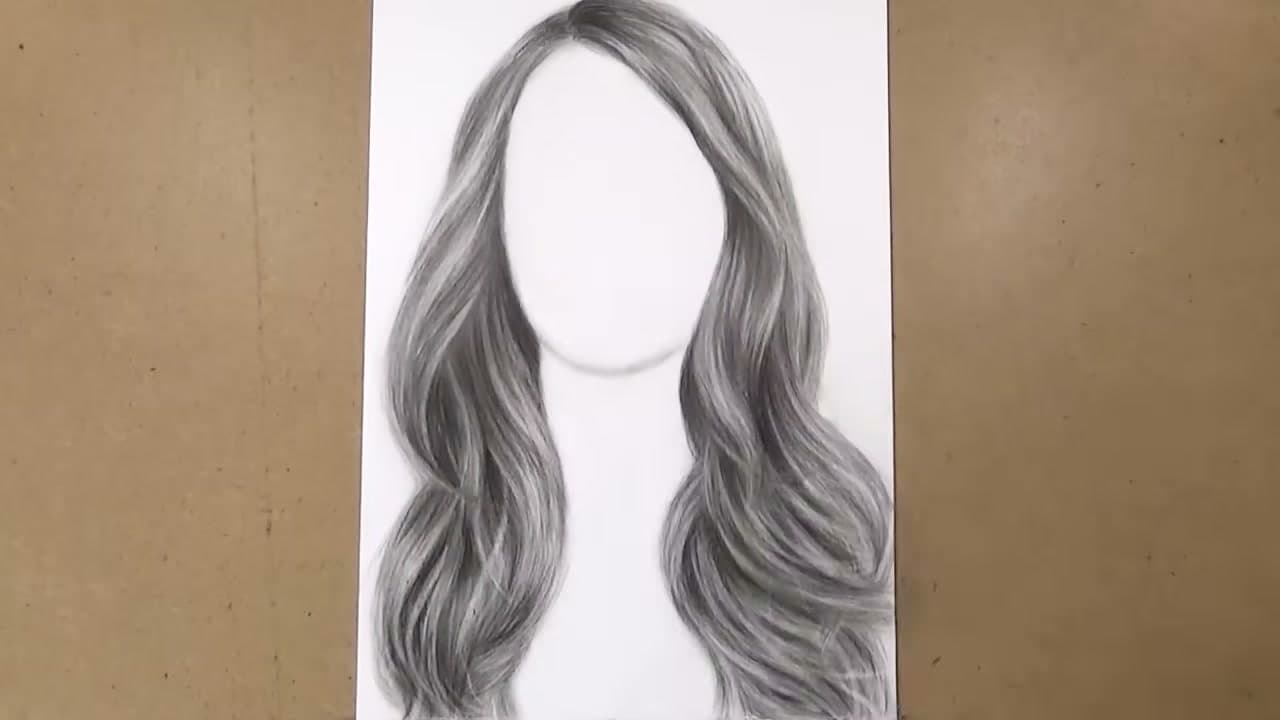
Once this one holds up, how to draw lips and how to draw hair cover the other two features that decide a portrait, and the fundamentals sit at how to draw. For the hardest thing in the figure, take on how to draw hands.
What you'll need

Step-by-Step Guide

7 steps · about 6 minutes.Check off each step as you go and your progress saves automatically.

1

Lay In the Socket and Brow Angles

0:32
Step 1: Lay In the Socket and Brow Angles - How to Draw an Eye - Step by Step

Every drawing starts with a lay-in. Keep it linear and focus on proportion before any rendering. Sketch the angles of the eyebrow, run your line down the side of the nose, under the bottom lid, and around the side of the socket.

The eye doesn't sit on a flat plane. It's a ball recessed into a curved bony socket, and getting that container right is what makes the eye look like it belongs in a face. Make the socket too narrow and the eye looks pinched. Make it too round and the brow loses its angle.

Tip

Hold your pencil loose at this stage. Light, searching lines let you find the right angles without committing. Heavy lines now mean visible mistakes later.

2

Sketch the Almond Shape (Lids + Sclera + Iris as One Mass)

1:02
Step 2: Sketch the Almond Shape (Lids + Sclera + Iris as One Mass) - How to Draw an Eye - Step by Step

Group the lids, sclera, and iris into one shape. It's easier to place this combined almond accurately inside the socket than to draw every piece separately and try to glue them together.

Watch the angles where the planes change. The almond is rarely symmetrical - the inner corner sits lower than the outer corner, and the top arc peaks closer to the inner third. Get the outline right before you break it down.

Tip

If you compare distances between the corners and the brow, you're more likely to catch placement errors than if you stare at the shape itself.

3

Draw Lid Thickness, Top Lid Heavier than Bottom

1:31
Step 3: Draw Lid Thickness, Top Lid Heavier than Bottom - How to Draw an Eye - Step by Step

Now break the almond down. Draw the bottom plane of the top lid and the top plane of the bottom lid - those small ledges show that the lid has thickness. Without them the eye reads like a sticker pasted on the face.

The top lid is thicker than the bottom and casts a real shadow on the eyeball. Don't forget the eyebrow's own thickness, and check that the distance from brow to top lid matches your reference. That gap is one of the first things that goes wrong and the easiest to compare.

4

Place the Iris Tucked Under the Top Lid

1:53
Step 4: Place the Iris Tucked Under the Top Lid - How to Draw an Eye - Step by Step

If the eye is looking straight at the viewer, the iris is a perfect circle. The catch is that you almost never see the whole circle. The top lid covers the upper portion, and usually more of the iris than the bottom lid hides.

Draw the full circle lightly, then erase the part the lid covers. That keeps the iris geometrically correct rather than drawing a partial arc that ends up egg-shaped.

Tip

If the iris looks oval, your lid is probably cutting too aggressively into the top. The hidden portion still has to be a circle.

5

Block In Light and Shadow as Two Flat Values

2:34
Step 5: Block In Light and Shadow as Two Flat Values - How to Draw an Eye - Step by Step

Most people want to skip ahead and start rendering. Don't. The two-value stage is where the drawing earns its solidity.

Separate everything that is directly lit from everything in shadow. Halftones count as light. Reflected light counts as shadow. Use one mid-tone (around a 4 on a 1-to-10 value scale) for the entire shadow side, and leave the lit side as the white of the paper. The drawing should look clean and graphic, almost like a paper cutout.

Tip

Squint at your reference. Squinting collapses the midrange and shows you only the big light and shadow shapes - which is exactly what you're drawing right now.

6

Push Dark Accents into Creases and Lash Line

2:55
Step 6: Push Dark Accents into Creases and Lash Line - How to Draw an Eye - Step by Step

With the two-value stage solid, drop in your darkest darks. This sets the value range so everything else has a scale to relate to.

Dark accents land in core shadows, deep creases like the fold above the top lid, the lash line, and areas with darker local color like the brow hair itself. Don't erase to make reflected lights brighter - darken what's around them instead. The reflected light will appear on its own.

7

Add Halftones, Lashes, and Refine Edges

4:50
Step 7: Add Halftones, Lashes, and Refine Edges - How to Draw an Eye - Step by Step

Move into the lit side and work the gradations. Find the highlight first - it sits on whichever plane points most directly at the light source. Once you know where the highlight is, every other lit plane just needs to be a step darker as it turns away.

Sharpen the cast shadow from the top lid so it wraps around the eyeball instead of sitting flat. Add fuzzy lash clusters in groups (real lashes don't grow as evenly spaced single hairs). Walk the whole drawing one more time, cleaning shapes and softening or sharpening edges where the form needs help, and call it done.

Tip

Eyelashes look fake when they're drawn as identical curves. Vary the length, group them in clumps, and let some cross over each other. Less is more.

Keep going

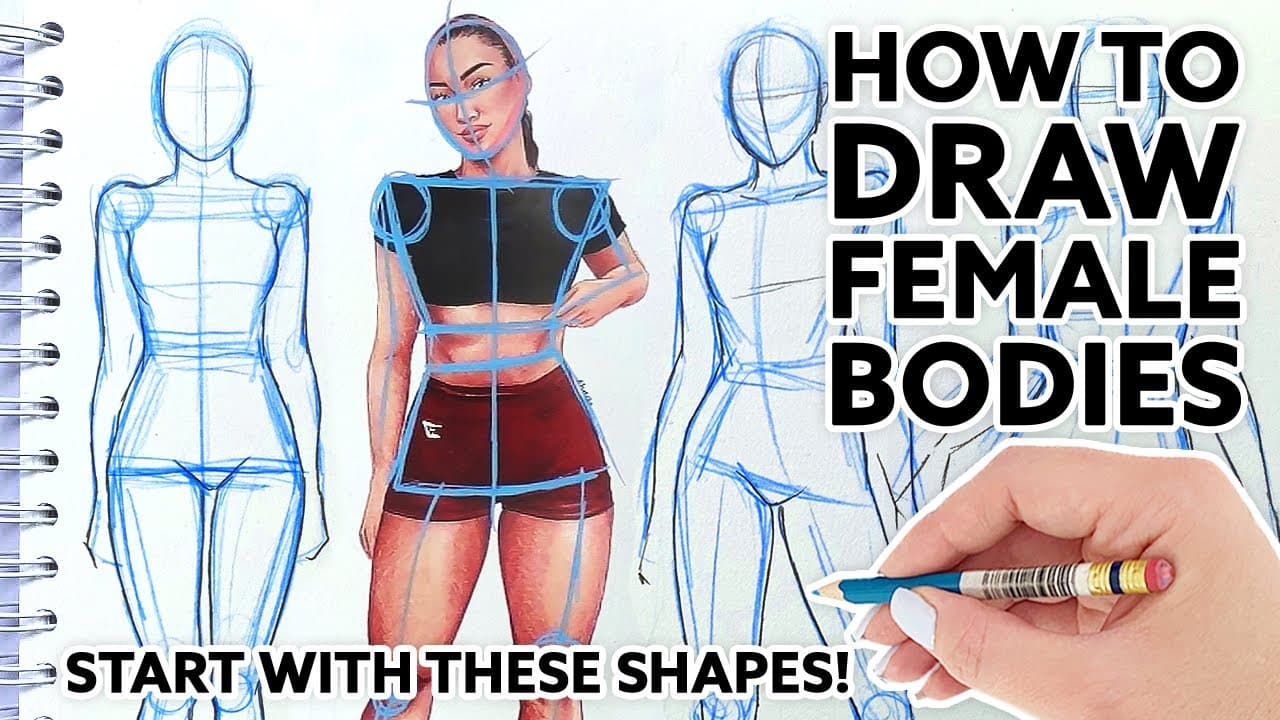
How to Draw the Female Figure: 7-Step Beginner Guide

Products Used

The Checklist

How to Draw an Eye - Step by Step

Tools
5
Materials
2
Steps
7
Video
6 min

Tools we recommend

Your Guide

Proko

As an Amazon Associate we earn from qualifying purchases. Links on this page may be affiliate links - clicking them and buying doesn't change your price, but helps support CraftingStepByStep.

Tags

Sunday How-To

New crafts tutorials, every Sunday

One short email with the week's best step-by-step guides. Free, no spam, unsubscribe anytime.

Test your knowledge

Did the lesson stick? Start with this one.

5 questions covering what you just read. No signup, no score saved, and you can stop after this one.

Question 1 of 5

First step of any eye drawing?

Quick reference

Key takeaways from How to Draw an Eye - Step by Step

5 questions, answers, and one-line explanations. Tap to expand.

  1. 1.First step of any eye drawing?

    Answer: Lay in the socket

    Lay-in: linear, focus on proportion. The eye is a ball recessed into a curved bony socket - get the container right first.

  2. 2.Group lids, sclera, and iris as...

    Answer: One almond mass

    Group as one shape. Easier to place the combined almond accurately than to glue separate pieces together.

  3. 3.Why draw lid thickness?

    Answer: Without it = sticker

    Small ledges show the lid has thickness. Top lid is thicker than bottom and casts shadow on eyeball.

  4. 4.Iris in straight-on view - what shape?

    Answer: Perfect circle

    Geometrically a perfect circle, but top lid covers the upper portion. Draw the full circle lightly, erase the part the lid hides.

  5. 5.Two-value stage means...

    Answer: Light and shadow only

    Separate lit from shadow as flat values. Halftones count as light, reflected light counts as shadow. Drawing looks paper-cutout.

Did this work for you?

What's next

Related collections

Curated theme pages that include this tutorial.

Weekly Digest

Liked this crafts tutorial?

Pick the categories you want to hear about. Weekly digest of new step-by-step tutorials. No spam, easy unsubscribe.

Send me tutorials about

We only email about new tutorials. Easy unsubscribe anytime.