How to Draw Hair - Realistic Graphite Hair in 8 Steps

CraftsMedium12:288 stepsPart of DIY Crafts for BeginnersBrowse more →
The finished result: How to Draw Hair - Realistic Graphite Hair in 8 Steps
Also in:Painting

By CraftingStepByStepPublished

Based on a video by Kirsty Partridge Art.

Hair is where most portrait drawings fall apart. The outline gets drawn and filled in, the shading is scribbled back and forth, and the result looks like a wig. The fix is not talent. It is a sequence, and it is the same sequence for straight, wavy or curly hair.

The video is Kirsty Partridge's, and it is built as a do's and don'ts: she draws the mistakes first, then the corrections. The steps below are the corrections. Every image shows long, wavy hair around a blank face, drawn in ordinary graphite pencils on ordinary paper.

What you need

An HB, a B, and a 4B or 6B. A blending stump. A small, sharp eraser. Smooth paper. Realistic hair does not need expensive materials, and graphite is more forgiving than charcoal for a first attempt.

The five mistakes

Outlining and filling in. Hair has no outline. Sketch the clumps and their direction instead.

Back-and-forth scribbling. Every stroke should flow the way the hair flows. Scribbling leaves hard highlight edges and no depth.

Finger blending. Skin oil makes the paper greasy and the shading uneven. Use a stump or a brush.

Hard outlines around every clump. Clumps blend into each other. A solid line around each one looks like a cartoon.

Uniform lines and uniform highlights. Same thickness, same darkness, same spacing. Real hair varies constantly.

Clumps, not strands

The single idea underneath all eight steps: when you look at hair, you do not see individual strands, you see clumps with light on them. Draw the clumps, shade the gaps between them, lift the light off the top of each one, and the strands take care of themselves. Add a few stray hairs at the very end, not the beginning.

Where it goes wrong

It goes shiny. Too much pressure. Build tone in layers with a light hand.

It looks striped. The highlights are all the same. Vary length, brightness and spacing.

It looks flat. Not enough contrast between the deepest shadow and the brightest strand. Push the 6B darker and lift the highlight to bare paper.

The rest of the portrait

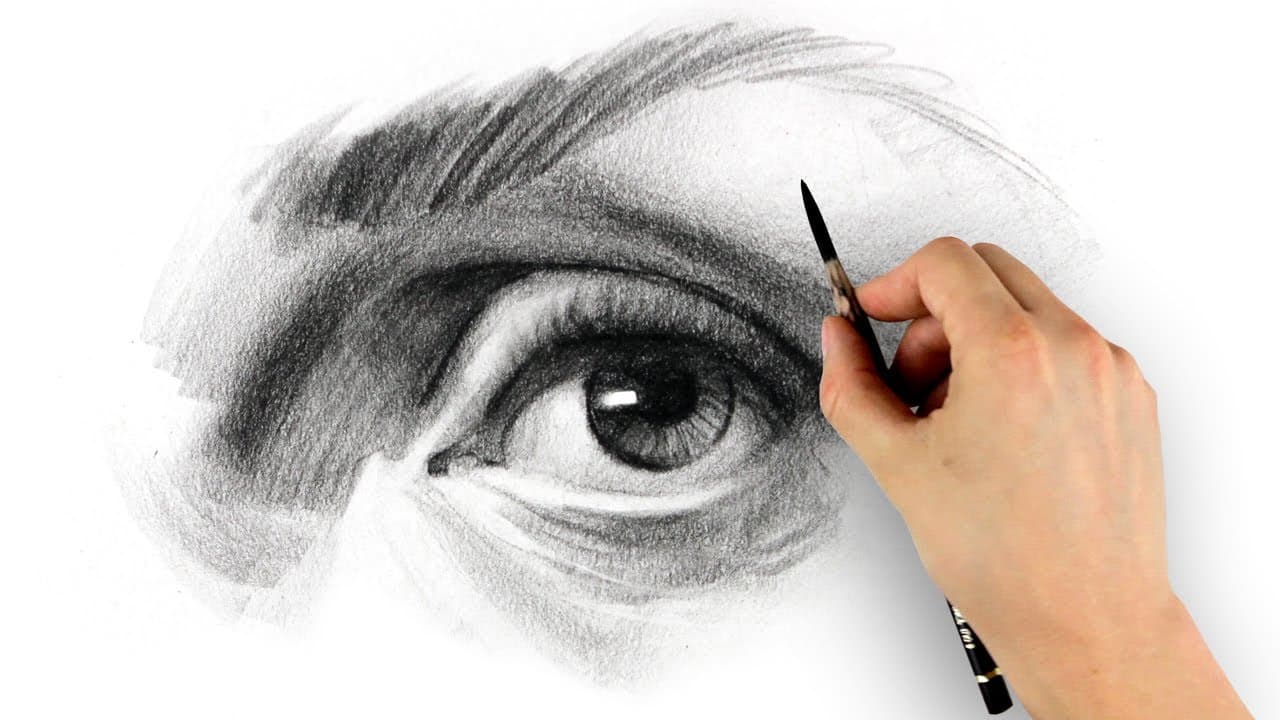
The same layered-graphite approach draws every feature. Lips and eyes use the same pencil grades and the same blend-then-lift sequence on a smaller area, and drawing the face gives you the proportions the hair sits on. New to pencil altogether? How to draw covers the grades, the light-source idea and basic shading.

What you'll need

Step-by-Step Guide

8 steps · about 12 minutes.Check off each step as you go and your progress saves automatically.

1

Step 1: Sketch the Clumps, Not an Outline

2:58
Step 1: Sketch the Clumps, Not an Outline - How to Draw Hair - Realistic Graphite Hair in 8 Steps

With an HB and very little pressure, sketch the main clumps and waves of the hair as they fall from the parting, following the direction each one flows. Do not draw a hard outline of the whole hairstyle and fill it in. That is the first beginner mistake, and it produces hair that looks like a helmet.

Hair is a set of overlapping sections. The sketch only needs to show where each one starts and where it goes.

Tip

Draw the parting first. Every clump on the head flows away from it, so it sets the direction for the whole drawing.

2

Step 2: Map the Shadows With a B Pencil

3:25
Step 2: Map the Shadows With a B Pencil - How to Draw Hair - Realistic Graphite Hair in 8 Steps

Switch to a B and start shading where the shadows sit: under each clump that overlaps another, close to the scalp, and along the inside curve of every wave. Leave the highlight areas completely bare. You are laying out a plan of light and dark, not finishing anything, so keep it soft and adjustable.

Tip

Squint at your reference. The shadow shapes are much simpler than the strands, and squinting hides the strands.

3

Step 3: Make Every Stroke Flow With the Hair

3:55
Step 3: Make Every Stroke Flow With the Hair - How to Draw Hair - Realistic Graphite Hair in 8 Steps

Each pencil stroke should move in the direction the hair grows and curve the way the wave curves. Long, flowing lines, laid down in thin layers. Never stiff back-and-forth scribbling, which is the mistake that leaves hard, ugly highlight edges and makes a section look like a scribble instead of hair.

Build tone by adding layers rather than pressing harder. Pressure is what makes graphite go shiny.

Tip

Lift the pencil at the end of each stroke so it tapers. A stroke that stops dead reads as a line, not a hair.

4

Step 4: Blend With a Blender Pencil, Never a Finger

4:50
Step 4: Blend With a Blender Pencil, Never a Finger - How to Draw Hair - Realistic Graphite Hair in 8 Steps

Blend the layers with a colourless blender pencil, working in the same direction as the strokes so the gradient still flows. A blending stump or a soft brush does the same job. What you must not use is a finger: skin oil sinks into the paper, the shading goes uneven, and every layer you add afterwards is patchy.

Tip

A blender pencil gives the smoothest gradient without greying the paper. If you use stumps, keep one for darks and one for lights; a stump loaded with 6B dust ruins a highlight.

5

Step 5: Deepen the Shadows and Add the Mid-Tones

5:15
Step 5: Deepen the Shadows and Add the Mid-Tones - How to Draw Hair - Realistic Graphite Hair in 8 Steps

Go into the deepest shadows, under and between the clumps, with a darker pencil, a 4B or 6B, and use the B for the mid-tones between the shadows and the highlights. Blend again, keeping every stroke in the direction of the hair. The drawing should now read as light, medium and dark with soft transitions between them.

Tip

Vary the shadows. Some deep, some barely there. Identical shadows under every clump look like corrugated iron.

6

Step 6: Lift the Highlights With a Small Eraser

5:45
Step 6: Lift the Highlights With a Small Eraser - How to Draw Hair - Realistic Graphite Hair in 8 Steps

Take a small, sharp eraser and lift graphite out along the crown of each wave, where the light would catch the hair. Pull the eraser in the direction of the strand. Vary the highlights, some bright and long, some faint and short, so they do not turn into stripes.

Uniform highlights are the fastest way to make a hair drawing look fake.

Tip

A retractable eraser pen, or a kneaded eraser pinched to a point, gives a far finer highlight than a block eraser.

7

Step 7: Work in Sections With Light Pressure

7:00
Step 7: Work in Sections With Light Pressure - How to Draw Hair - Realistic Graphite Hair in 8 Steps

Move through the rest of the hair one section at a time, giving each the same sequence: map the shadow, lay the mid-tones, blend, lift the highlights. Trying to do the whole head at once loses the plan. Keep the pressure light throughout so the graphite stays matte under the light, and step back often to check the sections agree with each other.

Tip

Finish the darkest section first. It sets the contrast range for everything else on the head.

8

Step 8: Think in Clumps and Add the Last Details

9:05
Step 8: Think in Clumps and Add the Last Details - How to Draw Hair - Realistic Graphite Hair in 8 Steps

When everything is blocked in, go back over the drawing and add detail only where a clump meets a shadow: a few darker lines drawn into the gap, and a few bright strands lifted out beside it. That contrast between a deep shadow and a bright strand right next to it is what makes hair read as real from across the room.

You are not drawing individual hairs. Nobody sees hair as strands; they see clumps with light on them.

Tip

Stop before you think you are done. Over-detailed hair looks busier and less real than hair with a few well-placed accents.

Keep going

How to Make Christmas Ornaments

Products Used

The Checklist

How to Draw Hair - Realistic Graphite Hair in 8 Steps

Tools
4
Materials
1
Steps
8
Video
12 min

Tools we recommend

Your Guide

Kirsty Partridge Art

As an Amazon Associate we earn from qualifying purchases. Links on this page may be affiliate links - clicking them and buying doesn't change your price, but helps support CraftingStepByStep.

Tags

Sunday How-To

New crafts tutorials, every Sunday

One short email with the week's best step-by-step guides. Free, no spam, unsubscribe anytime.

Did this work for you?

What's next

Related collections

Curated theme pages that include this tutorial.

Weekly Digest

Liked this crafts tutorial?

Pick the categories you want to hear about. Weekly digest of new step-by-step tutorials. No spam, easy unsubscribe.

Send me tutorials about

We only email about new tutorials. Easy unsubscribe anytime.