1
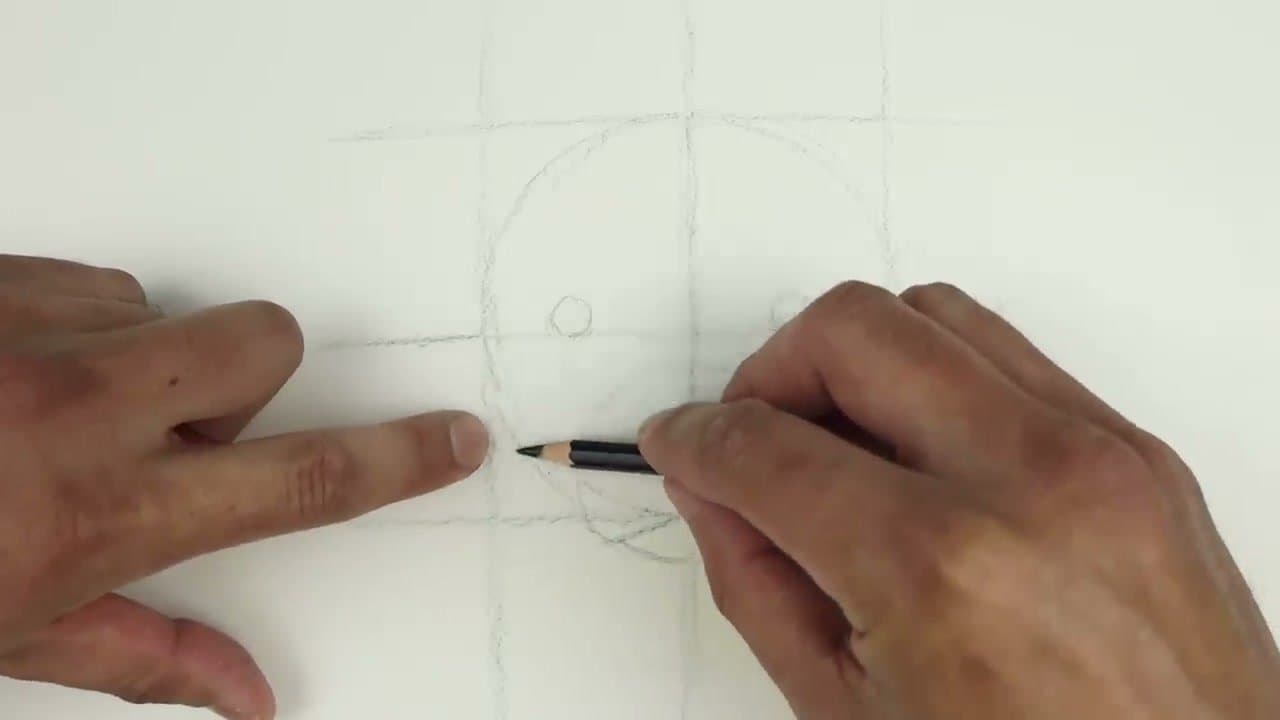
Step 1: Sketch the Head Circle with the Flat Edge of Your Pencil
0:20
Hold the pencil with a side grip, flat edge to the paper, and sketch a loose circle in the center of the page. Start at the top, work down the left side, back through the middle, and around the right.
Use short, choppy lines. You're not trying to nail a perfect circle in one go - you're feeling out the size. Re-adjust as you trace, smoothing the edges. The light, searching marks are easier to erase later than a single heavy committed line.
Tip
The flat-edge grip keeps your strokes loose. A traditional writing grip will make you stiff and your circle will look like a stop sign instead of a head.