How to Shade With a Pencil

CraftsEasy15:3510 stepsPart of DIY Crafts for BeginnersBrowse more →
The finished result: How to Shade With a Pencil
Also in:Painting

By CraftingStepByStepPublished

Based on a video by Art with Ms. Eggers.

Shading is what turns a flat outline into something that looks solid. Ms. Eggers, an art teacher who runs Art with Ms. Eggers, teaches it the way a classroom does: one practice sheet with two value scales, a shaded sphere, and four mark-making techniques. By the end you have a page you can keep beside you as a reference every time you shade something new.

All you need is a pencil, an eraser, a tissue and a sheet of drawing paper. A plain No. 2 pencil is what she uses the whole way through. If you have never drawn before, start with sketching basics and come back.

What value means

Value is how light or dark a tone is. That is the whole idea behind shading. Light hits one side of an object, so that side stays pale. The side turned away from the light gets darker. Your eye reads that change as form. A circle with even grey inside looks like a disc. The same circle with a light side, a dark side and a smooth change between them looks like a ball.

Which pencils to use

Graphite pencils run from hard H grades, which make light grey lines, to soft B grades, which go darker and smudge more. A No. 2 pencil sits near HB in the middle. You can shade a full sphere with one, by changing pressure and layers. A small set helps once you want deeper darks: a 2H for the light areas, an HB for midtones, and a 4B or 6B for the core shadow. Soft pencils blend more easily too.

Blending stumps (tortillons) do the same job as the tissue with more control in small areas. A kneaded eraser can be pinched to a point to lift a highlight without scrubbing the paper.

The five parts of a shaded object

Every rounded object you draw has the same map. The highlight is the brightest spot, closest to the light. The midtone is the in-between grey. The core shadow is the darkest band, on the side away from the light. The reflected highlight is a faint lighter strip along the bottom edge, from light bouncing off the table. The cast shadow sits on the ground and is darkest where the object touches it. Learn these on a sphere and you can shade an apple, a nose or a cheek.

Common shading mistakes

  • Too few values. If your sphere looks flat, count the tones. Aim for at least four, from white to your darkest dark.
  • Harsh stripes between tones. Blend each band into the one next to it, or go back over the edge with lighter pressure.
  • Shading straight across. Follow the curve of the form. Marks that wrap round the sphere make it look round.
  • Smudges everywhere. Rest your drawing hand on a scrap of paper and erase stray marks as you go.

Where to use it next

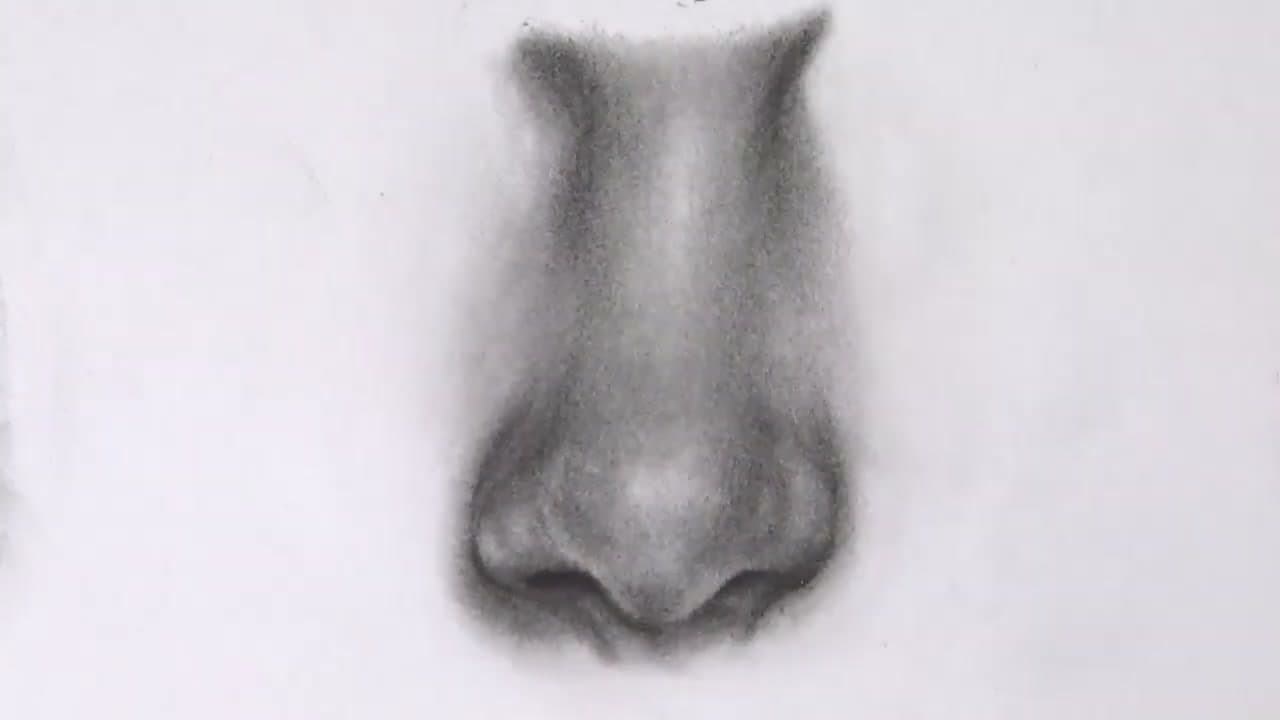
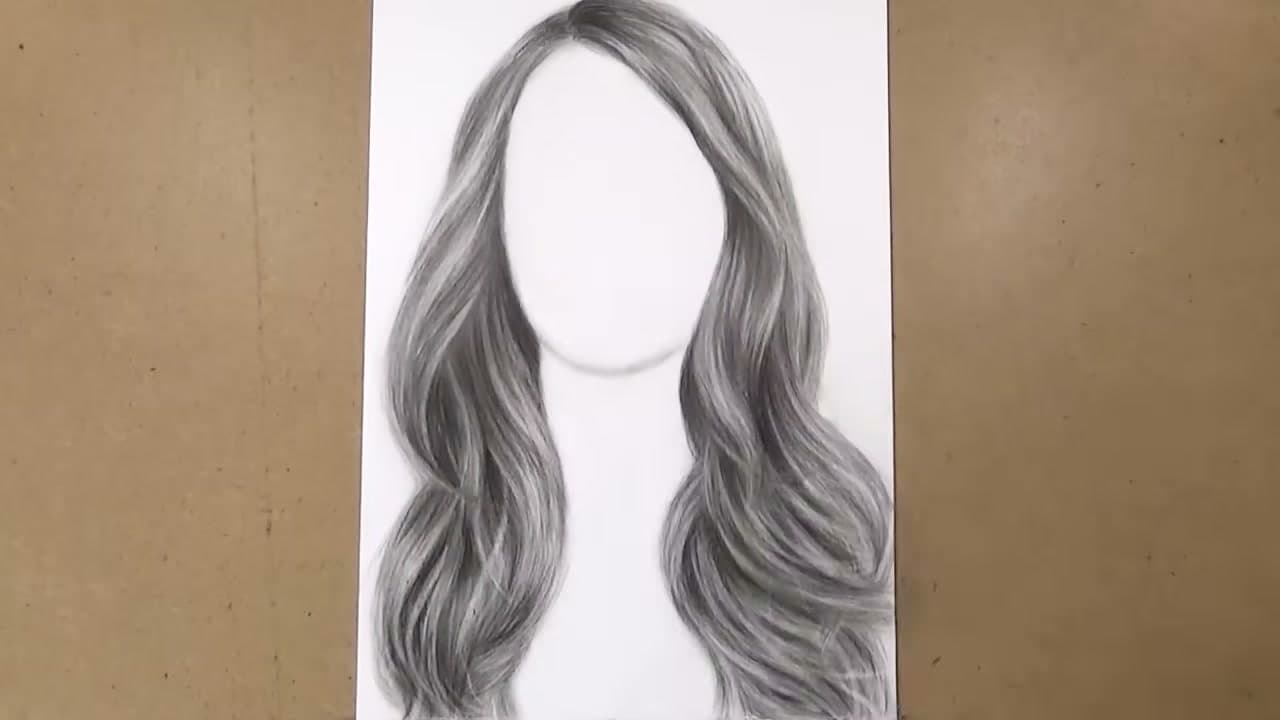
Faces are the best place to practise, because every feature is a set of small rounded forms. The same highlight and core shadow show up when you draw a nose, give shape to lips, or add depth to eyes. Hatching and scumbling work well for texture, like the strands when you draw hair.

What you'll need

Step-by-Step Guide

10 steps · about 16 minutes.Check off each step as you go and your progress saves automatically.

1

Study a Stepped Value Scale and a Gradation Scale in Pencil

0:15
Step 1: Study a Stepped Value Scale and a Gradation Scale in Pencil - How to Shade With a Pencil

Look at the two bars at the top of the sheet. The value scale is six boxes, going from the darkest dark you can make down to plain white paper. The gradation scale is one long bar that fades from dark to light with no breaks. Draw both before you start. They teach your hand how much pressure makes each tone.

Tip

Press hard and layer for the darkest box. Barely touch the paper for the lightest grey. Leave the last box white.

2

Trace a Palm-Sized Circle for the Shaded Sphere

0:17
Step 2: Trace a Palm-Sized Circle for the Shaded Sphere - How to Shade With a Pencil

Draw a circle below the scales. You can freehand it or trace round something round, like the bottom of a cup or a plastic lid. Make it about the size of your palm. A circle the size of a coin is too small to shade well, and you will run out of room for the values.

Tip

Keep this outline light. It gets shaded over, so a heavy line will show at the edge.

3

Mark the Light Source and Draw Contour Lines on the Sphere

1:15
Step 3: Mark the Light Source and Draw Contour Lines on the Sphere - How to Shade With a Pencil

Draw a small sun and an arrow at the top left corner. That is where the light comes from. Then sketch curved contour lines inside the circle, like ripples moving out from the top left. Each band is where one value will go, from the white highlight near the light to the darkest crescent at the bottom right.

Tip

Keep contour lines faint. They are a guide, and the blending later hides them.

4

Shade the Dark Crescent Core Shadow on the Sphere

2:50
Step 4: Shade the Dark Crescent Core Shadow on the Sphere - How to Shade With a Pencil

Start with the darkest value. Shade the crescent-moon shape along the bottom right edge, the part furthest from the light. Both edges of the crescent curve with the circle. Press hard and add several layers until it matches the darkest box on your value scale. This is the anchor every other value is measured against.

Tip

Turn the paper as you go. It is easier to follow a curve when your hand moves in its natural arc.

5

Layer Lighter Values Toward the Sphere Highlight

5:10
Step 5: Layer Lighter Values Toward the Sphere Highlight - How to Shade With a Pencil

Move one band in and shade the second darkest value with less pressure and fewer layers. Then the third. Keep each band curved to the contour, and blend its edge into the band before it so there is no hard line. Stop before the top left and leave a small patch of white paper for the highlight. You want at least four values.

Tip

Check against your value scale. If two bands look the same, darken the lower one.

6

Blend the Pencil Shading With a Tissue

6:25
Step 6: Blend the Pencil Shading With a Tissue - How to Shade With a Pencil

Wrap a tissue round one finger. Start at the lightest value and rub in small circles that follow the curve of the sphere. Work toward the dark side. The pencil lines soften into one smooth gradient, and the sphere starts to look round rather than striped. Press gently. The tissue should move graphite, not scrub it off.

Tip

Always go light to dark. Starting in the core shadow drags graphite into the highlight and greys it out.

7

Lift a Reflected Highlight With an Eraser

8:20
Step 7: Lift a Reflected Highlight With an Eraser - How to Shade With a Pencil

Look at the bottom edge of the sphere. Light bounces up off the table and makes a thin, slightly lighter strip there. Use the eraser to lift a little graphite along that edge, then blend it softly. It is subtle, but it makes the ball look like it is sitting in a real room.

Tip

Keep it a lot darker than the highlight. A reflected highlight that is too bright makes the sphere look flat again.

Used in this stepkneaded eraser
8

Shade the Cast Shadow Under the Sphere

10:10
Step 8: Shade the Cast Shadow Under the Sphere - How to Shade With a Pencil

The sphere blocks the light, so it casts a shadow on the ground. With light from the top left, the shadow falls to the right as a long, skinny oval. Shade it darkest where it touches the sphere, then fade to lighter values as it moves away. That dark contact point is what anchors the ball to the ground.

Tip

Leave a hair of space between the reflected highlight and the shadow. That contrast sells the form.

9

Practise Hatching and Cross-Hatching Value Squares

13:30
Step 9: Practise Hatching and Cross-Hatching Value Squares - How to Shade With a Pencil

Draw a grid of three squares across and four down. In the top row, hatch: fill each square with parallel lines. Lines close together and thicker read dark. Space them out for medium, and wider still for light. In the second row, cross-hatch. Same idea, but the lines cross each other in a grid.

Tip

A ruler is fine for the squares. Draw the lines freehand, though. Slightly uneven lines look more natural.

10

Practise Stippling and Scumbling Shading Techniques

15:00
Step 10: Practise Stippling and Scumbling Shading Techniques - How to Shade With a Pencil

In the third row, stipple. Build value with small dots, packed tight for dark and spread out for light. It takes a while, so be patient with the dark square. In the last row, scumble: fill each square with loose, random squiggles. Heavy, tight scribbles for dark, then lighter pressure and more space for each lighter square.

Tip

Tap the pencil straight down for stippling. Dragging it turns dots into commas.

Keep going

How to Make Mason Jar Luminaries

Products Used

The Checklist

How to Shade With a Pencil

Tools
4
Materials
2
Steps
10
Video
16 min

Tools we recommend

Your Guide

Art with Ms. Eggers

As an Amazon Associate we earn from qualifying purchases. Links on this page may be affiliate links - clicking them and buying doesn't change your price, but helps support CraftingStepByStep.

Tags

Sunday How-To

New crafts tutorials, every Sunday

One short email with the week's best step-by-step guides. Free, no spam, unsubscribe anytime.

Did this work for you?

What's next

Related collections

Curated theme pages that include this tutorial.

Weekly Digest

Liked this crafts tutorial?

Pick the categories you want to hear about. Weekly digest of new step-by-step tutorials. No spam, easy unsubscribe.

Send me tutorials about

We only email about new tutorials. Easy unsubscribe anytime.