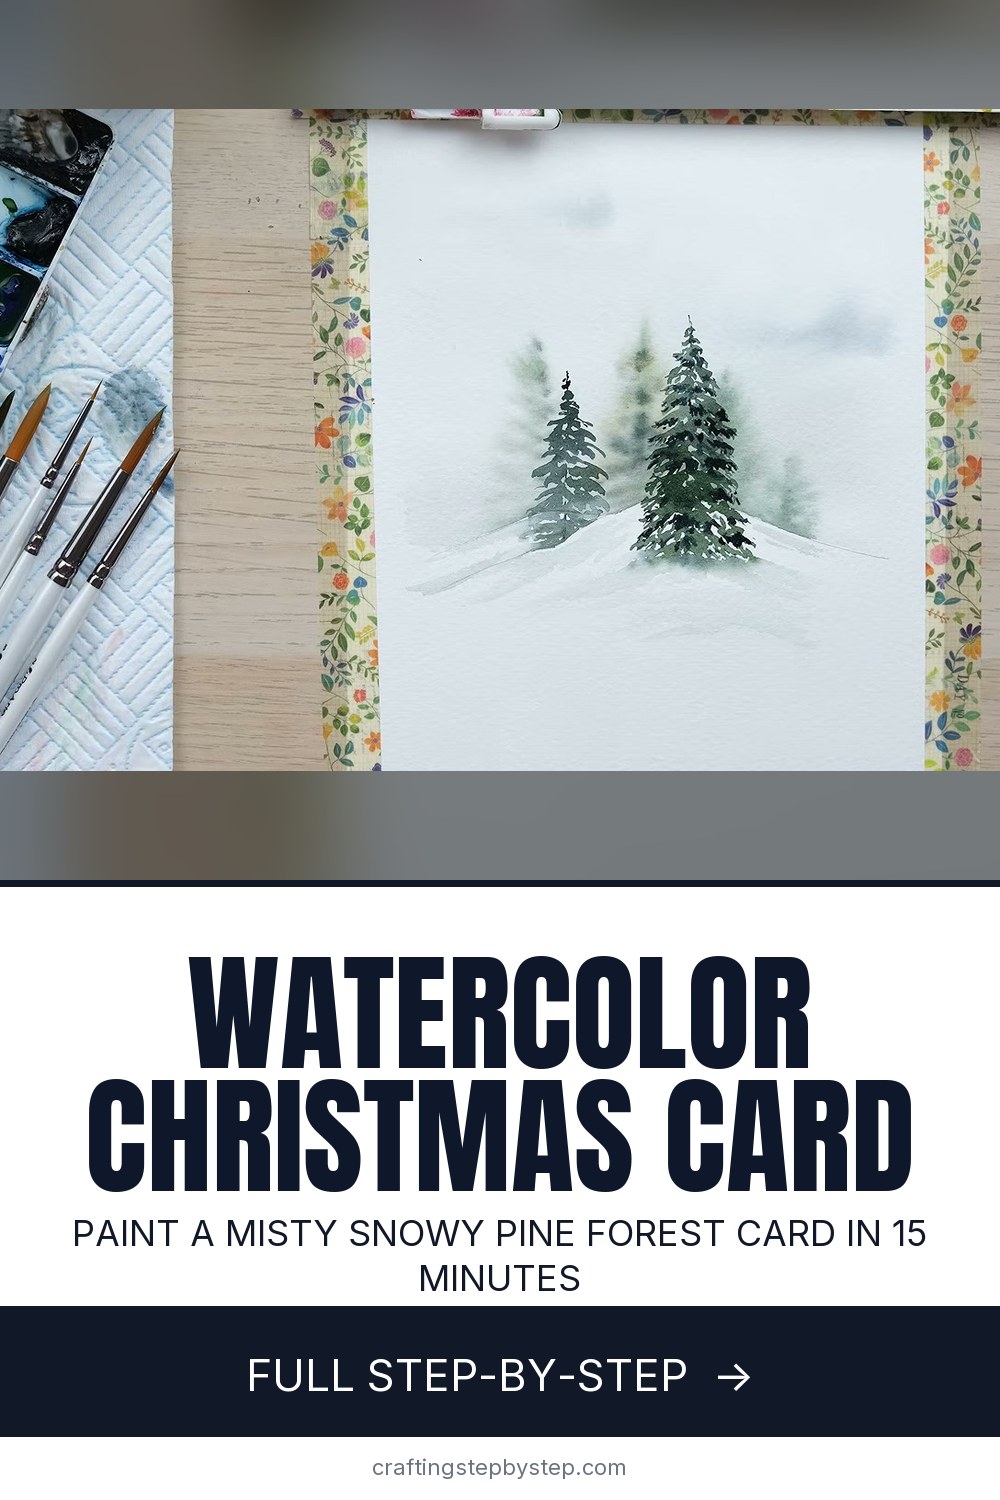
A watercolor Christmas card needs no drawing skill, only water and patience. This one is a quiet snowy pine forest: a pale cloudy sky, a few misty trees in the distance, two crisp pines in front and a white hill of snow. The painter behind the de Winton Paper Co. channel shows it with three colours, a big wet brush and a small pointed one. You can paint a panel in about fifteen minutes once you get the feel.
How to make a watercolor Christmas card: the short version
- Tape a panel of watercolor paper to your table and pencil in a low hill.
- Wet the sky and drop in gray so it spreads into soft cloud.
- While the paper is still damp, scribble in pale distant pines.
- Let it dry. Paint darker, crisp pines in front.
- Shade the snow, let it dry, peel the tape and glue the panel to a card.
Paper weight and card size
Use cold press watercolor paper that is 140 lb (300 gsm). Thin paper or plain cardstock ripples as soon as it gets wet and never lies flat again. Tape the panel down on all four sides before you start. The tape holds it flat while it dries and leaves a clean white border.
For a standard A2 card (4.25 x 5.5 in), cut the panel to 4 x 5.25 in. For a 5 x 7 card, cut it to 4.75 x 6.75 in. That leaves a thin frame of the card base showing around the painting.
Wet-on-wet versus wet-on-dry
Wet-on-wet means painting onto damp paper. The colour spreads and the edges go soft and fuzzy. That is how the sky and the far-off trees get their misty look. Wet-on-dry means painting onto paper that has dried completely. The edges stay sharp, so the front trees look close and clear. The trick is patience. If the paper still feels cool on the back of your hand, it is not dry yet.
Mounting the panel and mailing it
When the painting is bone dry, peel the tape slowly, pulling it back low and away from the painting. Glue the panel to a folded card base with a tape runner, or use foam squares for a raised look. A flat card goes in the post with a regular stamp. A card with foam layers or bows can count as a non-machinable letter, which costs extra postage, so ask at the counter.
Variations
- Colour. Try a navy night sky with white gel pen stars, or dot a few red berries on the front pine.
- For the grandkids. Watercolor pencils are easier to control. Draw the trees, then brush over them with water. Our Christmas tree drawing guide helps with the shape.
- Quicker. Skip the misty trees and paint one crisp pine on a hill.
For more practice, see how to paint a forest and how to paint a tree. To build the card itself, start with how to make a card.
Painting a batch for your Christmas card list
Tape a full sheet into six or eight panels and paint them in rounds. Do every sky, then every misty tree, then every crisp pine while the others dry. No two will match, and that is the charm.
Troubleshooting
- Paper buckled. It was too thin or not taped on all sides.
- Front trees went fuzzy. The paper was still damp. Wait longer.
- Trees look like tents. Keep the branches short near the top.
- Tape tore the paper. Use low tack tape and peel it slowly.