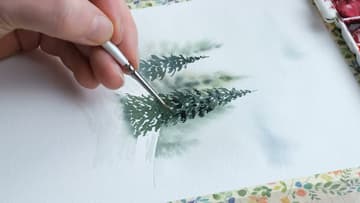
How to Make a Watercolor Christmas Card - Easy Snowy Pine Forest
Source: de Winton Paper Co. • Full tutorial: www.craftingstepbystep.com/card-making/how-to-make-a-watercolor-christmas-card
- Difficulty
- Easy

Tools
- mop brush
- 1 inch flat wash brush
- size 2 round brush
- fine round brush
- pencil
- palette
- water jar
- paper towels
- paper trimmer or scissors
Materials
- 140 lb cold press watercolor paper
- low tack masking or washi tape
- Payne's gray watercolor
- sap green watercolor
- burnt sienna watercolor
- A2 or 5 x 7 card bases with envelopes
- double sided tape runner
Steps
1. Tape the Watercolor Paper Panel Down and Pencil the Snowy Hill
Cut a panel of 140 lb cold press watercolor paper and tape it to your table or a board on all four sides. Low tack masking tape or washi tape works well.
Tip: Press the tape down firmly at the edges so water cannot creep under it.

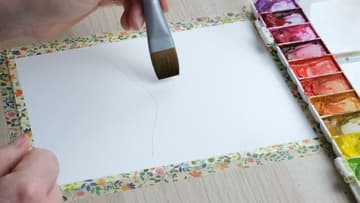
2. Wet the Christmas Card Sky With a Flat Wash Brush
Load a big brush with clean water and wet the whole sky above the pencil line. A soft mop brush covers the open space fast.
Tip: The paper should look shiny, not puddled. Blot any pools with a paper towel.
3. Drop Payne's Gray Into the Wet Sky for Soft Winter Clouds
Mix Payne's gray with a touch of burnt sienna and blue so it is not too cold. Touch the brush to the damp sky and swish a little colour in here and there.
Tip: Stop sooner than you think. Colour keeps moving for a minute after you lift the brush.

4. Paint a Misty Pine Tree Into the Damp Watercolor Sky
Mix sap green with Payne's gray and burnt sienna to get a dull, gray green. Distant trees look faded through winter haze, so keep them pale.
Tip: If the tree spreads into a blob, the paper was too wet. Wait a little longer.
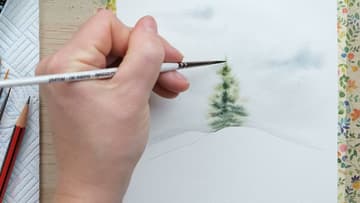
5. Add More Pale Pine Trees to the Misty Forest
Paint two or three more pale pines behind and beside the first one. Start each with a vertical line and keep the brush light and quick.
Tip: Practice a few trees on scrap paper first to find the scribble motion.
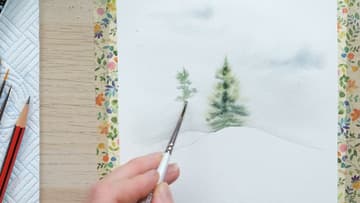
6. Paint a Crisp Dark Pine Tree on the Dry Watercolor Paper
Now switch to wet-on-dry. Add more Payne's gray to your green so it is deep and dark.
Tip: Angle the branch strokes slightly downward. It makes the pine look weighed down with snow.
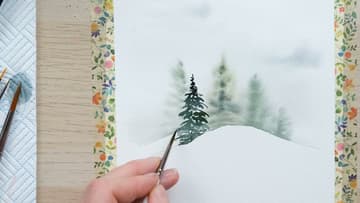
7. Paint the Large Foreground Pine Tree for the Card
Draw a longer trunk line for the main tree, so you see the whole of it. Build the branches from the top down with the same scribble.
Tip: Turn the paper as you work so your hand is always comfortable.
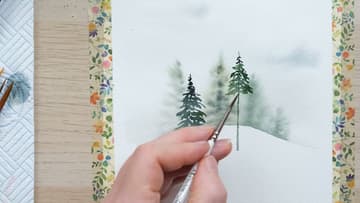
8. Soften the Pine Tree Base Into a Snowy Hill Shadow
Rinse your brush and blot it. Touch it to the wet paint at the bottom of the tree and pull it sideways into the hill.
Tip: Keep the shadows pale. A little goes a long way on white snow.
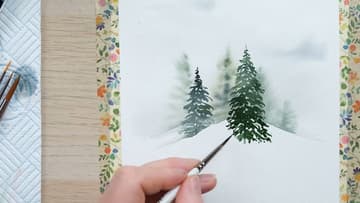
9. Add Dark Low Lights to the Front Pine and Finish the Card
With a fine round brush and almost pure Payne's gray, add a few dark marks low on the front pine. This extra depth pulls the tree forward.
Tip: Sign and date the back. Hand-painted cards often get kept for years.