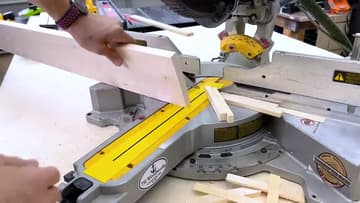
How to Use a Miter Saw
Source: 731 Woodworks • Full tutorial: www.craftingstepbystep.com/woodworking-crafts/how-to-use-a-miter-saw
- Difficulty
- Medium
- Hands-on time
- About 30 minutes
- Cost
- About $25 to $40
Tools
- 10-inch miter saw
- speed square
- tape measure
- pencil
- safety glasses
- hearing protection
- dust mask
- shop vac or dust extractor
- miter saw stand or miter station
Materials
- 2x4 or other lumber
- carbide-tipped 60 or 80 tooth saw blade
- zero-clearance tape (optional)
Steps
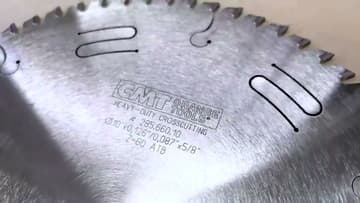
1. Upgrade the Stock Blade
Almost every miter saw ships with a 32-tooth blade meant for rough framing - 2x4s on a job site. That blade tears the fibers on furniture-grade lumber and leaves a fuzzy edge you'll spend extra time sanding.
Tip: Always unplug the saw or pull the battery before you change a blade. Use the spindle-lock button and the supplied arbor wrench. Snug, not gorilla-tight.
2. Check the Blade Is Square to the Fence
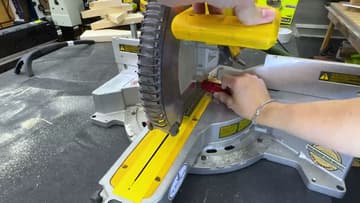
A miter saw can drift out of square just from being moved across a shop or driven to a jobsite. Before you trust it for anything important, take two minutes to verify.
Tip: If you do nothing else after buying a saw, do this check. A blade that's 1 degree out of square will compound across long boards and ruin every miter joint in a picture frame.
3. Wear a Dust Mask and Hook Up Dust Collection
Miter saws are the worst dust producers in a small shop. The spinning blade fires fine sawdust straight at your face and into the air around you.
Tip: Leave the mask on while you assemble too. The dust hangs in the air for 15-20 minutes after the saw stops.
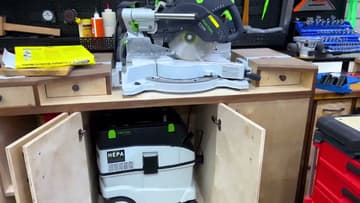
4. Plant Your Hands Correctly (Never Cross Your Arms)
The single most dangerous habit on a miter saw is reaching across the blade to hold the workpiece. If you're right-handed, your right hand operates the trigger and your left hand stays on the left side of the blade, holding the board against the fence.
Tip: If a cut would force you to reach across the blade, stop. Flip the board around or move to the other side of the saw.
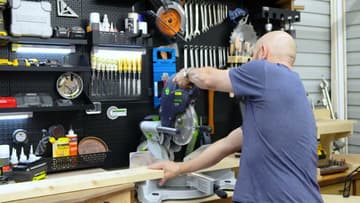
5. Support Both Sides of the Material
A miter saw cuts a board in half. The moment the cut completes, whichever side isn't supported drops.
Tip: Run your hand across the joint where the saw bed meets the table. If you can feel a bump or a dip, shim or sand it flush.
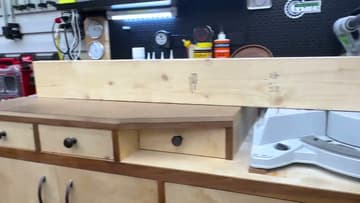
6. Make the Cut - Spin Up, Ease Down, Let It Stop
There's a right rhythm to a miter saw cut and beginners almost always rush it. Pull the trigger first and let the blade reach full speed before it touches the wood.
Tip: Listen to the saw. If the motor pitch drops, you're pushing too fast. Back off, let it recover, then continue. A smooth cut sounds boring. That's the goal.
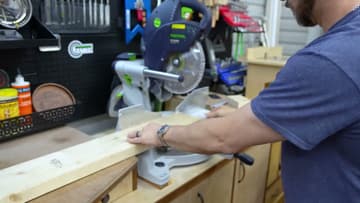
7. Slide the Fence Out Before Bevel Cuts
On most miter saws, the top half of the aluminum fence slides outward. For straight 90-degree crosscuts, keep it close to the blade - it gives a tall workpiece more support and a flatter reference surface.
Tip: Most saws have a hard stop on the fence at the fully-outboard position. Slide all the way until it stops, then come back if you need a smaller offset.
8. Add Zero-Clearance to the Throat Plate
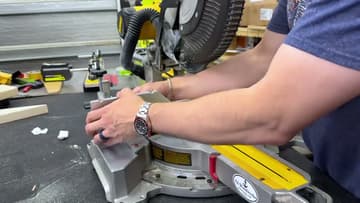
The throat plate is the yellow or metal piece directly under the blade with the slot the blade passes through. From the factory, that slot is wide - sometimes a half inch on either side of the blade - so the saw works at any bevel angle out of the box.
Tip: If you're worried the throat plate adjustment will throw off cuts, lay a steel straight edge across the bed and check the height.