How to Use a Circular Saw

By CraftingStepByStepPublished

Based on a video by Steve Ramsey - Woodworking for Mere Mortals.

A circular saw is the most useful handheld power tool in any shop, and probably the first power tool most beginners should learn. It's portable, affordable, and surprisingly capable - you can build real woodworking projects with nothing more than a circular saw, a jigsaw, and a clamp or two. No table saw, no fancy shop, no problem.

This walkthrough comes from Steve Ramsey at Woodworking for Mere Mortals, who built his early projects on the roof of his apartment with an extension cord dropped through the kitchen window. If anyone knows how to teach circular saw basics without a giant shop, it's Steve. Below you'll learn the parts of the saw, how to pick and change blades, how to set cut depth, how to support your workpiece so you don't kick back, and how to use a speed square as a poor-man's miter station.

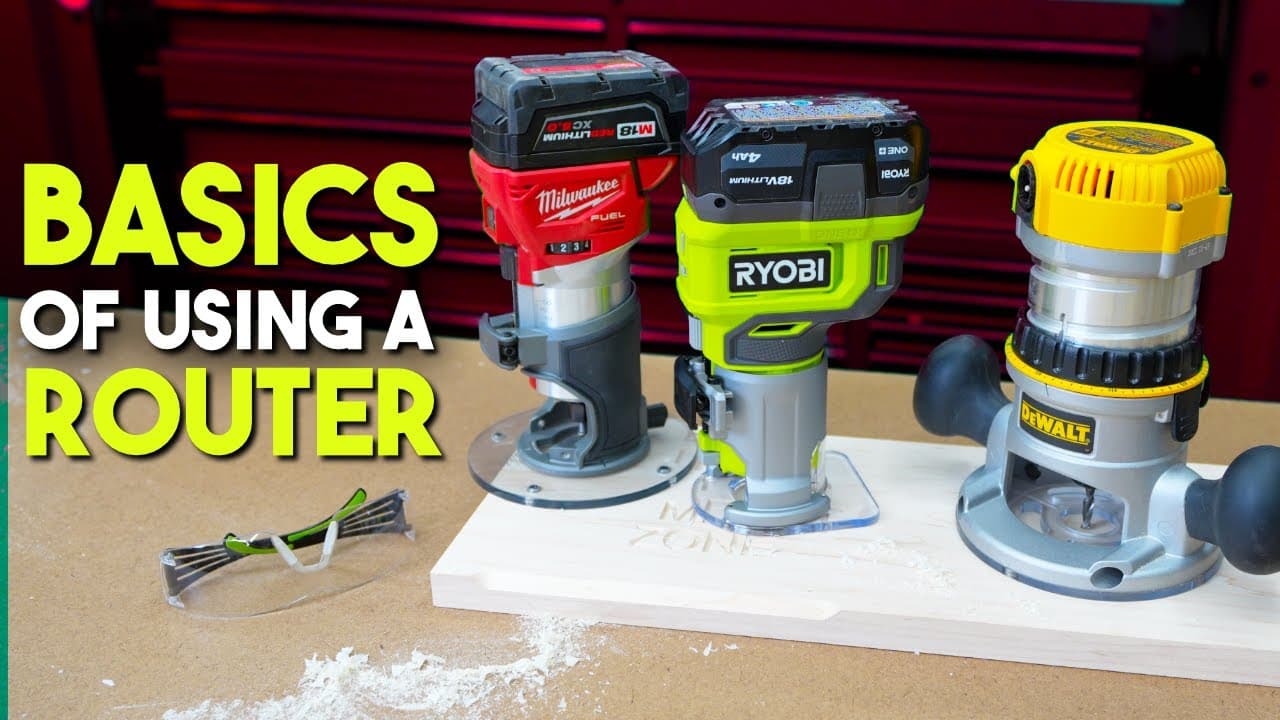
If you're building out a starter shop, pair this with our guides on how to use a drill and how to use a miter saw - those three tools cover about 80% of what most DIY and woodworking projects need. Once you're comfortable with cuts, check out how to use a router to add edge profiles and joinery.

Step-by-Step Guide

1

Get to know your circular saw

2:05
Step 1: Get to know your circular saw

Learn the main parts before you flip the switch. A circular saw has two handles for two-handed control, with the trigger on the rear handle. Some saws add a safety button you press first to prevent accidental starts. The blade usually sits to the right of the motor, though lefties can buy left-handed versions where the blade lives on the other side.

The flat base plate rides against the wood and keeps the blade square to the cut. Aluminum bases are lighter and cheaper. A steel base costs more but flexes less, which means cleaner cuts when you're going to use the saw a lot. For most home DIYers, either works fine.

Tip

Look for a 7-1/4 inch corded saw for your first one. It's the most common size, the blades are cheap and widely available, and you'll never run out of battery mid-cut.

2

Pick the right blade for the job

3:40
Step 2: Pick the right blade for the job

Most 7-1/4 inch saws ship with a 24-tooth carbide-tipped combination blade, and that handles almost everything you'll throw at it - framing lumber, plywood breakdown, deck boards. Use a finer cross-cut or plywood blade (up to 140 teeth) when you need clean edges on plywood or finished lumber and want to keep splintering to a minimum.

Always unplug the saw before swapping blades. Every saw has its own quirk for the lock and the bolt direction, so check the manual. Press the spindle lock button, loosen the bolt with the included hex key, pull off the outer flange, then drop in the new blade with the teeth pointing toward the front of the saw. Arrows on the blade and saw should line up.

Tip

The blade spins counterclockwise (when viewed from the blade side) and cuts on the upstroke. That means the back of the blade is what bites into the wood first. If the logo is showing, you've got it facing the right way.

3

Set the cut depth

6:12
Step 3: Set the cut depth

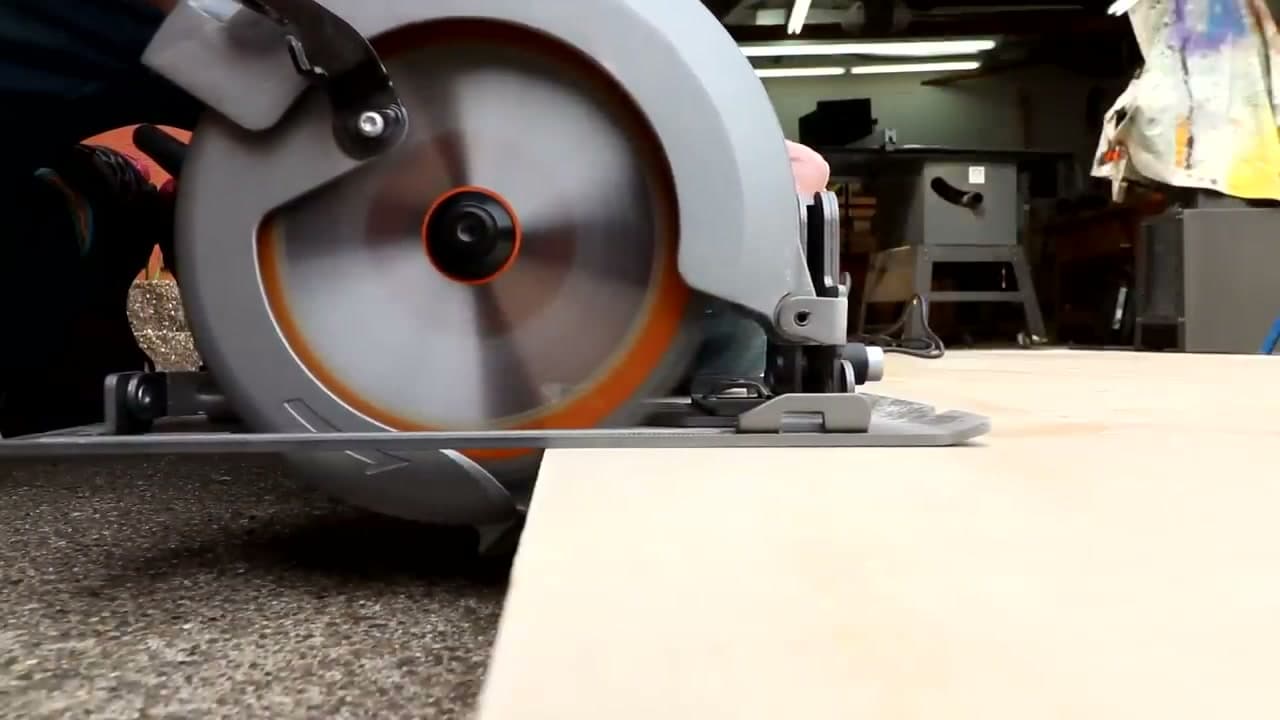
Unlock the depth lever on the side of the saw and rest the saw next to your board. Adjust so the blade pokes just barely below the bottom of the wood, then lock the lever back down. About a quarter-inch of blade peeking through the bottom is the sweet spot.

Too deep wastes motor power and exposes more spinning blade than you need, which is a safety problem. Too shallow won't cut all the way through and you'll end up with a hinge of uncut wood. Some saws have a scale on the depth gauge that calls out the right setting for standard lumber thicknesses like 1x and 2x stock.

Tip

Hold the saw next to the edge of your workpiece with the blade alongside the wood, not on top of it. That way you can eyeball the blade-tooth depth directly against the board thickness.

4

Mark your cut line

6:35
Step 4: Mark your cut line

Measure twice with your tape, then draw a clean pencil line where the cut needs to be. For rough framing or breaking plywood down into smaller manageable pieces, a freehand pencil line is plenty. You'll square it up on a table saw later if it matters.

The saw's base plate has two notches at the front edge - one lines up with the blade for square 90-degree cuts, the other for bevels. You'll track that notch along your pencil line as you push the saw forward. Some woodworkers prefer to sight down at the blade itself from the side rather than trust the notch. Try both and see which feels more accurate to you.

Tip

Use a marking knife instead of a pencil if you need accuracy down to a 32nd of an inch. The blade catches the knife groove and tracks cleaner than a 1/16th-inch-wide pencil line.

5

Support the workpiece

4:55
Step 5: Support the workpiece

Clamp your board to a pair of sawhorses, but only clamp the keeper side - not the off-cut. If both halves are pinned down, the wood can collapse inward at the end of the cut and bind the blade. A bound blade means kickback, where the saw lunges back toward you. Not as scary as table saw kickback, but still a problem.

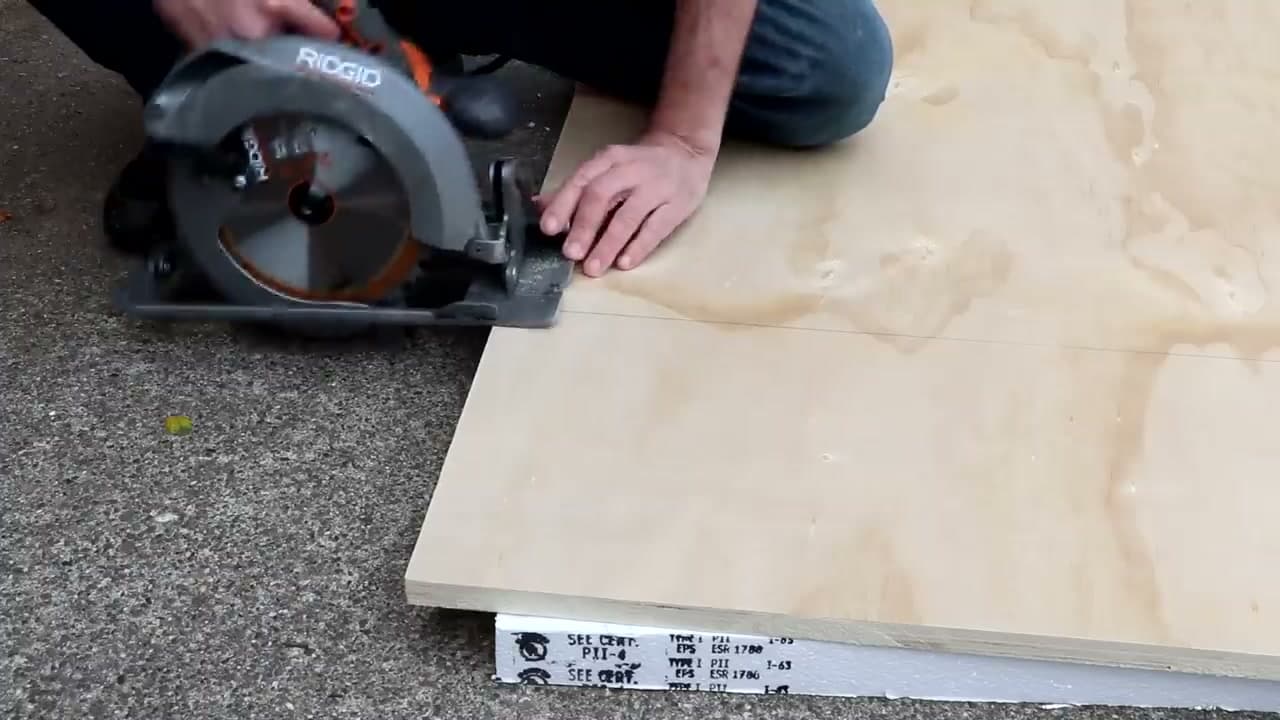
For most cuts, Steve actually prefers laying the whole sheet of plywood on the ground on top of a sheet of foam insulation. The foam supports the entire cut from underneath, so the off-cut never sags and the blade never pinches. Set your depth so the blade just barely scores the foam and you're golden.

Tip

The foam-on-the-ground trick is a game changer for breaking down full 4x8 sheets of plywood in a garage. You don't even need clamps because the weight of the sheet keeps it put.

6

Wear your safety gear

7:05
Step 6: Wear your safety gear

Put on safety glasses every single time. A circular saw throws chips and sawdust right back toward your face, and you only get one pair of eyes. Hearing protection matters too, especially indoors or for long sessions - circular saws scream at around 100 decibels.

A dust mask is smart when you're cutting plywood (the glues kick out unpleasant dust) or treated lumber. Position your body to the side of the saw, never directly behind it. If the saw ever kicks back, it lunges straight back toward the operator. Standing off to the side keeps that line clear.

Tip

Don't wear gloves when running a circular saw. If a glove finger gets pulled into the blade, your hand goes with it. Bare hands give you better feel and a cleaner break if anything snags.

7

Start the saw and feed it into the wood

7:15
Step 7: Start the saw and feed it into the wood

Rest the front of the base plate flat on the wood with the blade clear of the edge - the blade should not be touching the wood when you pull the trigger. Squeeze the trigger, let the blade come up to full speed for a half-second, then feed the saw forward into the cut.

Don't push the blade into the wood before it's spinning - that's a recipe for instant kickback. The blade grabs, the saw lunges, and you lose control. Track that notch on the base plate along your pencil line as you go. If you find sighting the notch awkward, look down at the blade from the left side instead - whichever lines up better with your dominant eye.

Tip

Never lift the blade guard manually unless you have to (like for plunge cuts). It retracts on its own when the saw hits wood. Lifting it exposes a live blade for no good reason.

8

Push steady and finish the cut

7:40
Step 8: Push steady and finish the cut

Move at a steady pace. Too slow and the wood burns and the motor bogs. Too fast and you force the blade, which makes it bind and risks kickback. Let the saw do the work - you're guiding it, not pushing through.

When you reach the end of the cut, push all the way through and let the off-cut drop (or get caught by your foam underneath). Release the trigger and let the blade slow down completely before you lift the saw. The blade guard springs back automatically to cover the blade, so once you've released the trigger you can safely set the saw down on its base plate while it spins down.

Tip

If the saw ever binds mid-cut, release the trigger first - don't try to muscle through. Then back the saw out, check that the wood isn't pinching, and restart the cut with the blade spinning before it re-enters the kerf.

9

Use a guide for straight, accurate cuts

8:10
Step 9: Use a guide for straight, accurate cuts

Freehand cuts are fine for rough work, but to get table-saw-clean results you need a guide. Clamp anything straight to your work piece - a factory-cut plywood edge, a long level, or a store-bought saw guide. The base plate rides along the guide and the blade tracks dead-straight from end to end.

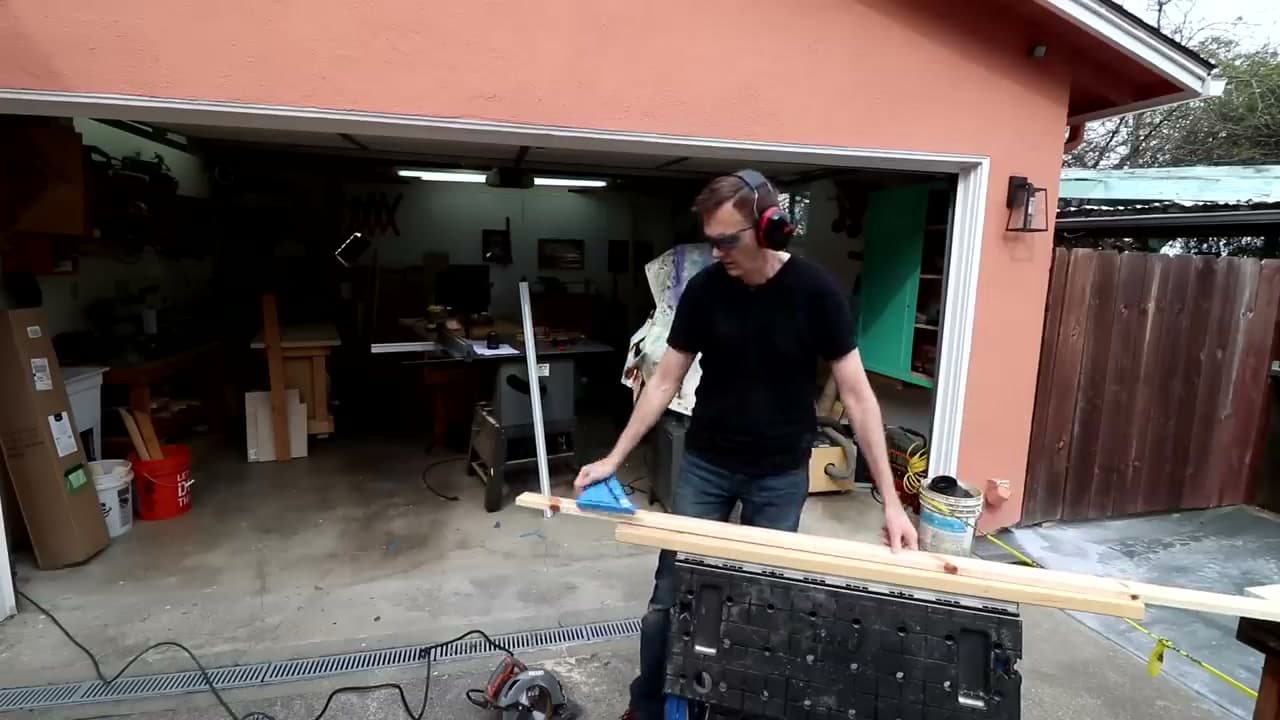
For accurate crosscuts on 2x4s and other dimensional lumber, hook a speed square against the edge of the board so the lip catches the side, then run the base plate alongside the square. The square stays put because the cutting force pulls it tight against the board. That one trick alone replaces a miter saw for most quick crosscuts on framing lumber.

Tip

Measure the distance from the edge of the saw base plate to the blade, then offset your guide by that exact amount from your cut line. Most 7-1/4 inch saws have about a 1-1/2 inch offset on the wider side of the base plate.

Products Used

☐ The Checklist

How to Use a Circular Saw

Tools
7
Materials
1
Steps
9
Video
9 min

Your Guide

Steve Ramsey - Woodworking for Mere Mortals

As an Amazon Associate we earn from qualifying purchases. Links on this page may be affiliate links - clicking them and buying doesn't change your price, but helps support ShowMeStepByStep.

Tags

What's next

Weekly Digest

Liked this woodworking crafts tutorial?

Pick the categories you want to hear about. Weekly digest of new step-by-step tutorials. No spam, easy unsubscribe.

Send me tutorials about

We only email about new tutorials. Easy unsubscribe anytime.