How to Make a Wooden Box: 5-Step Beginner Build

The finished result: How to Make a Wooden Box: 5-Step Beginner Build
  • Difficulty: Medium
  • About 1 hour 30 minutes, plus 8 hours to dry or set
  • 5 steps

You tapped Save

Save this project for later

We'll email you a link, no password.

How to Make a Wooden Box: 5-Step Beginner Build

  • Your saved projects in one list
  • Your ticked steps on any device

Check your inbox for an email from us. Not there? Look in your spam folder.

Print

Steps written out by Crafting Step by Step from Steve Ramsey - Woodworking for Mere Mortals' video (opens YouTube) (10:24). Published .

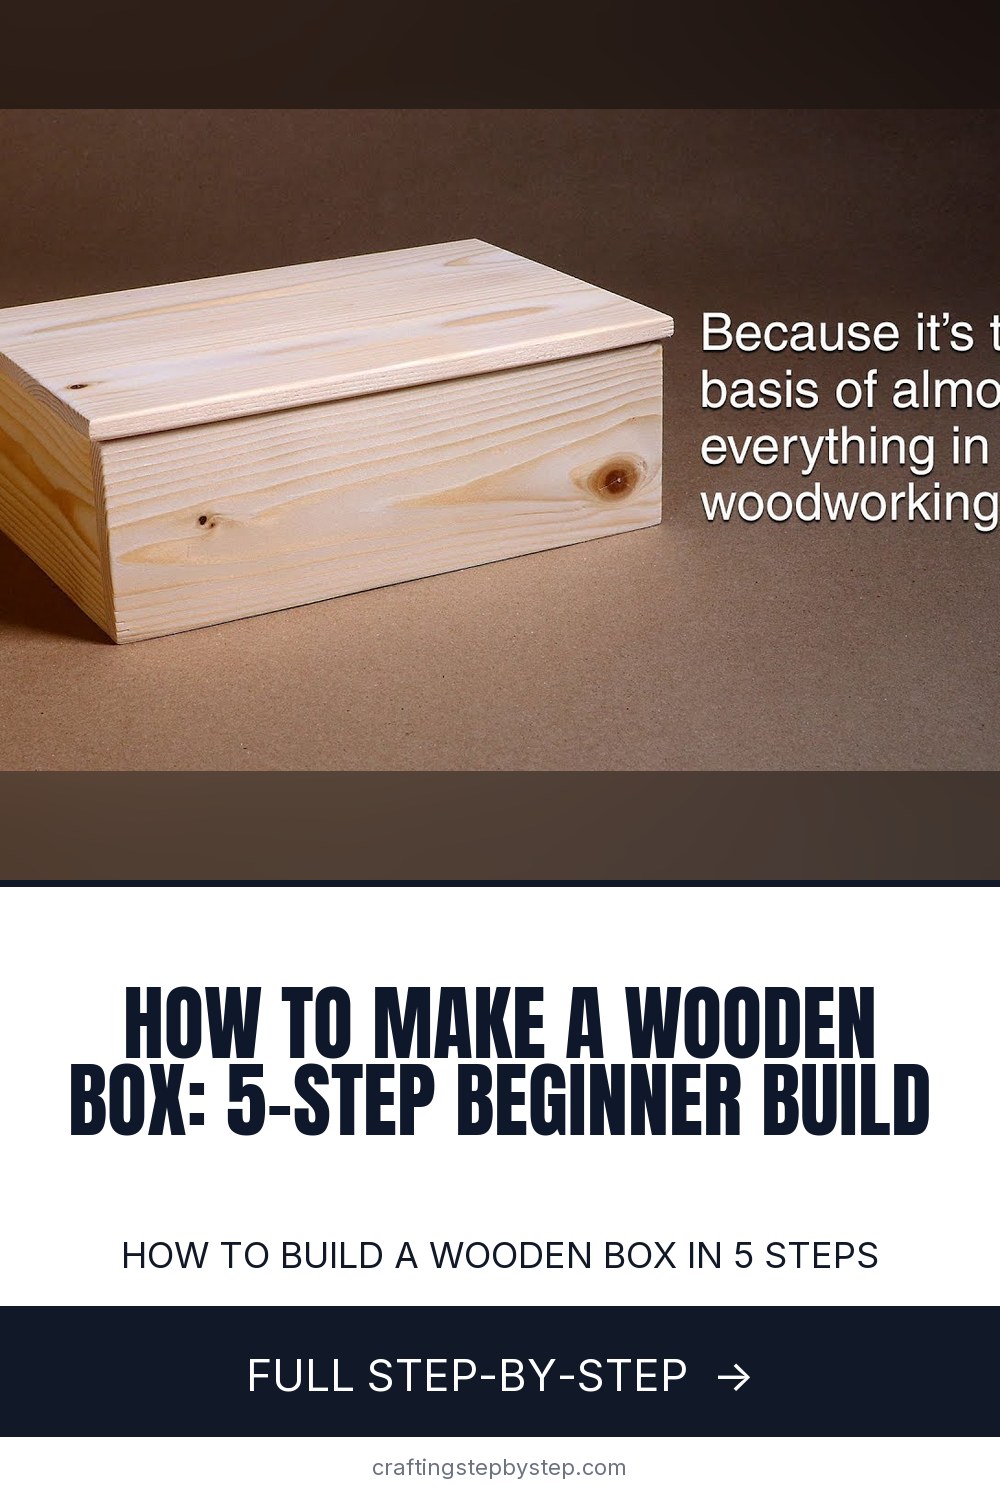
How to build a wooden box is one of the best beginner woodworking projects there is. The wooden box frame uses rabbit joints - a basic step up from butt joints - and once you've made one box you can construct a wooden box, drawer, cabinet carcass, or bookcase using the same five steps.

This walks through how to make a wooden box from milled lumber to glued-up frame. Keep the rabbit depth at half the stock thickness and the corners stay flush. Once you've built one, scale the dimensions up for a keepsake box, a tool tray, or a small drawer carcass. For the prerequisite power tool skills, see how to use a drill, miter saw basics, circular saw basics, router basics, and how to use a jointer.

Frequently asked questions

What kind of wood is best for a beginner wooden box build?

Pine or poplar from the home center. Both are cheap, soft enough to cut cleanly with basic tools, and forgiving if your rabbit joints aren't perfect on the first try.

Can I build a wooden box without a router or table saw?

Yes. You can cut rabbit joints with a circular saw and a chisel, or skip the rabbits entirely and use butt joints with brad nails and glue - slightly weaker but still solid for a small box.

How long does it take to build a wooden box?

Plan for 2-3 hours start to finish if you're new. Most of that is glue dry time. Active cutting and assembly is about 45 minutes once the lumber is milled to size.

Do I need clamps to glue up a wooden box frame?

You need at least four bar clamps or quick clamps, one per corner. Box joinery wants even pressure on all four sides while the glue sets, or the frame will rack out of square.

Free printable

Print the steps and supply list for this project

One page you can take to the table. Free with a free account, no password.

Get the free printable

Quick answer

How to build a wooden box in 5 steps. A medium project: about 1 hour 30 minutes, plus 8 hours to dry or set. Materials cost about $15 to $35. The 5 steps: cut the Sides to Size, glue Up the Lid Panel, cut the Rabbit Joints, glue and Clamp the Box and sand and Finish.

Step-by-step guide

5 steps, about 10 minutes. Tap a picture to jump to that step. Your progress saves automatically.

Tick each step off as you go.

  1. Step 1: Cut the Sides to Size

    Watch this step · 1:10

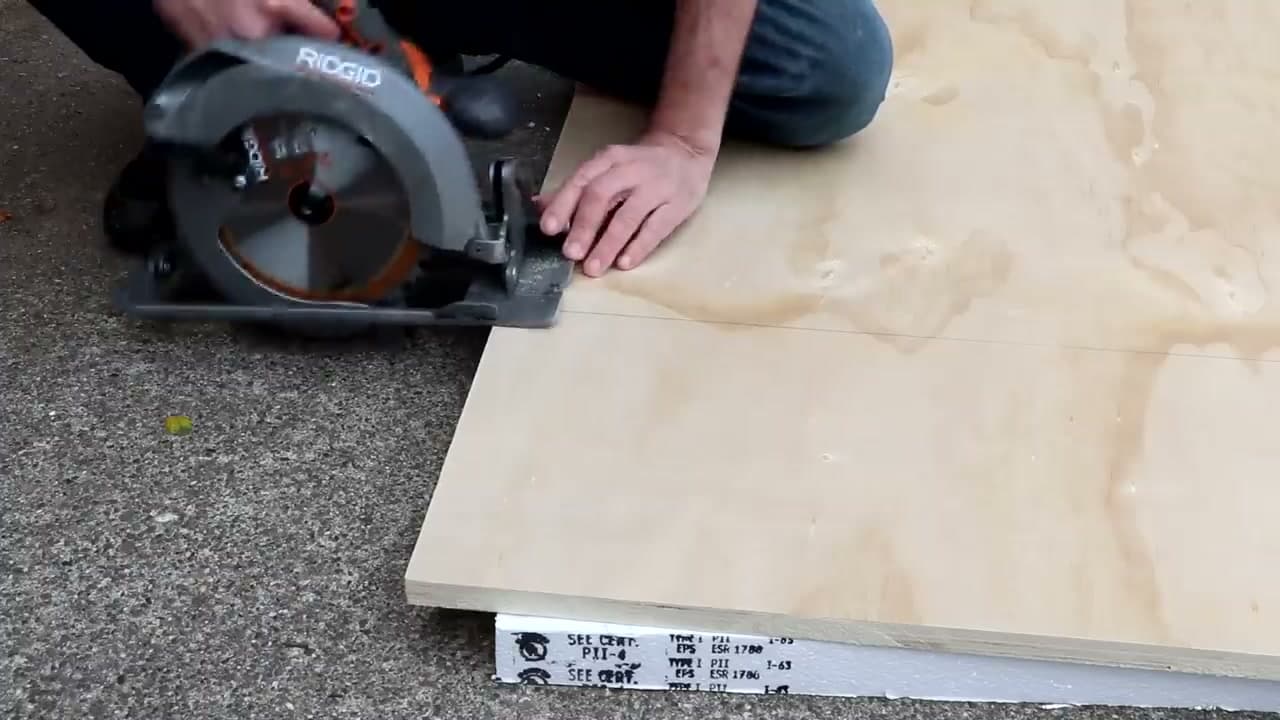
    Cross-cut the four sides of your box to length on a miter saw or with a circular saw and speed square. Then rip them all to the same width on a table saw - clean one edge first, flip the board around, then rip to final width.

    Cut two more pieces for the lid (you'll glue these into a wider panel in the next step). Set the lid pieces aside.

    Tip:

    Cut all four sides at the exact same time using a stop block or saw fence. Even a 1/16 inch difference in length means the box won't be square when you glue it up.

    Back to all steps

  2. Step 2: Glue Up the Lid Panel

    Watch this step · 1:50

    The lid is wider than your single board allows, so glue two pieces edge-to-edge to make a wider panel. Apply wood glue along both edges, fit them together, and clamp gently with bar clamps.

    Place cauls (scrap wood with packing tape on them so glue doesn't stick) above and below the panel. The cauls keep the joint flat. Look for a small bead of glue squeezing out - that means you have enough. Let cure for at least an hour.

    Tip:

    Don't over-tighten the clamps. Hard clamping makes the boards bow up in the middle. Gentle pressure with several clamps gives a flat panel.

    Back to all steps

  3. Step 3: Cut the Rabbit Joints

    Watch this step · 4:50

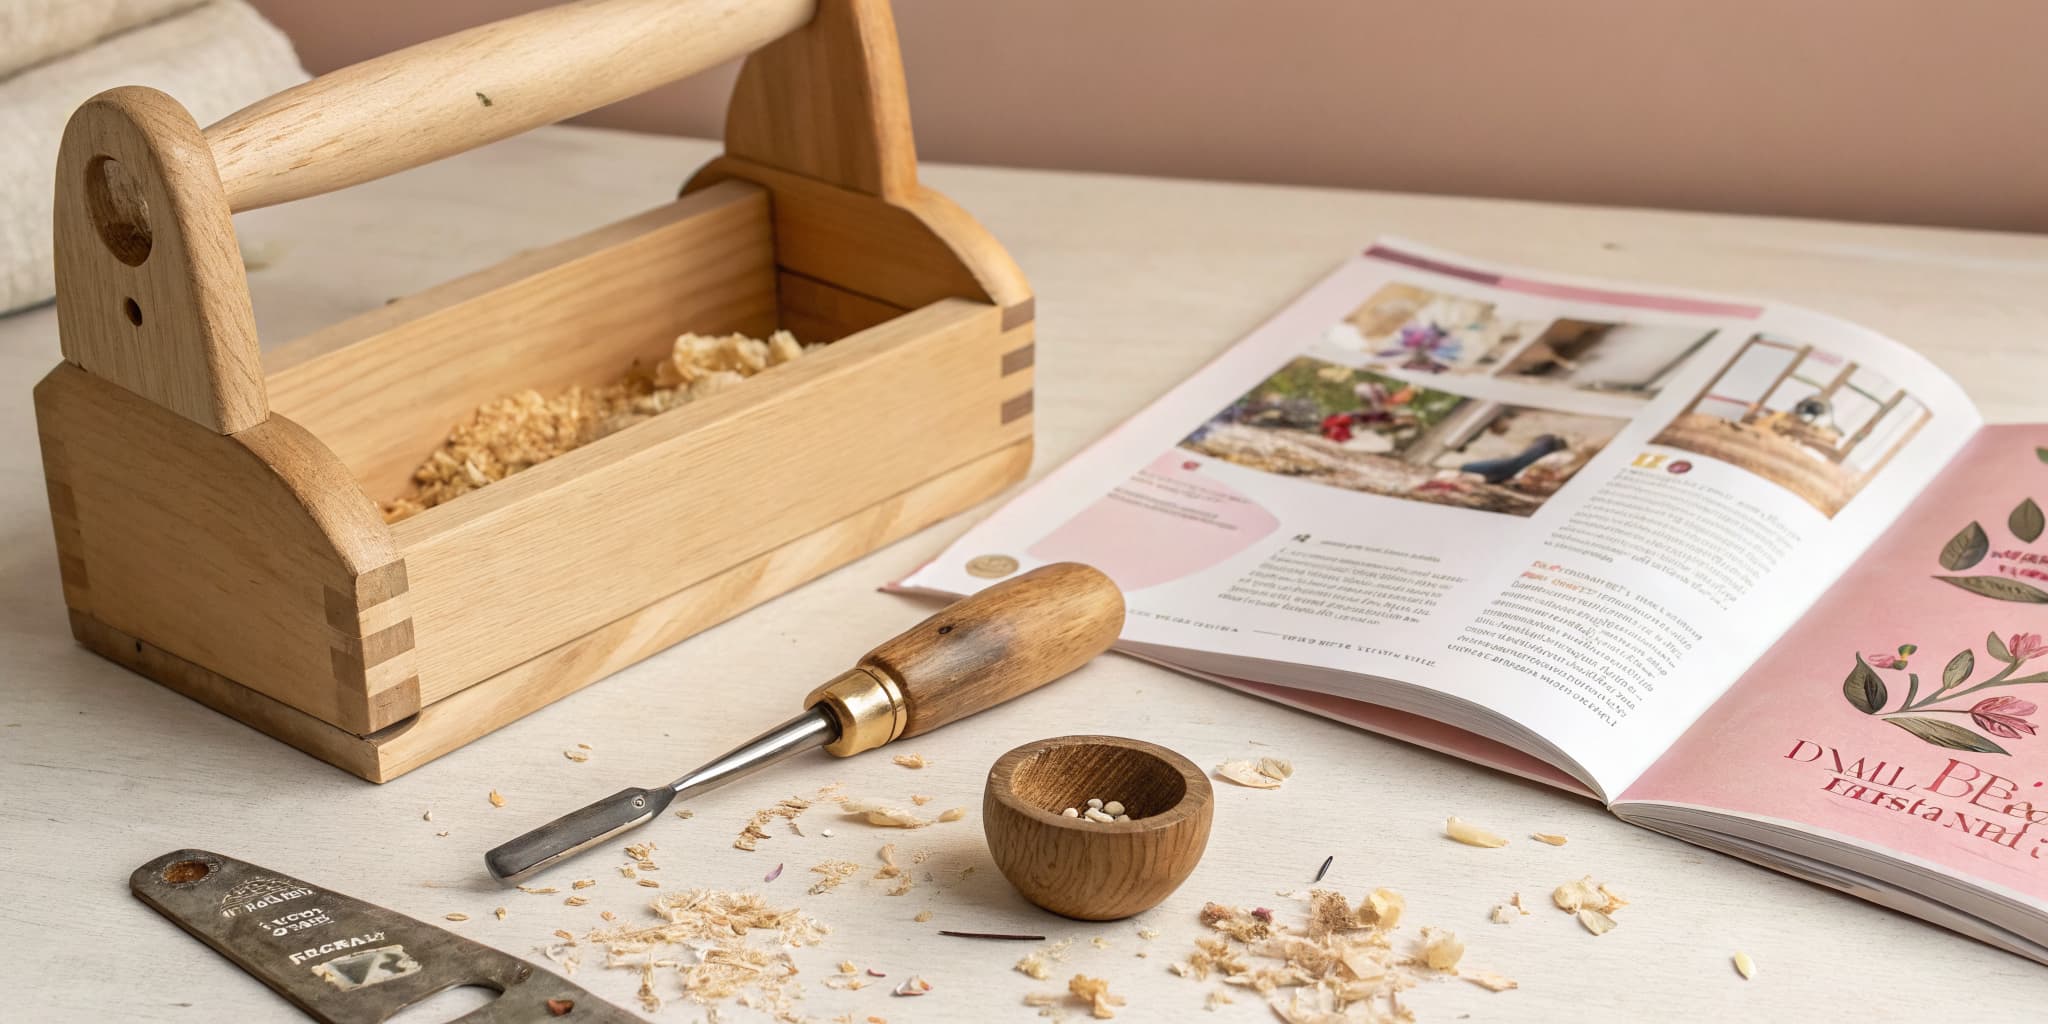
    A rabbit is an L-shaped notch on the end of one board that another board sits into. Cut a rabbit on the inside edge of two opposite sides - the depth equals your wood thickness, the width is whatever looks proportional (3/8 inch is typical).

    Use a router with a rabbiting bit, a stack of dado blades on a table saw, or just multiple regular table saw passes. The table saw method is the most accessible - set the blade height to your rabbit depth, set the fence to the rabbit width, and run each end.

    Tip:

    Always use a push block or push stick when cutting small rabbit pieces on a table saw. Your fingers should never come within 6 inches of the blade.

    Back to all steps

  4. Step 4: Glue and Clamp the Box

    Watch this step · 7:50

    Apply wood glue to both rabbit faces. Fit the four sides together so the rabbits seat into the matching boards. Apply bar clamps across both directions - front-to-back and side-to-side - to pull the joints tight.

    Check for square by measuring the diagonal corners. If both diagonal measurements match, the box is square. If they don't match, loosen the clamp on the longer diagonal and re-tighten. Wipe excess glue with a damp rag while it's still wet.

    Tip:

    Speed clamps are easier than bar clamps for this if your box is small. Either works - the goal is even pressure on all four sides.

    Back to all steps

  5. Step 5: Sand and Finish

    Watch this step · 10:10

    Once the box is dry (a few hours), trim the glued-up lid panel to the exact size on the table saw. Attach with hinges or just place it on top.

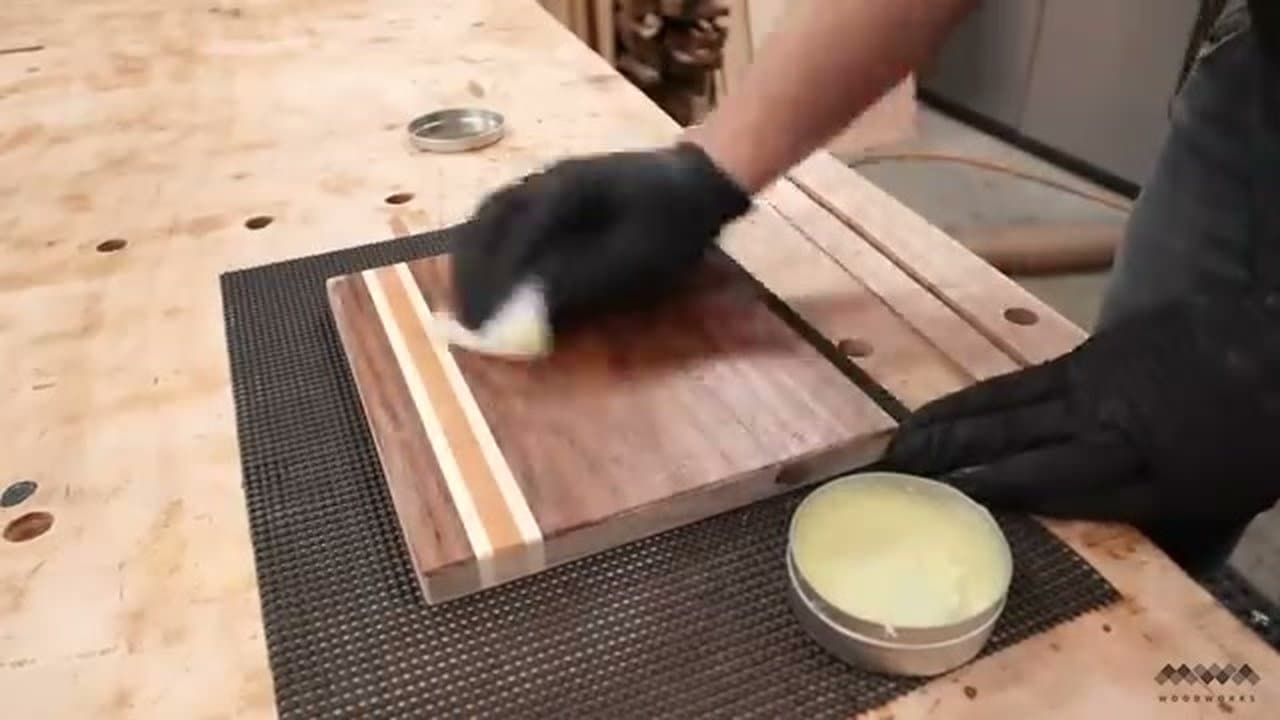
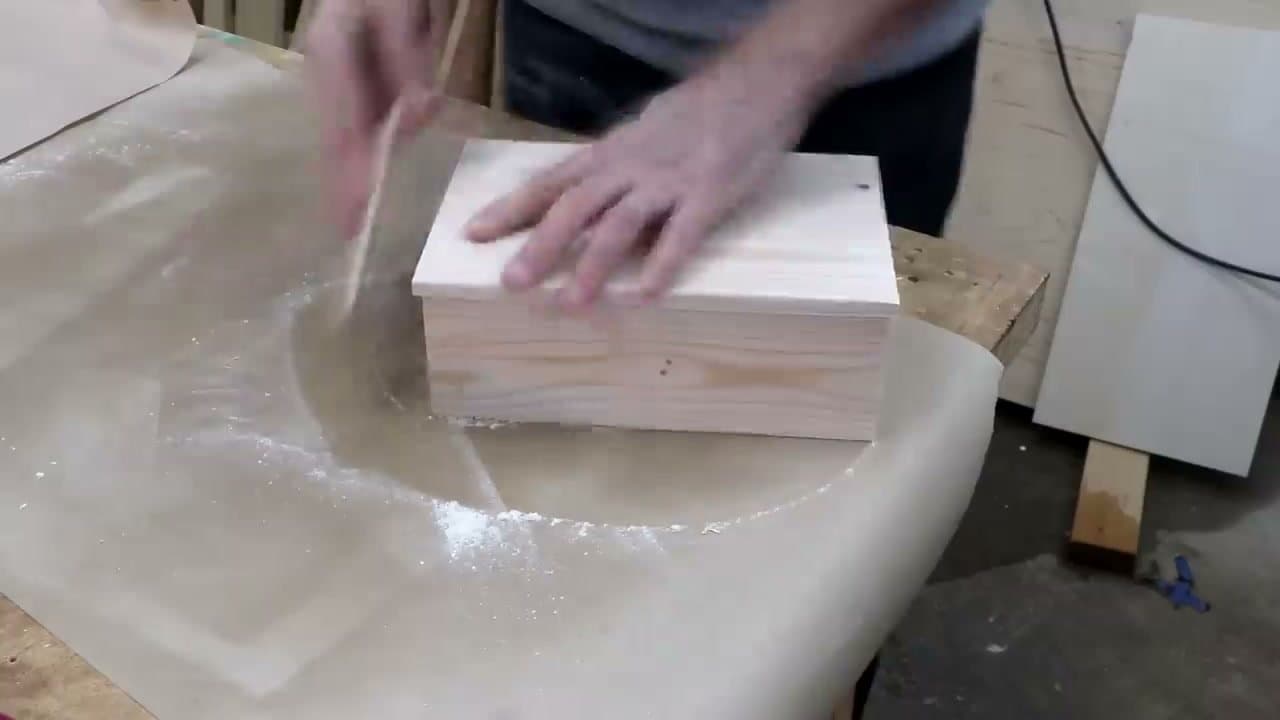
    Sand the entire box with 120 grit, then 220 grit. Apply a wipe-on poly or tung oil finish with a clean rag - two thin coats with a light sand between is better than one thick coat. Let cure overnight before using.

    Tip:

    Wipe-on poly is forgiving and beginner-friendly. Spray finishes look great but require ventilation and a steady hand. Stick with wipe-on for your first few projects.

    Back to all steps

How to Make a Wooden Cutting Board (with Minimal Tools)

Keep going

How to Make a Wooden Cutting Board (with Minimal Tools)

8 steps · about 10 minutes

Keep going with woodworking crafts

More on this topic, picked for this wooden box.

You reached the last step

Save this project to come back to it

Your ticked steps, the free printable and your other saved makes, together in My Projects. Free, no password.

You tapped Save

Save this project for later

We'll email you a link, no password.

How to Make a Wooden Box: 5-Step Beginner Build

  • Your saved projects in one list
  • Your ticked steps on any device

Check your inbox for an email from us. Not there? Look in your spam folder.

Free printable

Printable sheet for this project

The bonus is hidden until you sign up.

Free with a free account, no password. Every step above stays open to everyone.

Products Used

Tools we recommend

As an Amazon Associate we earn from qualifying purchases. Links on this page may be affiliate links - clicking them and buying doesn't change your price, but helps support Crafting Step by Step.

Tags

The Crafter's Weekly

New woodworking crafts tutorials, every Sunday

One short email with the week's best step-by-step guides. Free, no spam, unsubscribe anytime.

Test your knowledge

Did the lesson stick? Start with this one.

5 questions covering what you just read. No signup, no score saved, and you can stop after this one.

Question 1 of 5

What is a rabbet joint?

Quick reference

Key takeaways from How to Make a Wooden Box: 5-Step Beginner Build

5 questions, answers, and one-line explanations. Tap to expand.

  1. 1.What is a rabbet joint?

    Answer: An L-shaped notch

    The L-shape gives glue surface area AND mechanical alignment. It's the joint used for drawers, cabinets, bookcases, small furniture.

  2. 2.Why use cauls above and below a glued panel?

    Answer: Keeps the panel flat

    Bar clamps pull the joint in-plane, but the panel can also bow up or down. Cauls keep it dead flat as it dries.

  3. 3.How to confirm a clamped box is square?

    Answer: Measure both diagonals

    Equal diagonals = a perfect rectangle. If they differ, loosen the long-diagonal clamp slightly and re-pull.

  4. 4.Sanding grit order on a finished box?

    Answer: 120 then 220

    120 knocks down high spots; 220 polishes for finish. Skipping 120 leaves visible scratches under poly.

  5. 5.Best way to apply wipe-on polyurethane?

    Answer: Two thin, sand between

    Thin coats cure properly without runs. The light sand between gives the second coat something to grip.

Did this work for you?

What's next

Related collections

Curated theme pages that include this tutorial.

Similar tutorials

Hand-picked next reads based on the one you just finished.

Liked this woodworking crafts tutorial?

Pick the crafts you want to hear about. One email every Sunday with new step-by-step tutorials. No spam, easy to unsubscribe.

Get more like this in your inbox

Weekly digest. Pick the categories you want. Unsubscribe anytime.

Send me tutorials about

We only email about new tutorials. Easy unsubscribe anytime.