How to Build a Wooden Planter Box (Simple Straight-Cut Build)

Woodworking CraftsEasy11:559 stepsBrowse more →

By CraftingStepByStepPublished

Based on a video by My Everyday D.I.Y..

This is Pedro's simple wooden planter box from My Everyday D.I.Y., and the whole thing goes together with nothing but straight cuts. No angles, no fancy joinery, no router. If you can run a board across a miter saw and drive a screw, you can build this in an afternoon.

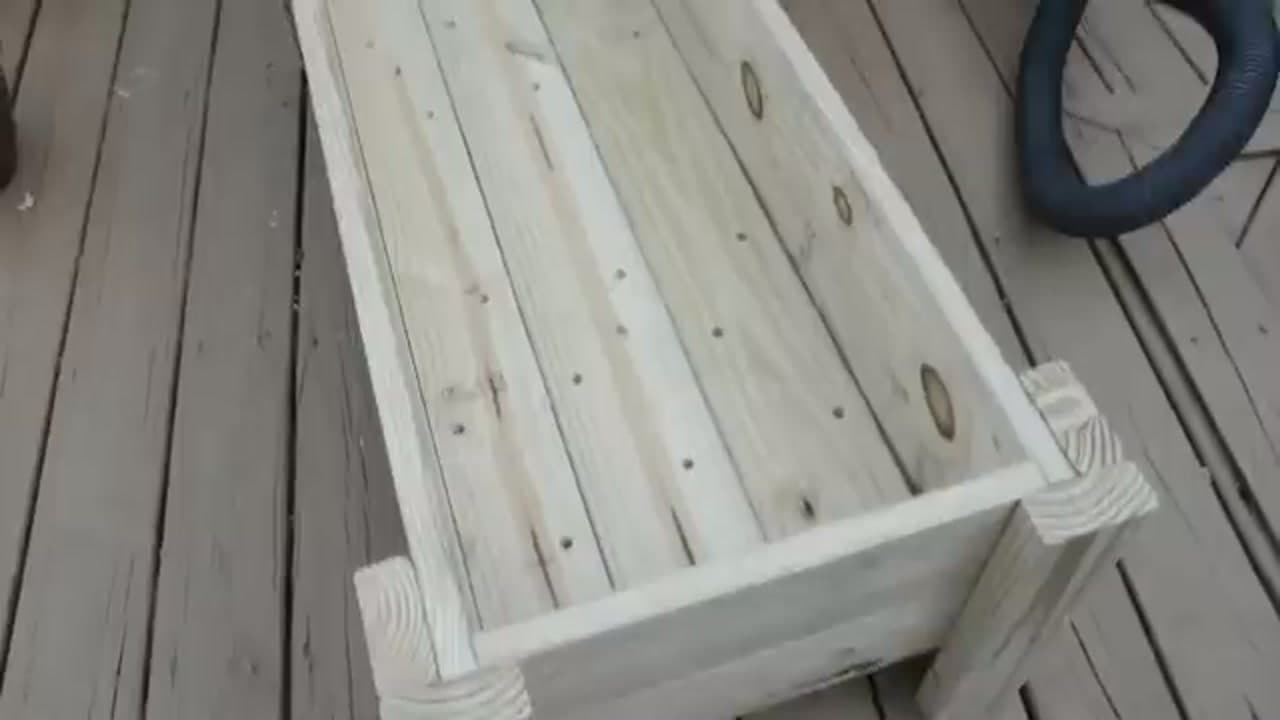
The material list is short: six deck boards, two pressure-treated 2x4s, and a handful of 2-inch exterior screws. You cut the legs, front, back, and sides, screw them together from the inside so the fasteners stay hidden, then add three bottom braces and a slatted floor. A few drainage holes finish it off.

Pedro built this one for his mother-in-law to hold flowers, so he used pressure-treated lumber. If you want to grow vegetables, swap in cedar or line the inside with plastic. Either way you end up with a raised planter that is sturdy, good-looking, and cheap to make. Follow along and build one for your own deck or patio.

Step-by-Step Guide

1

Step 1: Gather Your Boards and Screws

0:14
Step 1: Step 1: Gather Your Boards and Screws

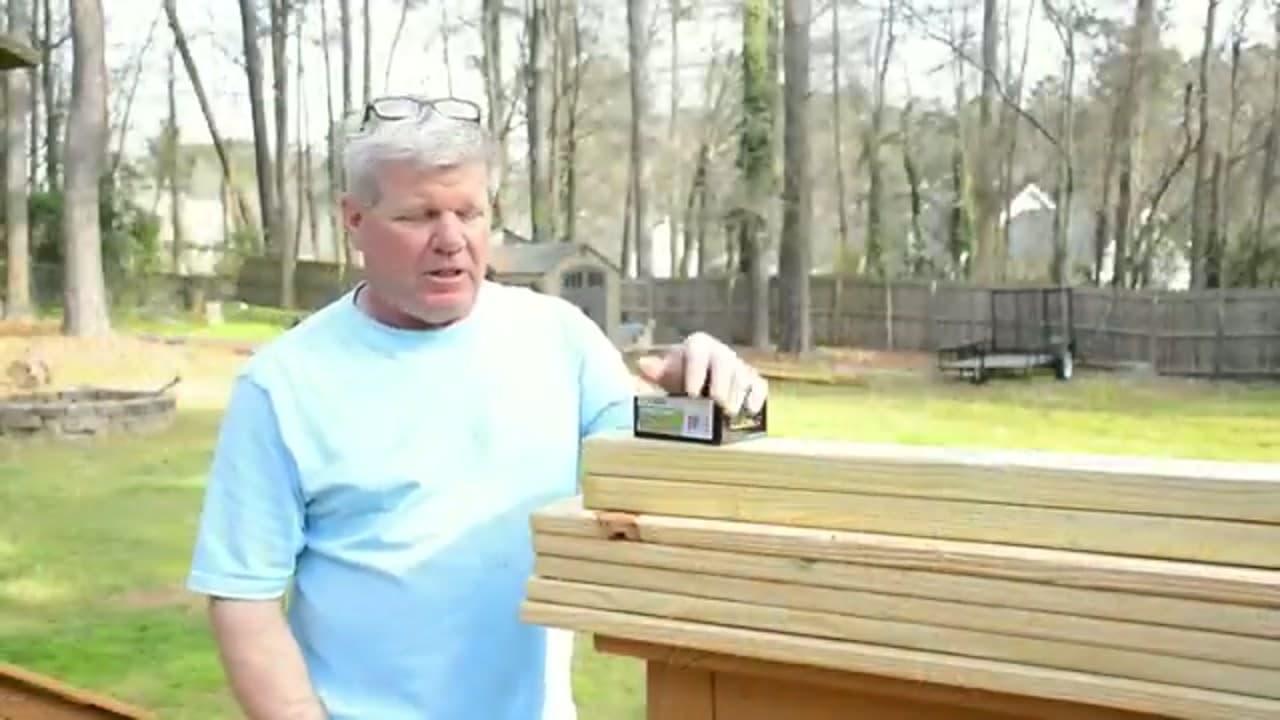
The material list is short. You need six 8-foot deck boards, two 8-foot pressure-treated 2x4s for the legs and braces, and a handful of 2-inch exterior screws. That's the whole shopping list.

Pedro used pressure-treated lumber because this box holds flowers. If you plan to grow food in yours, switch to cedar or line the inside with plastic so nothing leaches into the soil. Either way, use exterior screws so the joints hold up outdoors.

Tip

Watch this step Buy one or two extra deck boards. A warped or split board is easy to set aside when you have spares, and you avoid a second trip to the store mid-build.
2

Step 2: Cut All the Pieces

1:00
Step 2: Step 2: Cut All the Pieces

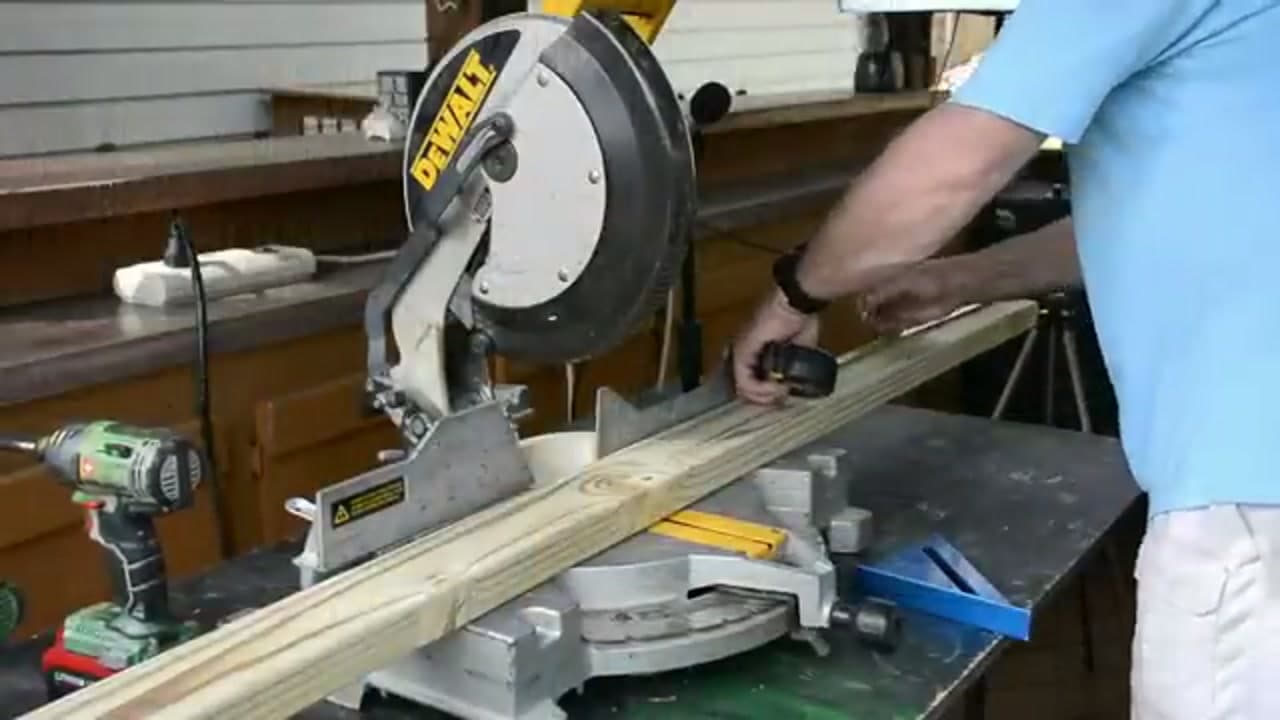
Every cut here is straight, so a miter saw or a circular saw both work. Cut eight 2x4 legs at 16 inches. Cut four deck boards at 16 inches for the sides. Cut four more deck boards at 48 inches for the front and back.

Mark each piece with a pencil and a speed square before you cut so your ends stay square. Keeping the legs identical is what makes the box sit flat later, so measure twice on those.

Tip

Watch this step A stop block clamped to your saw fence lets you cut all eight 16-inch legs to the exact same length without re-measuring each one. New to the saw? See our guide on how to use a circular saw.

3

Step 3: Screw the Front and Back to the Legs

2:10
Step 3: Step 3: Screw the Front and Back to the Legs

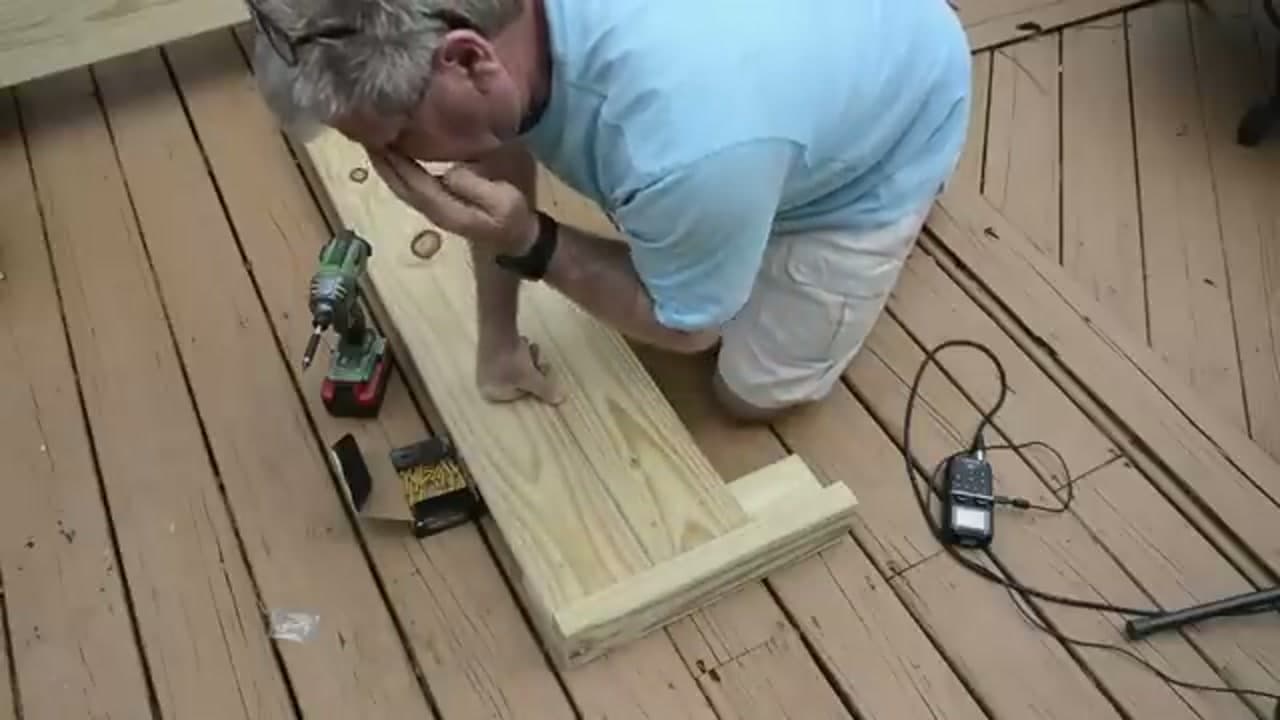
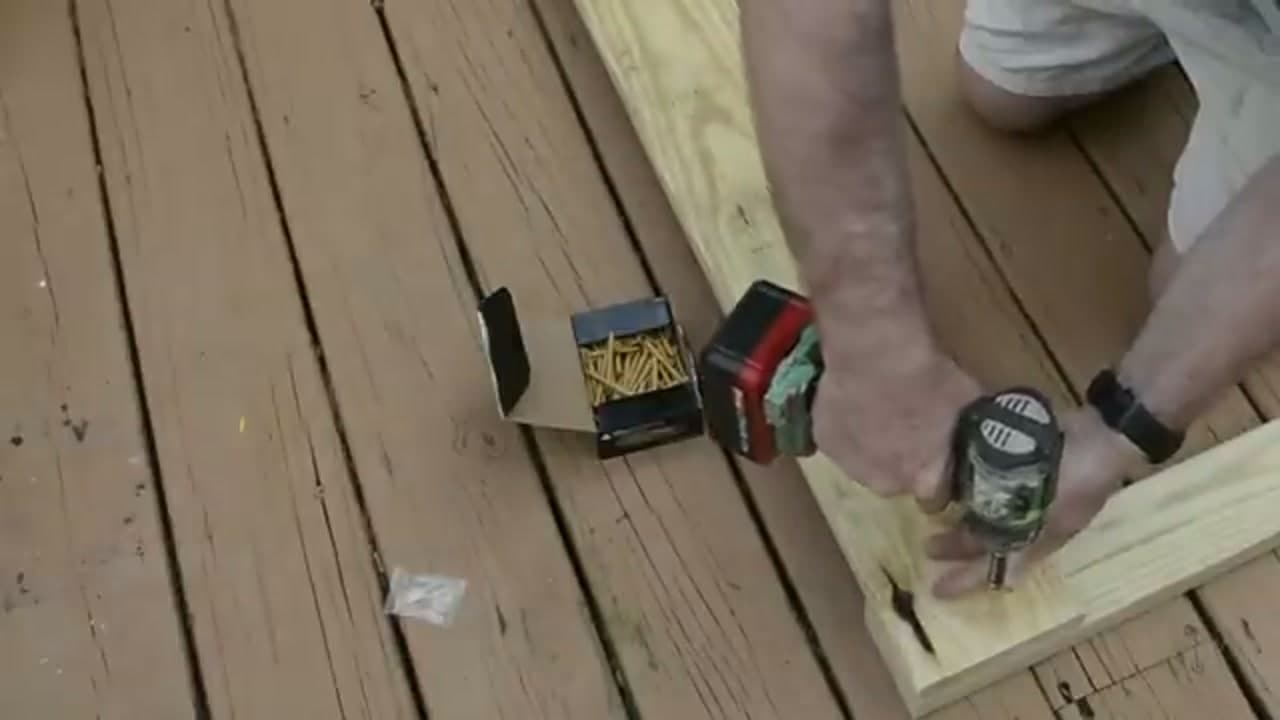
Stand two legs up and lay a 48-inch deck board across them. Screw through the board into the legs, driving the screws from the inside out so the heads never show on the finished face. Put about three screws into each leg.

Keep the board flush with the top and bottom of the legs before you drive anything. Pedro stacked a second board underneath the first and staggered the screws slightly, which gives the joint a little more strength.

Tip

Watch this step Two-inch screws grab the leg without poking out the back. If yours want to split the wood, drill a small pilot hole first. Our how to use a drill guide covers pilot holes.

4

Step 4: Add the Second Leg to Each Side

4:05
Step 4: Step 4: Add the Second Leg to Each Side

Attach the second leg piece to the end of your front-and-back assembly, flush with the top of the first leg. Drive about three screws through it into the leg behind it.

Set these screws about three-quarters of an inch up from the bottom edge so they land in the middle of the inch-and-a-half-thick 2x4. These heads will show on the outside, but the side boards go on next and hide most of the joint.

Tip

Watch this step Flush the tops of the two legs before you drive a single screw. If the tops don't line up now, the box will rock on the ground later and no amount of dirt fixes it.

5

Step 5: Clamp and Attach the Sides

5:20
Step 5: Step 5: Clamp and Attach the Sides

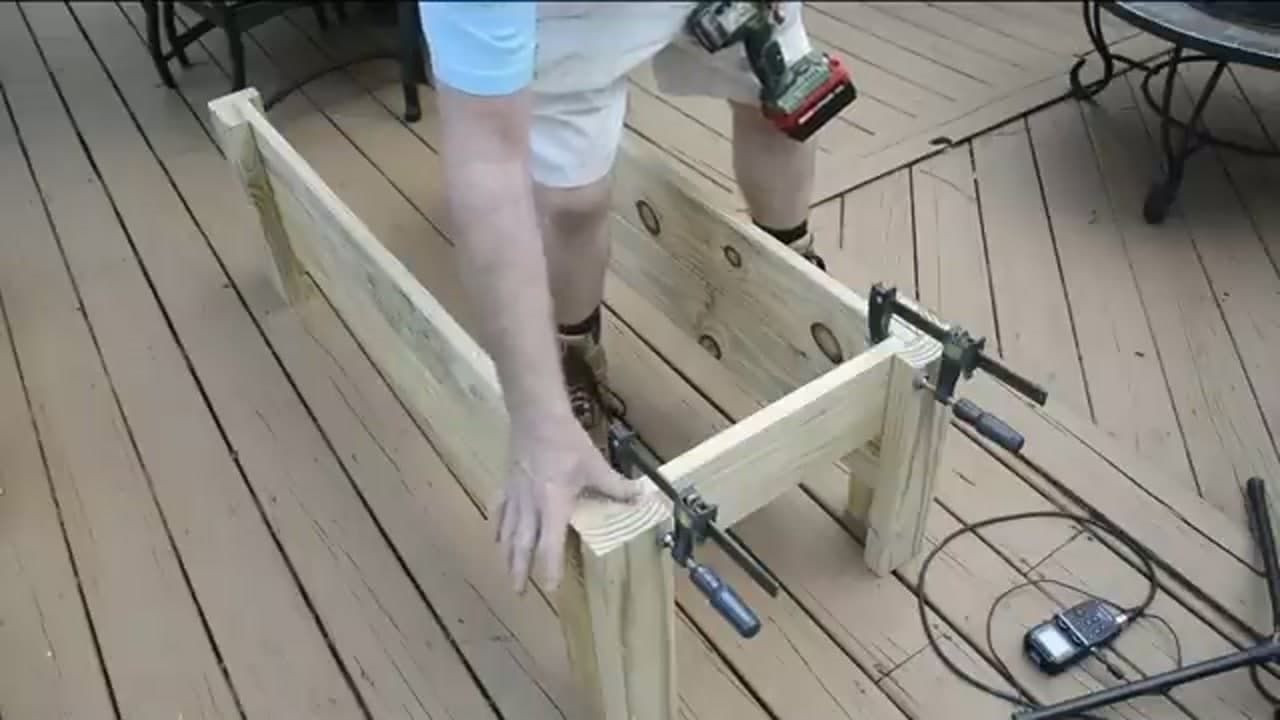
The 16-inch side boards close up the box. Working solo, Pedro clamped each side board to the frame at the top so it stayed put while he worked. Make sure the board is flush at the top and pressed tight against the leg so the legs don't spread apart.

Screw from the inside into the leg. Get a couple of screws in, pop the clamps off, then add one more screw at the very top for good measure. Repeat on the other side.

Tip

Watch this step Clamps are the second pair of hands you don't have. Two bar clamps hold a side board perfectly square while you drive screws, which beats fighting a shifting board on your own.

6

Step 6: Install the Bottom Braces

7:35
Step 6: Step 6: Install the Bottom Braces

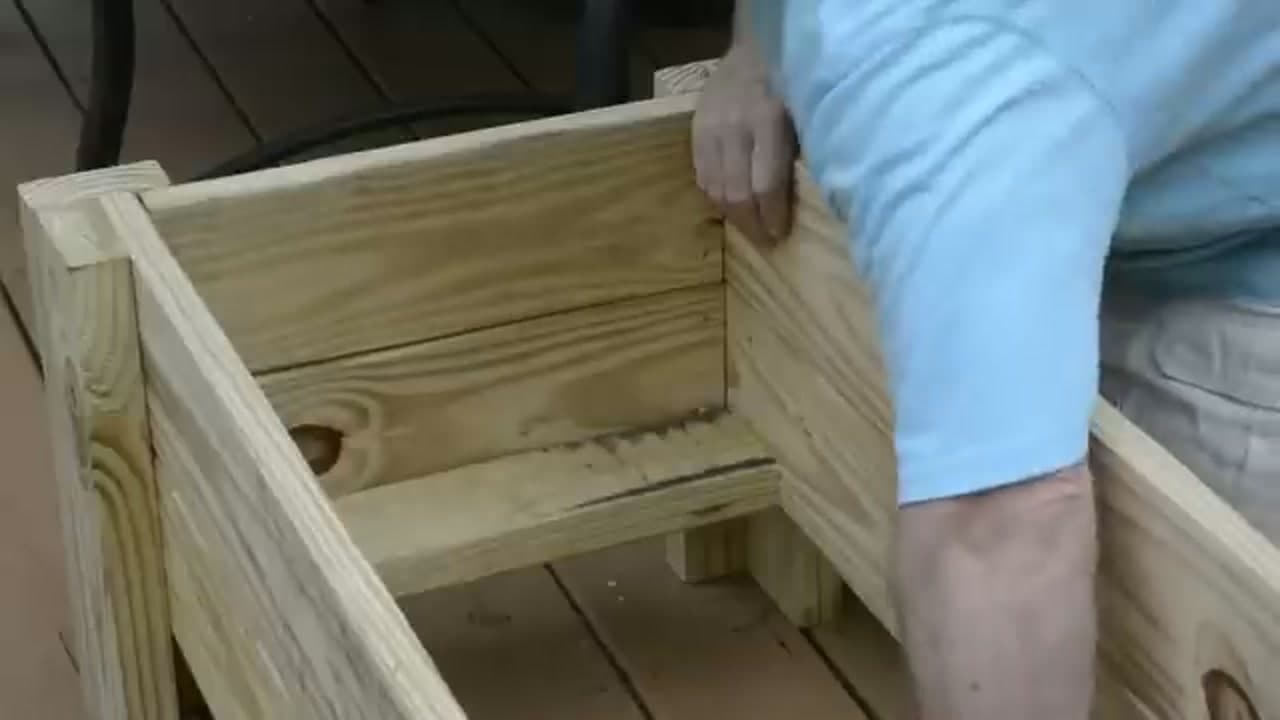
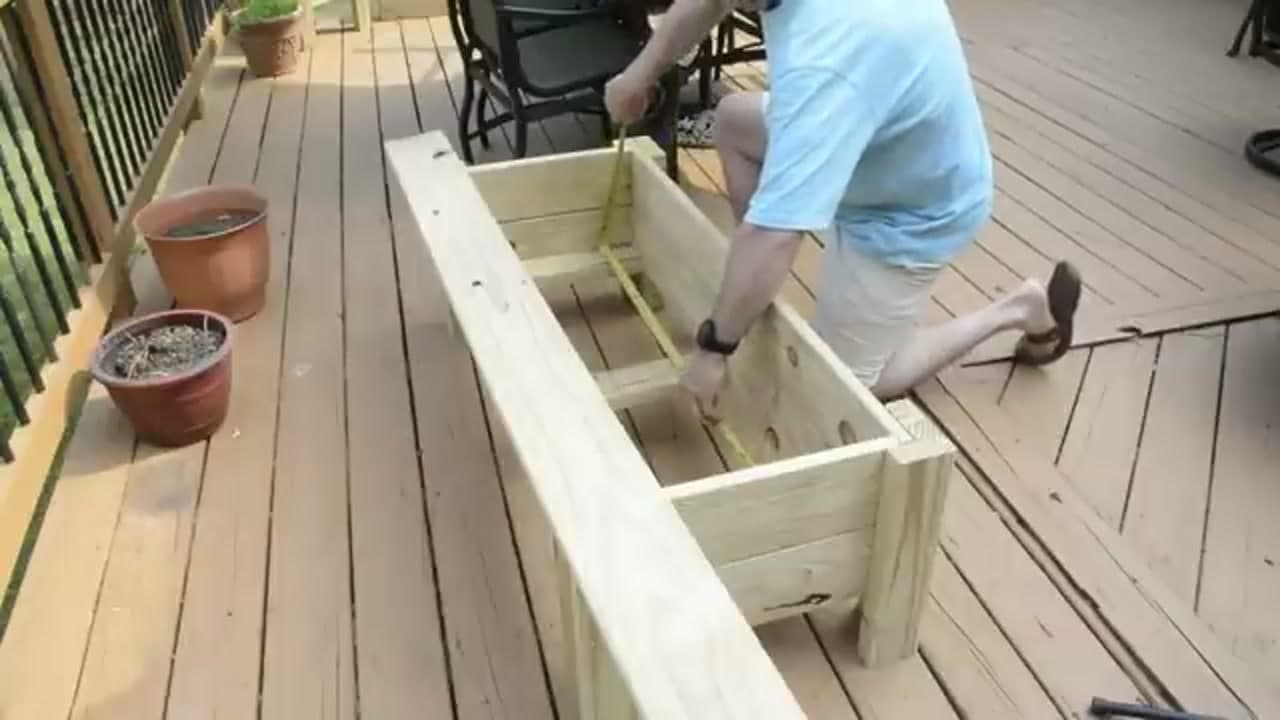
Cut three 16-inch braces from the leftover 2x4. Drop one at each end and one in the middle of the box, flush with the bottom of the front and back boards. A tight fit is a good sign here.

Screw through the front deck board into each brace, then through the back. Don't try to screw down through the top of the brace, your screws won't reach it. On the end braces, add a screw or two through the side boards too.

Tip

Watch this step These three braces carry the weight of wet soil, so seat them tight and drive the screws home. This is the frame that keeps a full planter from sagging in the middle.

7

Step 7: Cut and Fit the Bottom Boards

9:05
Step 7: Step 7: Cut and Fit the Bottom Boards

Measure the inside length of the box. Pedro's came out to 46 inches, so he cut three deck boards at 46 inches. Drop them in across the braces and they should sit snug.

The last board almost never fits full width, so rip it narrower to fill the gap. Pedro ripped his to about four and a half inches and left a small space on purpose. That gap gives extra water somewhere to drain.

Tip

Watch this step Leave a slight gap between bottom boards instead of forcing them edge to edge. The wood swells when it gets wet, and a little breathing room stops the bottom from buckling. Building more boxes? Our cutting board guide covers ripping boards cleanly.

8

Step 8: Drill the Drainage Holes

9:55
Step 8: Step 8: Drill the Drainage Holes

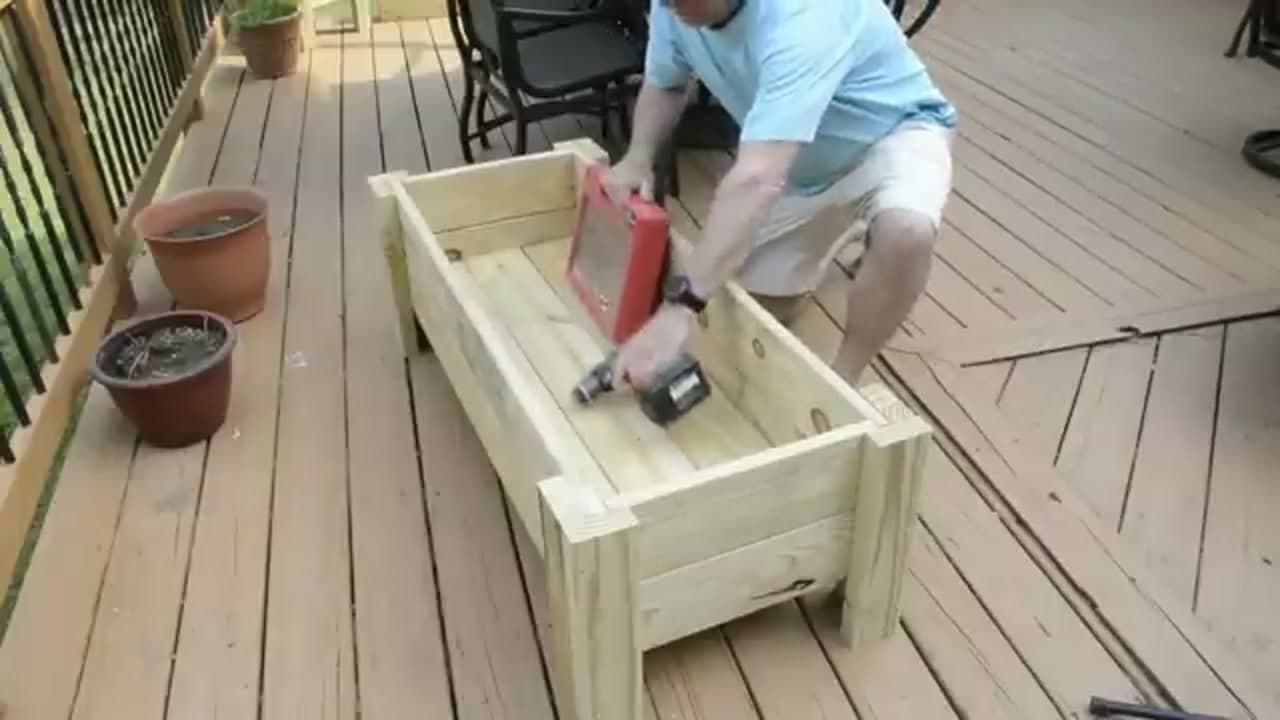
A planter needs drainage or the roots sit in water and rot. Drill several holes through the bottom boards. Pedro used a half-inch Forstner bit, which cuts a clean flat-bottomed hole.

Scatter the holes around and steer clear of the center brace so your bit doesn't hit it. Half an inch is a good size. Go bigger and soil washes out, go smaller and it clogs. If you're worried about soil loss, lay landscape fabric over the bottom before you fill it.

Tip

Watch this step Lay a scrap board under the box before you drill so the bit blows through into the scrap, not your deck. Landscape fabric over the holes keeps soil in while letting water pass.

9

Step 9: Finish, Seal, and Plant

10:55
Step 9: Step 9: Finish, Seal, and Plant

That's the whole build. Simple design, nice and sturdy, and every cut was straight. Give the outside a quick pass with an orbital sander to knock down any rough edges and splinters.

Pressure-treated wood can go outside as is, but a coat of exterior stain or sealer deepens the color and buys you years of extra life. Then line it with landscape fabric, fill it with potting mix, and plant your flowers.

Tip

Watch this step Let pressure-treated lumber dry out for a few weeks before you seal it, or the finish won't soak in. A yearly coat of sealer keeps the box looking sharp season after season.

Products Used

☐ The Checklist

How to Build a Wooden Planter Box (Simple Straight-Cut Build)

Tools
7
Materials
6
Steps
9
Video
12 min

Your Guide

My Everyday D.I.Y.

As an Amazon Associate we earn from qualifying purchases. Links on this page may be affiliate links - clicking them and buying doesn't change your price, but helps support ShowMeStepByStep.

Tags

Sunday How-To

New woodworking crafts tutorials, every Sunday

One short email with the week's best step-by-step guides. Free, no spam, unsubscribe anytime.

Did this work for you?

What's next

Related collections

Curated theme pages that include this tutorial.

Weekly Digest

Liked this woodworking crafts tutorial?

Pick the categories you want to hear about. Weekly digest of new step-by-step tutorials. No spam, easy unsubscribe.

Send me tutorials about

We only email about new tutorials. Easy unsubscribe anytime.