How to Make Resin Bookmarks (3 Easy Techniques)

Resin ArtEasy5:307 stepsBrowse more →

By CraftingStepByStepPublished

Based on a video by MoCaLife.

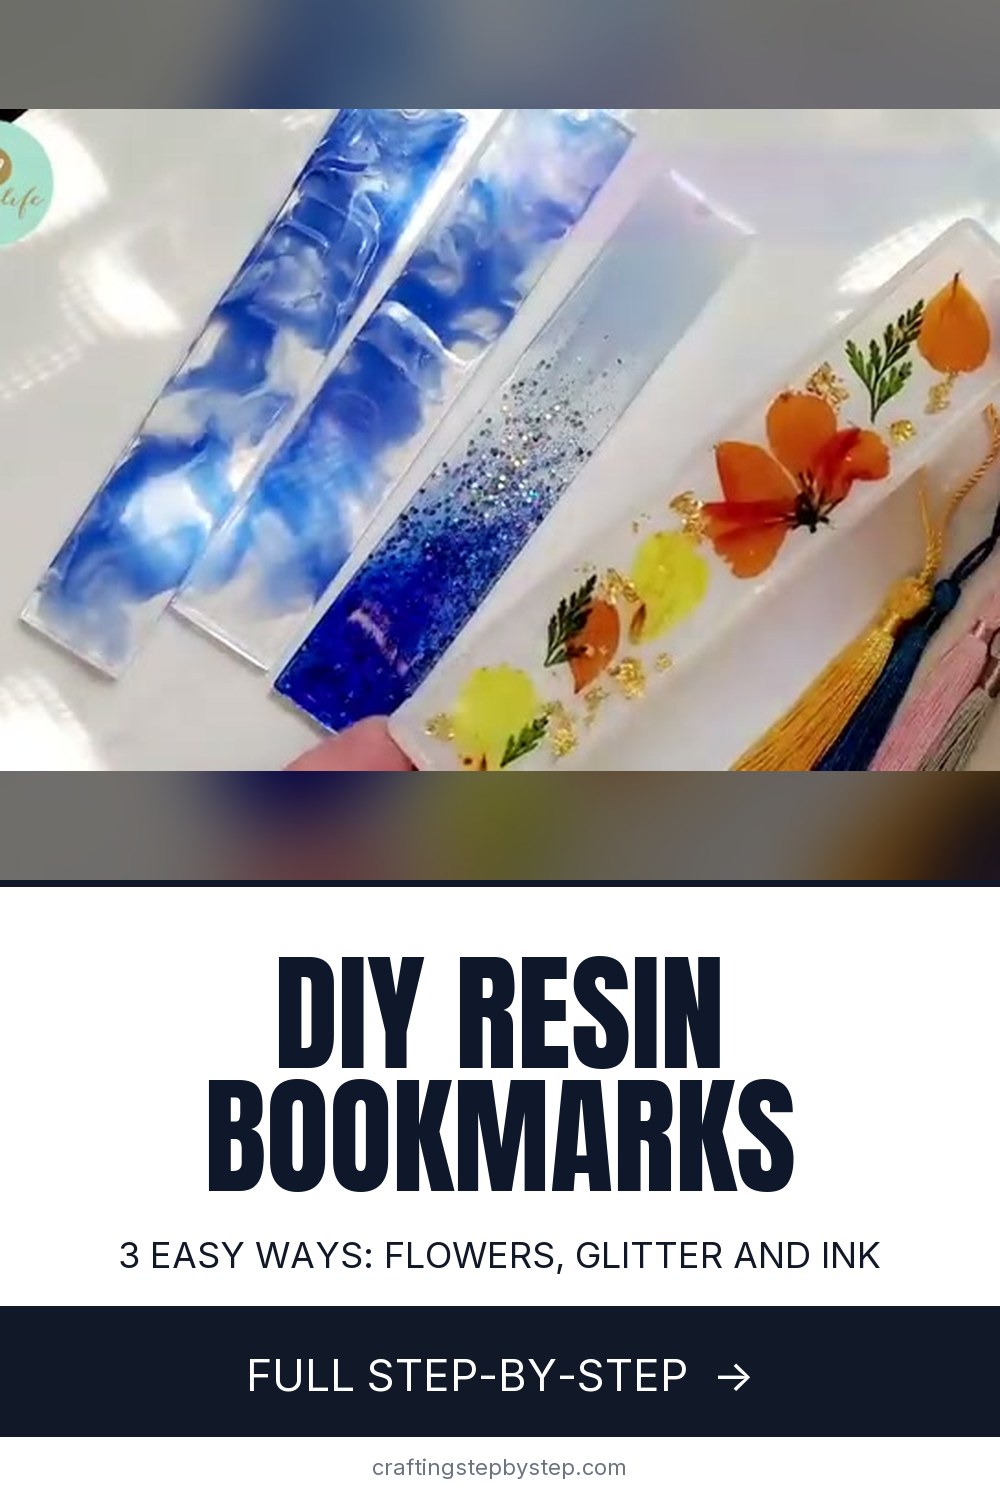
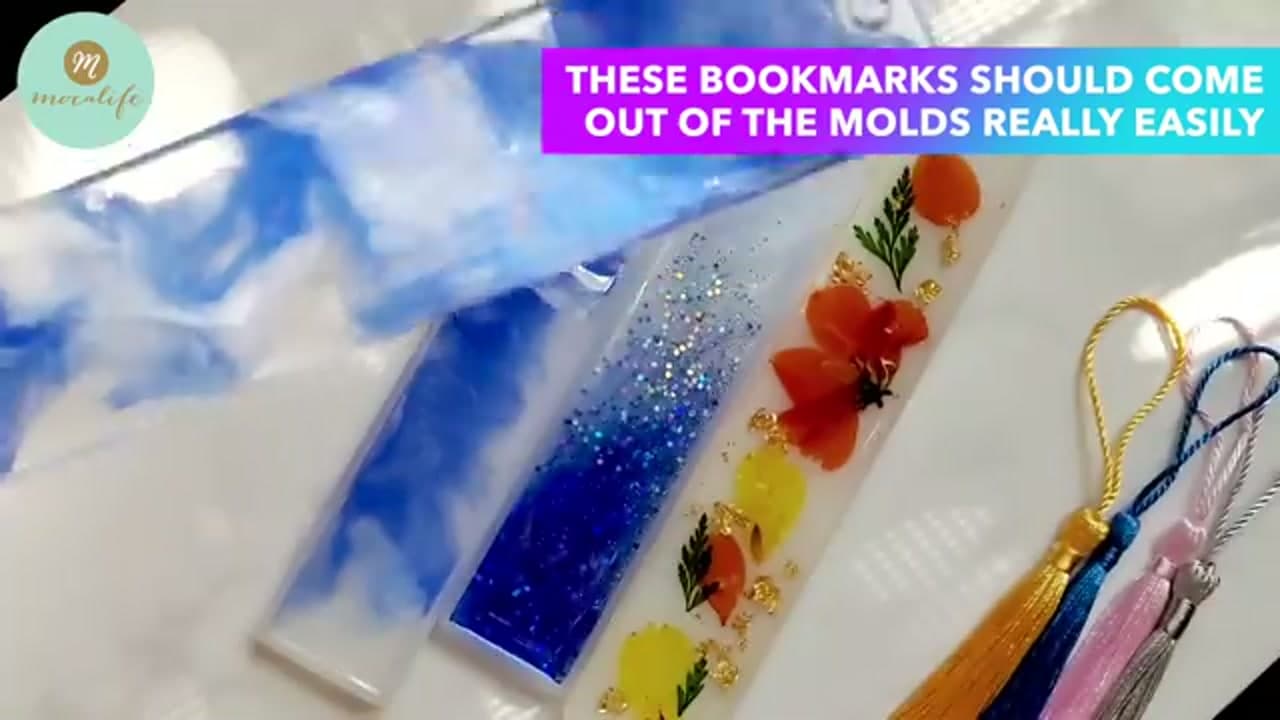
Resin bookmarks are one of the easiest ways to get into resin, and they make great little gifts. MoCaLife walks through three looks in one short video: pressed flowers with gold foil, swirled alcohol ink, and a glitter gradient. Same molds, same resin, three completely different results.

The whole thing comes down to a few thin pours and some patience while it cures. You mix your epoxy, pour a base layer, add whatever you want trapped inside, then seal it with one more clear coat. Once it pops out of the mold you punch a hole and loop on a tassel. That's it.

If you're new to working with resin, it helps to read up on how to use UV resin first so you know how the mixing and curing works. Once you have the bookmarks down, the same skills carry straight over to resin keychains, and if you want your flowers to keep their color, here's how to seal flowers in resin the right way.

Step-by-Step Guide

7 steps · about 6 minutes.Check off each step as you go and your progress saves automatically.

1

Step 1: Mix Resin and Pour a Base Layer

0:12
Step 1: Step 1: Mix Resin and Pour a Base Layer

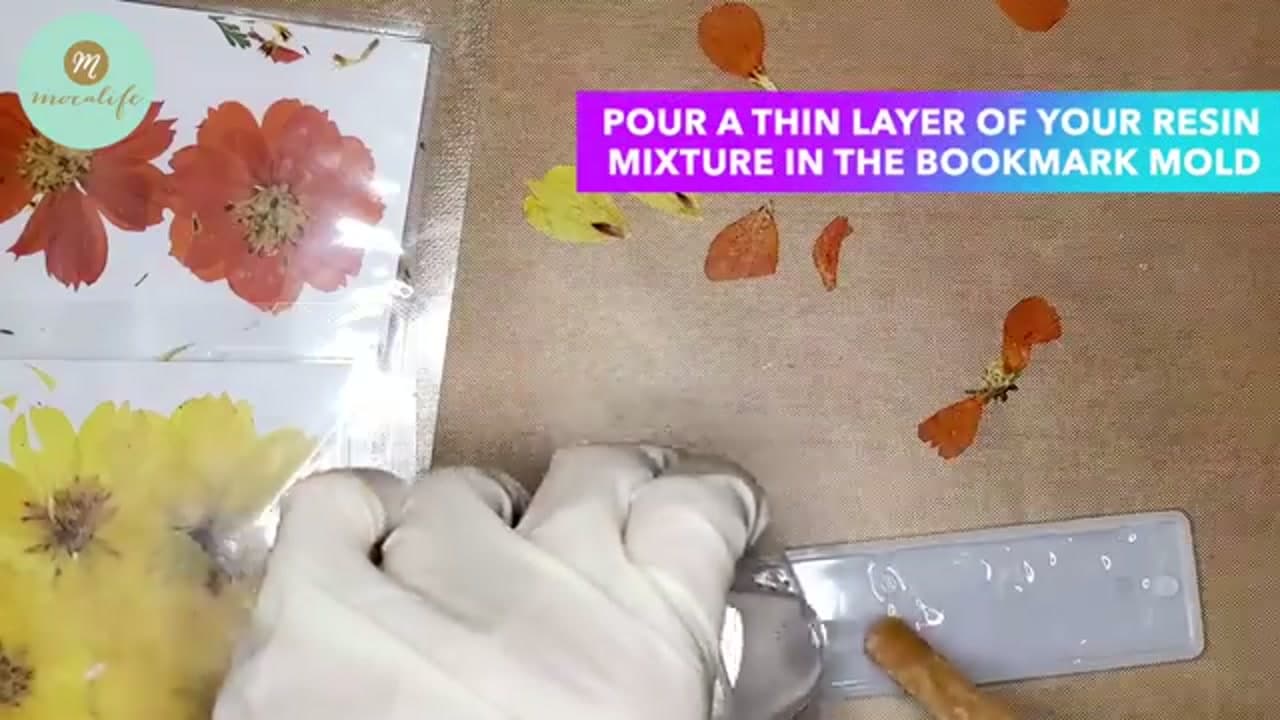
Mix your two-part epoxy by volume, following the ratio on your bottles. Stir slow for a couple of minutes until it runs clear with no cloudy streaks. Rushing the stir whips in bubbles, so keep it gentle.

Pour a thin clear layer into the bottom of your silicone bookmark mold and nudge it into the corners with a stir stick. This base holds your flowers flat so they don't float around once you build up the next layer.

Tip

Watch this step Work in a warm room. Cold resin is thick, traps more bubbles, and takes much longer to cure.
2

Step 2: Arrange Pressed Flowers in the Mold

0:26
Step 2: Step 2: Arrange Pressed Flowers in the Mold

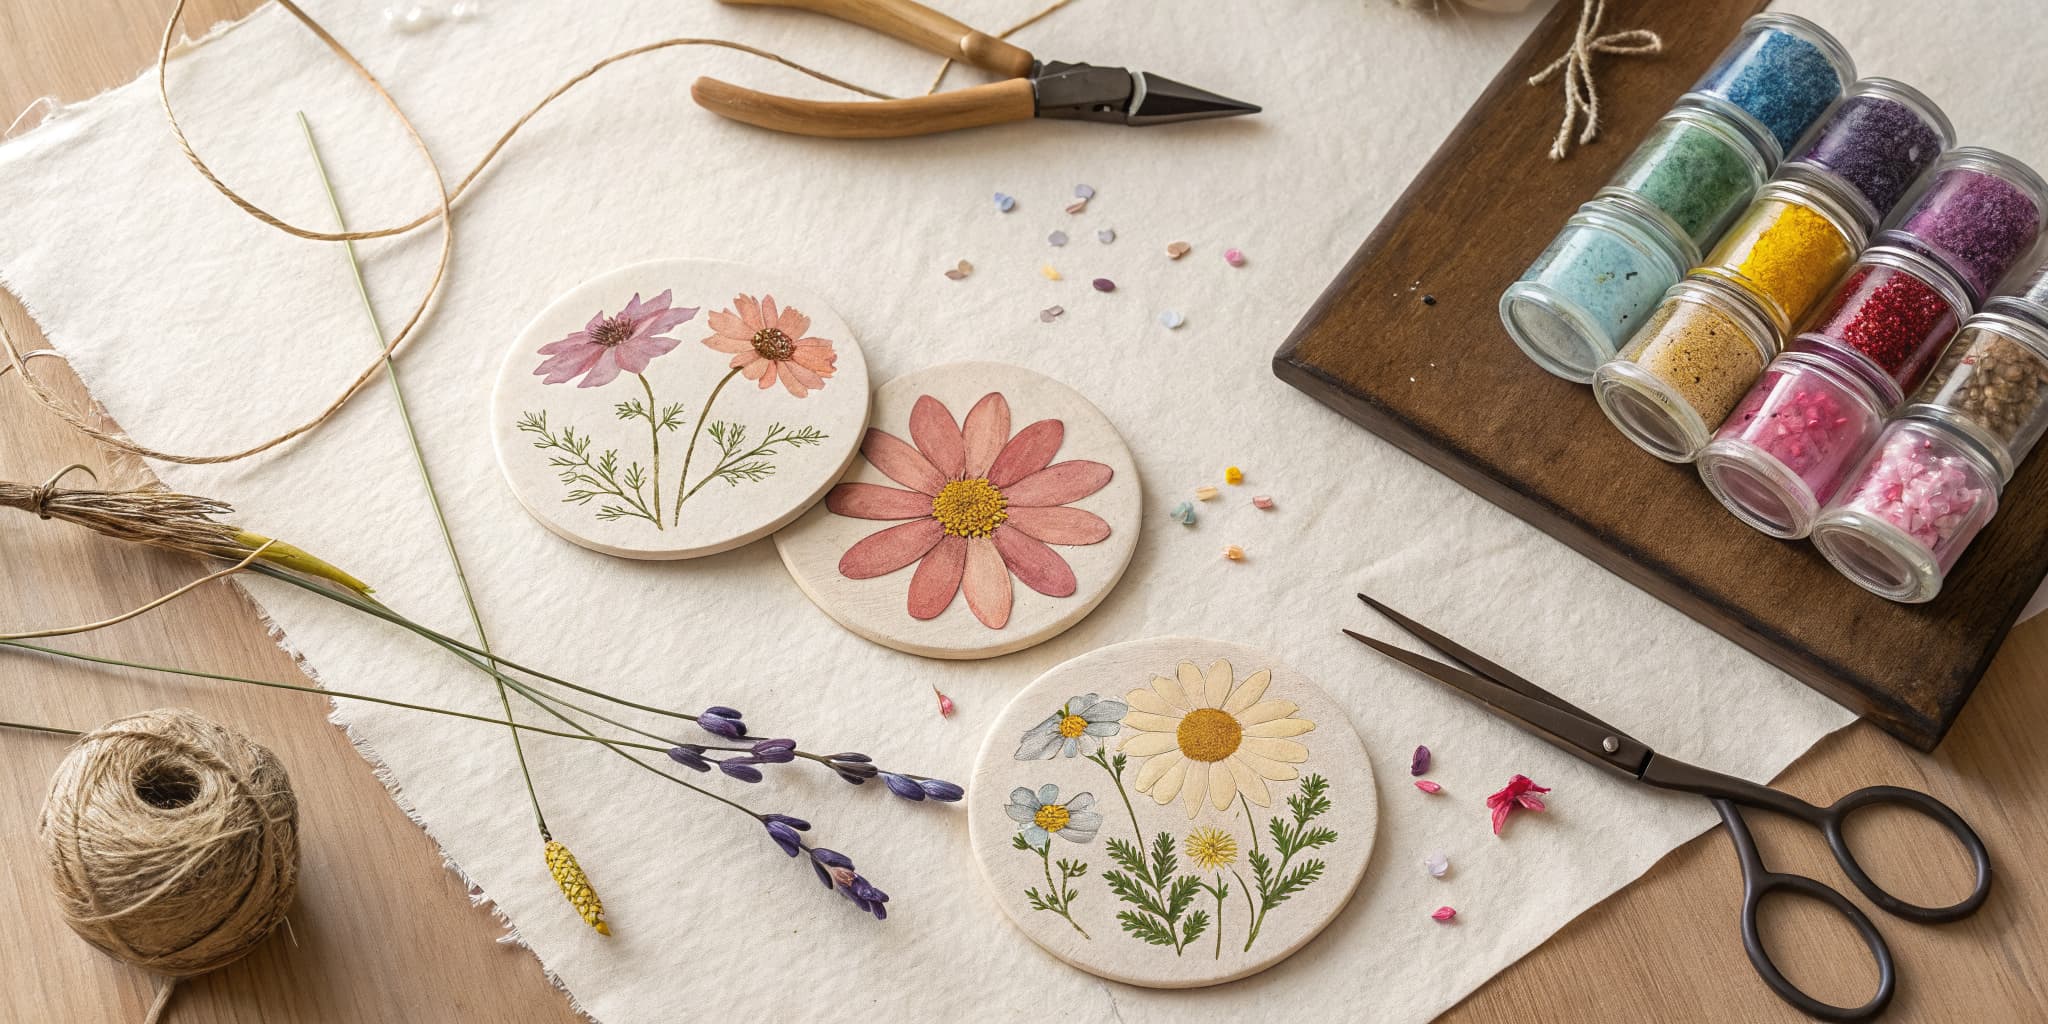
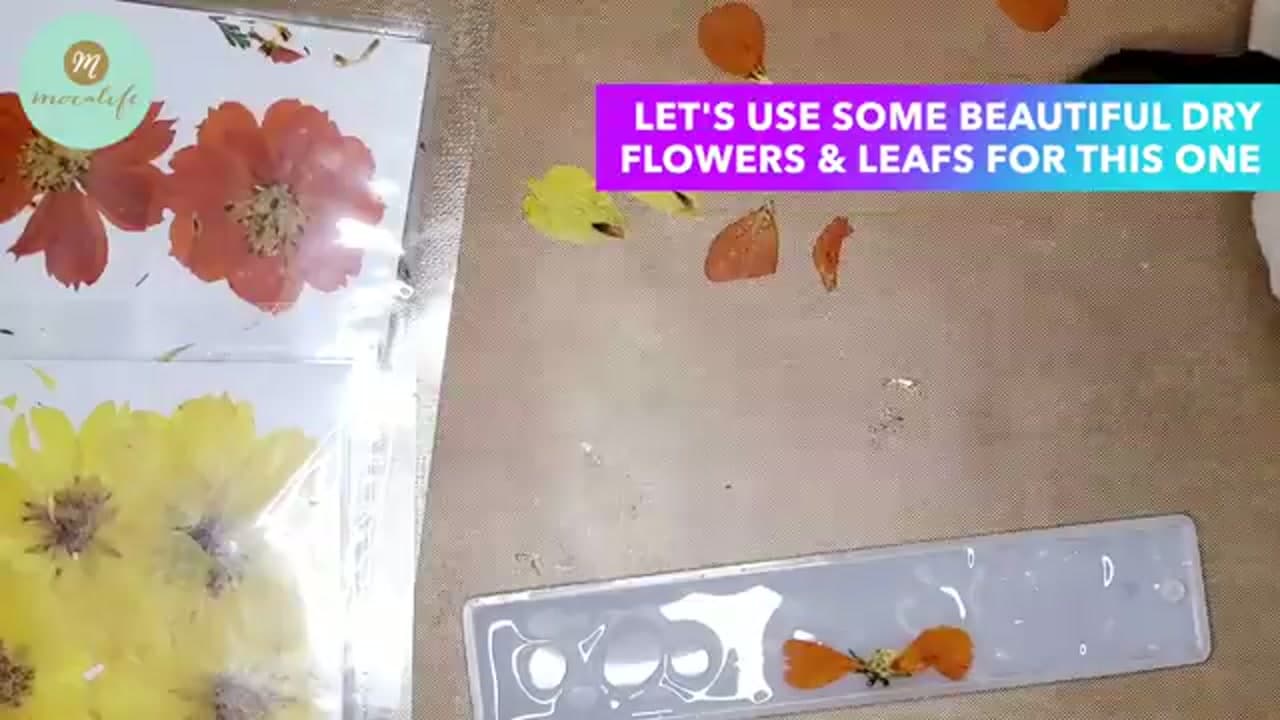
Lay your pressed flowers and leaves out on the table first so you can plan the layout before anything gets wet. Once you like it, use tweezers to lift each piece and set it into the resin base.

Place the flowers face-down, since the bottom of the mold becomes the front of the finished bookmark. Space them along the strip and leave a little clear resin around each one so the design has room to breathe.

Tip

Watch this step Press your own flowers a couple of weeks ahead in a heavy book. Fully dry flowers keep their color in resin, while fresh ones can brown.

3

Step 3: Add Gold Foil for Sparkle

0:38
Step 3: Step 3: Add Gold Foil for Sparkle

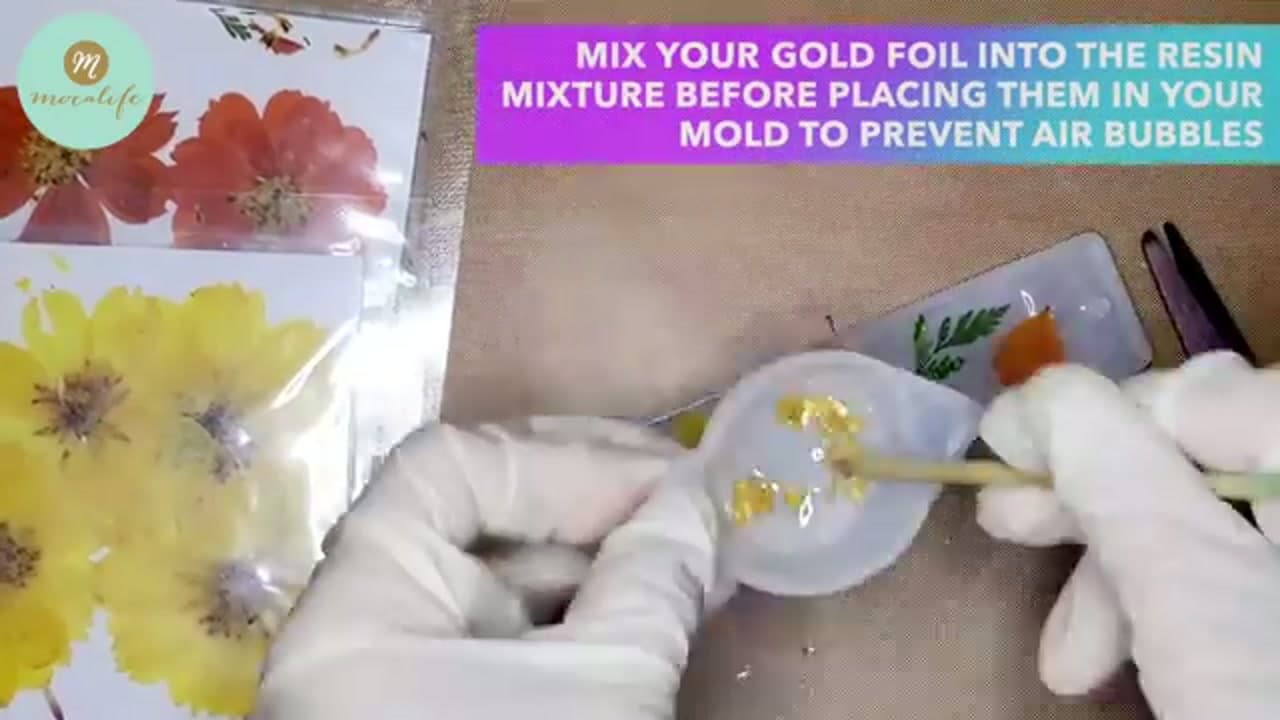
Gold foil gives the floral bookmark a bit of shine around the flowers. Stir a pinch of foil flakes into a small cup of resin first, rather than dropping them dry onto the mold. Wetting them this way keeps air bubbles from clinging to each flake.

Spoon the foil-flecked resin wherever the design needs sparkle. A little goes a long way, so scatter it and step back before adding more.

Tip

Watch this step Gold leaf and mica powder both work here. Mica gives a softer shimmer, foil gives sharp glints. Try mixing the two.

4

Step 4: Swirl Alcohol Ink for a Marbled Look

2:00
Step 4: Step 4: Swirl Alcohol Ink for a Marbled Look

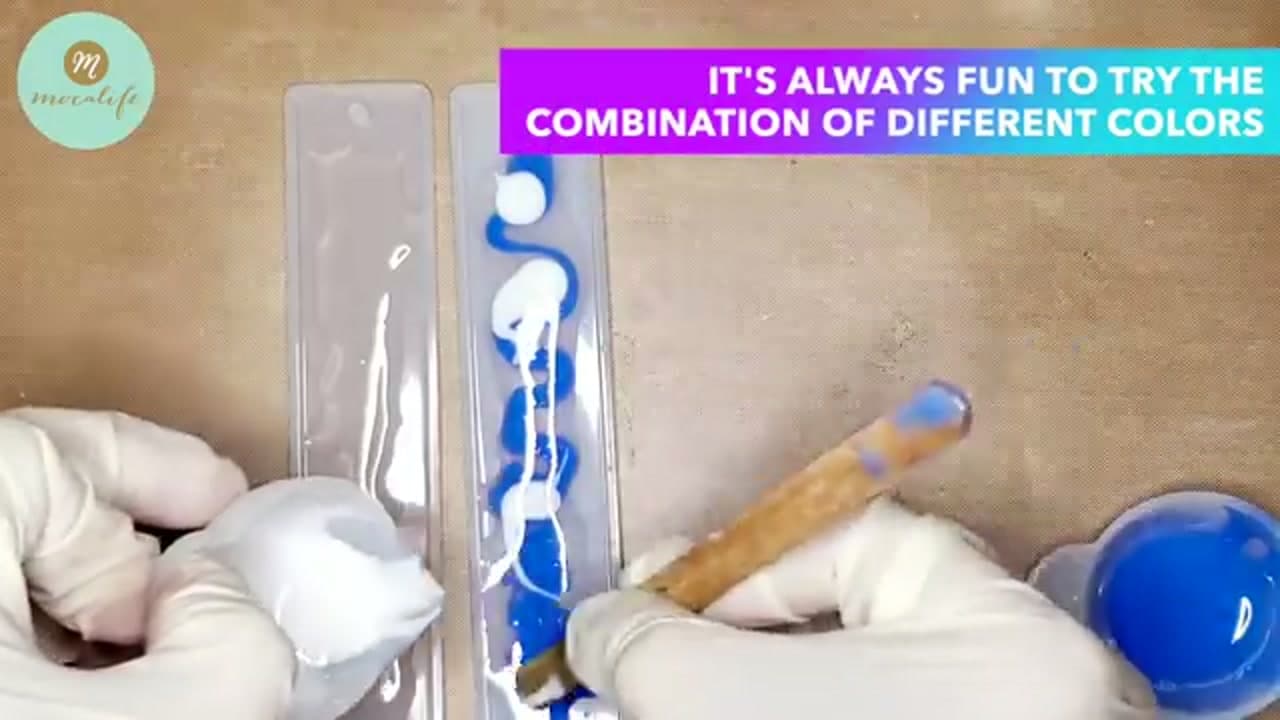
For the ink bookmarks, pour a clear resin layer into the mold, then add a couple of drops of alcohol ink. Drag a stir stick through it once or twice and stop. Blue and white read like clouds, so let the color bleed on its own instead of over-mixing.

Running two shades in one strip gives you that marbled, watery effect. Every pour comes out a little different, which is half the fun.

Tip

Watch this step Alcohol ink is strong. Start with one drop, swirl, then add more only if you want it darker. You can't take color back out.

Products used in this step

5

Step 5: Pour a Glitter Gradient

2:48
Step 5: Step 5: Pour a Glitter Gradient

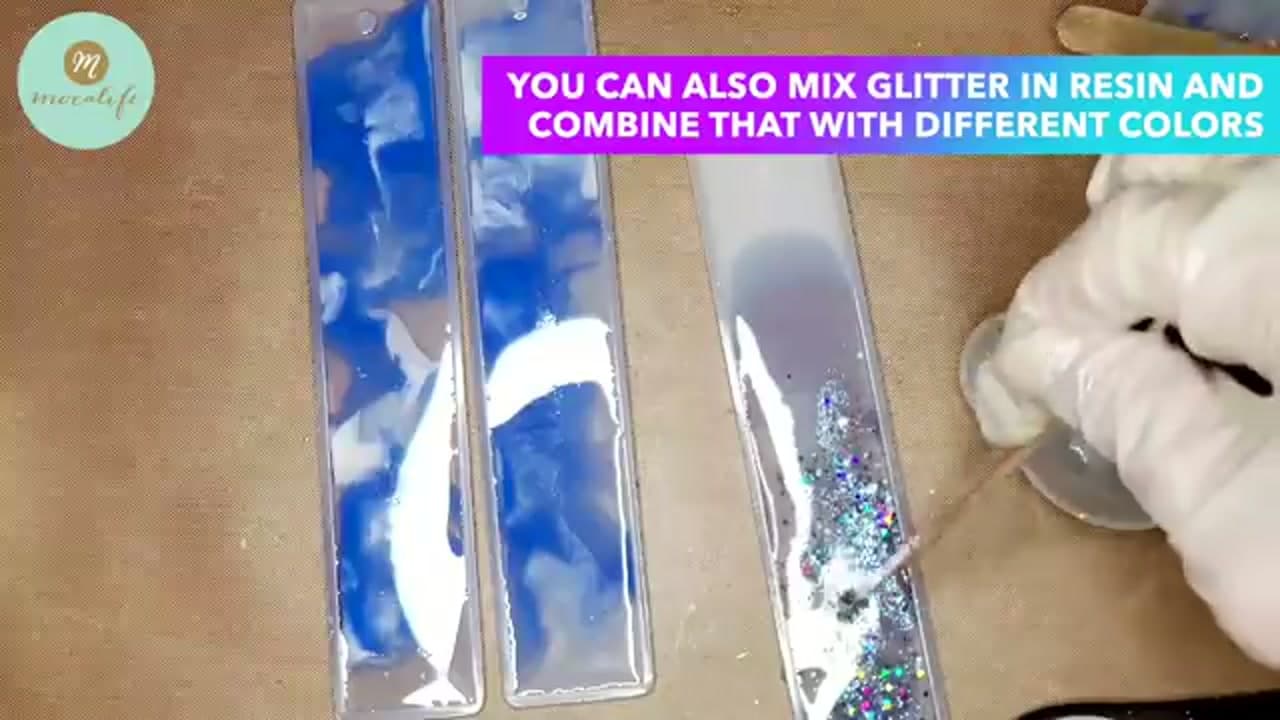
For the glitter bookmark, stir fine glitter or mica into a cup of clear resin, then pour it along one end of the mold. Tip the strip slightly so the glitter drifts and thins out toward the middle. That gives you a gradient instead of a solid block of sparkle.

You can layer glitter over a set ink base to combine both looks in one bookmark. A packed glitter end fading into clear resin reads best.

Tip

Watch this step Fine cosmetic-grade glitter suspends better than chunky craft glitter, which tends to sink to one edge before the resin sets.

6

Step 6: Top Coat and Clear the Bubbles

2:24
Step 6: Step 6: Top Coat and Clear the Bubbles

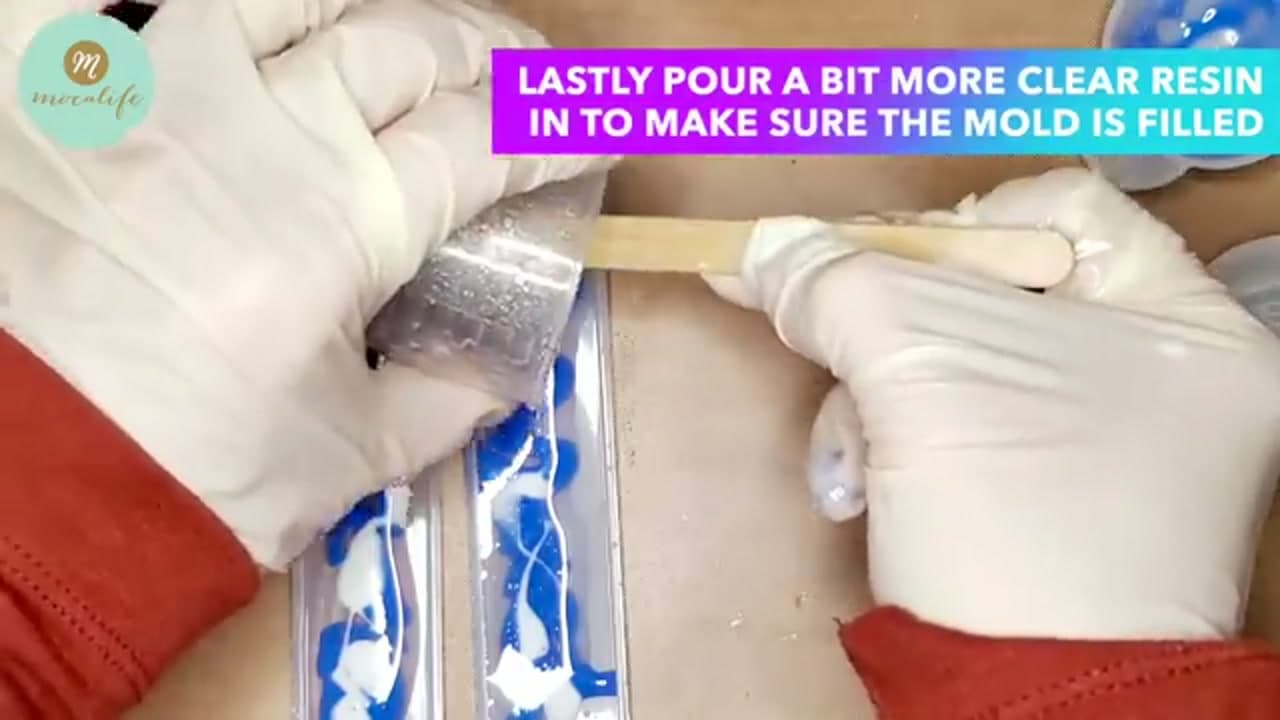
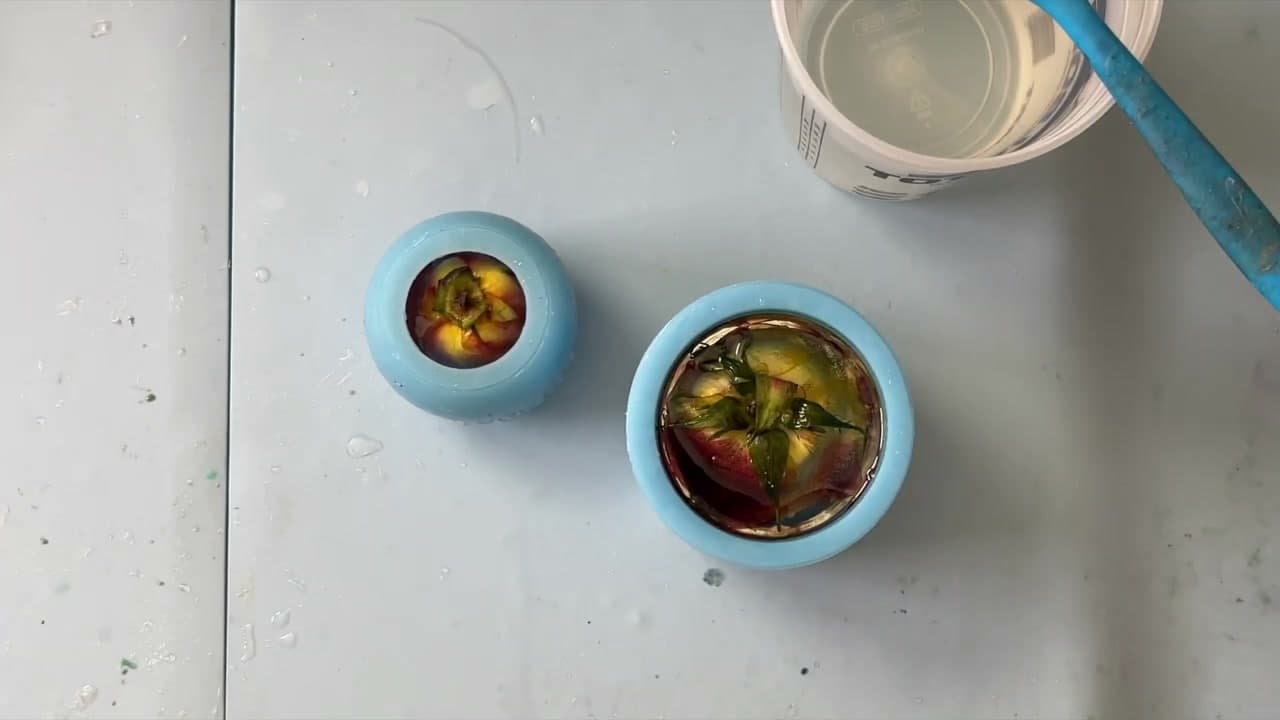
Once your inclusions sit the way you want, pour one last clear coat to fill the mold right to the top. Check that every flower, foil flake, and edge is fully covered so nothing pokes up above the surface after it cures.

Run a heat gun or torch a few inches above the surface for a second or two. The heat draws surface bubbles up and pops them, which is what gives resin that glassy finish. Then leave it alone to cure.

Tip

Watch this step Keep the heat moving. Holding it on one spot can scorch the resin or push your flowers out of place.

7

Step 7: Demold and Add a Tassel

3:12
Step 7: Step 7: Demold and Add a Tassel

Give the resin a full cure, usually 24 hours, before you touch it. When it's hard, flex the silicone mold and the bookmarks pop out clean with a glossy face and smooth edges.

If your mold has a molded hole, thread a tassel straight through it. If not, punch a small hole near one end, slip on a jump ring, and loop the tassel onto that. A tassel finishes the piece and makes it easy to find in a book.

Tip

Watch this step If an edge feels sharp after demolding, a quick pass with fine sandpaper smooths it. Wipe off the dust before you handle it.

Products Used

☐ The Checklist

How to Make Resin Bookmarks (3 Easy Techniques)

Tools
6
Materials
8
Steps
7
Video
6 min

Your Guide

MoCaLife

As an Amazon Associate we earn from qualifying purchases. Links on this page may be affiliate links - clicking them and buying doesn't change your price, but helps support ShowMeStepByStep.

Sunday How-To

New resin art tutorials, every Sunday

One short email with the week's best step-by-step guides. Free, no spam, unsubscribe anytime.

Did this work for you?

What's next

Related collections

Curated theme pages that include this tutorial.

Weekly Digest

Liked this resin art tutorial?

Pick the categories you want to hear about. Weekly digest of new step-by-step tutorials. No spam, easy unsubscribe.

Send me tutorials about

We only email about new tutorials. Easy unsubscribe anytime.