How to Make a Rag Quilt (Beginner Sewing Tutorial)

QuiltingEasy5:196 steps
Also in:CraftsSewing

By CraftingStepByStepPublished Updated

Based on a video by Fleece Fun.

Rag quilts are the easiest entry point into quilting. No binding, no precise piecing, no ironed seam allowances. Sew everything with seams facing out, snip the edges, throw it in the wash, and the snipped seam allowances bloom into the soft rag finish that gives the quilt its name.

The example uses Shannon Fabrics Cuddle Cakes (precut 10-inch squares of plush minky-style fabric) plus three yards of flannel for the inner batting layers. Two cuddle squares plus two flannel squares make one block, and the example quilt is four blocks wide by five blocks tall (a generous lap size).

What you need: Shannon Fabrics Cuddle Cakes (2+ packs), three yards of flannel, thread, scissors, ragging shears (optional but speeds up the snipping), rotary cutter with ruler and mat, and a walking foot for your sewing machine.

Credit to Angel at Fleece Fun for the source video.

Step-by-Step Guide

1

Step 1: Cut 10-Inch Squares from Flannel

1:45
Step 1: Step 1: Cut 10-Inch Squares from Flannel

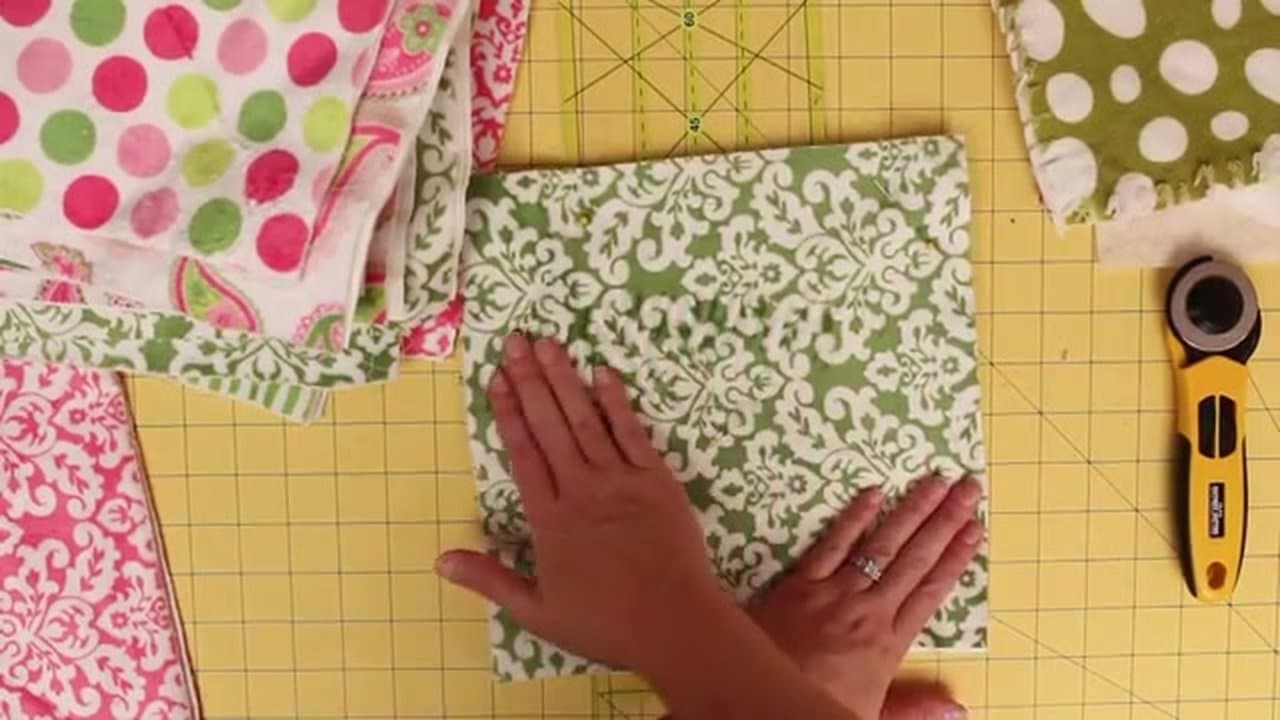
Pre-wash and dry the flannel before cutting so it shrinks before assembly. Use a rotary cutter with a quilting ruler to cut 10-inch squares from the flannel. You need two flannel squares per block - they sit between the two cuddle squares as the inner batting.

Cuddle Cakes come pre-cut to 10 inches, which is why this project moves so fast. The flannel is the only fabric you cut from yardage.

Tip

Stack three or four layers of flannel together and cut them all at once. The rotary cutter goes through several layers cleanly with one pass.

2

Step 2: Layer Each Block

2:00
Step 2: Step 2: Layer Each Block

Build each block in this order from bottom up: cuddle square, two flannel squares, cuddle square. Four layers per block, with the soft cuddle on the outside and the flannel as the inner batting.

Brush your hand across both cuddle squares before stacking - the nap (the direction the fibers lay) should run the same way on top and bottom. If they pull in different directions, the finished quilt feels strange to cuddle under because half of it is brushed one way and half the other.

3

Step 3: Sew an X Through Each Block

2:25
Step 3: Step 3: Sew an X Through Each Block

With the four layers stacked, sew a diagonal seam from one corner of the block to the opposite corner, then a second seam across the other diagonal to make an X.

The X locks all four layers in place so they can't shift while you assemble the rows. Without it, the cuddle and flannel layers slide independently the moment you try to sew a row seam.

4

Step 4: Lay Out the Quilt Design

2:55
Step 4: Step 4: Lay Out the Quilt Design

Spread all your assembled blocks on the floor or a large table in the layout you want. The example is four blocks wide by five blocks tall (20 blocks total). Vary the colors and patterns so similar fabrics aren't sitting next to each other.

Confirm the cuddle nap is going the same direction across every block. This is the only chance to rearrange before the quilt is sewn together.

5

Step 5: Sew the Rows Together

3:15
Step 5: Step 5: Sew the Rows Together

Sew blocks into rows using a 3/4 inch seam allowance. Important: orient the seams so the seam allowance ends up on the OUTSIDE of the finished quilt - that's the part that gets snipped and fluffed into the rag finish.

A walking foot is worth installing for this. Four-layer cuddle blocks are bulky and a regular foot will fight you. Once all the rows are sewn, sew the rows together with the same 3/4 inch seam allowance, then sew once around the entire outside of the quilt so you can rag those edges too.

6

Step 6: Snip the Seams and Wash

3:55
Step 6: Step 6: Snip the Seams and Wash

This is the fun part. Use ragging shears or sharp scissors to snip the outside seam allowances every quarter to half inch, all the way around every block AND around the perimeter of the quilt. Stop short of the seam line so you don't cut the stitches themselves.

Toss the snipped quilt in the washing machine and dryer. The snips fluff into the soft fringe finish. The rag effect gets better with every wash from here on out - the cuddle blooms and the flannel tendrils get fluffier over time.

Tip

Ragging shears have spring-loaded bent handles that make hundreds of small cuts much less painful on your hand than regular scissors. Worth the upgrade if you make more than one rag quilt.

Products used in this step

Products Used

☐ The Checklist

How to Make a Rag Quilt (Beginner Sewing Tutorial)

Tools
7
Materials
3
Steps
6
Video
5 min

Your Guide

Fleece Fun

As an Amazon Associate we earn from qualifying purchases. Links on this page may be affiliate links - clicking them and buying doesn't change your price, but helps support ShowMeStepByStep.

Tags

Related Tutorials