How to Sew Quilt Squares Together (Quilt-As-You-Go Method)

QuiltingMedium10:028 stepsBrowse more →
Also in:Sewing

By CraftingStepByStepPublished

Based on a video by Missouri Star.

Sewing quilt squares together is the moment most new quilters dread. A pile of finished blocks on the table and the question of how to actually assemble them without lap-wrestling a giant sandwich through a domestic machine. The quilt-as-you-go method skips that fight entirely.

Jenny Doan of Missouri Star walks through her favorite technique using a stack of vintage embroidered blocks she rescued from antique shops. The big idea: every block is its own little quilt sandwich (top, batting, backing) before you join anything. You sew pairs together, fold a raw edge over to cover the seam, top-stitch it down, and move on. By the time the last block is attached, the quilt is finished. No basting marathon. No binding to hand-stitch after.

This method works for any quilt blocks you have - vintage embroidered squares, charm pack precuts, half-square triangles, your own pieced blocks. Once you can sew quilt squares together this way, you can finish a quilt in a weekend that would have sat in your project pile for years.

If you're brand new to quilting, start with our machine quilting basics guide first. After this one, you'll be ready to bind your quilt properly, or move on to half-square triangle blocks for your next project.

Step-by-Step Guide

1

Gather Your Blocks, Batting, and Background Fabric

0:08
Step 1: Gather Your Blocks, Batting, and Background Fabric

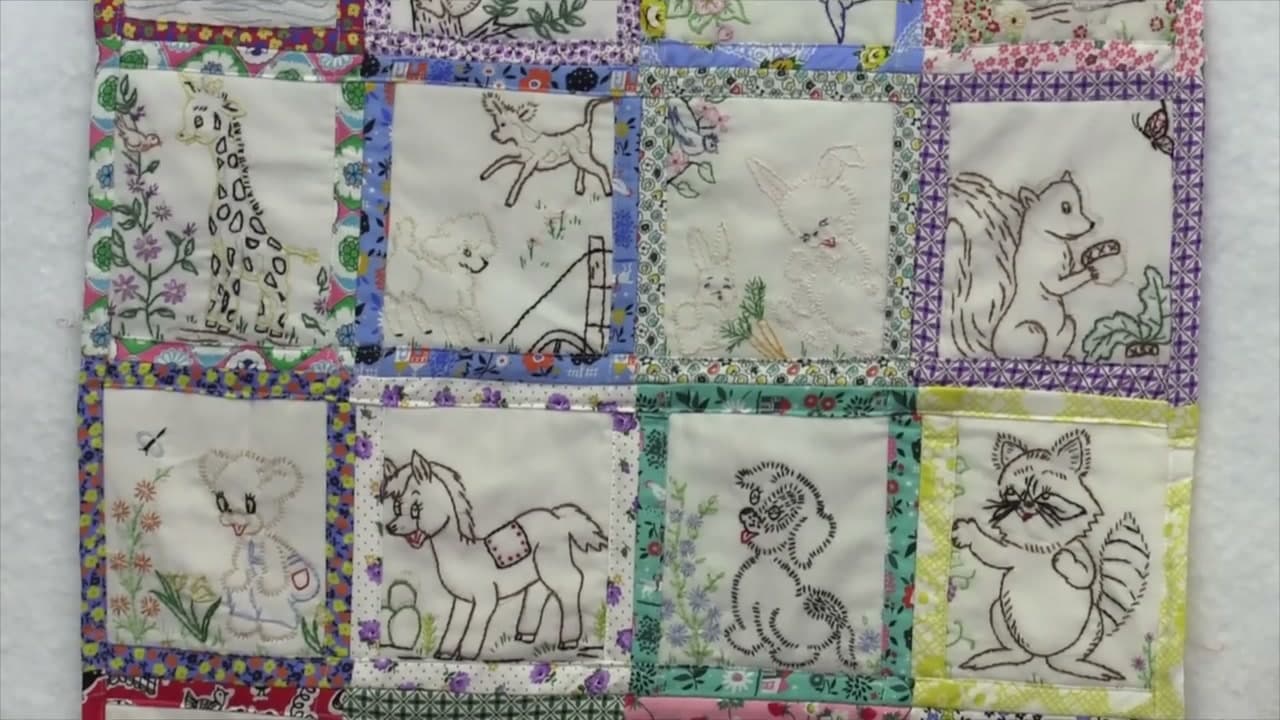
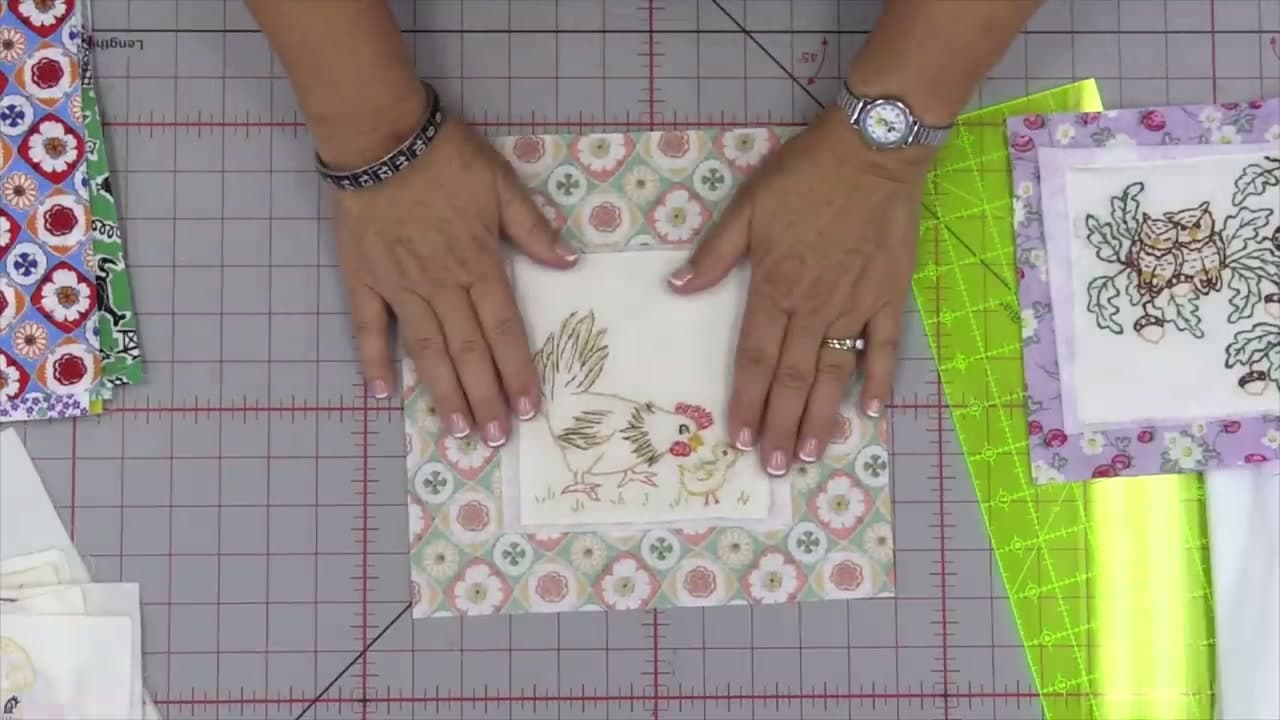
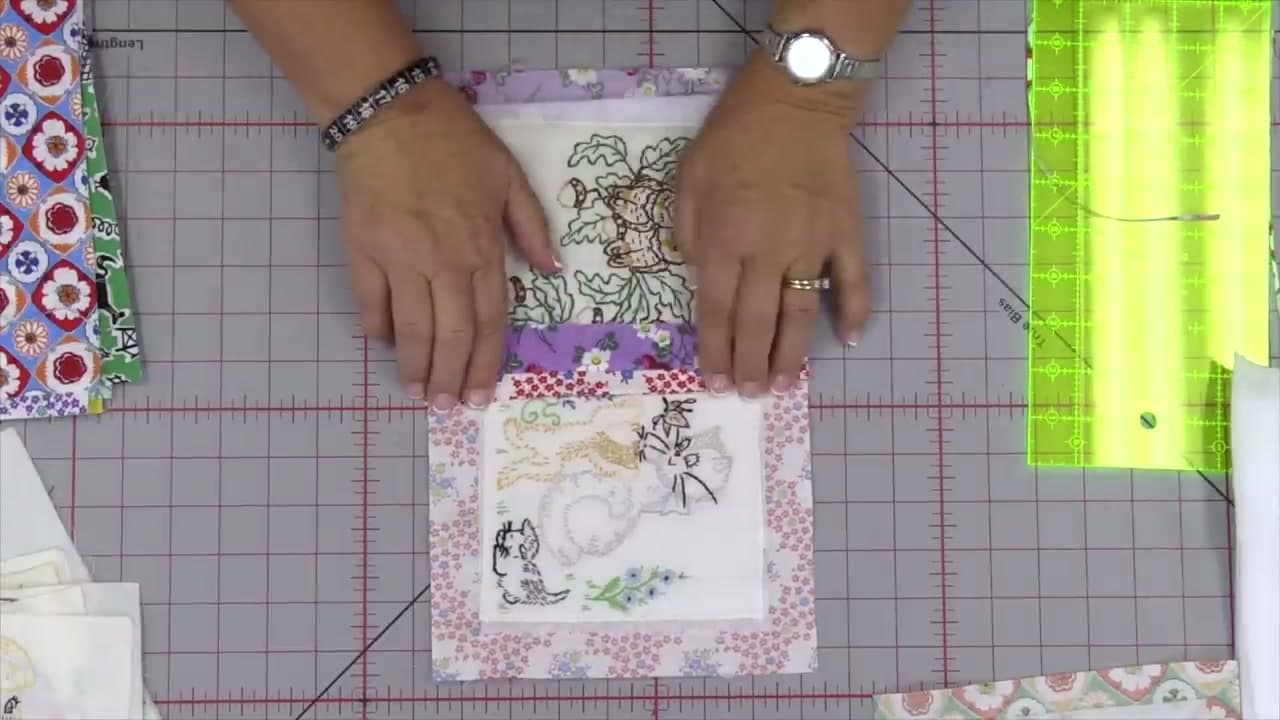
Quilt-as-you-go works with any blocks you have - vintage embroidered squares, charm pack precuts, your own pieced blocks. Jenny is using ten-inch background squares from a Moda print pack along with old embroidered blocks she rescued from antique shops over the years.

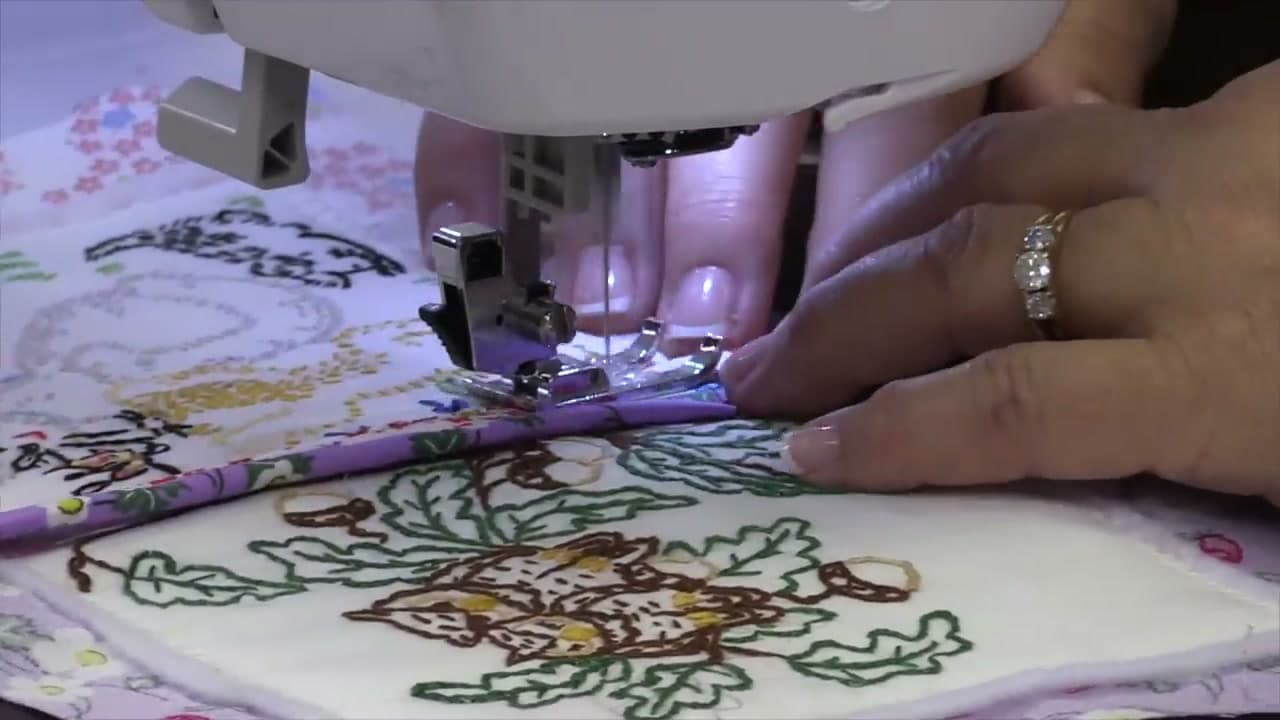
You'll need three things stacked up next to your machine: the embroidered or pieced blocks, cotton batting cut to size, and background squares large enough to give each block a one-inch border on all four sides. Pick a background print that ties your blocks together. Jenny's small-scale 1930s reproduction print does that work here.

Tip

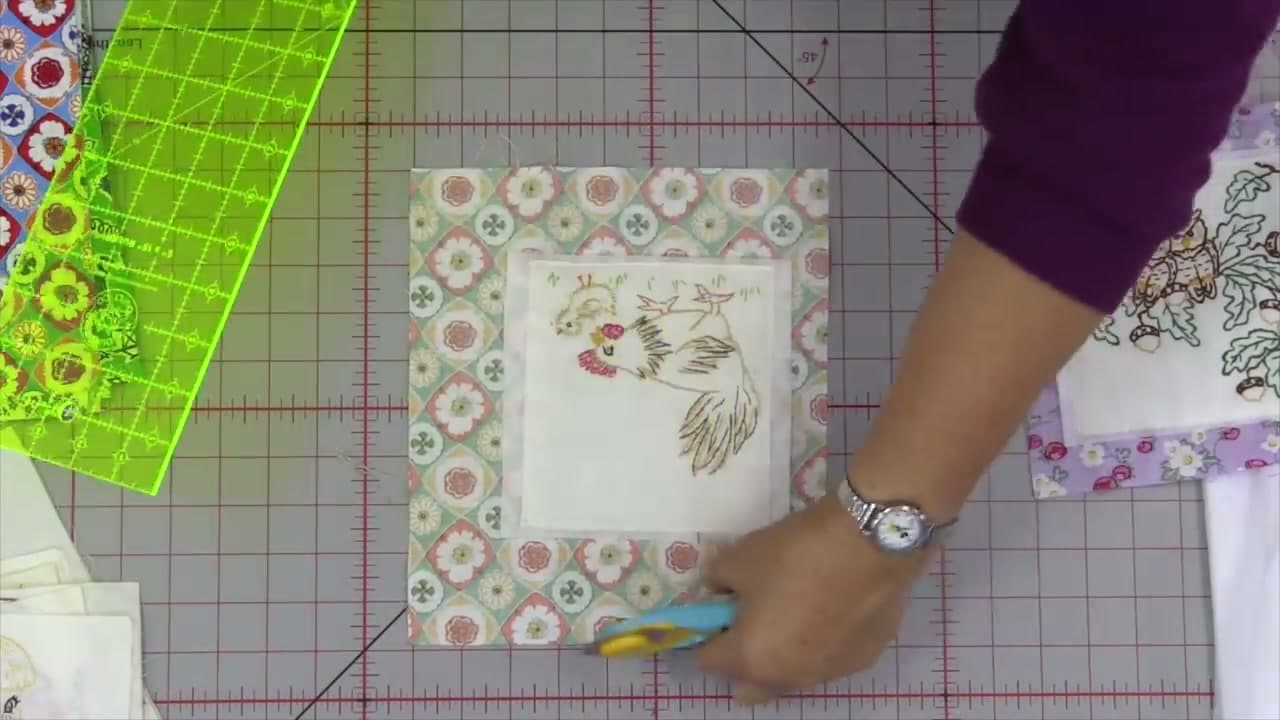
Vintage embroidered blocks are rarely the same size. Measure your largest block first, then cut every background square one inch bigger on all sides. That gives you the wiggle room to trim down to a matching final size later.

2

Center the Block on Batting and Background

1:45
Step 2: Center the Block on Batting and Background

Cut a piece of batting a half-inch larger than your embroidered block. Center the batting on the wrong side of your background square, then center the embroidered block face-up on top of the batting. You should see a one-inch frame of background fabric around all four sides.

Eyeballing it is fine - the next step traps everything in place with stitching, and you'll trim the borders to size right after. The batting sandwiched between layers is what gives the finished quilt its weight and warmth.

Tip

If your embroidery runs right to the edge of the block (common with antique pieces), don't trim the block first. Stitch as-is and accept that you'll lose a tiny bit of the design in the seam. Trimming first loses more.

3

Stitch the Block Down to the Background

2:45
Step 3: Stitch the Block Down to the Background

Move to the sewing machine and stitch the embroidered block to the background right along the edge of the block. Don't use a quarter-inch seam - go as close to the edge as you can without falling off. The goal is to preserve every bit of the embroidery on the finished quilt.

A straight stitch is fine. A small zigzag also works and locks the raw edge of the block down a little better. Pick one and stay consistent through the whole quilt. Sew slowly and keep the block lined up - shifting halfway through means a wonky border on this block.

Tip

A walking foot helps the three layers feed through evenly. If you don't own one, drop your top tension by one notch and pin every couple of inches around the block.

4

Trim the Background to a One-Inch Border

3:25
Step 4: Trim the Background to a One-Inch Border

Lay your stitched block flat on the cutting mat. Set the ruler down so its edge sits exactly one inch out from the stitch line you just sewed. Cut along the ruler with a rotary cutter on all four sides.

Before you cut the second block, lay it next to the first and confirm they're the same size. If one is a hair bigger, trim it down to match. Consistent block sizes are what make the finished quilt look square - this is the step where that happens.

Tip

Cut once, check twice. You can always trim more off, but you can't add fabric back. Jenny mentions one block in her stack ended up too small for the quilt and got demoted to a pot holder - that's the cost of an aggressive trim.

5

Pair Two Blocks Wrong-Sides Together

5:35
Step 5: Pair Two Blocks Wrong-Sides Together

Here's the move that makes this method work. Take two finished blocks and lay them WRONG sides together - so both right sides face outward. The back of each block sits on the inside of the seam.

This is the opposite of normal piecing. With quilt-as-you-go, the seam will end up on the front of the quilt, hidden under a folded flap that you sew down in step 8. Before you head to the machine, check that both blocks are oriented the right way up. You don't want to discover the kitty is sideways after the seam is in.

Tip

Pin generously through both blocks before sewing - three pins minimum down the seam line. Quilt-as-you-go layers shift more than two flat pieces of fabric, and a half-inch creep over the seam is hard to hide later.

6

Sew the Two Blocks Together at the Inner Stitch Line

6:12
Step 6: Sew the Two Blocks Together at the Inner Stitch Line

Take the pinned pair to the machine and sew along the original stitch line - the one you sewed in step 3 to attach the block to its background. That seam sits about one inch in from the raw edge.

Run a standard straight stitch and back-tack at both ends. The two blocks are now joined down their shared seam, but you've still got a raw flap of background fabric on the front side that needs finishing. That happens in the next two steps.

Tip

Glance at the underside as you sew. It's easy to accidentally catch the embroidery on the other block in your seam. If you do, stop, pull the stitches, and start the seam over. Catching it later means picking out two seams instead of one.

7

Press the Seam Open and Fold the Raw Edge Under

6:55
Step 7: Press the Seam Open and Fold the Raw Edge Under

Open the joined pair and press the seam flat with an iron. Fold one of the raw flaps under as tightly as it will go - all the way down to the stitch line on the back. Then lay that folded edge over the top of the other raw flap, covering both seam allowances.

You're aiming for a finished flap that's just under a half-inch wide. Press it flat as you fold so it stays in place. This is the move that hides the seam and finishes the front of the quilt at the same time.

Tip

If you'd rather not lose any of the embroidery to the fold, border each block with the same background fabric before joining. The seam will show as a thin contrast line, but the embroidery stays intact. Jenny opted for the tighter fold here, accepting a tiny bit of design loss.

8

Top-Stitch the Folded Flap Down to Finish the Seam

7:45
Step 8: Top-Stitch the Folded Flap Down to Finish the Seam

Back at the machine, top-stitch the folded flap down right along the edge of the fold - not a quarter-inch in, right on the fold itself. This locks the seam closed and finishes the front of the quilt in one pass.

Repeat steps 5 through 8 for every pair of blocks. Build complete rows first - sew block one to block two, then block two to block three, all the way across. Once your rows are done, join them together with the same fold-and-top-stitch technique on the long horizontal seam. When the last row goes on, the quilt is finished. No separate binding required - just fold the outer edges over and top-stitch them down the same way.

Tip

For the outside border of the whole quilt, fold the raw edge under twice and top-stitch - same fold, just doubled to hide every raw thread. This functions as built-in binding and saves you the separate hand-stitched binding step.

Products used in this step

Products Used

☐ The Checklist

How to Sew Quilt Squares Together (Quilt-As-You-Go Method)

Tools
7
Materials
4
Steps
8
Video
10 min

Your Guide

Missouri Star

As an Amazon Associate we earn from qualifying purchases. Links on this page may be affiliate links - clicking them and buying doesn't change your price, but helps support ShowMeStepByStep.

Tags

What's next

Related collections

Curated theme pages that include this tutorial.

Weekly Digest

Liked this quilting tutorial?

Pick the categories you want to hear about. Weekly digest of new step-by-step tutorials. No spam, easy unsubscribe.

Send me tutorials about

We only email about new tutorials. Easy unsubscribe anytime.