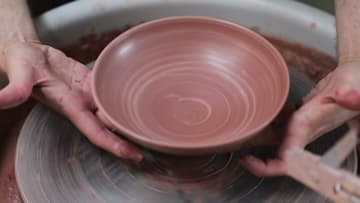
How to Make a Clay Bowl on a Pottery Wheel (Beginner's Guide)
Source: Florian Gadsby • Full tutorial: www.craftingstepbystep.com/pottery/how-to-make-a-clay-bowl
- Difficulty
- Medium
- Hands-on time
- About 30 minutes
- Cost
- About $1 to $3
- Makes
- 1 bowl

Tools
- pottery wheel
- digital scale
- sponge
- turning tool
- metal kidney rib
- chamois leather
- twisted wire cutter
- needle tool
Materials
- about 1 lb stoneware clay
Steps
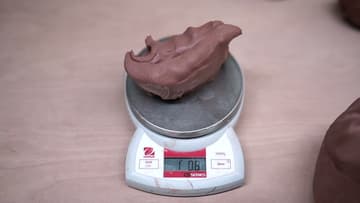
1. Weigh About One Pound of Clay for the Bowl
Weigh out about one pound of clay, around 454 grams. A scale keeps your bowls the same size from one to the next, which matters once you make a set.
Tip: Start with a pound. Bigger lumps are much harder to center.
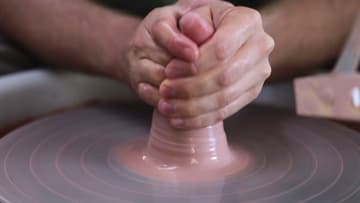
2. Cone the Clay Up to Center It on the Pottery Wheel
With the wheel spinning and your hands wet, squeeze the clay up into a tall cone, then push it back down. Repeat this a few times.
Tip: Brace your elbows on your thighs so the clay moves, not your hands.
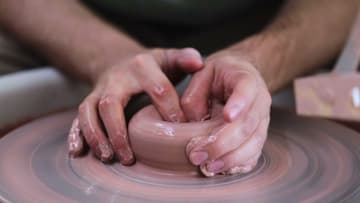
3. Open the Centered Clay Disc for the Bowl
Wet your thumb and index finger and push them down into the middle of the disc. Stop with about 1.5 centimeters, or two thirds of an inch, of clay left in the base.
Tip: Poke a needle through the base to check the depth while you learn.
4. Pull the Clay Bowl Walls Up and Outward
Push in at the base with your outside finger and follow with your fingers inside. Draw the clay up through your hands and let the spin carry the wall outward.
Tip: Add plenty of water inside during these pulls so your fingers do not drag.
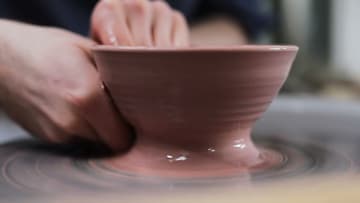
5. Shape a Smooth Curve Inside the Clay Bowl
Once the width and height are right, do one or two gentle pulls from the inside to add more curve to the shape. Press out with your fingertips and keep your outside hand light.
Tip: Slow the wheel a little for shaping. Fast spins push wide walls out too far.
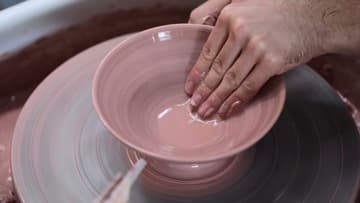
6. Sponge the Water Out of the Clay Bowl
Now mop out all the water and slip pooled in the bottom with a small sponge. Do it as soon as the shape is there.
Tip: A sponge on a stick reaches the floor of deeper bowls.
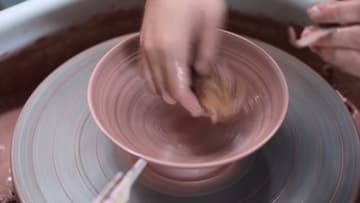
7. Undercut the Base of the Clay Bowl With a Turning Tool
Hold a blunt turning tool against the base of the bowl and trim away the wet clay there. This undercut gives you a clean, dry spot to lift from later.
Tip: An old, dull trimming tool works well here. It will not dig in.
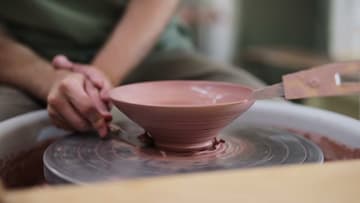
8. Scrape the Inside of the Clay Bowl With a Kidney Rib
Run a sharp metal kidney rib over the inside surface to remove most of the slip and true up the curve. You do not need to remove all of it.
Tip: Hold the rib at a slight angle and let the wheel do the work.
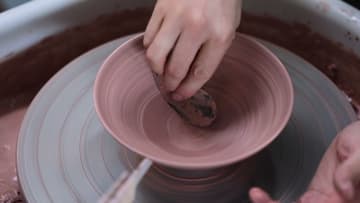
9. Roll-Test the Inside Curve of the Clay Bowl
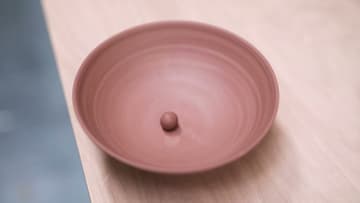
Florian checks his curve with a roll test. Picture a small ball dropped inside the bowl.
Tip: Not every bowl has to be curved, but a curved one should pass this test.
10. Lift the Clay Bowl Off the Pottery Wheel
Drag a twisted wire under the bowl. It leaves a pattern that is less likely to stick than a smooth wire.
Tip: Let it dry to leather hard before you flip it to trim the foot.