How to Make an Origami Tulip - Easy Paper Flower With a Stem

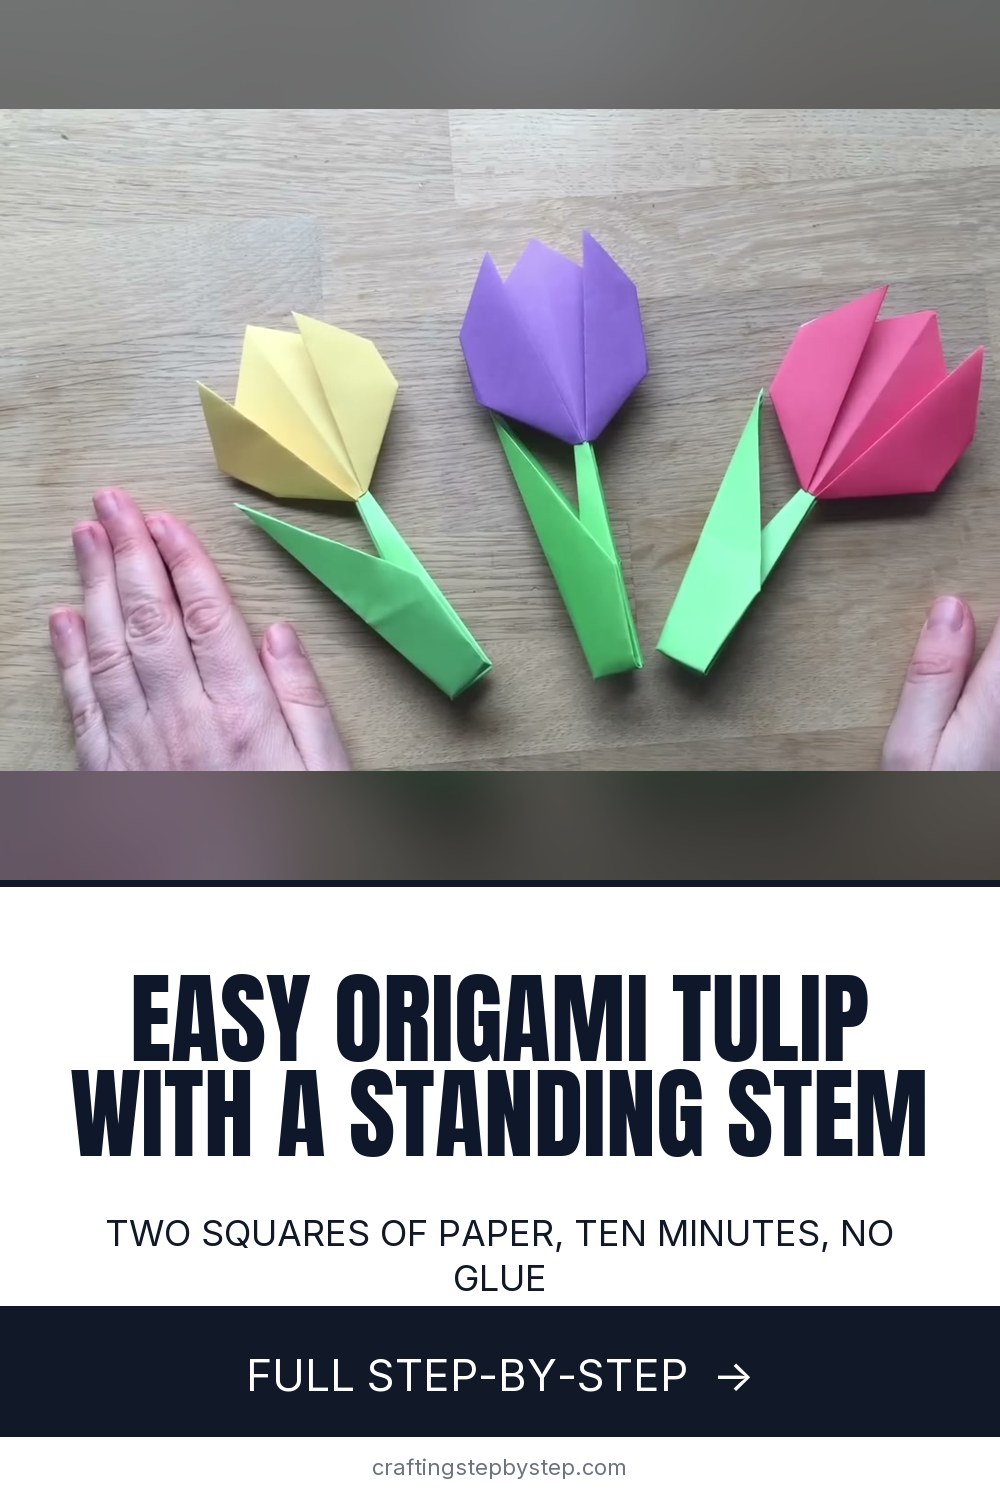
The finished result: How to Make an Origami Tulip - Easy Paper Flower With a Stem
  • Difficulty: Easy
  • About 15 minutes
  • 9 steps

You tapped Save

Save this project for later

We'll email you a link, no password.

How to Make an Origami Tulip - Easy Paper Flower With a Stem

  • Your saved projects in one list
  • Your ticked steps on any device

Check your inbox for an email from us. Not there? Look in your spam folder.

Print

Steps written out by Crafting Step by Step from Red Ted Art (Maggy Woodley)'s video (opens YouTube) (4:26). Published .

An origami tulip is one of the friendliest first folds there is. You need two squares of paper, no glue, and about ten minutes. Maggy Woodley of Red Ted Art folds the flower head from one square and a stem with a leaf from another, and the finished tulip even stands up on its own.

How to make an origami tulip: the short version

  • Fold a small square into a triangle and crease the other diagonal too.
  • Fold the two side corners up to make the petals, then tuck the corners behind.
  • Fold a larger green square into a kite, then narrow it twice into a thin stem.
  • Fold the stem in half and pull it open a little to make the leaf.
  • Snip a tiny hole in the flower and slide it onto the stem.

What paper to use

Maggy uses a 12 cm square for the flower and a 15 cm square for the stem. In inches that is close to a 4.5 inch square and a 6 inch square. The stem paper has to be bigger, or the flower looks like it is sitting on a toothpick.

Standard origami paper works well because it is thin and holds a crease. Printer paper is fine for practice, but it gets stiff when you fold the stem four times. Pick a bright colour for the head and any green for the stem. If your paper is coloured on one side only, start with the coloured side down.

Getting crisp folds

Line the corners up first, hold them with one finger, then press the crease from the middle out to the edges. Run a thumbnail along it after. The stem is where neat folding matters most. Each fold doubles the thickness, so a sloppy first fold turns into a lumpy, crooked stem by the end.

Take extra care at the pointed tip of the kite. That point becomes the top of the stem, and it has to be slim enough to slide into the flower.

Ways to use your paper tulips

  • Cards. Glue a flower head to the front of a card and draw the stem, as Maggy suggests. It pairs well with a Mother's Day card.
  • A bouquet. Fold six or seven in mixed colours and stand them in a small jar.
  • Spring table. Line them along a windowsill or use them as place cards with a name written on the leaf.
  • A garden of paper flowers. Mix them with other paper flowers or an origami lotus for a fuller display.

New to folding? The basics in how to make origami cover the terms and the valley and mountain folds you will see in other models.

Folding with kids

This is a good one to do side by side with a grandchild. The flower head is quick enough to hold a young child's attention, and older kids can manage the stem with a little help. You do the snip with the scissors. A small hole is plenty.

Common mistakes

  • Petals that look uneven. Fold the second corner at a slightly different angle from the first. The tulip looks more natural that way, not less.
  • A stem too thick to fold. Use thinner paper, or stop after one narrowing fold per side.
  • The flower slides down the stem. The hole is too big. Fix it with a small piece of tape.
  • The tulip will not stand. Open the leaf out a little more so it acts as a foot.

Free printable

Print the steps and supply list for this project

One page you can take to the table. Free with a free account, no password.

Get the free printable

What you'll need

Free, for this project

Get this checklist by email

  • All 6 tools and materials, with tick boxes
  • A link to print all 9 steps on paper, to keep by you while you craft

No password. The whole tutorial stays free on this page.

Quick answer

How to make an origami tulip from two squares of paper. An easy project: about 15 minutes. You need 6 things, including clear tape, glue stick and scissors. The 9 steps start with fold the Red Tulip Square Into a Triangle, open the Tulip Square and Crease the Other Diagonal, fold the Triangle Corners Up Into Tulip Petals, turn the Tulip Head Over and Tuck the Side Corners and fold the Green Stem Square Edges Into a Kite.

Step-by-step guide

9 steps, about 4 minutes. Tap a picture to jump to that step. Your progress saves automatically.

Tick each step off as you go.

  1. Step 1: Fold the Red Tulip Square Into a Triangle

    Watch this step · 0:36

    Take the smaller square for the flower. Turn it coloured side down and set it on the table like a diamond. Bring the bottom corner up to meet the top corner, so you have a triangle. Line the points up as neatly as you can before you press, then run your fingers along the fold to set a sharp crease. Maggy admits hers was not perfect, and the tulip still turned out well.

    Tip:

    Start with the long folded edge closest to you. It makes the next steps easier to follow.

    Back to all steps

  2. Step 2: Open the Tulip Square and Crease the Other Diagonal

    Watch this step · 0:52

    Open the triangle back up. Turn the square and fold it corner to corner the other way, then crease it and fold it back into the first triangle. You now have a crease running down the middle. This step is optional, but Maggy likes it. The extra line gives the finished tulip a little more shape and depth, so it looks less flat.

    Tip:

    Skip this crease with very young children and the tulip will still work.

    Back to all steps

  3. Step 3: Fold the Triangle Corners Up Into Tulip Petals

    Watch this step · 1:08

    With the long edge at the bottom, take the right corner and fold it up so it points past the top of the triangle. Then take the left corner and fold it up too, but not all the way. Fold it at an angle so the two petals look a bit different. That small difference is what makes it look like a real tulip and not a paper crown.

    Tip:

    Keep the bottom point of the triangle sharp. It becomes the base of the flower.

    Back to all steps

  4. Step 4: Turn the Tulip Head Over and Tuck the Side Corners

    Watch this step · 1:27

    Flip the flower over. You will see two small corners sticking out at the sides. Fold each one in toward the middle so the outline of the tulip head is smooth and rounded. Turn it back over and the flower head is finished. If you only want flowers for a card, stop here, glue the head on, and draw the stem with a green pen.

    Tip:

    A dab of glue under each tucked corner keeps them flat if your paper is springy.

    Back to all steps

  5. Step 5: Fold the Green Stem Square Edges Into a Kite

    Watch this step · 2:16

    Now the stem. Take the larger green square and fold it corner to corner into a triangle, then open it again so there is a crease down the middle. Fold one edge in so it lines up with the centre crease. Do the same on the other side. The paper now looks like a kite, with a long point at one end.

    Tip:

    It does not matter which diagonal you fold first. You may only need to turn the paper around.

    Back to all steps

  6. Step 6: Fold the Green Kite Sides In Again

    Watch this step · 2:48

    Turn the kite over so the folds face down. Bring one long edge in to the centre line again and press it flat. Do the other side the same way. Take your time at the pointed tip, because that end becomes the top of the stem. The neater it is here, the easier it will slide into the flower at the end.

    Tip:

    Turning the paper over keeps the layers from fighting each other and makes the stem lie flat.

    Back to all steps

  7. Step 7: Narrow the Green Paper Into a Long Tulip Stem

    Watch this step · 3:10

    Flip it back over and fold the first side in a second time, then the other side. The paper is getting thick now, so press firmly and fold slowly. You should end up with a long, thin strip at one end and a wider part at the other. That wider part turns into the leaf in the next step.

    Tip:

    If the paper fights you, run a thumbnail along each fold before you start the next one.

    Back to all steps

  8. Step 8: Fold the Tulip Stem in Half to Make a Leaf

    Watch this step · 3:38

    Bring the thin tip up so it meets the tip at the other end, and fold the stem in half. Press the fold. Then pull the thin stem part out and away from the wider part a little. The wider piece opens out into a leaf. Set it on the table and the stem should stand up on its own, which is the best part of this design.

    Tip:

    Open the leaf wider if the tulip tips over. It works as a little foot.

    Back to all steps

  9. Step 9: Snip the Tulip Head and Slide It Onto the Stem

    Watch this step · 3:56

    There are two ways to join the pieces. You can tape the flower head to the top of the stem. Or you can snip a very small hole at the bottom point of the flower and push the stem tip inside. Cut only a little. A big hole lets the flower slide all the way down. Stand your tulip up, and fold a few more for a bouquet.

    Tip:

    Adults should do the snipping when you fold with children.

    Back to all steps

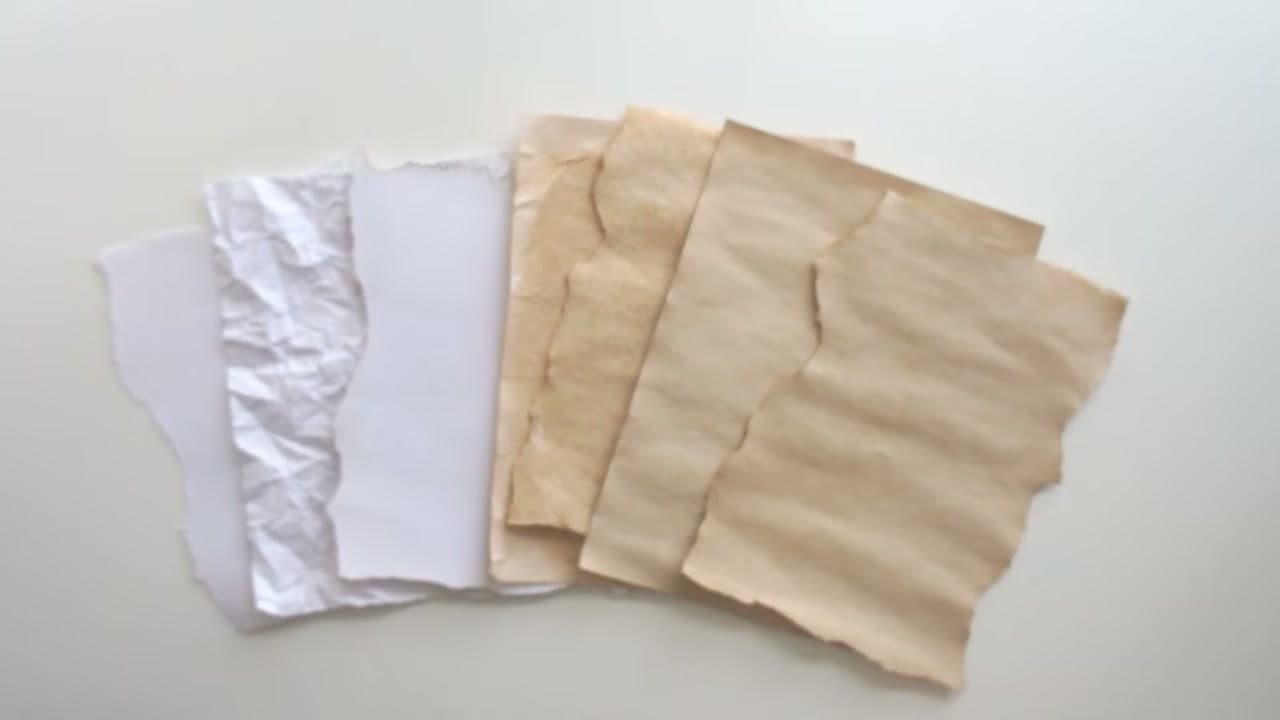
How to Make Paper Look Old

Keep going

How to Make Paper Look Old

Keep going with paper crafts

More on this topic, picked for this origami tulip.

You reached the last step

Save this project to come back to it

Your ticked steps, the free printable and your other saved makes, together in My Projects. Free, no password.

You tapped Save

Save this project for later

We'll email you a link, no password.

How to Make an Origami Tulip - Easy Paper Flower With a Stem

  • Your saved projects in one list
  • Your ticked steps on any device

Check your inbox for an email from us. Not there? Look in your spam folder.

Free printable

Printable sheet for this project

The bonus is hidden until you sign up.

Free with a free account, no password. Every step above stays open to everyone.

Products Used

The Checklist

How to Make an Origami Tulip - Easy Paper Flower With a Stem

Tools
2
Materials
4
Steps
9
Video
4 min

Tools we recommend

As an Amazon Associate we earn from qualifying purchases. Links on this page may be affiliate links - clicking them and buying doesn't change your price, but helps support Crafting Step by Step.

Tags

The Crafter's Weekly

New paper crafts tutorials, every Sunday

One short email with the week's best step-by-step guides. Free, no spam, unsubscribe anytime.

Did this work for you?

What's next

Related collections

Curated theme pages that include this tutorial.

Similar tutorials

Hand-picked next reads based on the one you just finished.

Liked this paper crafts tutorial?

Pick the crafts you want to hear about. One email every Sunday with new step-by-step tutorials. No spam, easy to unsubscribe.

Get more like this in your inbox

Weekly digest. Pick the categories you want. Unsubscribe anytime.

Send me tutorials about

We only email about new tutorials. Easy unsubscribe anytime.