How to Make a Mother's Day Card: 3 Easy Watercolor Designs

By CraftingStepByStepPublished Updated

Based on a video by Liesl's Artistic Studio: Watercolor.

Three watercolor card designs that any beginner can paint, all using the same brush and a single sheet of watercolor paper cut into card-sized pieces. Each card takes about 15 minutes - shorter than the supply run.

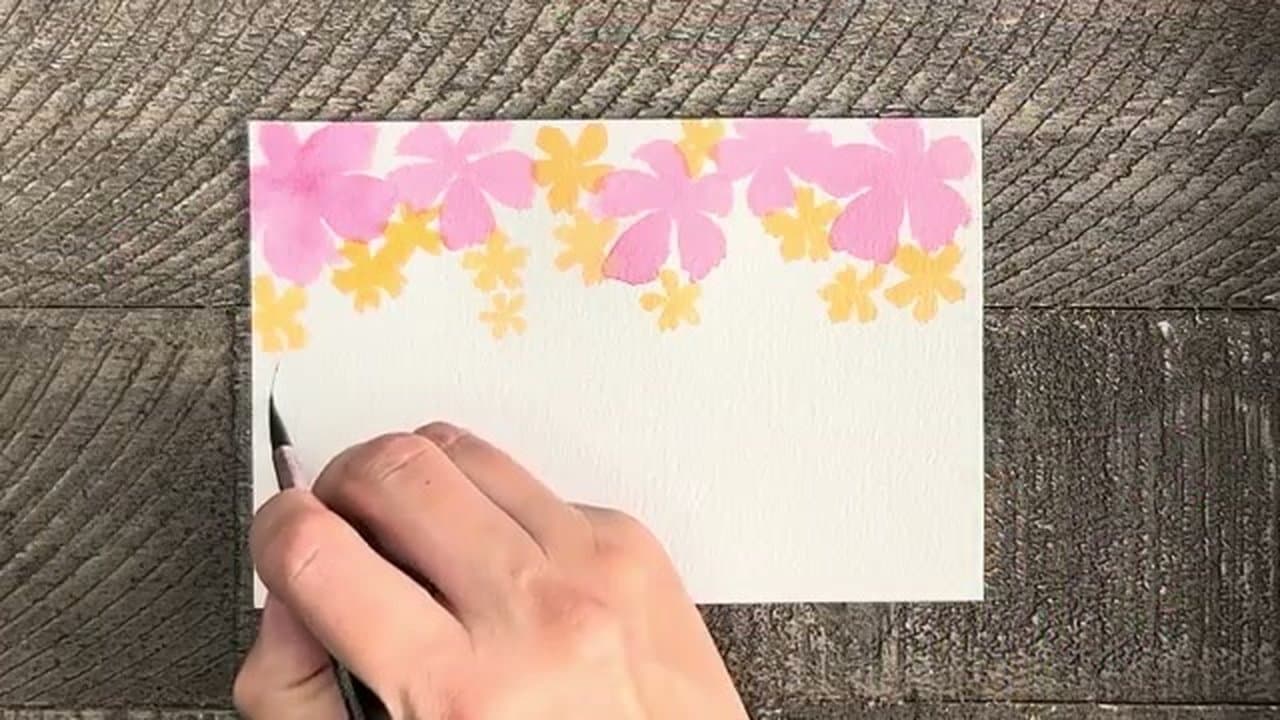
Card 1 is loose yellow roses with green leaves and a soft wash. Card 2 is small purple wildflowers with thin green stems. Card 3 is a row of layered pink, orange, and purple flowers across the top edge.

Pick one or paint all three. Pair them with a hand-written message and they're done. The same techniques work for birthdays, thank-yous, or any card you'd otherwise buy.

Credit to Liesl's Artistic Studio for the source video.

Step-by-Step Guide

1

Step 1: Set Up Your Supplies

0:30
Step 1: Step 1: Set Up Your Supplies

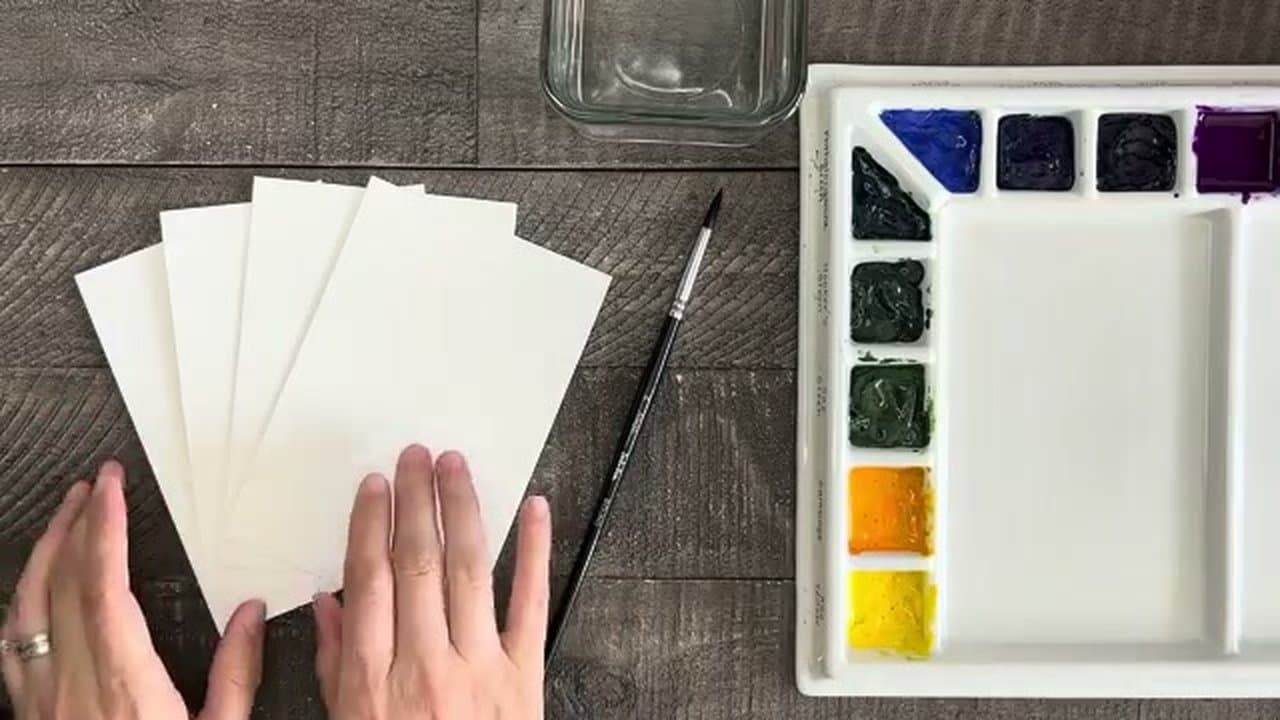
One sheet of watercolor paper cuts into four cards at 4 by 6 inches. Lay them out beside a clean watercolor palette with your paints, a jar of clean water, a paper towel, and one number 6 round brush. The whole video uses just this one brush.

Watercolor paper matters here. Regular printer paper buckles and tears under wet paint. The 140 lb cold-press range is a safe default if you're picking some up for this.
2

Step 2: Paint the First Loose Rose (Card 1)

1:20
Step 2: Step 2: Paint the First Loose Rose (Card 1)

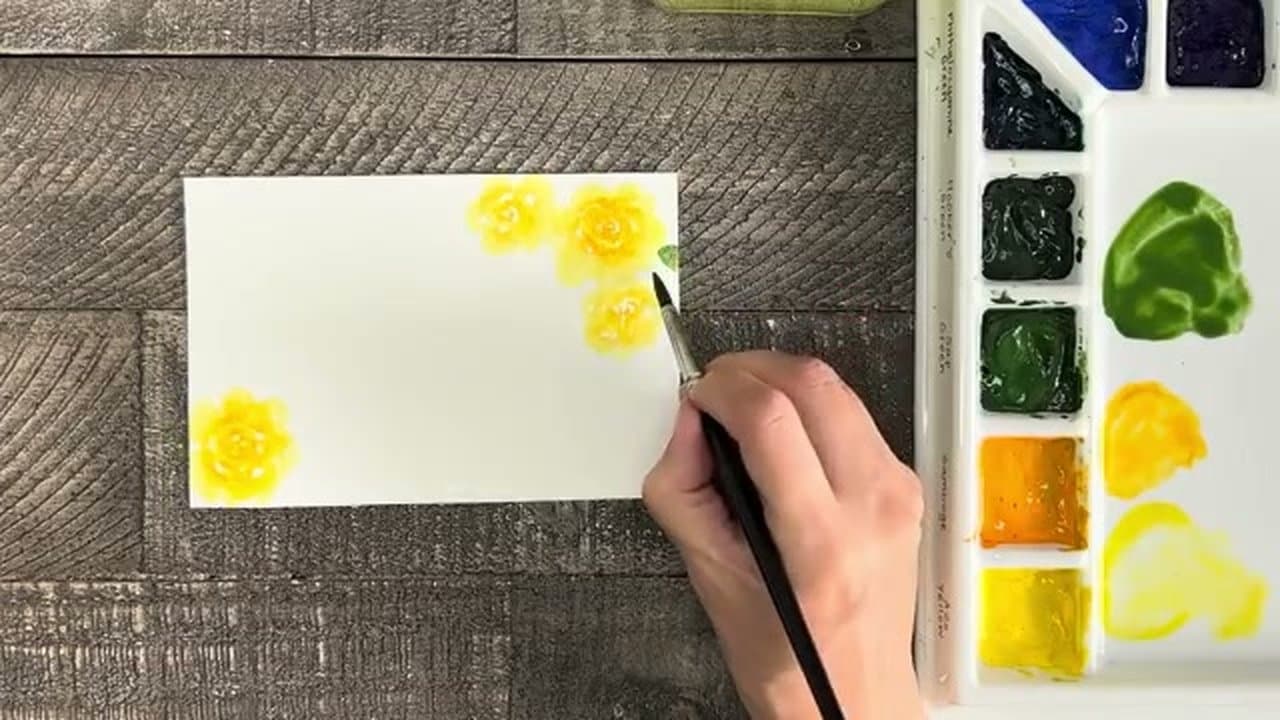
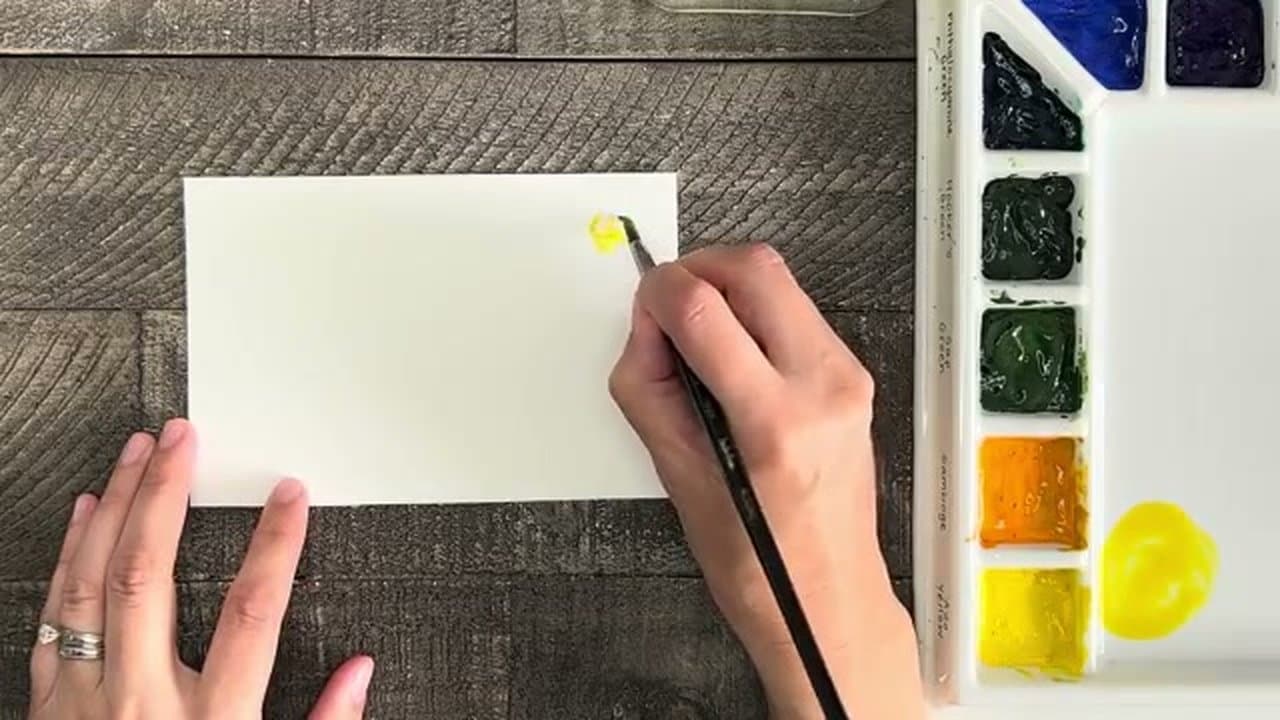
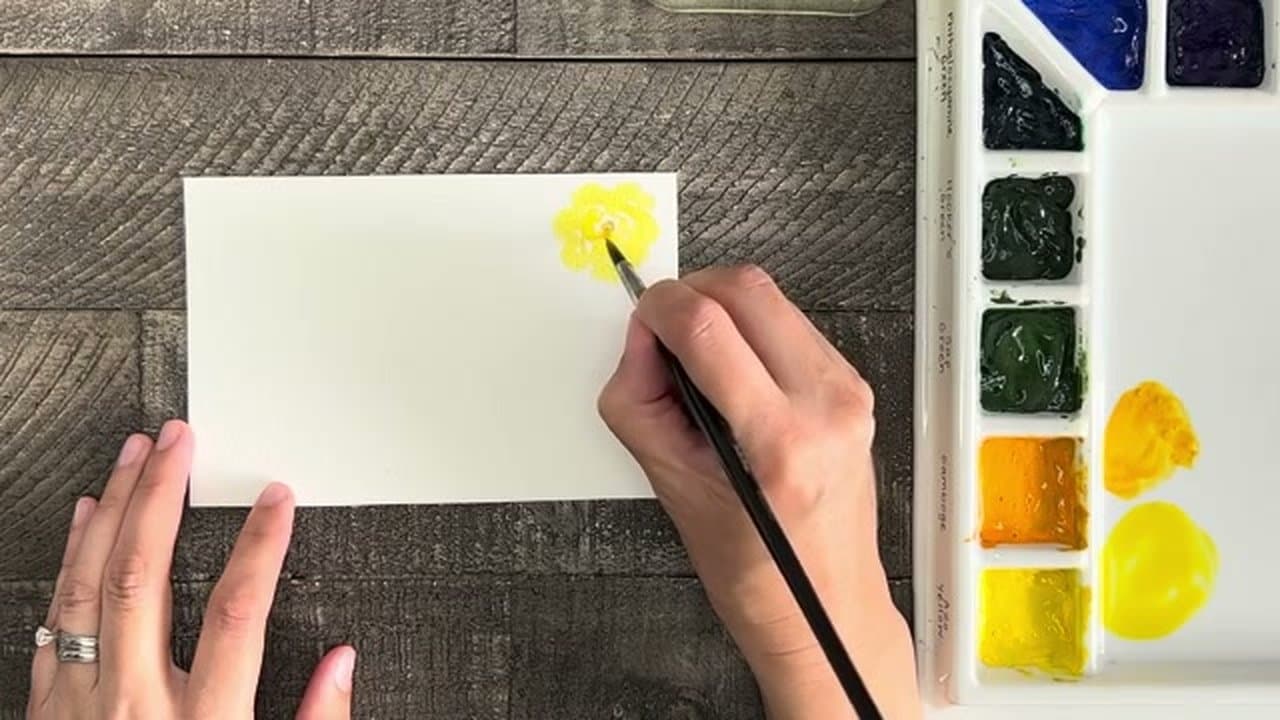
Load the brush with aureolin yellow and paint a small swirl in the upper corner using just the tip. Build petals out from that center, pressing more of the brush belly onto the paper as the petals get bigger. The bigger pressure makes wider strokes that read as petals from a distance.

Leave a few small white spaces between petals - they keep the rose feeling airy instead of a solid yellow blob. Don't worry about precision; the looseness is what makes the style work.

Products used in this step

3

Step 3: Drop In Gamboge for Dimension

1:55
Step 3: Step 3: Drop In Gamboge for Dimension

While the yellow is still wet, dab a more saturated gamboge into the center of the rose and inside a few of the inner petals. The wet-on-wet pigment spreads into the existing yellow and creates a soft gradient with no hard lines.

Now repeat the whole rose-and-gamboge process for two or three more roses spaced around the card. Vary their sizes so they don't look identical.

Tip

If you'd rather work in pink instead of yellow, swap aureolin for quinacridone rose and use a darker pink as the dimension drop-in. The technique is identical and the result is just as pretty.

Products used in this step

4

Step 4: Add Leaves and a Soft Background Wash

4:10
Step 4: Step 4: Add Leaves and a Soft Background Wash

Switch to sap green and paint small leaves stemming out from each rose. Keep them close to the flowers. It's fine if a leaf bleeds into a petal or runs off the edge of the paper - it just adds to the looseness.

For the optional background wash, water down a mix of yellow and a hint of green and float it across the center area where the flowers are. The wash ties everything together and gives the painting a finished feel without competing with the flowers.

Products used in this step

5

Step 5: Card 2 - Light Wash and Purple Flowers

6:10
Step 5: Step 5: Card 2 - Light Wash and Purple Flowers

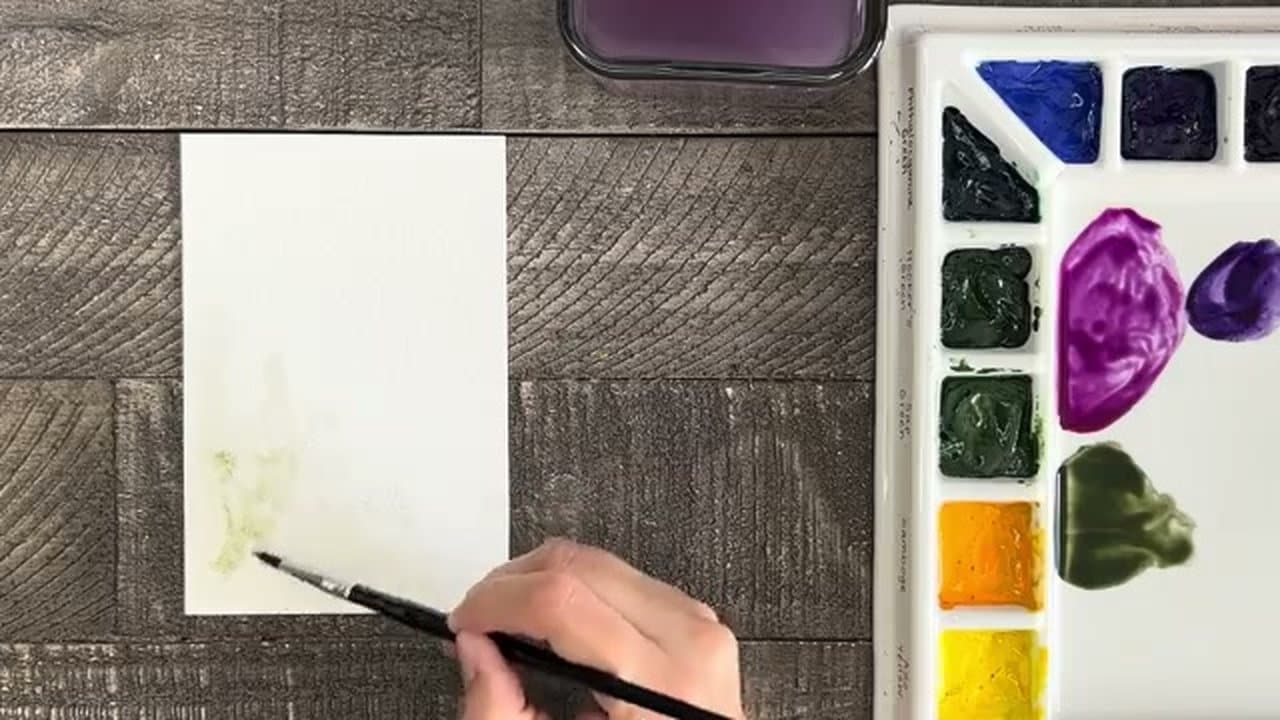
Take a fresh card. Mix dioxazine purple with a touch of quinacridone rose to brighten the purple. Mix hooker's green with a touch of the same rose for a softer green. Brush a faint water-and-green wash into the bottom-left corner and let it dry completely before painting on top.

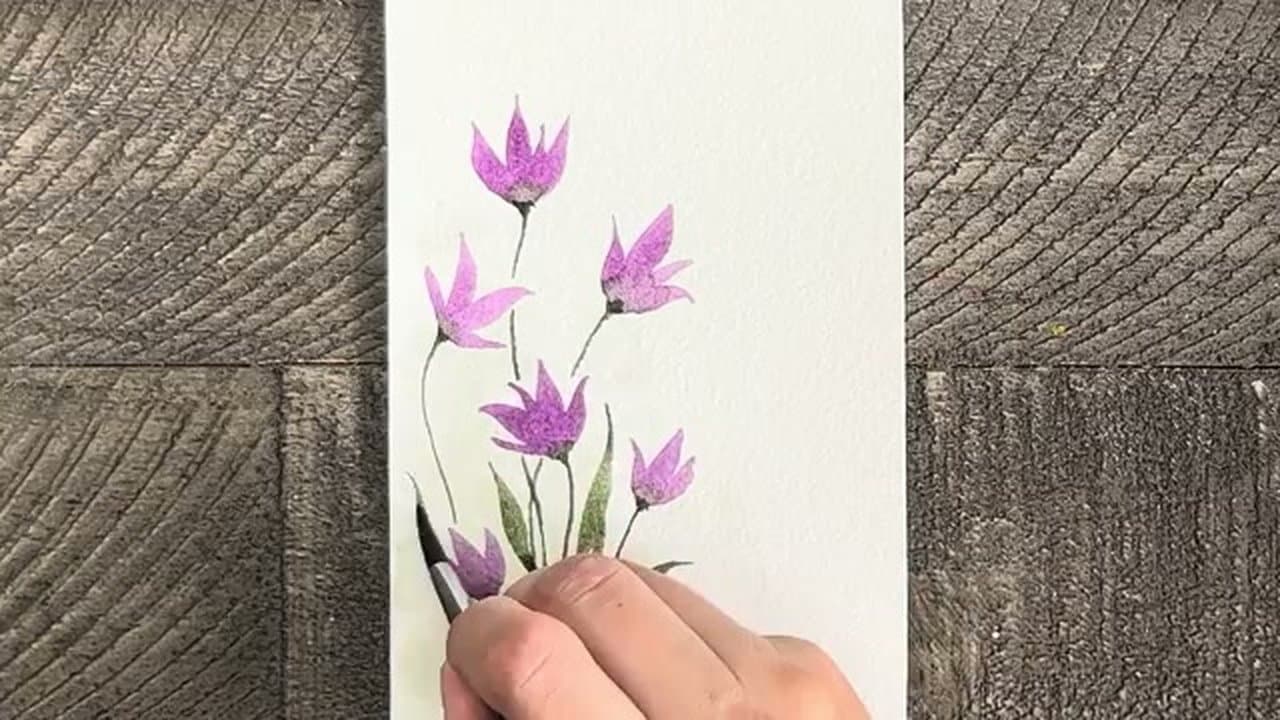
Once dry, paint small purple flowers with three to five petals each. Start each petal with the tip of the brush and press down as you sweep outward, then lift at the end. The taper makes the petals look natural. Aim for six or seven flowers on the page, mostly in the bottom-left and one or two scattered higher.

6

Step 6: Add Stems, Leaves, and Yellow Centers

8:00
Step 6: Step 6: Add Stems, Leaves, and Yellow Centers

Use the very tip of the brush for thin green stems. Dab the brush on a paper towel first to take off excess water - thin stems need a dry-ish brush. Connect each flower to the bottom wash with a curving stem.

Add long narrow leaves along the stems using the same press-and-lift motion as the petals. The last touch is a small yellow dot in the center of each purple flower. The yellow against the cool purple is what makes the design pop.

Products used in this step

7

Step 7: Card 3 - Pink and Orange Flower Row

10:20
Step 7: Step 7: Card 3 - Pink and Orange Flower Row

Take the third card. Water down quinacridone rose so the pink isn't too saturated. Paint about five large five-petal flowers across the top edge of the card. Each petal takes a broad brush stroke or two - bigger pressure makes plump petals that fill quickly.

Mix gamboge with the leftover pink on the palette to make a soft orange. Use it to fill in smaller five-petal flowers between and around the pink ones. Add hooker's green leaves in a variety of sizes, then matching green dots to the centers of the flowers. Add a deeper purple-pink for one or two even smaller accent flowers in any leftover spaces.

Tip

Write the greeting in pencil first if you're worried about the lettering. Once it's where you want it, trace over the pencil with a pen or marker.

Products used in this step

Products Used

☐ The Checklist

How to Make a Mother's Day Card: 3 Easy Watercolor Designs

Tools
5
Materials
7
Steps
7
Video
12 min

Your Guide

Liesl's Artistic Studio: Watercolor

As an Amazon Associate we earn from qualifying purchases. Links on this page may be affiliate links - clicking them and buying doesn't change your price, but helps support ShowMeStepByStep.

Tags

What's next

Related collections

Curated theme pages that include this tutorial.

Weekly Digest

Liked this card making tutorial?

Pick the categories you want to hear about. Weekly digest of new step-by-step tutorials. No spam, easy unsubscribe.

Send me tutorials about

We only email about new tutorials. Easy unsubscribe anytime.