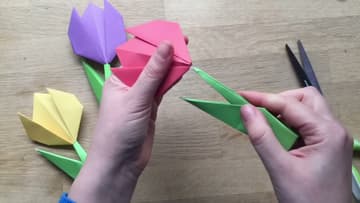
How to Make an Origami Tulip - Easy Paper Flower With a Stem
Source: Red Ted Art (Maggy Woodley) • Full tutorial: www.craftingstepbystep.com/paper-crafts/how-to-make-an-origami-tulip
- Difficulty
- Easy
- Hands-on time
- About 15 minutes
- Makes
- 1 paper tulip

Tools
- scissors
- ruler (optional)
Materials
- origami paper, 12 cm (4.5 inch) square for the flower
- green origami paper, 15 cm (6 inch) square for the stem
- clear tape (optional)
- glue stick (optional, for cards)
Steps
1. Fold the Red Tulip Square Into a Triangle
Take the smaller square for the flower. Turn it coloured side down and set it on the table like a diamond.
Tip: Start with the long folded edge closest to you. It makes the next steps easier to follow.
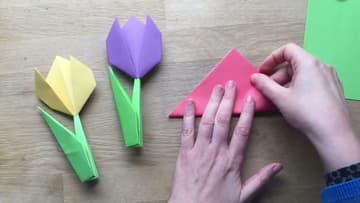
2. Open the Tulip Square and Crease the Other Diagonal
Open the triangle back up. Turn the square and fold it corner to corner the other way, then crease it and fold it back into the first triangle.
Tip: Skip this crease with very young children and the tulip will still work.
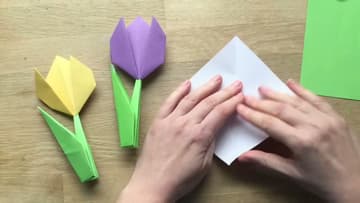
3. Fold the Triangle Corners Up Into Tulip Petals
With the long edge at the bottom, take the right corner and fold it up so it points past the top of the triangle. Then take the left corner and fold it up too, but not all the way.
Tip: Keep the bottom point of the triangle sharp. It becomes the base of the flower.
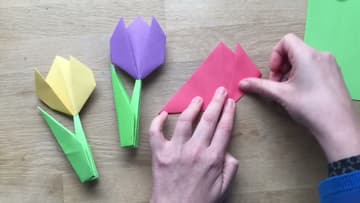
4. Turn the Tulip Head Over and Tuck the Side Corners
Flip the flower over. You will see two small corners sticking out at the sides.
Tip: A dab of glue under each tucked corner keeps them flat if your paper is springy.
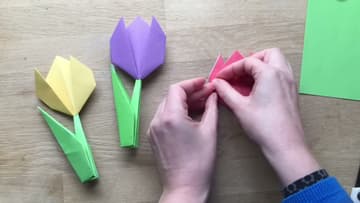
5. Fold the Green Stem Square Edges Into a Kite
Now the stem. Take the larger green square and fold it corner to corner into a triangle, then open it again so there is a crease down the middle.
Tip: It does not matter which diagonal you fold first. You may only need to turn the paper around.
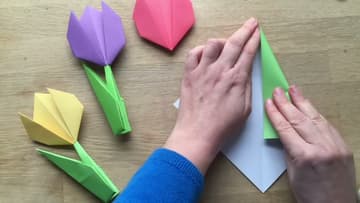
6. Fold the Green Kite Sides In Again
Turn the kite over so the folds face down. Bring one long edge in to the centre line again and press it flat.
Tip: Turning the paper over keeps the layers from fighting each other and makes the stem lie flat.
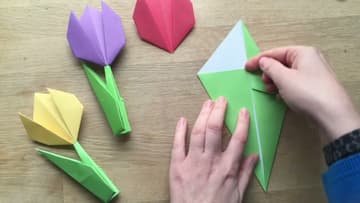
7. Narrow the Green Paper Into a Long Tulip Stem
Flip it back over and fold the first side in a second time, then the other side. The paper is getting thick now, so press firmly and fold slowly.
Tip: If the paper fights you, run a thumbnail along each fold before you start the next one.
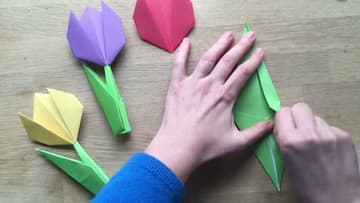
8. Fold the Tulip Stem in Half to Make a Leaf
Bring the thin tip up so it meets the tip at the other end, and fold the stem in half. Press the fold.
Tip: Open the leaf wider if the tulip tips over. It works as a little foot.
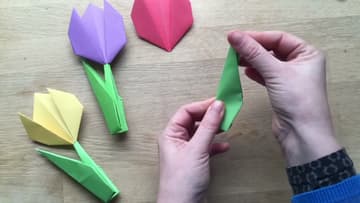
9. Snip the Tulip Head and Slide It Onto the Stem
There are two ways to join the pieces. You can tape the flower head to the top of the stem.
Tip: Adults should do the snipping when you fold with children.