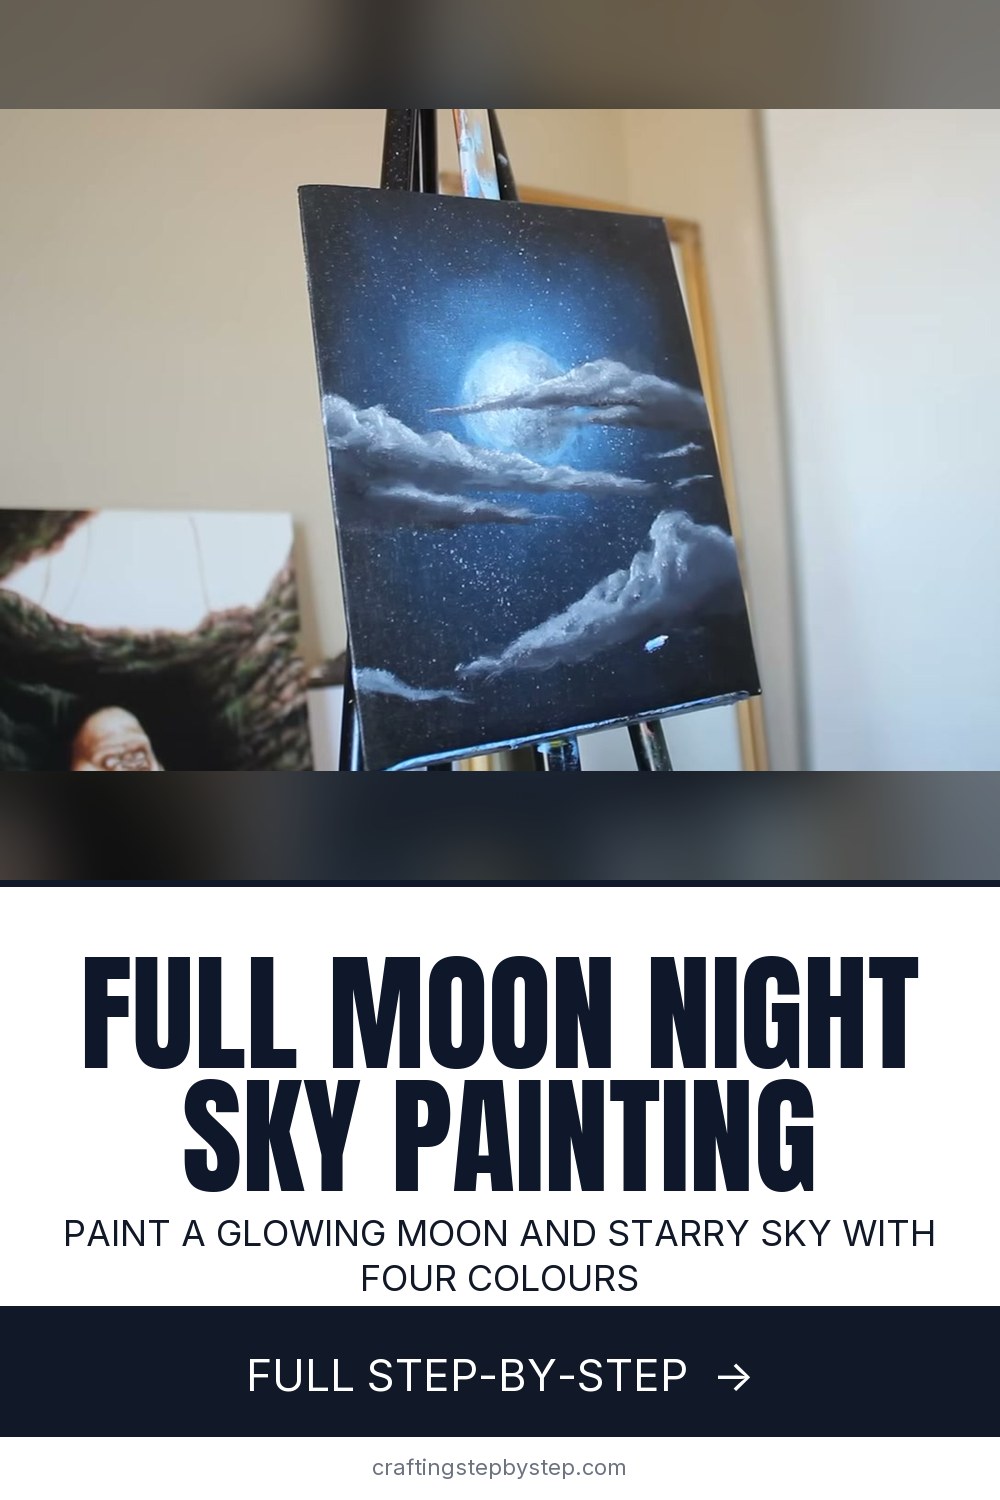
A glowing full moon over a starry sky is one of the most satisfying acrylic paintings a beginner can try. There is no drawing to get right. Everything is built from soft gradients, a few dabs of white and some spattered stars. Ryan O'Rourke of Stay Creative Painting walks through it in under ten minutes, from a plain black canvas to a bright moon wrapped in moonlit clouds.
How to paint a full moon night sky: the short version
- Start on a black canvas and dab blue into the middle.
- Blend it out into a gradient, then add a lighter blue glow at the centre.
- Flick watery white paint off a brush for stars.
- Build the moon in thin layers of white, dabbing in texture for craters.
- Soften its edge into a glow, then add clouds lit from above.
Paint and brushes
You only need four colours: black, a mid blue, white and a little grey or extra black for shading clouds. Student acrylics are fine. Use a big round stippling brush for the sky, a small round or detail brush for the moon, and a small flat brush for the clouds. A canvas already primed black saves a coat of paint and a long wait.
Why dry brushing matters here
Ryan keeps his sky brush fairly dry. A wet brush dabbed onto acrylic that is starting to dry will lift the layer underneath and leave patches. With a drier brush, you can dab and blend over and over to get a smooth fade from bright blue in the middle to near black at the edges. If a layer feels sticky, stop and let it dry fully before you go back in.
Getting the stars right
Thin white paint with plenty of water, load a long brush, and pull back the bristles with your finger so they spring forward. Hold the brush well away from the canvas, or you get a line of stars instead of a scatter. More water means bigger stars. Test on paper first, and cover anything you want to keep clean with scrap paper.
Making the moon glow
The glow comes from values, not from a special paint. The sky must be lightest right around the moon and darkest at the corners. The moon itself is a crisp white shape, and its outline is softened with a watery blue so it melts into the sky. Ryan even blends that edge with a fingertip. Craters are only suggested with rough dabs, since you would not see detail from this distance.
Variations to try
Once the basic sky works, change one thing at a time. Swap the blue for a deep purple or teal. Paint a crescent instead of a full moon. Add a black silhouette of pine trees or a hill along the bottom edge, which takes five minutes and makes the moon look even brighter. A small canvas makes a quick gift or a card.
Common mistakes
- A flat, even sky. Push the centre brighter and the edges darker.
- Stars in a line. Move the brush further back when you flick.
- Cartoon clouds. Add more small dabs and bumps along the tops.
Ready for more night skies? Try painting a galaxy or the northern lights. For fuller clouds, see how to paint clouds, and brush up on blending acrylic paint for smoother gradients.