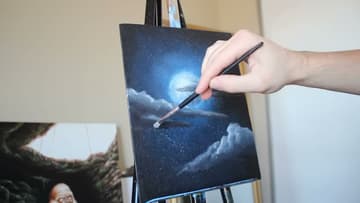
How to Paint a Full Moon Night Sky - Easy Acrylic Painting
Source: Stay Creative Painting with Ryan O'Rourke • Full tutorial: www.craftingstepbystep.com/painting/how-to-paint-a-full-moon-night-sky
- Difficulty
- Easy
- Hands-on time
- About 1 hour
- Wait time
- 30 minutes
- Cost
- About $5 to $15
- Makes
- 1 painting

Tools
- large round brush
- small round or detail brush
- small flat brush
- easel
- palette
- water cup
Materials
- black canvas or black gesso
- acrylic paint in black, blue and white
- paper towels
Steps
1. Dab Blue Paint Into the Centre of a Black Canvas for the Night Sky
Start with a canvas painted black, or one that comes primed black. Load a large round brush with blue and dab it into the middle of the canvas.
Tip: Square or portrait canvases both work. Pick one and centre the glow on it.
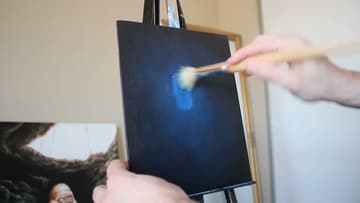
2. Blend the Night Sky Blue Out Toward the Dark Edges
Work the blue outward in a circular dabbing motion so it fades into the black. You are making a gradient: dense blue in the centre, almost black at the edges.
Tip: Step back from the easel now and then. Gradients are easier to judge from a distance.
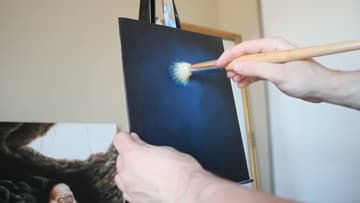
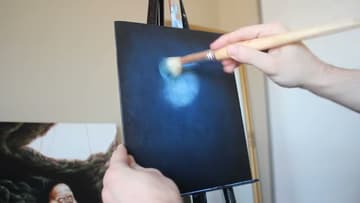
3. Add a Lighter Blue Glow Where the Full Moon Will Sit
Mix some white into your blue and repeat the process on a smaller scale. Dab the lighter mix into the very middle and blend it outward.
Tip: Let the first blue layer dry before this one so the dabbing does not lift it.
4. Spatter White Paint to Add Stars to the Night Sky
For stars, thin white paint with plenty of water on a long brush. Pull the bristles back with your finger and let them go, so the paint flicks onto the canvas as tiny dots.
Tip: An old toothbrush works for this too and gives a finer spray.
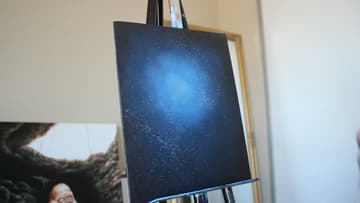
5. Paint a Thin Watery Circle for the Full Moon
Now the moon. With a smaller brush, paint a very watered-down white circle in the centre of the glow.
Tip: Trace around a jar lid lightly with chalk if you want a perfect circle.
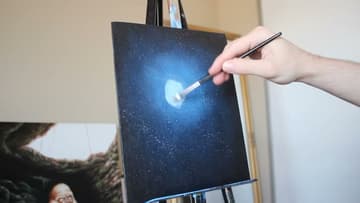
6. Build Up the Full Moon With Dabs of White
Pick up more white and choose the area of the moon you want to be brightest. Dab the paint on there, and drag it now and then to blend small patches together.
Tip: Brightest on one side gives the moon a hint of roundness.
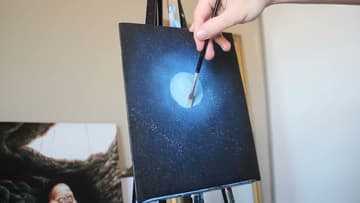
7. Dab Texture Onto the Moon to Suggest Craters
Add a few blue and darker dabs inside the moon for depth, then go back in with white. You only want to suggest craters, not paint each one.
Tip: A slightly worn brush gives a better rough texture than a new one.
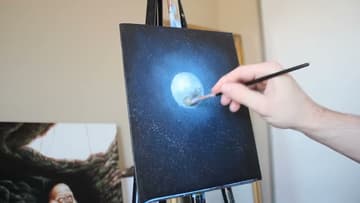
8. Soften the Edge of the Moon Into a Glow
Outline the moon with a very watery blue and blend it outward so the edge softens into the sky. Ryan uses his fingertip for part of this, and it works well.
Tip: Wipe your finger often so you do not drag dark paint back into the moon.
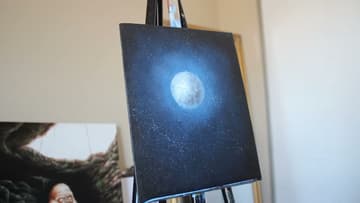
9. Block In Moonlit Clouds Across the Night Sky
Mix blue, white and a little black into a soft grey-blue. With a flat brush, paint simple, flat cloud shapes across and below the moon.
Tip: Let a cloud cross part of the moon. It makes the scene feel deeper.
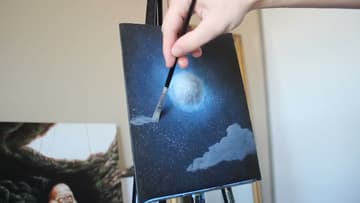
10. Highlight the Tops of the Clouds Where the Moonlight Hits
Light comes from the moon, so the tops of the clouds should be bright and the bottoms dark. Add black along the bottoms and blend it up.
Tip: The more small bumps and dabs you add, the more real the clouds look.