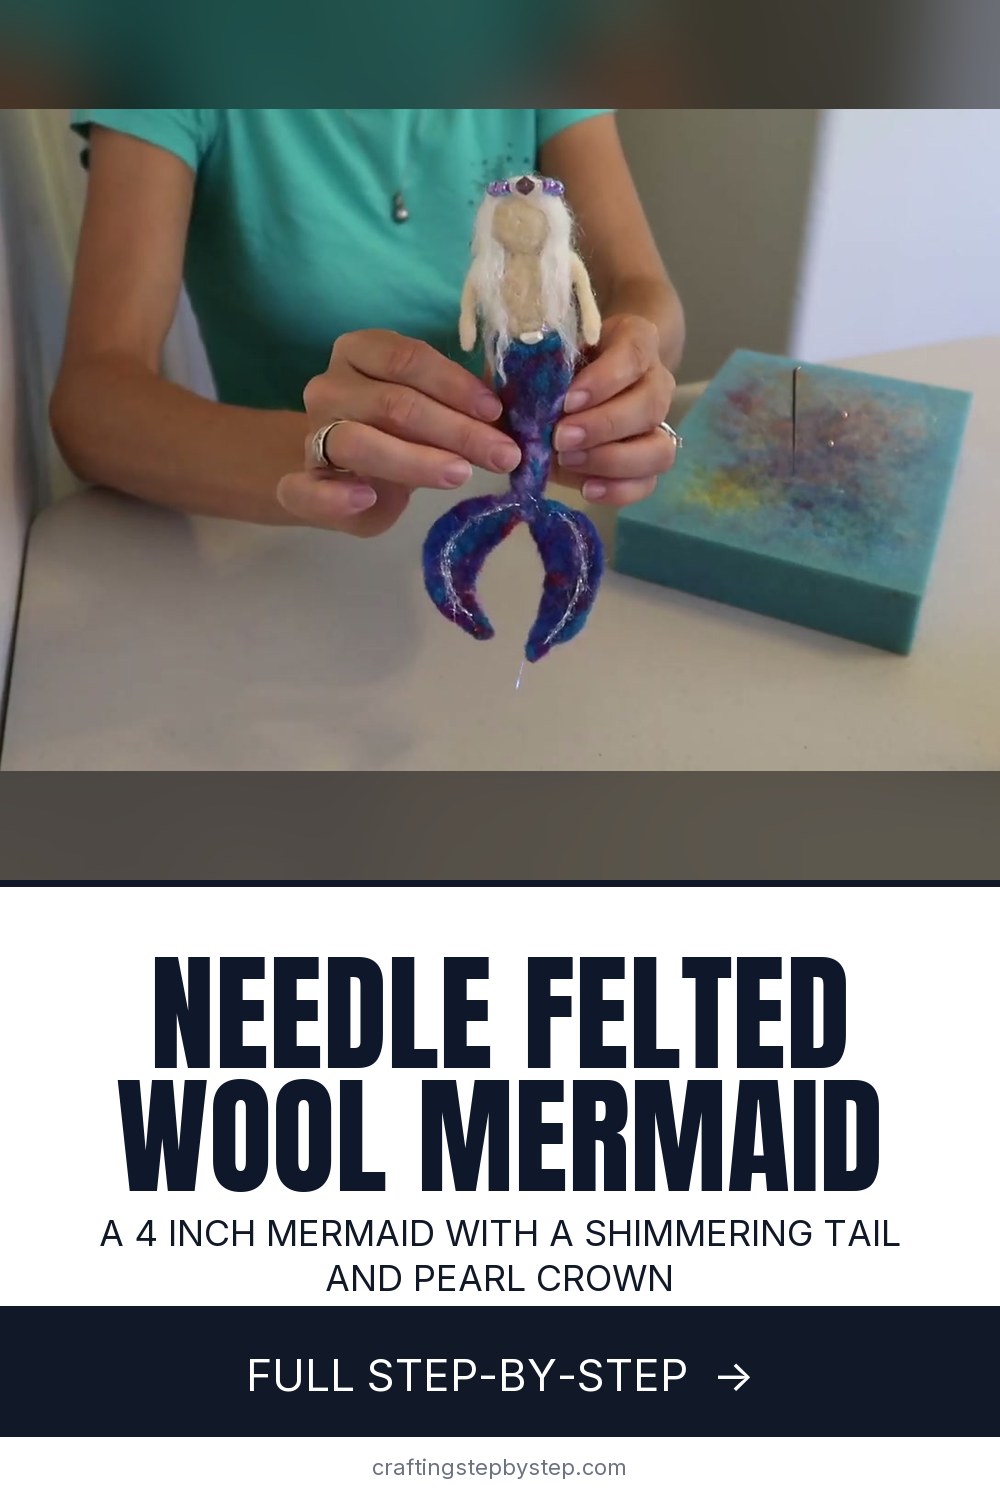
A needle felted mermaid is a small, soft figure made from loose wool and a barbed needle. No sewing machine and no pattern. This tutorial follows SnowflakeForest Felting, who makes a 4 inch mermaid with white hair, a blue and purple tail, a pearl belly button and a beaded crown. She is sized as a newborn photo prop, but she works as a window hanger or a tree ornament too.
How to make a felt mermaid: the short version
- Felt a small firm ball for the head, leaving a loose tuft.
- Felt an hourglass body and join the head with that tuft.
- Cover her in a skin tone and add two rolled arms.
- Blend tail colors, wrap the lower body and shape the fins.
- Add shimmer, hair, a pearl and a beaded crown.
Wool, needles and a pad
Use cheap core wool (batting) for the inside of the head and body. It felts fast and holds a firm shape. Save the colored roving for the outside. Roving has its fibers running one way, so it makes much better hair than batting, where the fibers point in every direction.
A coarse needle (36 gauge) shapes the core quickly. A finer one (38 to 40) smooths the surface and works the thin fins without leaving big holes. A thick foam pad protects your table and your needle tips. Angelina or another sparkle fiber gives the tail its shimmer.
Keep your fingers safe
Felting needles are very sharp and barbed, and they break if you bend them. Stab straight in and straight out, at the same angle you went in. Keep the hand holding the wool away from the spot you are working, and use the pad, not your palm. Leather finger guards help on tiny parts like hands and fins. Keep needles away from young children; they can help choose colors and blend the tail wool instead.
Getting the proportions right
For a 4 inch mermaid, the head is a bit under an inch, closer to half an inch. Make the head first and keep it next to the body as you work, so you can compare. The arms need to be the same length, so felt them side by side. Leave the shoulder ends of the arms loose and fluffy. Loose fibers felt into the body far better than a firm, finished end.
How firm is firm enough?
Squeeze the piece. If it springs back and does not dent, it is done. If it feels squashy, keep stabbing. Firm parts join more cleanly, and a firm figure keeps its shape on a shelf for years. Fins take the longest because they are thin, so flip them often and be patient.
Common problems
- Lumpy surface. Lay a wisp of wool over the dip and felt it in with a fine needle.
- Head wobbles. Spread more wool over the neck and shoulders and keep stabbing until it feels solid.
- Fibers poke through the back. Twist them around the needle tip and felt them back in.
- Broken needle. You stabbed at an angle. Go straight in and out.
More felting to try
New to the needle? Start with how to needle felt, then try a small felted animal. For sewn felt, the felt owl ornament is a good next project, and there are more ideas in how to make Christmas ornaments.