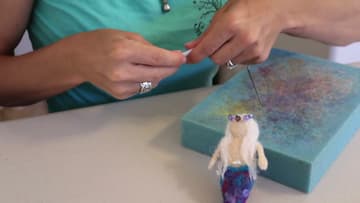
How to Make a Felt Mermaid (Needle Felted)
Source: SnowflakeForest Felting • Full tutorial: www.craftingstepbystep.com/other-crafts/how-to-make-a-felt-mermaid
- Difficulty
- Medium

Tools
- felting needles (36 and 38 or 40 gauge)
- needle felting foam pad
- small sharp scissors
- sewing needle
- tape measure
- finger guards (optional)
Materials
- core wool batting (bone or white)
- skin-tone wool roving
- blue and purple wool roving for the tail
- white wool roving for hair
- shimmer fiber
- small pearl bead
- seed beads for the crown
- thread
- fishing line (optional, for hanging)
Steps
1. Felt a Wool Ball for the Mermaid's Head
Pull off a small piece of bone colored core wool. Roll it loosely and start stabbing it on the foam pad, turning it as you go.
Tip: If a dip appears, wrap a wisp of wool around the ball and felt it in.
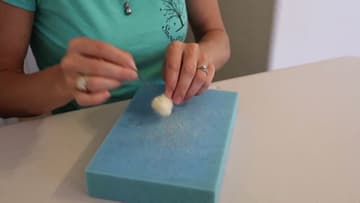
2. Shape the Mermaid Body Into an Hourglass
Take a larger piece of core wool for the body. Felt the shoulders first, then slim it down toward the tummy.
Tip: Set the head beside the body while you work so you keep them in proportion.
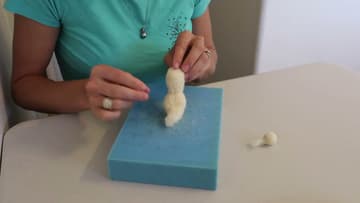
3. Felt the Head Onto the Mermaid Body
Spread the loose neck tuft out as wide as you can over the top of the body. Pull off any extra, but leave plenty, because that wool is what holds the head on.
Tip: Wiggle the head gently. If it moves, keep felting around the neck.
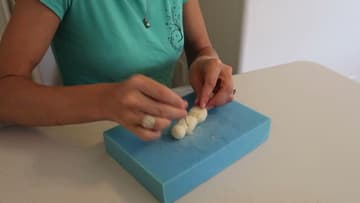
4. Roll and Felt the Mermaid's Arms and Hands
Roll a thin strip of skin-tone wool between your palms for an arm. Add a tiny flat piece at one end for the hand.
Tip: Lay both arms side by side to check they match before attaching them.
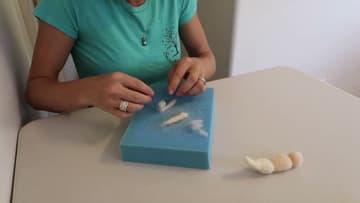
5. Attach the Arms at the Mermaid's Shoulders
Trim any stray fibers off the hands with small scissors. Spread the loose end of one arm around the shoulder and felt it in, then do the other side.
Tip: Stab shallow around the arms so the needle does not come out the other side.
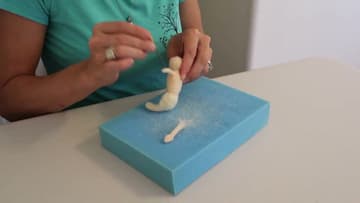
6. Blend the Roving Colors for the Mermaid Tail
Pick the colors you want for the tail. SnowflakeForest Felting uses blues and purples with a touch of pink.
Tip: Blending is a good job for little helpers who are too young for the needle.
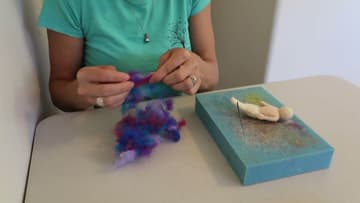
7. Wrap and Felt the Mermaid Tail
Wrap the blended wool around the lower half of the body and felt it on. Save some for the bottom of the tail.
Tip: Fins are thin and slow to felt. Flip them often and use a finer needle.
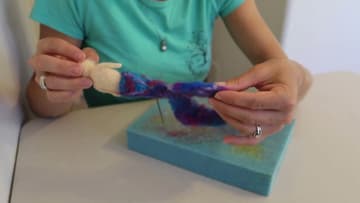
8. Shape the Mermaid Tail Fins and Add Shimmer
Trim the tail with scissors so the edges look smooth and rounded. Felt a solid color band around the top of the waist so it stands out a little from the tail.
Tip: Twist the shimmer tightly first. A loose strand looks fuzzy instead of shiny.
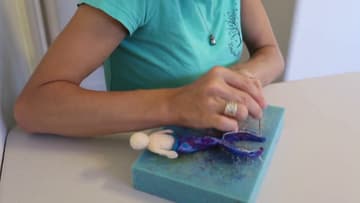
9. Felt White Wool Hair Onto the Mermaid
Hair needs only a little felting. Take a lock of roving and twist it gently.
Tip: Roving makes smoother hair than batting because its fibers all run one way.
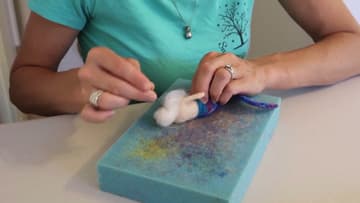
10. Add a Pearl Belly Button and Beaded Crown to the Mermaid
Thread a needle and sew a small pearl into the V at the top of the tail. Knot it, trim the ends and felt them in.
Tip: To hang her, push fishing line through the top of her head and knot the end.