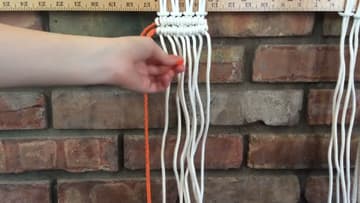
How to Tie a Half Hitch (Horizontal Double Half Hitch, 2 Methods)
Source: Gray Wonders • Full tutorial: www.craftingstepbystep.com/macrame/how-to-tie-a-half-hitch
- Difficulty
- Easy
- Hands-on time
- About 30 minutes
- Cost
- About $10 to $15
Tools
- Wooden dowel rod (1 inch diameter)
- Sharp fabric scissors
- Wire S-hook or clipboard clamp
- Roll of masking tape or painter's tape
Materials
- 3mm cotton macrame cord (about 100 feet for practice)
- Contrasting color cord for the filler method (4-6 feet)
Steps
1. Identify Your Leading Rope and Working Ropes
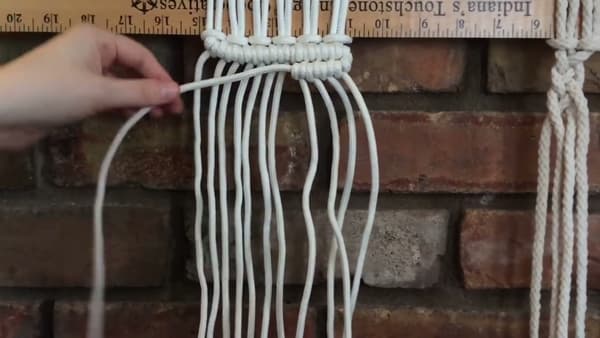
Before you make a single knot you need to know which cord is which. The leading rope (also called the filler cord or anchor cord) is the one all your knots will wrap around.
Tip: The cord on the far left or far right of your project is the easiest leading rope to use. You're not splitting the cord group in half partway across.
2. Tie the First Half Hitch
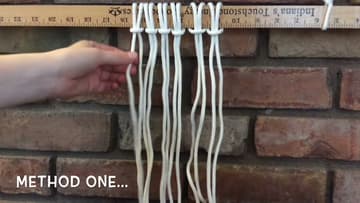
Take your first working rope - the cord right next to your leading rope - and bring it up from behind the leading rope. Curl it up over the leading rope, then bring it back through the loop you just formed.
Tip: If the knot is sliding sideways as you pull, you're not keeping enough tension on the leading rope. Grip it with your non-dominant hand and don't let it move.
3. Add the Second Half Hitch to Complete the Double
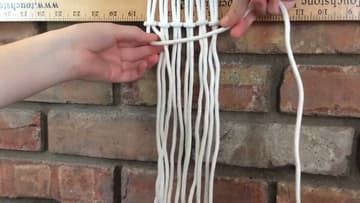
Same working rope, second wrap. This time bring it in front of the leading rope to form a loop, curl it up and over and through that loop, and pull it tight against the first half hitch.
Tip: Gray's memory hook: first wrap, the leading rope is in FRONT of the working rope. Second wrap, the leading rope is BEHIND.
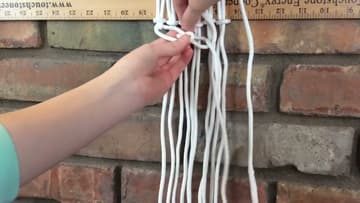
4. Add a Second Row in the Opposite Direction
One row of double half hitches gives you a clean horizontal bar. A second row right below it doubles the visual weight and is what most macrame patterns ask for.
Tip: You can also point the leading rope diagonally instead of horizontally on the second pass - that's how you get the V shapes and chevron borders in modern macrame patterns.
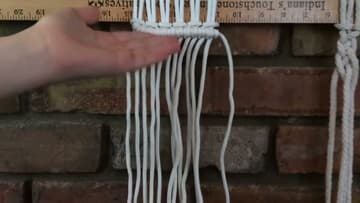
5. Switch to Method Two With a Separate Filler Cord
Method two uses a fresh cord as the leading rope instead of borrowing one from your project. Bring in a separate piece of cord, lay it horizontally across the front of your working ropes, and hold it firmly in place.
Tip: A contrasting color filler cord makes it way easier to see what you're doing while you learn. Use bright orange or red against white project cord.
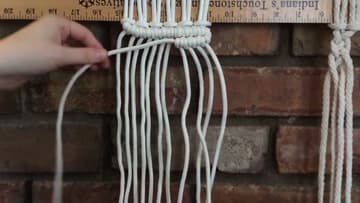
6. Tie the First Knot of Method Two
The starting knot of method two is the trickiest part of the whole tutorial. The leading rope is loose at both ends, so you have to hold it steady with one hand while you tie with the other.
Tip: Pinch the leading rope between your thumb and the project board (or against the wall, or against a clamp) so it can't slip while you tie.
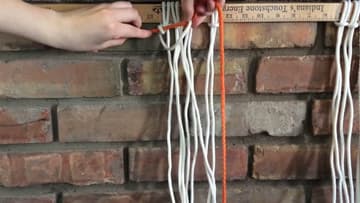
7. Trim, Tape, and Tuck the Filler Ends
With method two you end up with two loose ends of filler cord sticking out the sides. Trim each one down to about three or four inches.
Tip: If the filler ends are too short to tuck, weave them between the working cords with a tapestry needle the way you'd weave in knitting ends.