How to Make a Macrame Pillow Cover

Based on a video by Ashley Embers

Opens their YouTube channel

Steps written out by Crafting Step by Step · Published

Watch the original video (opens YouTube)
The finished result: How to Make a Macrame Pillow Cover
Also in:Fiber Arts

A macrame pillow cover is a step up from a wall hanging: the same knots, but worked as a tube that wraps all the way around a pillow. Ashley from the Ashley Embers channel knots one from cotton cord on a wooden dowel, with a band of square knots, a row of half hitch diamonds, and a fringe edge. No sewing and no fabric cover needed.

Plan on an afternoon or two. The diamonds take the longest.

What you need for a macrame pillow cover

A pillow insert, cotton macrame cord, a dowel or rod to work from, sharp scissors and a bit of masking tape. Single strand cotton cord in 4 to 5 mm is the easiest to work with and frays into a soft fringe. An 18 inch insert is a good first size.

Knots used in this pillow

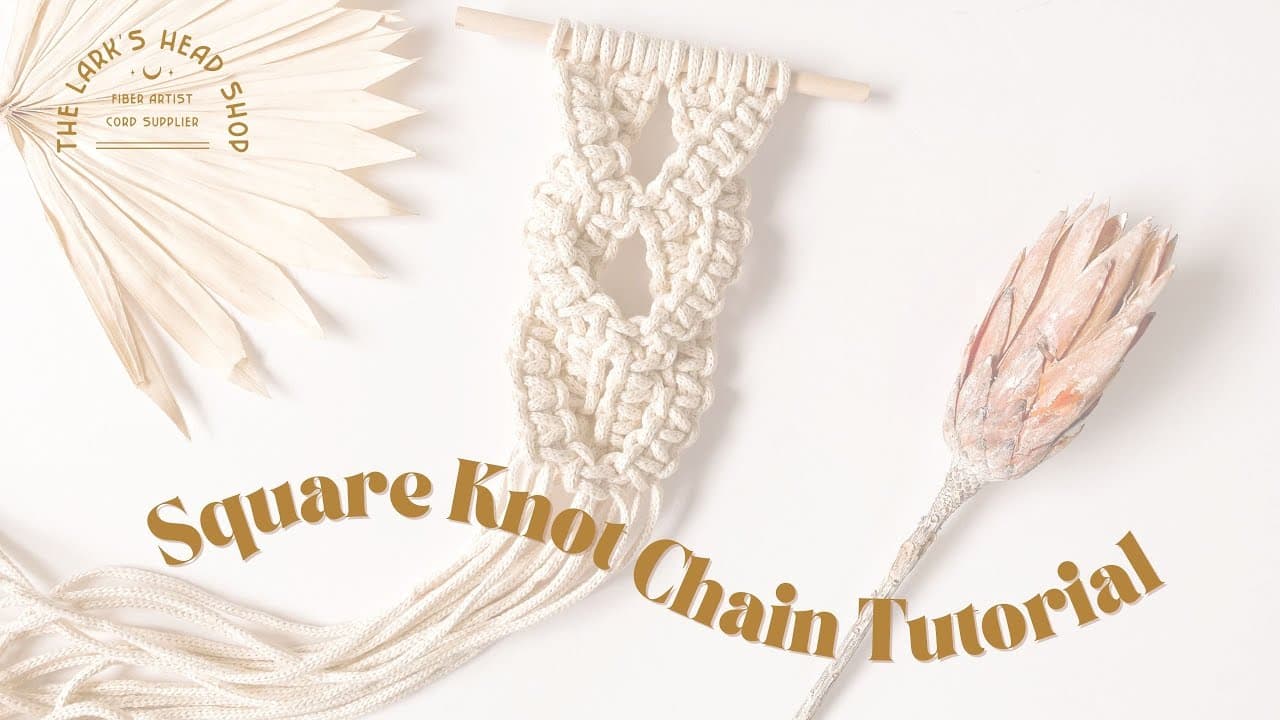
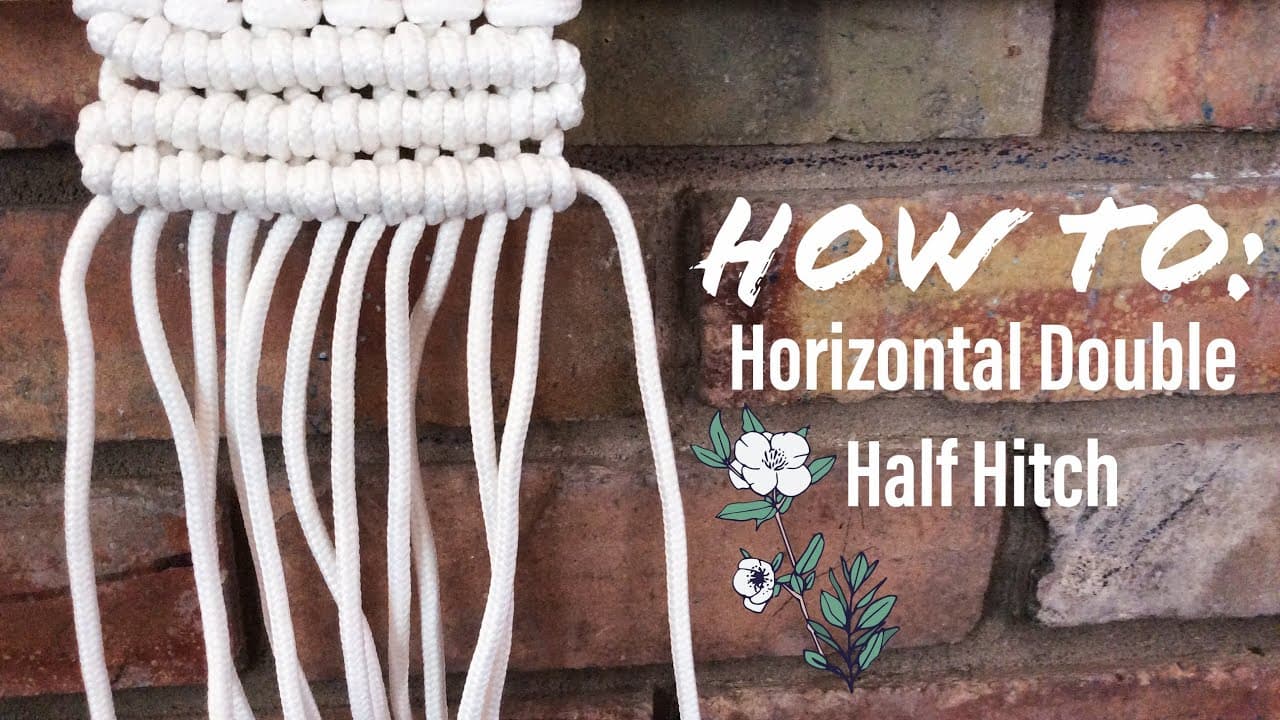
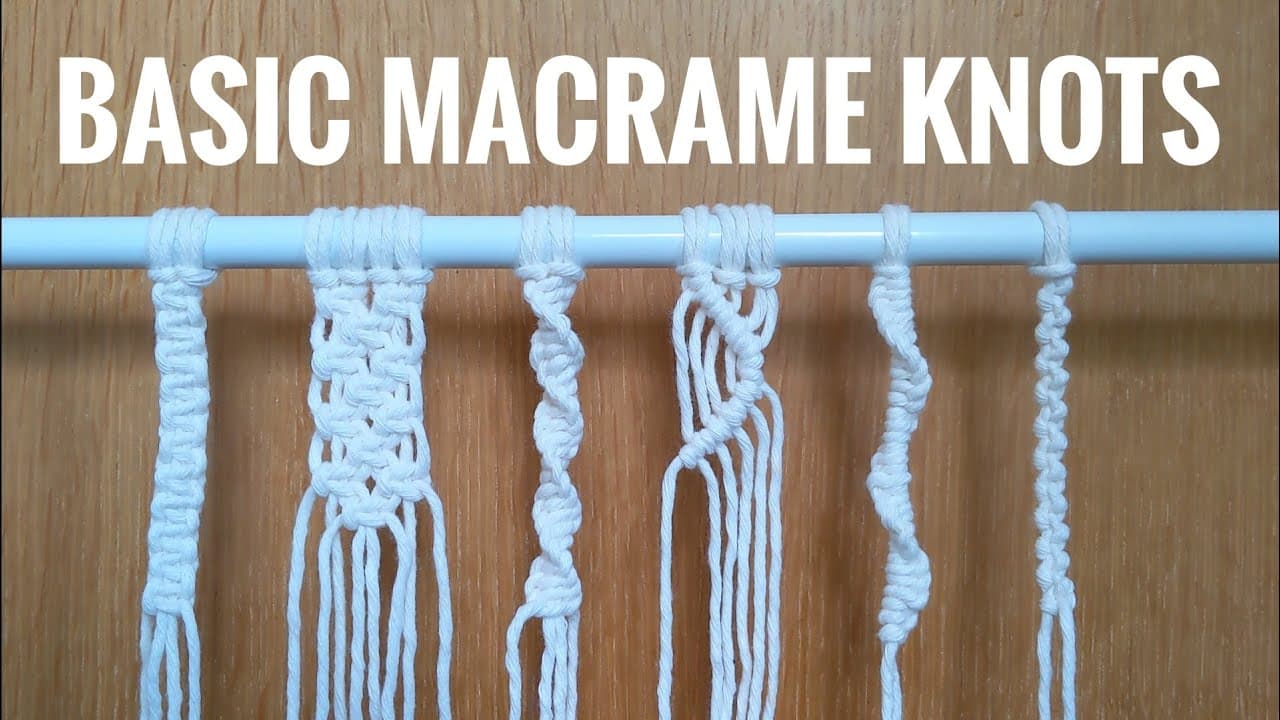
Three knots do all the work. The lark's head knot mounts each cord on the dowel. The square knot makes the netted bands, alternating so each row links to the one above. The half hitch tied along a diagonal cord draws the raised lines of each diamond. Practise each one on a scrap cord before you start.

How much cord to cut

Ashley measures the length of the pillow and cuts each cord about four times that. Knots eat a lot of cord, so err long. Mount enough cords to go all the way around the pillow, about twice its width, because the piece wraps into a tube with the seam at the side.

Sizing the cover

Knotted fabric shrinks as you work. Each row pulls the cords in a little, so a cover that looks the right size on the dowel ends up snug. Ashley had to force the insert in. Mount a few extra cords, or choose an insert one size smaller than the panel measures.

Planning the diamonds

Count your cord groups before you tie the middle row. Divide the cords into an even number of sections so the diamonds sit evenly, half on the front and half on the back. Ashley miscounted and ended up with seven, and recommends checking first. Taping each group keeps them from mixing.

Caring for a macrame pillow

Spot clean with a damp cloth. If the whole cover needs washing, untie the side ties, slide out the insert, hand wash in cool water and dry flat so the knots keep their shape. Comb the fringe with a wide tooth comb to fluff it back up.

Common mistakes

  • Cords too short. Running out mid-row means adding cord, which shows.
  • Uneven tension. Pull each square knot the same amount so rows stay level.
  • Odd diamond count. Count groups before the middle row.
  • Cover too small. Allow for shrinkage as you knot.

More macrame projects

Try a macrame wall hanging using the same knots on a smaller piece, or a macrame plant hanger to match the pillow.

Styling and gifting

Cream cord suits a neutral boho room, but cotton cord dyes well and comes in sage, rust and blush too. A colored insert behind cream knots shows through the gaps for a two-tone look. Pair two pillows on a sofa, one with diamonds and one in plain square knots. A finished cover with an insert makes a generous housewarming gift.

What you'll need

Step-by-step guide

10 steps, about 8 minutes. Tap a picture to jump to that step. Your progress saves automatically.

Tick each step off as you go.

  1. Step 1: Gather a Pillow Insert and Macrame Cord for the Pillow Cover

    Watch this step · 0:32

    Start with a pillow insert and a roll of cotton macrame cord. The insert is your size guide for the whole project. Measure its length, then plan to cut each cord about four times that measurement. A wooden dowel gives you something to tie onto while you work, though any rod or even a length of cord stretched tight will do.

    Tip:

    Buy more cord than the math says. Running short halfway through a row is hard to fix.

    Back to all steps

  2. Step 2: Cut Macrame Cords and Fold Each One in Half

    Watch this step · 1:02

    Cut all your cords to length at once. You need enough to wrap around the pillow, so the mounted row should be about twice the pillow width. Fold each cord in half to make a loop. That loop is what goes over the dowel in the next step, and the two tails hang down to be knotted.

    Tip:

    Wrap a small piece of tape around each cut end so the cotton does not unravel while you work.

    Back to all steps

  3. Step 3: Mount the Macrame Cords on a Dowel With Lark's Head Knots

    Watch this step · 1:32

    Lay the dowel flat. Put the loop of a folded cord under the dowel, bring the tails over and through the loop, and pull snug. That is a lark's head knot. Repeat with every cord, pushing them close together along the dowel. Leave the knots even and tight so the top edge of the pillow cover is straight.

    Tip:

    Mark the middle of the dowel with a strip of tape. It helps you keep the cords centered.

    Back to all steps

  4. Step 4: Tie the First Row of Macrame Square Knots

    Watch this step · 2:05

    Take four cords at a time. The outer two do the tying and the middle two stay still. Cross the left cord over the center, pass the right cord over it, under the center and up through the loop. Then repeat in the other direction to finish one square knot. Work all the way across the dowel.

    Tip:

    Snug each knot up to the same distance below the dowel so the row stays level.

    Back to all steps

  5. Step 5: Tie Alternating Square Knot Rows for the Top of the Pillow Cover

    Watch this step · 2:45

    For the next row, skip the first two cords and take two cords from one knot and two from the next. Tying across neighbouring knots links the rows into a net. Keep alternating until you have covered about a third of the pillow length. Leave a couple of cords free at each edge so the panel can wrap around later.

    Tip:

    Lay the insert next to the work now and then to check how far down you are.

    Back to all steps

  6. Step 6: Tie Half Hitch Diamonds in the Middle of the Macrame Pillow Cover

    Watch this step · 3:35

    Divide the hanging cords into even groups and tape each one so they stay separate. In each group, hold one outer cord diagonally across the others and tie half hitch knots onto it, working toward the center to make a V. Tie a double square knot in the middle, then bring the diagonals back out to close the diamond.

    Tip:

    Count your groups before you start. An even number puts the same diamonds front and back.

    Back to all steps

  7. Step 7: Finish the Row of Macrame Diamonds

    Watch this step · 4:45

    Repeat the diamond in every group across the panel. Hold the insert behind the work to see how the diamonds will sit on the front of the pillow. When the row is done, tie more rows of alternating square knots below to match the top band. This section goes faster than the diamonds.

    Tip:

    Pull the half hitches firm along the diagonal so the diamond lines stand out.

    Back to all steps

  8. Step 8: Knot the Back Panel of the Macrame Pillow Cover

    Watch this step · 5:55

    Take the piece off the dowel and turn it so the finished front faces down. Fold the two sides in so they meet, then keep knotting down the back the same way: square knot rows, a diamond row, and square knots again. Use the free edge cords to tie the side seam closed as you go.

    Tip:

    Match the back pattern to the front so the pillow looks good from either side.

    Back to all steps

  9. Step 9: Cut the Top Loops and Tie the Pillow Cover Closed

    Watch this step · 6:15

    Cut each lark's head loop at the top so you have two loose ends. Tie the ends from the front panel to the ends from the back panel, closing the top edge of the cover. Keep the ties even. Ashley later unpicks these ties for a softer ruffled edge, so leave the ends long enough to fringe.

    Tip:

    Tie the knots firmly. This seam takes the strain when you push the insert in.

    Back to all steps

  10. Step 10: Insert the Pillow and Trim the Macrame Fringe

    Watch this step · 7:05

    Slide the pillow insert into the cover. It will be snug, because knotting pulls the panel in. Tie the bottom cords front to back to close it, cinching the cover tight around the pillow. Trim the fringe to an even length with sharp scissors, then brush the cut ends out with your fingers.

    Tip:

    Untwist the fringe strands for a fluffy, fuller edge.

    Back to all steps

Keep going

How to Tie a Macrame Square Knot

7 steps · about 5 minutes

Products Used

The Checklist

How to Make a Macrame Pillow Cover

Tools
4
Materials
2
Steps
10
Video
8 min

Tools we recommend

As an Amazon Associate we earn from qualifying purchases. Links on this page may be affiliate links - clicking them and buying doesn't change your price, but helps support Crafting Step by Step.

Tags

The Crafter's Weekly

New macramé tutorials, every Sunday

One short email with the week's best step-by-step guides. Free, no spam, unsubscribe anytime.

Did this work for you?

What's next

Related collections

Curated theme pages that include this tutorial.

Similar tutorials

Hand-picked next reads based on the one you just finished.

Liked this macramé tutorial?

Pick the crafts you want to hear about. One email every Sunday with new step-by-step tutorials. No spam, easy to unsubscribe.

Get more like this in your inbox

Weekly digest. Pick the categories you want. Unsubscribe anytime.

Send me tutorials about

We only email about new tutorials. Easy unsubscribe anytime.