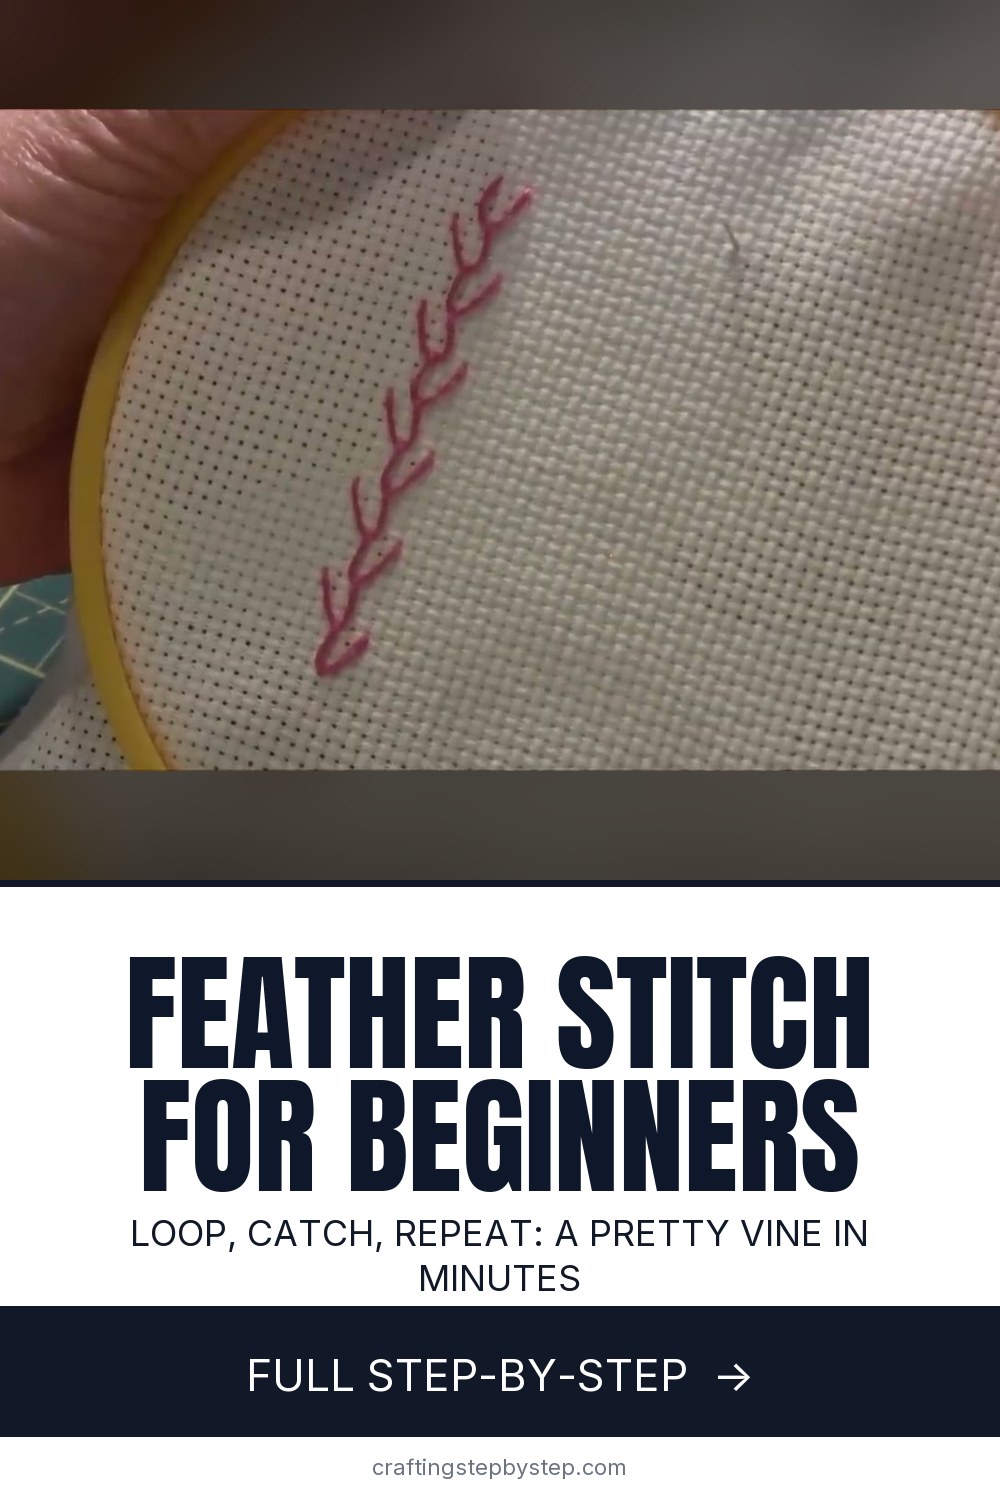
Feather stitch is a looped, branching line that looks like a fern frond or a little vine. Each stitch catches the loop of the one before, alternating left and right, so the row grows down the fabric in a zigzag of open V shapes. Needlepointers stitches it in pink floss on cream aida, which makes it easy to count where every stitch goes.
How to do a feather stitch: the short version
- Come up at the top left of the row and go down directly across, leaving a loop.
- Come up below, in the middle, inside the loop, and pull snug.
- Go down across to the right, leaving a new loop, and come up below in the middle.
- Repeat, alternating sides, all the way down.
- Finish with a tiny tack stitch over the last loop.
Where feather stitch shines
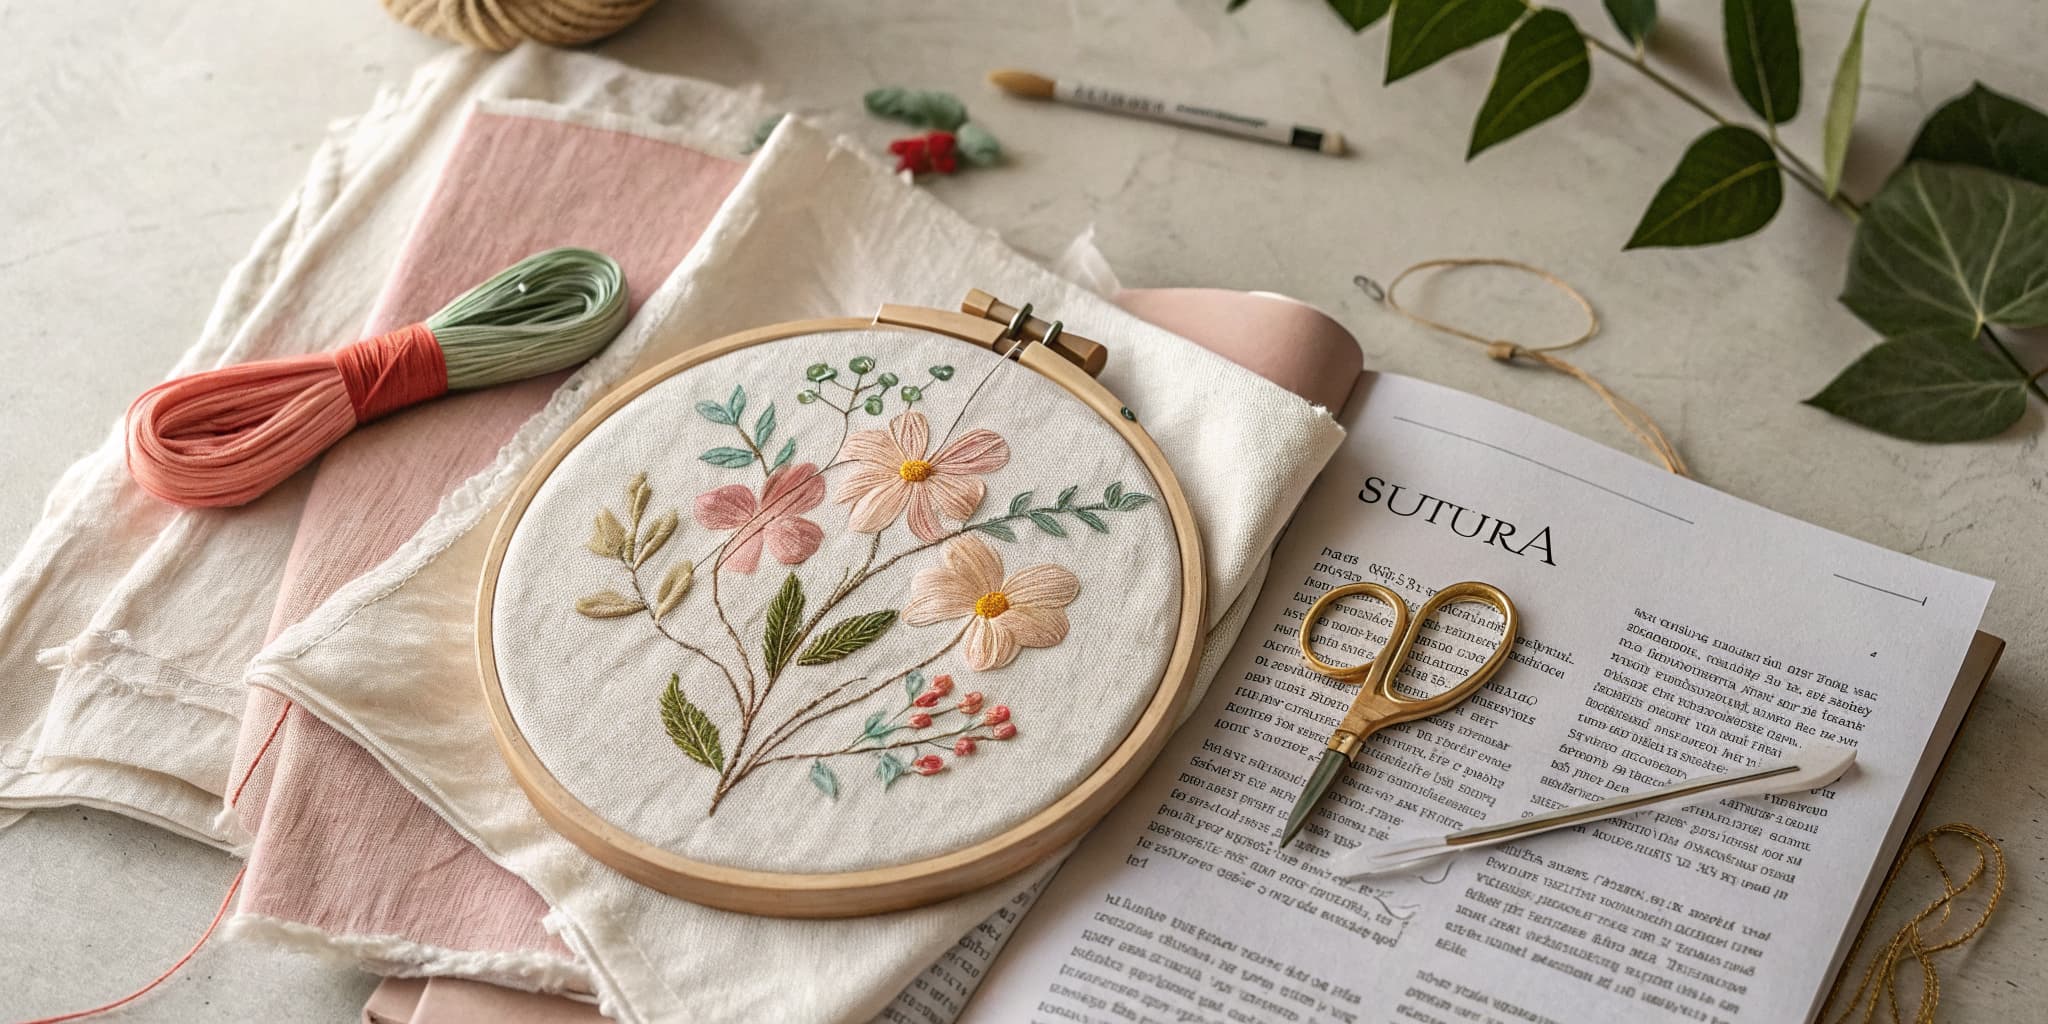
It is a classic on crazy quilts, where it runs along the seams between patches. It also makes a pretty border along a hem, a pillowcase edge or a baby blanket. Stitch a few curved rows and you have the stems for a flower spray. Add a lazy daisy at the end of each branch or a French knot for a berry.
Thread and fabric
Aida is a gift for learning because the holes are already there. Count the same number of squares across and down for every stitch and the row comes out even. On plain cotton or linen, mark two or three parallel guide lines with a water soluble pen. Use three to six strands of floss. More strands give a bolder line, fewer a finer, lacier one.
Keeping it even
The center line of the row stays straight, and the branches swing out the same distance each side. If your row wanders, it is usually because the needle came up off center. Take a moment before each stitch to find the middle point between the last two branches. Keep the loop under the needle tip as you pull, or the stitch slips out and you get a straight line instead of a V.
How big should each stitch be?
On 14 count aida, try branches three or four squares wide and two squares apart. On plain fabric, about a quarter inch each way is a comfortable size for six strands. Smaller stitches look delicate but take longer, so save them for tiny details.
Variations to try
- Double feather stitch: make two stitches to one side, then two to the other, for a wider, bushier branch.
- Single feather stitch: work every stitch to the same side for a one-sided fern.
- Curved rows: follow a drawn curve for vines and wreaths.
Common mistakes
- Twisted floss. The thread twists with every loop. Let the needle hang and spin free every few stitches.
- Pulling too tight. The branches should be open V shapes, not slits. Pull until the loop lies flat, then stop.
- Coming up from the front. Every new stitch starts from the back of the work. Even the person in the video caught herself on this one.
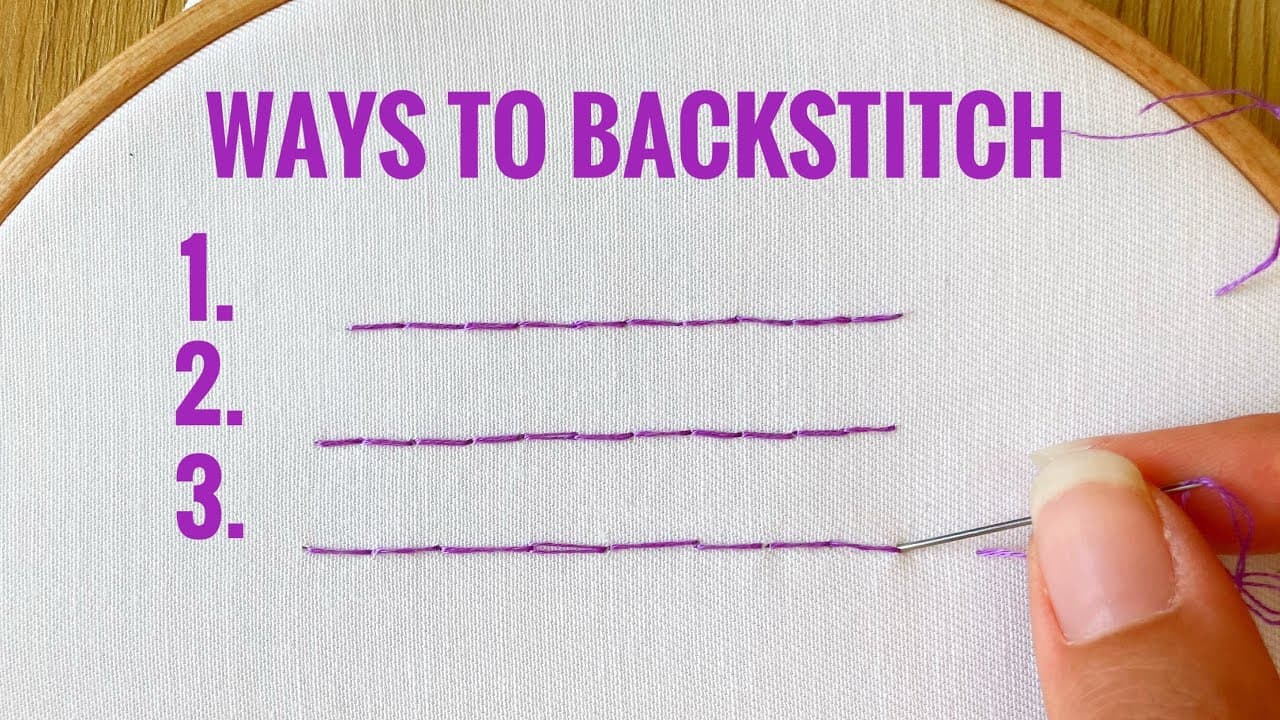
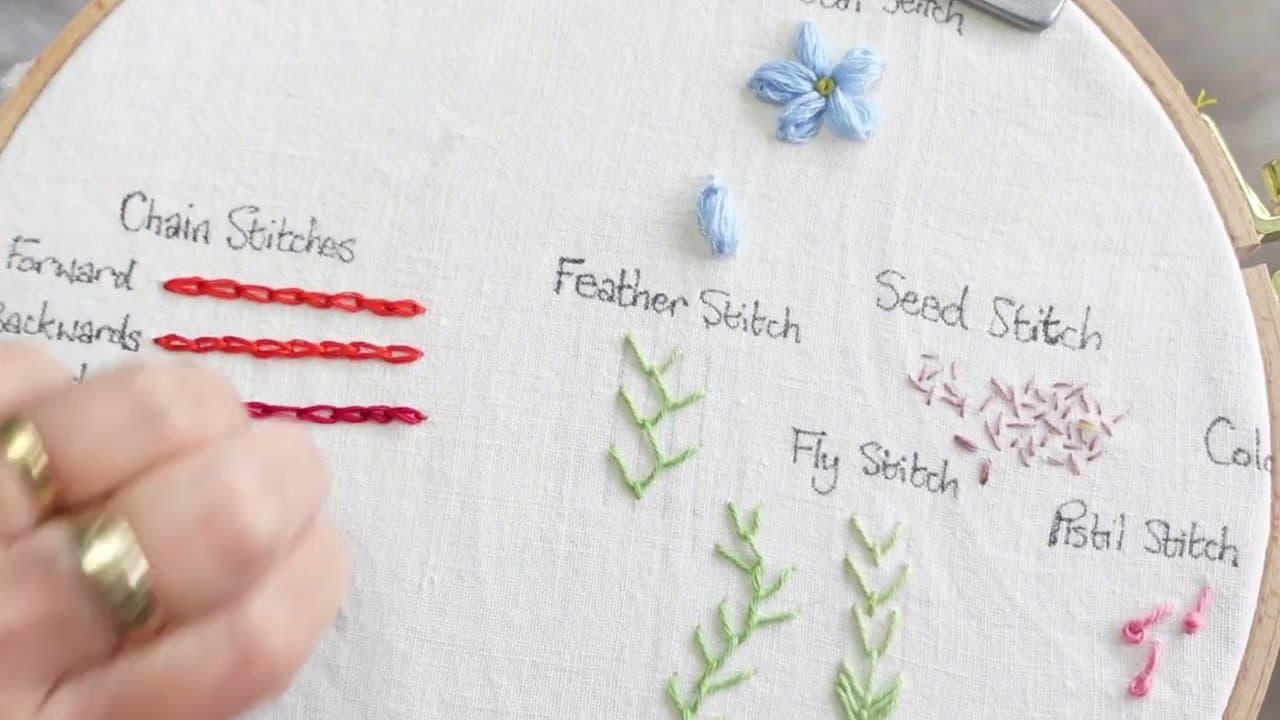
Feather stitch pairs well with other outline stitches. Try a chain stitch stem or a blanket stitch edge on the same piece.