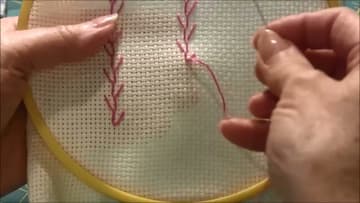
How to Do a Feather Stitch in Hand Embroidery
Source: Needlepointers • Full tutorial: www.craftingstepbystep.com/embroidery/how-to-do-a-feather-stitch
- Difficulty
- Easy
- Hands-on time
- About 15 minutes

Tools
- embroidery hoop
- embroidery needle
- embroidery scissors
- water soluble fabric pen
Materials
- 6-strand cotton embroidery floss
- aida cloth or cotton fabric
Steps
1. Bring the Floss Up at the Start of the Feather Stitch Row
Thread your needle with three to six strands of floss and knot the end. Bring the needle up from the back of the work at the top left of where you want the row to run.
Tip: A 4 or 5 inch hoop keeps the fabric tight and the stitches even.
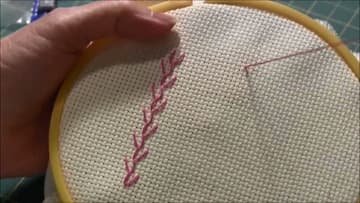
2. Go Down Directly Across and Leave a Feather Stitch Loop
Take the needle down directly across from where you came up, on the same row of holes. Do not pull it tight.
Tip: Hold the loop out of the way with your thumb while you find the next hole.
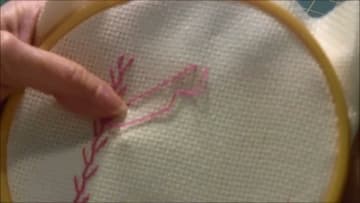
3. Come Up Below and Inside the Loop for the Feather Stitch
Bring the needle up from the back a little below the two points and right in the middle between them. The needle tip must come up inside the loop, so the loop wraps around the needle.
Tip: Always come up from the back. Starting from the front undoes the loop.
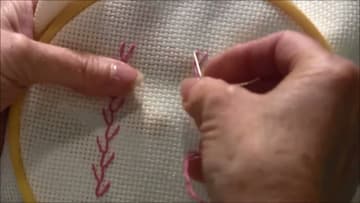
4. Pull the First Feather Stitch V Snug
Pull the thread through gently. The loop tightens around the needle thread and forms the first V.
Tip: Keep the floss from twisting. Let the needle dangle and spin now and then.
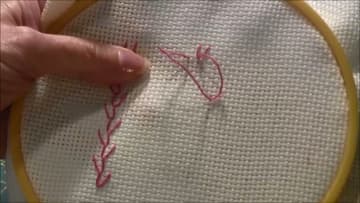
5. Catch the Loop on the Opposite Side for the Next Feather Stitch
Now switch sides. Take the needle down across from where your thread came out, this time on the other side, again leaving a loose loop.
Tip: Count the same number of holes across each time for matching branches.
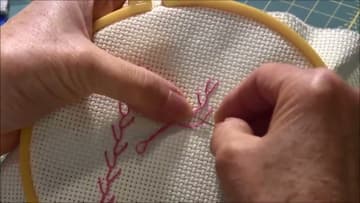
6. Hold the Feather Stitch Loop Flat While You Pull
As you draw the thread through, press the loop down with a fingertip. That keeps it from flipping or twisting while it tightens.
Tip: If a loop twists, back the needle out and pull the floss straight before trying again.
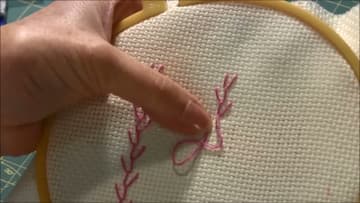
7. Keep Alternating Left and Right Down the Feather Stitch Row
Keep going, one branch to the left, one branch to the right. The center line stays straight and the branches fan out evenly to each side.
Tip: For a curved vine, draw a curve and keep the center point of each stitch on it.
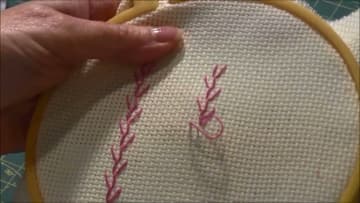
8. Tack Down the Last Loop to Finish the Feather Stitch
When you reach the end, the last stitch has a loop with nothing to hold it. Take the needle down a hair below the loop, on the far side of it, to make a tiny straight tack stitch.
Tip: Weave the tail under a few stitches on the back before you snip it.