How to Cross Stitch on Linen Over Two Threads

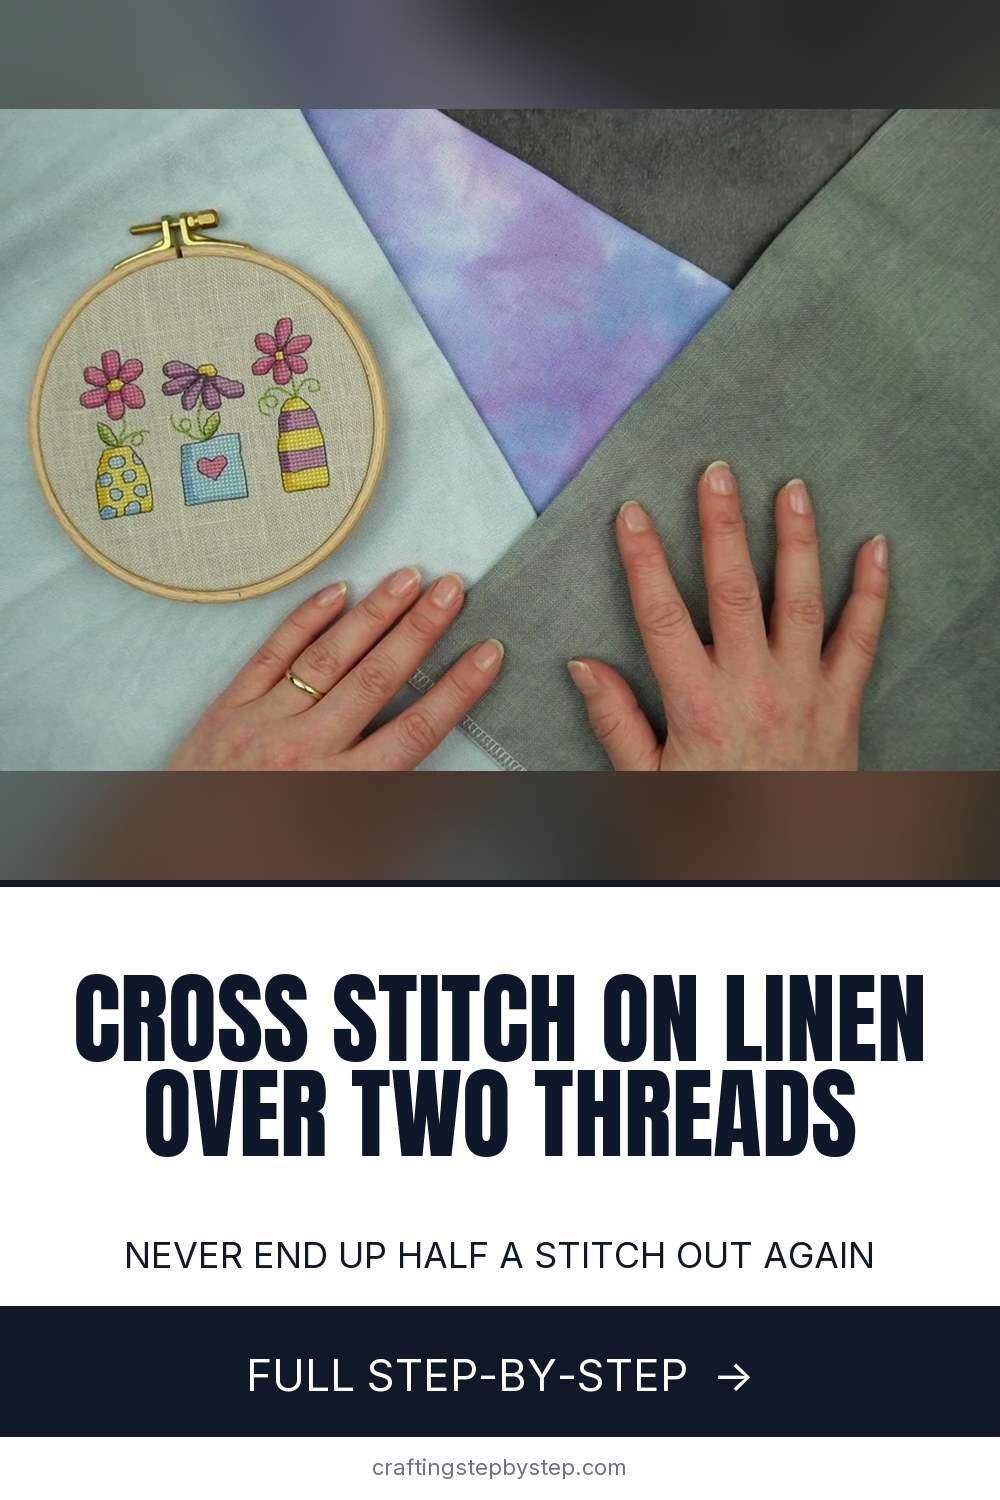
The finished result: How to Cross Stitch on Linen Over Two Threads
  • Difficulty: Medium
  • About 20 minutes
  • 9 steps

You tapped Save

Save this project for later

We'll email you a link, no password.

How to Cross Stitch on Linen Over Two Threads

  • Your saved projects in one list
  • Your ticked steps on any device

Check your inbox for an email from us. Not there? Look in your spam folder.

Print

Steps written out by Crafting Step by Step from Catkin and Lillie's video (opens YouTube) (12:39). Published .

Also in:Crafts

Linen and evenweave look softer and more refined than Aida, and a lot of stitchers never go back once they try them. The catch is counting. This tutorial follows Kat from Catkin and Lillie, who teaches a small trick for starting your first stitch so every stitch after it sits in the right place. She calls it starting with the stitch leaning against the post.

What cross stitch over two on linen means

Aida has big obvious holes, one per stitch. Linen and evenweave do not. Their threads are fine and evenly spaced, so you make each cross over two threads across and two threads up. That turns a 32 count linen into 16 stitches per inch, about the same size as 16 count Aida. A 28 count evenweave stitched over two gives you 14 stitches per inch.

The risk is landing between those pairs. Count wrong by one thread and the whole next block of stitches sits half a stitch off the rest. That never happens on Aida.

Linen or evenweave?

  • Evenweave (Lugana, Jobelan) has threads of the same thickness all over. It is smoother and a bit easier to count.
  • Linen (Belfast, Cashel) has slubs, thicker and thinner threads. It has more character. Kat finds the posts easier to see on linen because the weave is more open.

For a first try, pick 28 count evenweave or 28 to 32 count linen in a light color. Dark fabric hides the holes.

Needle, floss and hoop

Use a blunt tapestry needle, size 26 for 28 to 32 count. It slides between threads instead of splitting them. Two strands of six strand floss is the usual choice over two. Two strands also lets you use a loop start, which means no knot on the back. A hoop or a small frame is optional. Kat stitches these samples in hand.

Why the post matters

In any plain weave, each vertical thread passes over a horizontal one, then under the next. A post is a vertical thread lying on top. If your first stitch starts in the hole right beside a post, every later stitch will too, as long as you count in twos. So when you count across empty fabric, you can look at where your needle came up. Next to a post means you counted right. On top of a post means you are half a stitch out. You can still miss by a whole stitch, but the half stitch error is gone.

Does it make stitches neater?

Kat tested it with purple hearts on 32 count evenweave, 28 count hand-dyed evenweave and 32 count linen. The hearts started against the post looked clearly neater on the 28 count, and about the same on the other two. What she does notice every time is that the needle finds the holes more easily. Try both on a scrap and see what you think.

Common problems

  • Cannot see the posts. Bend the fabric over a finger, use daylight, or put a white cloth under dark linen.
  • Stitch slips under a thread. On linen a single thread can let the floss slide through. Work over two in both directions every time.
  • Stitches look uneven. Keep the top arms all going the same way and the tension light.

More to stitch

New to the basics? Start with how to cross stitch and how to read a cross stitch pattern. Learn how to separate embroidery floss for two strands, then finish your piece in a hoop.

Free printable

Print the steps and supply list for this project

One page you can take to the table. Free with a free account, no password.

Get the free printable

What you'll need

Free, for this project

Get this checklist by email

  • All 5 tools and materials, with tick boxes
  • A link to print all 9 steps on paper, to keep by you while you craft

No password. The whole tutorial stays free on this page.

Quick answer

Learn how to cross stitch on linen and evenweave over two threads. A medium project: about 20 minutes. You need 5 things, including six strand embroidery floss, size 26 tapestry needle and embroidery hoop. The 9 steps start with choose Evenweave or Linen Fabric for Cross Stitch Over Two, learn to Spot a Post in the Linen Weave, bend the Linen to Find a Post in the Weave and mark the Starting Hole at the Bottom Left of the Linen Post.

Step-by-step guide

9 steps, about 13 minutes. Tap a picture to jump to that step. Your progress saves automatically.

Tick each step off as you go.

  1. Step 1: Choose Evenweave or Linen Fabric for Cross Stitch Over Two

    Watch this step · 0:45

    Pick a fabric where you stitch over two threads. Evenweave has threads of one even size. Linen has thicker and thinner threads mixed in, which gives it a hand-made look. Kat's boot full of flowers is on natural linen, with evenweave pieces behind it. Either works with this method. The tip only applies when each stitch covers two threads, not one.

    Tip:

    A light colored fabric makes the holes and posts much easier to see while you learn.

    Back to all steps

  2. Step 2: Learn to Spot a Post in the Linen Weave

    Watch this step · 3:12

    Look closely at the weave. Threads run up and down and side to side, passing over and under each other. A post is a long vertical thread lying on top of a horizontal one. Kat's diagram circles a few of them, but the fabric is full of posts. Once you can see one, you can find the right hole for your first stitch.

    Tip:

    Posts repeat every two threads, which is why they line up with stitches made over two.

    Back to all steps

  3. Step 3: Bend the Linen to Find a Post in the Weave

    Watch this step · 4:50

    This is the hardest part, so take your time. It depends on the fabric, the thread thickness and the color. Bend the fabric slightly over a fingertip. The vertical threads lift and become easier to see. Kat says posts are often easier to spot on linen than on evenweave, since the weave is a little more open and each thread stands out.

    Tip:

    Good light from the side helps. A daylight lamp shows the weave better than an overhead bulb.

    Back to all steps

  4. Step 4: Mark the Starting Hole at the Bottom Left of the Linen Post

    Watch this step · 5:22

    When you have found a post, look for the hole right next to it. If your top arms go from top left to bottom right, you want the hole at the bottom left of the post. Kat pushes the needle down through that hole from the front and wiggles it to open the hole a little. That way she can still find it when she turns to the back.

    Tip:

    If your top arms run top right to bottom left, use the hole at the bottom right of the post instead.

    Back to all steps

  5. Step 5: Bring the Needle Up for a Loop Start on Linen

    Watch this step · 5:58

    Bring the needle up from the back through the hole you opened. Check from the front that the floss sits beside the post. Count two threads up and two across and put the needle into the opposite corner. Kat is doing a loop start here. With two strands folded into one, the loop on the back catches the floss and holds it without a knot.

    Tip:

    A loop start needs an even number of strands. Fold one long strand in half for two.

    Back to all steps

  6. Step 6: Finish the First Cross Stitch Over Two Linen Threads

    Watch this step · 6:48

    With the thread secure and the first leg in place, make the top leg the way you always do. There is nothing new to think about here. The important part is already done. Because this first stitch is leaning against the post, every stitch you add in the same pattern will lean against a post too, as long as you keep counting in twos.

    Tip:

    Keep the top arm of every stitch going the same direction for an even finish.

    Back to all steps

  7. Step 7: Start a Cross Stitch on Linen With the Top Arm Facing the Other Way

    Watch this step · 7:30

    If you stitch with your top arm going the other way, the steps are the same, mirrored. Find a post. Come up in the hole at the bottom right of it. Make the first leg up to the left, then add the top arm. Kat stitches one of each so you can see that both stitches still lean against the post. Only the direction of the top arm changes.

    Tip:

    Starting from the top hole instead? Look for the post again. Every hole you use should touch it.

    Back to all steps

  8. Step 8: Count Across Empty Linen and Check the Stitch Leans on a Post

    Watch this step · 8:16

    This is where the trick pays off. Kat counts four stitches across empty fabric and brings the needle up. Then she looks. The floss sits on top of a post, not beside it. That means she counted three and a half stitches, not four. She recounts, moves the needle into the right hole, and every stitch from there leans against the post again.

    Tip:

    You can still be a whole stitch out if you miscount, so check the chart as well.

    Back to all steps

  9. Step 9: Compare Cross Stitch Hearts on Linen and Evenweave

    Watch this step · 10:28

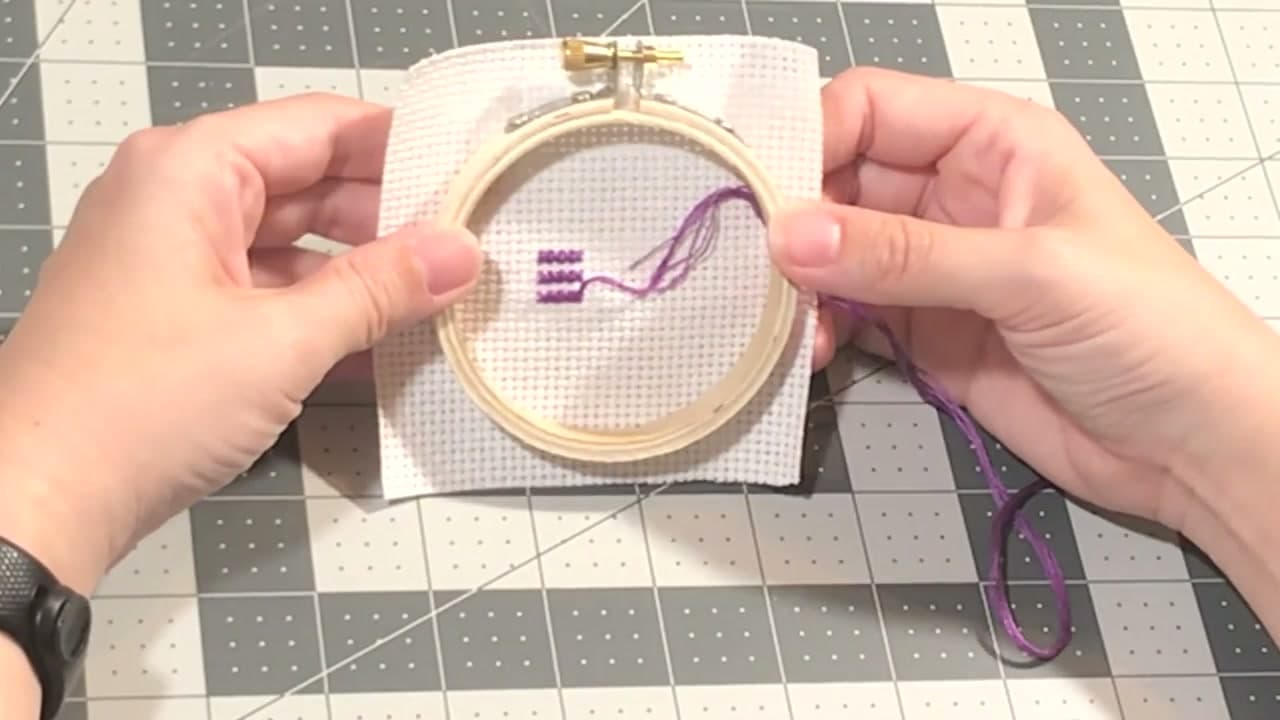
    Kat stitched pairs of purple hearts on 32 count evenweave, 28 count hand-dyed evenweave and 32 count linen. The heart on the right of each pair was started against the post. On the 28 count, it looks clearly neater. On the other two, she could not see much difference. What she does notice is that the needle slides into the holes more easily.

    Tip:

    Stitch two small hearts on a scrap yourself. It is the quickest way to see if you like it.

    Back to all steps

How to Punch Needle for Beginners

Keep going

How to Punch Needle for Beginners

Keep going with embroidery

More on this topic, picked for this project.

You reached the last step

Save this project to come back to it

Your ticked steps, the free printable and your other saved makes, together in My Projects. Free, no password.

You tapped Save

Save this project for later

We'll email you a link, no password.

How to Cross Stitch on Linen Over Two Threads

  • Your saved projects in one list
  • Your ticked steps on any device

Check your inbox for an email from us. Not there? Look in your spam folder.

Free printable

Printable sheet and shopping list for this project

The bonus is hidden until you sign up.

Free with a free account, no password. Every step above stays open to everyone.

Products Used

The Checklist

How to Cross Stitch on Linen Over Two Threads

Tools
3
Materials
2
Steps
9
Video
13 min

Tools we recommend

As an Amazon Associate we earn from qualifying purchases. Links on this page may be affiliate links - clicking them and buying doesn't change your price, but helps support Crafting Step by Step.

Tags

The Crafter's Weekly

New embroidery tutorials, every Sunday

One short email with the week's best step-by-step guides. Free, no spam, unsubscribe anytime.

Did this work for you?

What's next

Related collections

Curated theme pages that include this tutorial.

Similar tutorials

Hand-picked next reads based on the one you just finished.

Liked this embroidery tutorial?

Pick the crafts you want to hear about. One email every Sunday with new step-by-step tutorials. No spam, easy to unsubscribe.

Get more like this in your inbox

Weekly digest. Pick the categories you want. Unsubscribe anytime.

Send me tutorials about

We only email about new tutorials. Easy unsubscribe anytime.