How to Cross Stitch: 6 Step Beginner Tutorial

EmbroideryEasy4:206 steps

By CraftingStepByStepPublished Updated

Based on a video by Notorious Needle.

Cross stitch is one of the easiest needlework techniques to start. Each stitch is a tiny X that fits exactly inside one square of the woven aida cloth - no measuring, no marking, just count the squares and stitch. Once you can make one X, you can make a thousand and they all match.

This walkthrough from Sarah at Notorious Needle covers the two main techniques: the English method (one full X at a time, easiest for beginners) and the Danish method (slashes one direction across, then back to complete) which gives a cleaner back. Plus the two-handed hoop technique that makes long projects move twice as fast.

Step-by-Step Guide

1

Step 1: Gather Your Supplies

0:50
Step 1: Step 1: Gather Your Supplies

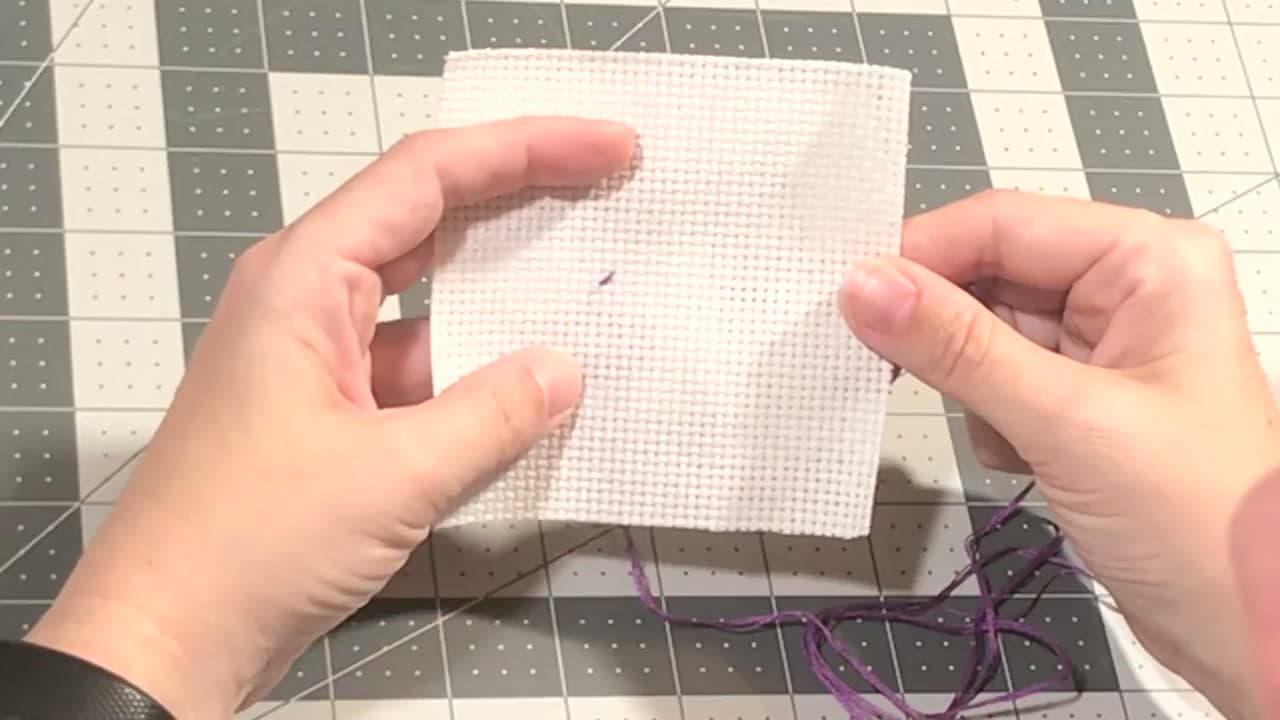
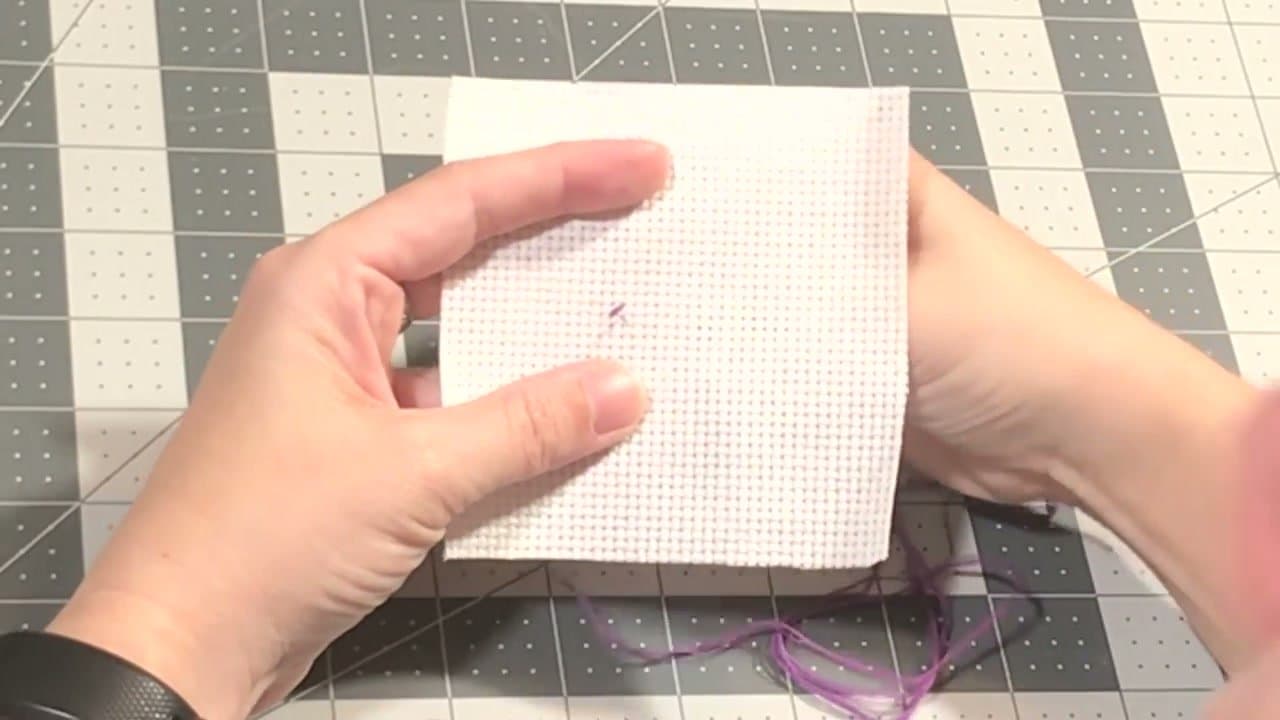
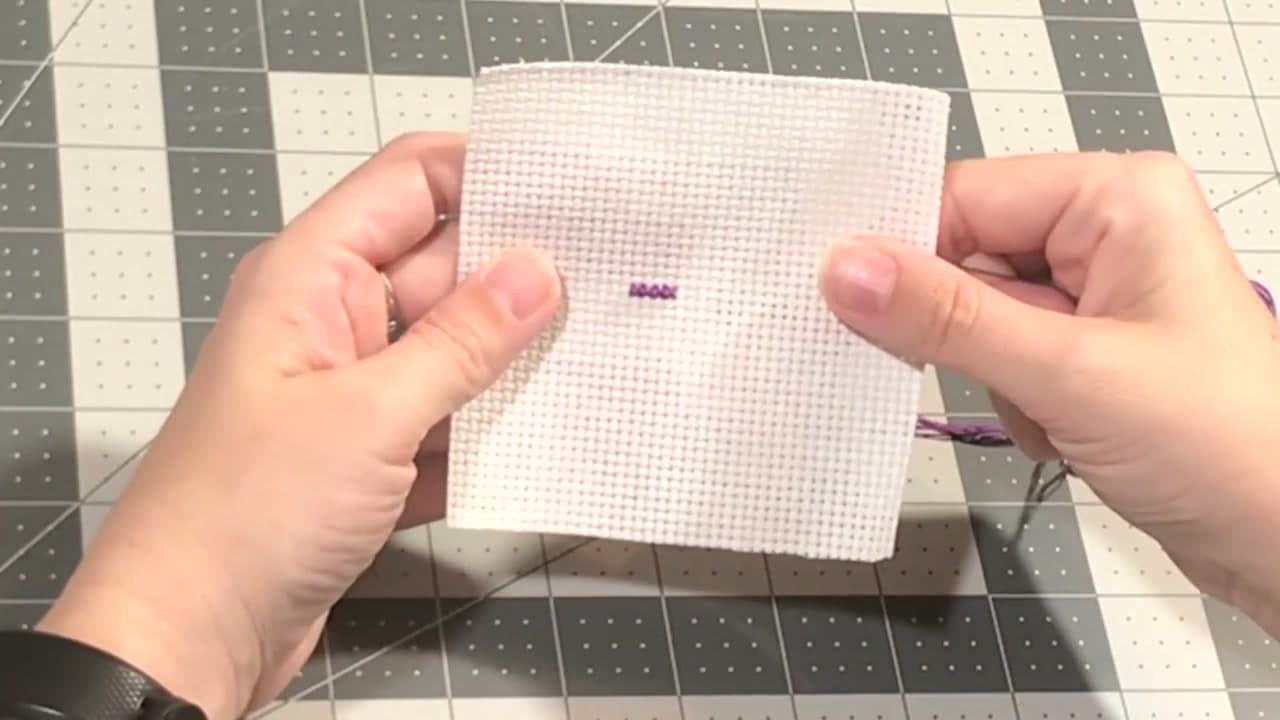
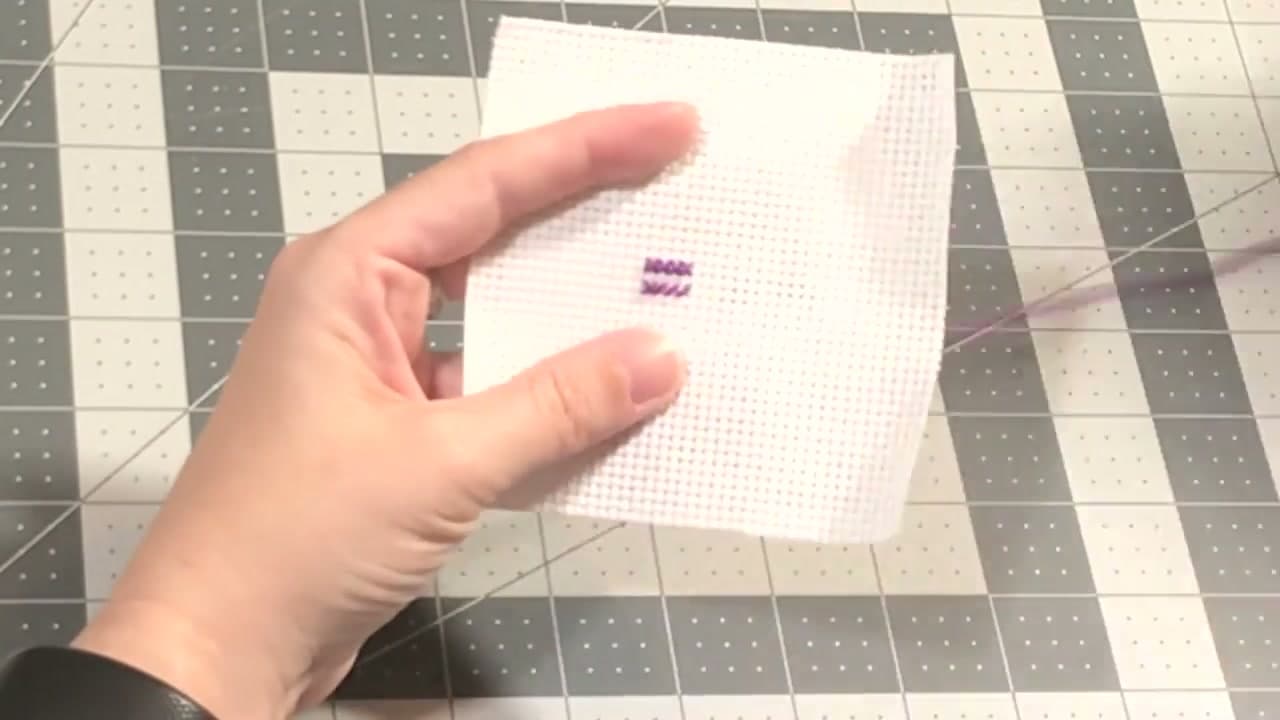
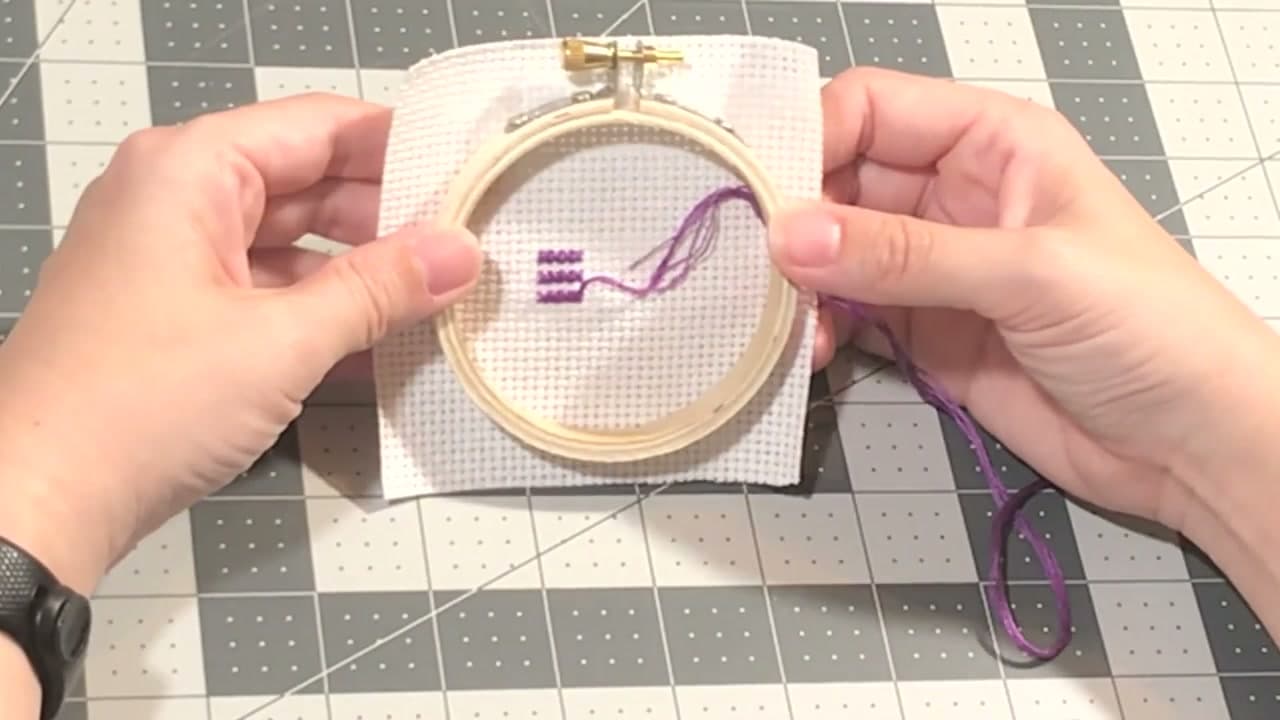
You need three things to start: embroidery floss (DMC is the standard - one skein gives you plenty for a small project), a size 26 tapestry needle (blunt tip with a big eye that won't snag the aida threads), and aida cloth.

Aida cloth is woven specifically for cross stitch - the holes are evenly spaced so each X fits cleanly into one square. 11-count means 11 squares per inch and is the easiest size for learning. 14-count and 18-count get progressively smaller and finer.

2

Step 2: Make the First Slash

1:08
Step 2: Step 2: Make the First Slash

Bring the threaded needle up through the bottom-left corner of one aida square. Pull all the slack through, leaving a short tail on the back to catch with future stitches.

Take the needle down through the top-right corner of the same square. You've made the first half of a cross - a single diagonal slash going from lower-left to upper-right. This is also called a half-stitch.

3

Step 3: Complete the X

1:12
Step 3: Step 3: Complete the X

Bring the needle back up through the bottom-right corner of the same square, then take it down through the top-left corner. The two diagonal slashes now cross to form an X.

This is the English method - finish each X completely before moving to the next square. It's the easiest way to learn because you can see the cross take shape in real time, and there's no chance of losing track of which slashes are crossed and which aren't.

Products used in this step

4

Step 4: Continue Across the Row

1:40
Step 4: Step 4: Continue Across the Row

Move to the next aida square and repeat the same four-corner sequence. Bottom-left up, top-right down, bottom-right up, top-left down. Each X covers exactly one square.

Keep tension consistent across every stitch. Pulling too tight makes the fabric pucker around your stitches; leaving them loose makes the X look sloppy. Aim for the floss to lay flat against the aida without tugging the surface.

5

Step 5: Try the Danish Method for Cleaner Backs

2:05
Step 5: Step 5: Try the Danish Method for Cleaner Backs

The Danish method is faster and gives a tidier back. Stitch all the bottom-left to top-right slashes across the entire row first, then come back the other direction stitching the bottom-right to top-left slashes that complete each X.

The diagonal stitches on the back end up parallel instead of zigzagging, which uses less thread and looks neater. Most experienced cross stitchers prefer Danish for solid blocks of color and switch to English only when filling in single isolated stitches.

Products used in this step

6

Step 6: Mount in a Hoop and Stitch Two-Handed

3:35
Step 6: Step 6: Mount in a Hoop and Stitch Two-Handed

For longer projects, mount the aida in an embroidery hoop or scroll frame. The fabric stays taut and your stitches stay even from the first hour to the fifth.

With the fabric stabilized, you can use both hands - top hand pushes the needle through the front, bottom hand pulls it down and pushes it back up. Two-handed stitching is roughly twice as fast as the one-handed method and your tension naturally evens out because you're never wrestling the fabric.

Tip

The Parking method is a fourth technique you'll see mentioned online - it's used for full-coverage projects with many colors per row. Skip it while learning. English and Danish are enough for everything from sampler kits to small ornaments.

Products Used

☐ The Checklist

How to Cross Stitch: 6 Step Beginner Tutorial

Tools
3
Materials
2
Steps
6
Video
4 min

Your Guide

Notorious Needle

As an Amazon Associate we earn from qualifying purchases. Links on this page may be affiliate links - clicking them and buying doesn't change your price, but helps support ShowMeStepByStep.

Tags

Related Tutorials