How to Finish an Embroidery Hoop (4 Backing Methods)

Also in:Other Crafts

By CraftingStepByStepPublished

Based on a video by The Authentic Embroiderer.

You stitched the design. The needle is back in the pin cushion. Now the hoop is sitting on your table with a tangle of raw fabric edges hanging off the back, and you are wondering what to do with it. This is where most beginners stop and most finished hoops never make it to the wall.

The Authentic Embroiderer (formerly Three Inches Hand Embroidery) walks through four different ways to finish the back of a small embroidery hoop. Each one trades complexity for polish. The gathered method takes five minutes and uses zero extra materials. The chipboard method takes longer but produces a back so clean it looks like a framed photo. Pick the one that matches the project.

All four methods start the same way - leave at least half an inch of fabric beyond the hoop edge when you trim. That extra fabric is what every method works with. Cut it flush and you have no options left except glue, and glue on the back of an embroidery hoop is the difference between a heirloom and a craft fair reject.

The 4 Methods at a Glance

  • Method 1 - Excess Fabric Gather: Beginner. Five minutes. Zero extra materials. Slightly puffy back.
  • Method 2 - Felt Circle with Blanket Stitch: Intermediate. 45 minutes. Felt + thread. Colorful, decorative border.
  • Method 3 - Fabric Patch: Intermediate. 30 minutes. A second piece of fabric. Hides all raw edges.
  • Method 4 - Chipboard: Advanced. 30 minutes. Chipboard + felt + double-sided tape. Museum-clean flat back.

Step-by-Step Guide

1

Measure the Inner Hoop and Mark the Backing

0:22
Step 1: Measure the Inner Hoop and Mark the Backing

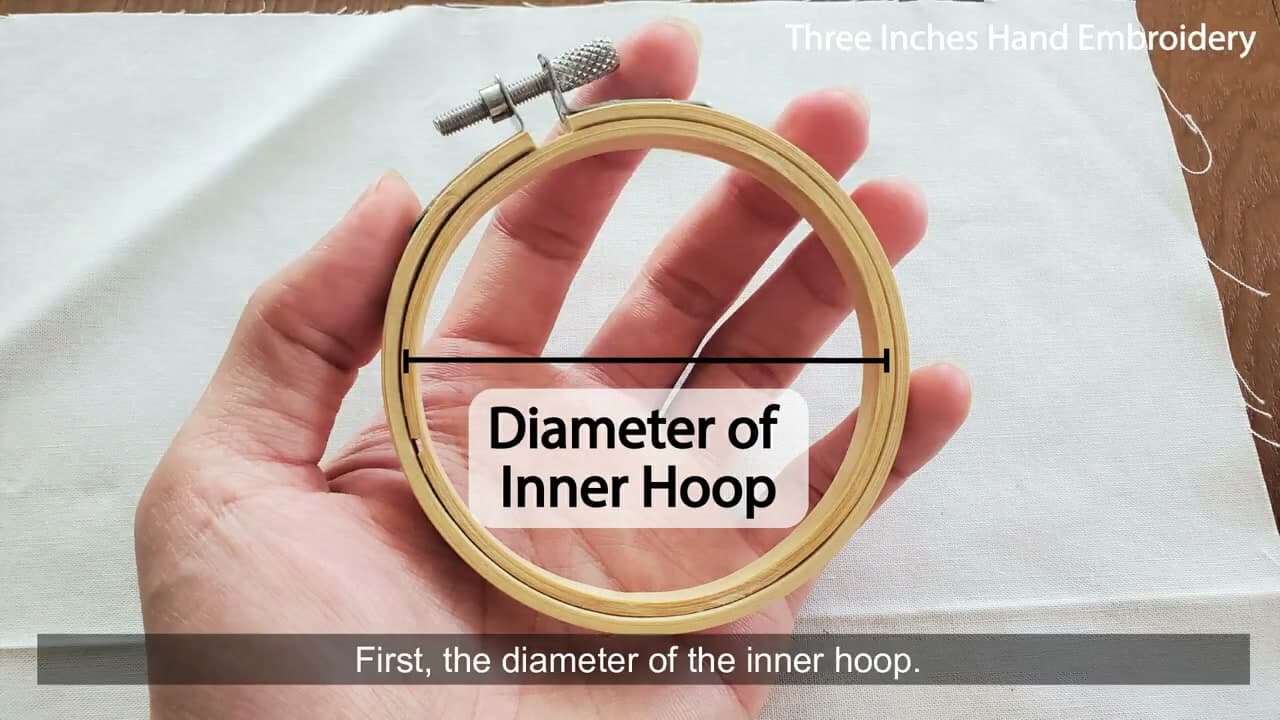
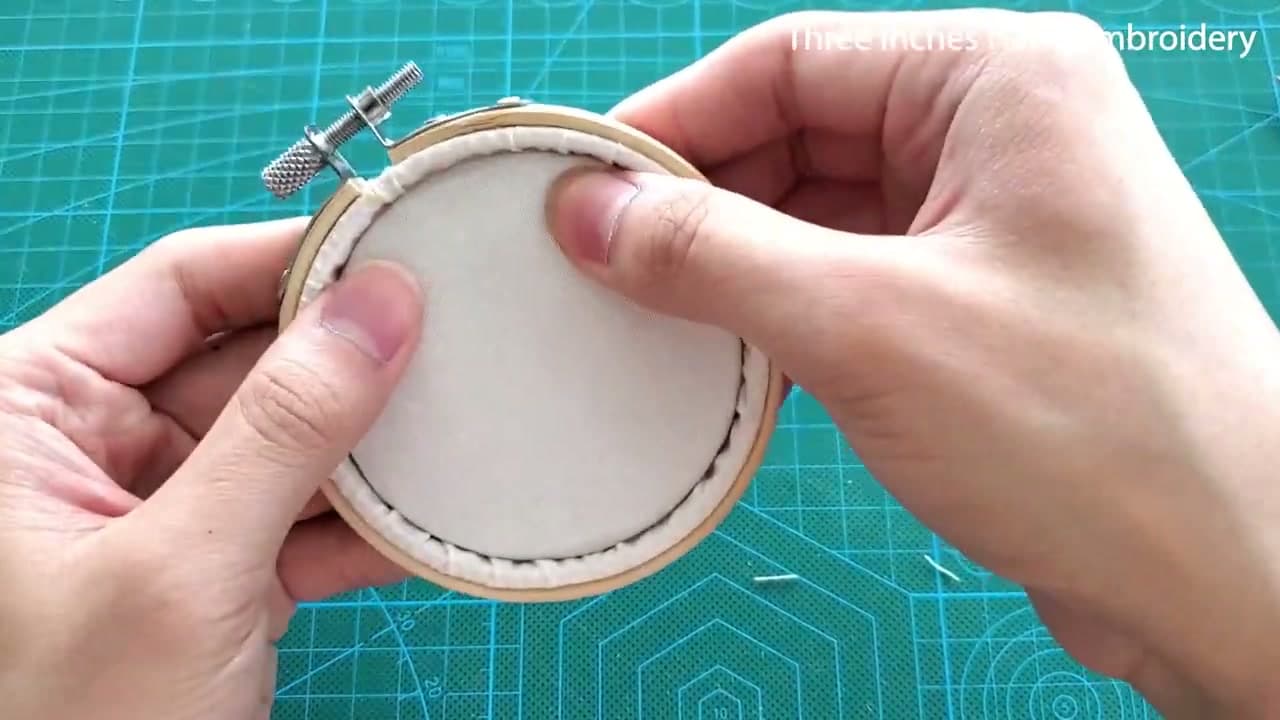
Take the inner ring of the embroidery hoop and lay it flat on your backing fabric. Trace the inside diameter and a second circle about half an inch wider. The inner circle is the size your backing needs to cover. The outer circle is your cut line.

The half-inch margin is non-negotiable. Every one of the four methods below needs that extra fabric to grab onto. Cut on the inner line and you are out of options.

Tip

For methods that use felt or chipboard, mark a third circle 1mm smaller than the inner hoop diameter so the backing slips inside cleanly without buckling.
2

Method 1 - Gather the Excess Fabric Into a Rosette

1:18
Step 2: Method 1 - Gather the Excess Fabric Into a Rosette

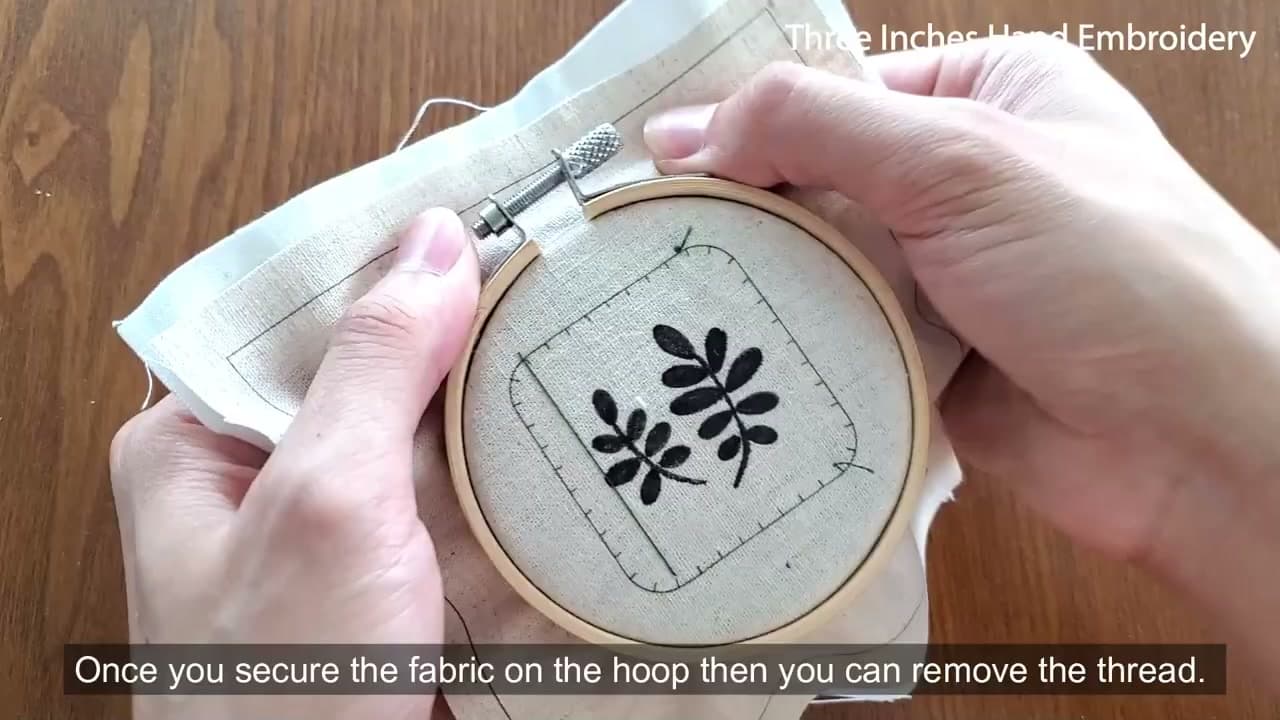
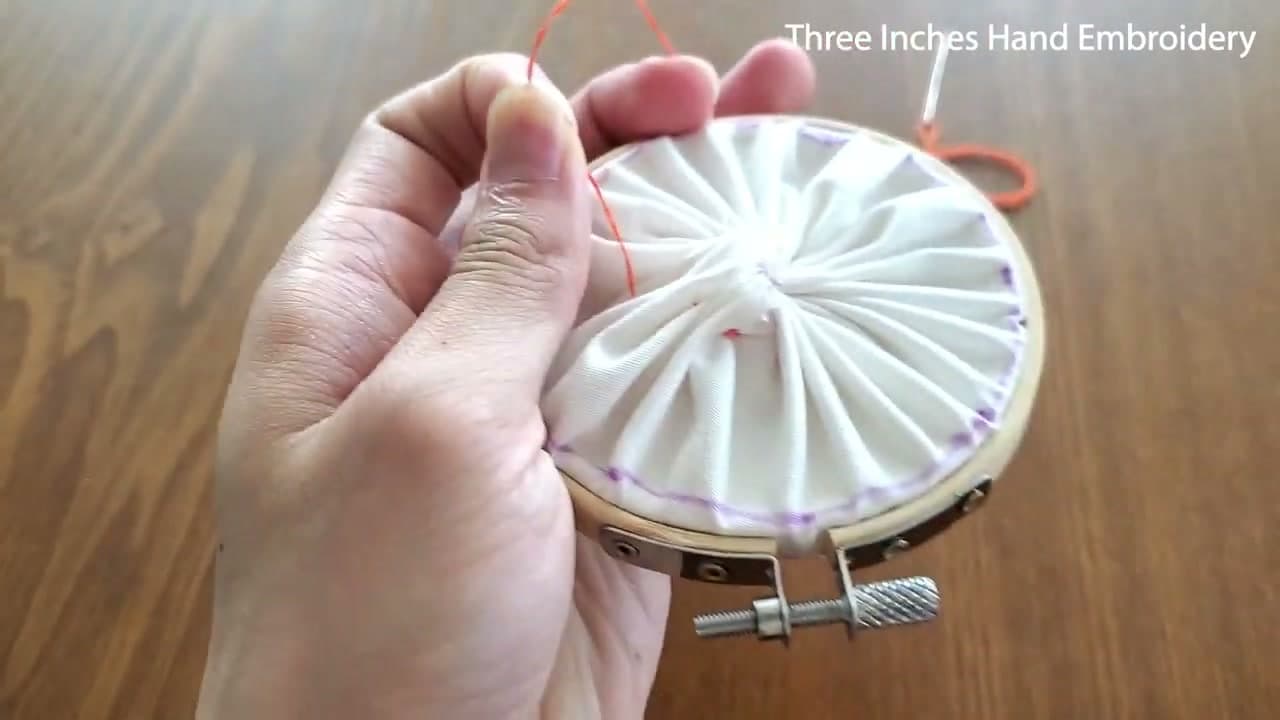
Tighten the hoop with the embroidery facing front. Flip it over and you will see a fan of excess fabric on the back. Thread a needle with a long piece of contrasting thread (use the same colour as your fabric for the final version) and run a large basting stitch all the way around the back edge of the fabric, about a quarter inch in from the raw edge.

When you reach the start, pull both thread tails to gather the fabric toward the center. It will pucker into a rosette - exactly the look you see in the finished photo. Knot the two tails together twice to lock it in place and snip the excess thread.

Tip

This is the five-minute, zero-extra-materials option. The back is a little puffy and the gathered point in the center is visible, so it works best for hoops you plan to hang facing forward against a wall.

3

Method 2 - Trace and Cut a Felt Circle

1:40
Step 3: Method 2 - Trace and Cut a Felt Circle

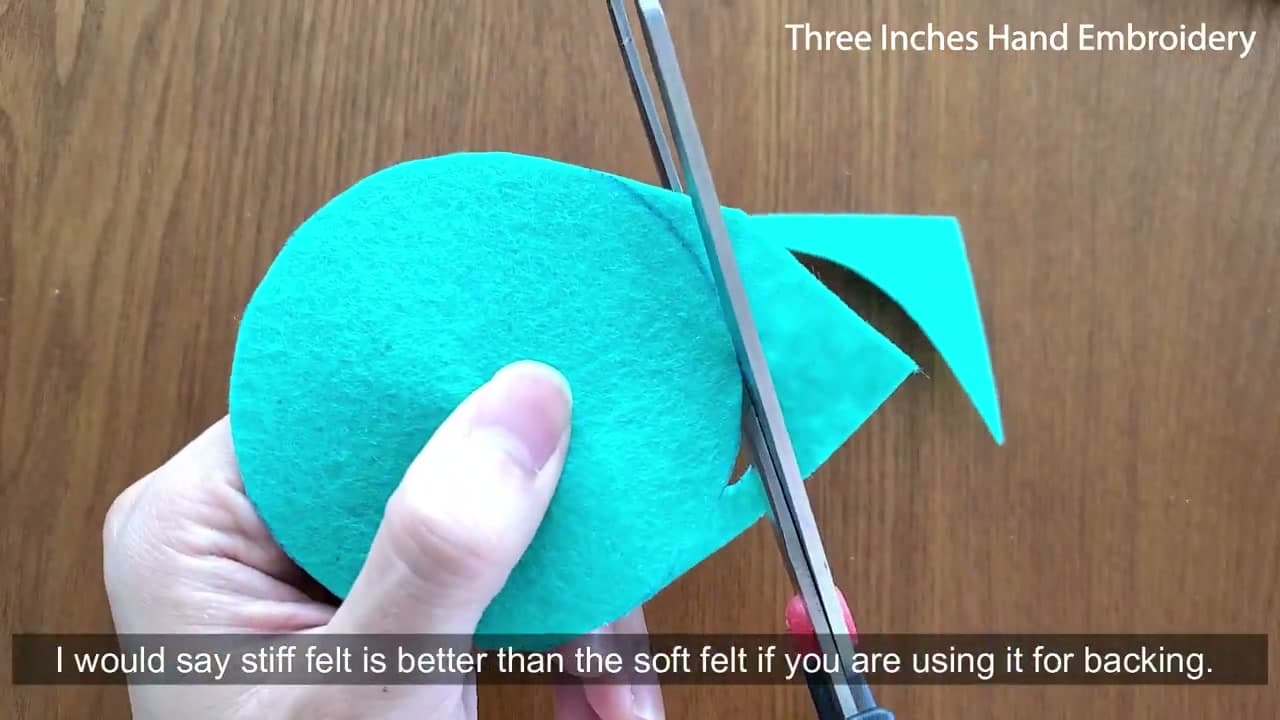
For a cleaner back, switch to 1mm stiff craft felt. Place the inner hoop ring on top of the felt and trace the outer edge with a fine pen. Cut along the line.

Stiff felt holds its shape and lies flat against the hoop. Soft craft felt sags inside the ring and ruins the clean look you are after. The 1mm thickness is the sweet spot - thinner felt curls at the edges, thicker felt pushes the inner ring out of the outer.

Tip

Pick a felt colour that contrasts with your embroidery floss for a pop of colour around the border, or match your design palette for a more subtle look.

4

Method 2 Continued - Blanket Stitch the Felt to the Hoop

7:40
Step 4: Method 2 Continued - Blanket Stitch the Felt to the Hoop

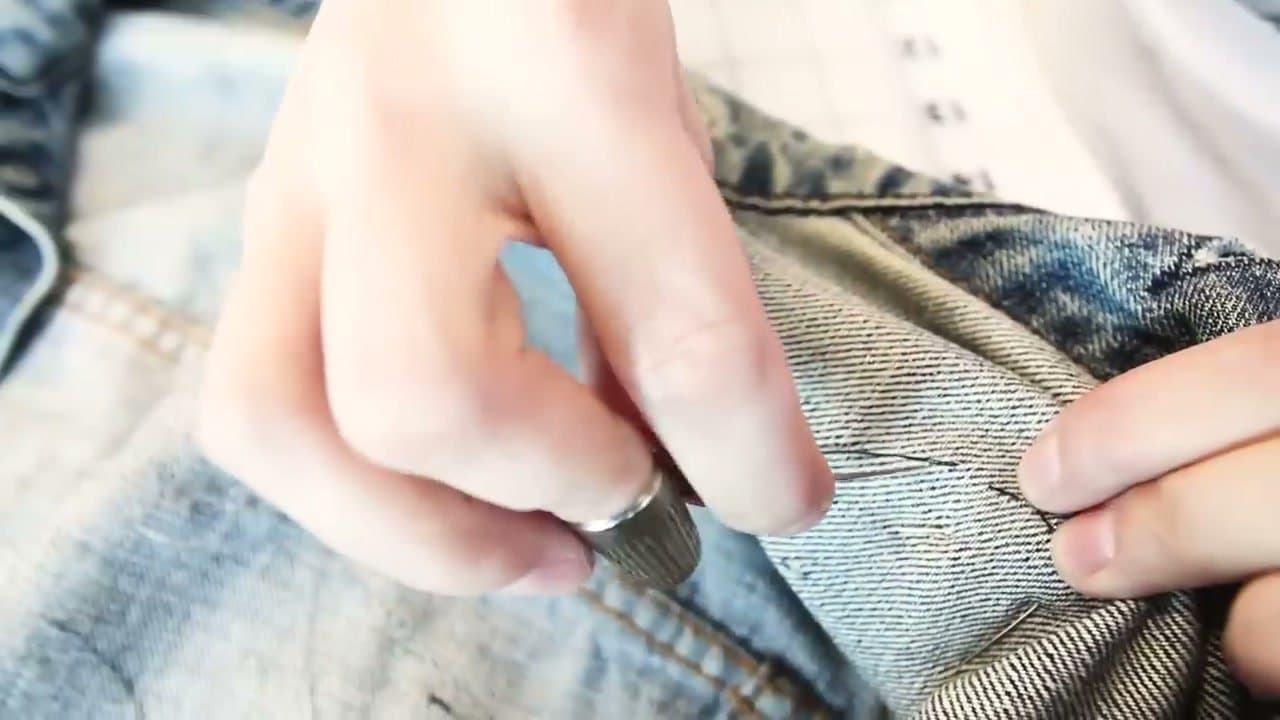
Hold the felt circle against the back of the hoop and blanket-stitch all the way around. The needle goes through the felt, comes up over the wooden hoop edge, and loops through the working thread to form the classic blanket stitch edge.

Switch thread colours as you go around for the rainbow border shown above - it takes a little longer but turns the back of the hoop into a design feature instead of a thing to hide. Knot the last stitch twice and hide the tail inside the felt.

Tip

If blanket stitch is new to you, the same effect works with a simple whipstitch (a slanted overhand stitch). Less decorative but faster, and the felt stays just as flat.

5

Method 3 - Patch the Back With a Second Fabric Square

5:20
Step 5: Method 3 - Patch the Back With a Second Fabric Square

This is the option for embroiderers who want a soft, fabric back without the felt look. Cut a square of cotton fabric slightly bigger than the outer hoop. Place the embroidered hoop face down on top of it, then fold the raw edges of the square under the inner hoop and stitch them down with a basting line.

The result is a smooth fabric back with all raw edges tucked away. The embroidered front pulls taut and the back becomes a single clean cotton surface.

Tip

Iron the backing fabric flat before you start. A wrinkled patch looks wrinkled forever once the hoop is tightened down.

6

Method 4 - Build the Chipboard + Felt Backing Disc

6:20
Step 6: Method 4 - Build the Chipboard + Felt Backing Disc

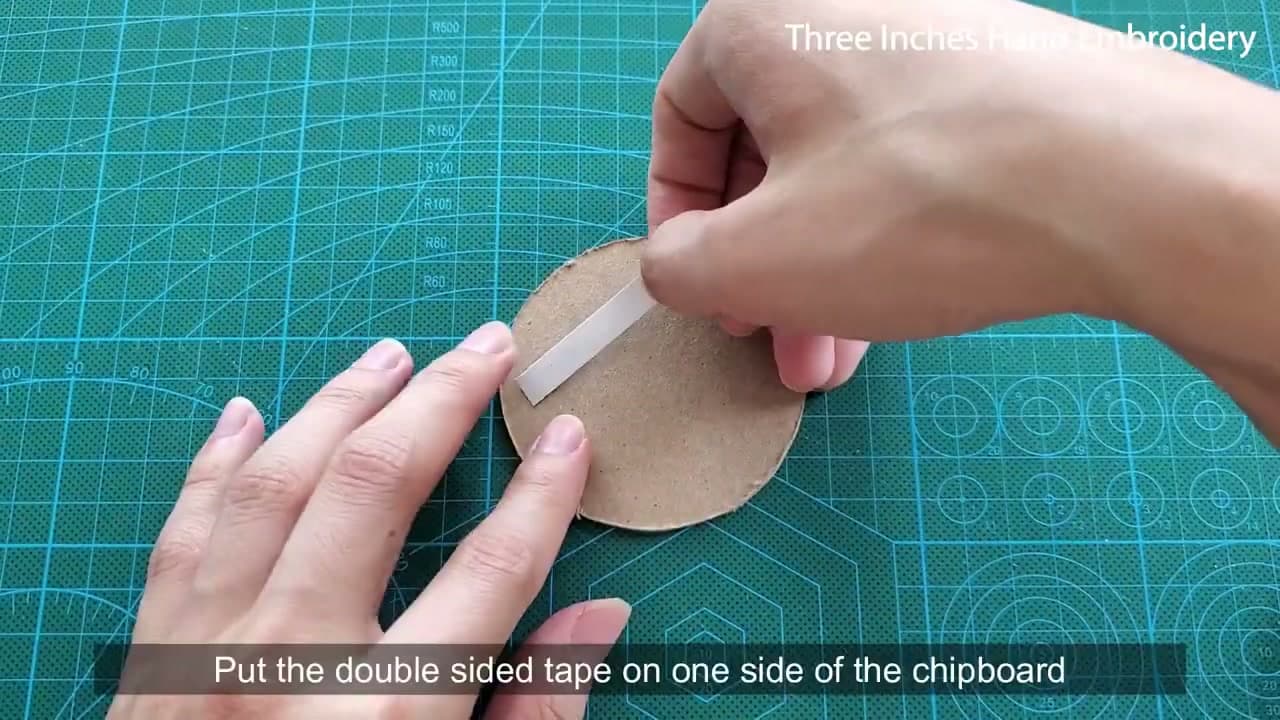
For the cleanest, most professional finish, cut a circle of chipboard (or stiff cardboard from a cereal box) about 1mm smaller than the inner hoop diameter. Apply a few strips of double-sided tape across one side, then press a felt circle the same size on top.

The felt is the cushion - it pushes the embroidered fabric forward so the front looks taut and museum-framed when you assemble. The chipboard is the structure that keeps the back perfectly flat.

Tip

Cereal boxes, shipping boxes, and the cardboard back of a sketch pad all work. Just pick a piece without any printing on the surface that faces the felt.

7

Method 4 Continued - Insert the Disc and Finish the Hoop

7:10
Step 7: Method 4 Continued - Insert the Disc and Finish the Hoop

Loosen the hoop screw slightly, slip the chipboard disc into the back of the hoop with the felt side facing the embroidered fabric, then tighten the screw down. Press the disc firmly so the felt fully contacts the fabric.

The front pulls drum-tight. The back becomes a smooth, slightly recessed circle that looks exactly like the back of a framed canvas. Add a ribbon loop to the screw and it is wall-ready.

Tip

If the disc feels loose inside the hoop, you cut it too small - re-trace and re-cut a fraction larger. If it will not slide in, it is too big - trim 1mm off the edge with the utility knife. A tight fit is what locks the disc in place permanently.

Products Used

☐ The Checklist

How to Finish an Embroidery Hoop (4 Backing Methods)

Tools
6
Materials
6
Steps
7
Video
8 min

Your Guide

The Authentic Embroiderer

As an Amazon Associate we earn from qualifying purchases. Links on this page may be affiliate links - clicking them and buying doesn't change your price, but helps support ShowMeStepByStep.

Tags

What's next

Related collections

Curated theme pages that include this tutorial.

Weekly Digest

Liked this embroidery tutorial?

Pick the categories you want to hear about. Weekly digest of new step-by-step tutorials. No spam, easy unsubscribe.

Send me tutorials about

We only email about new tutorials. Easy unsubscribe anytime.