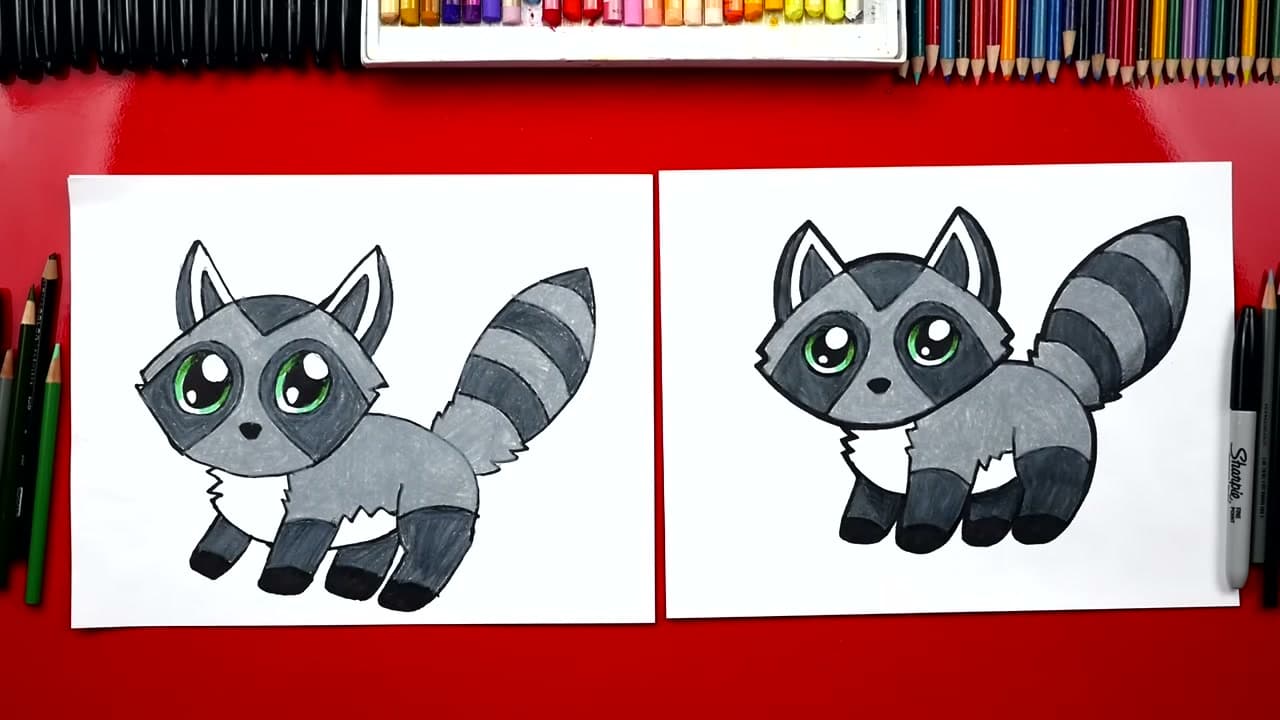
How to Draw a Unicorn (Easy Cute Unicorn Drawing)

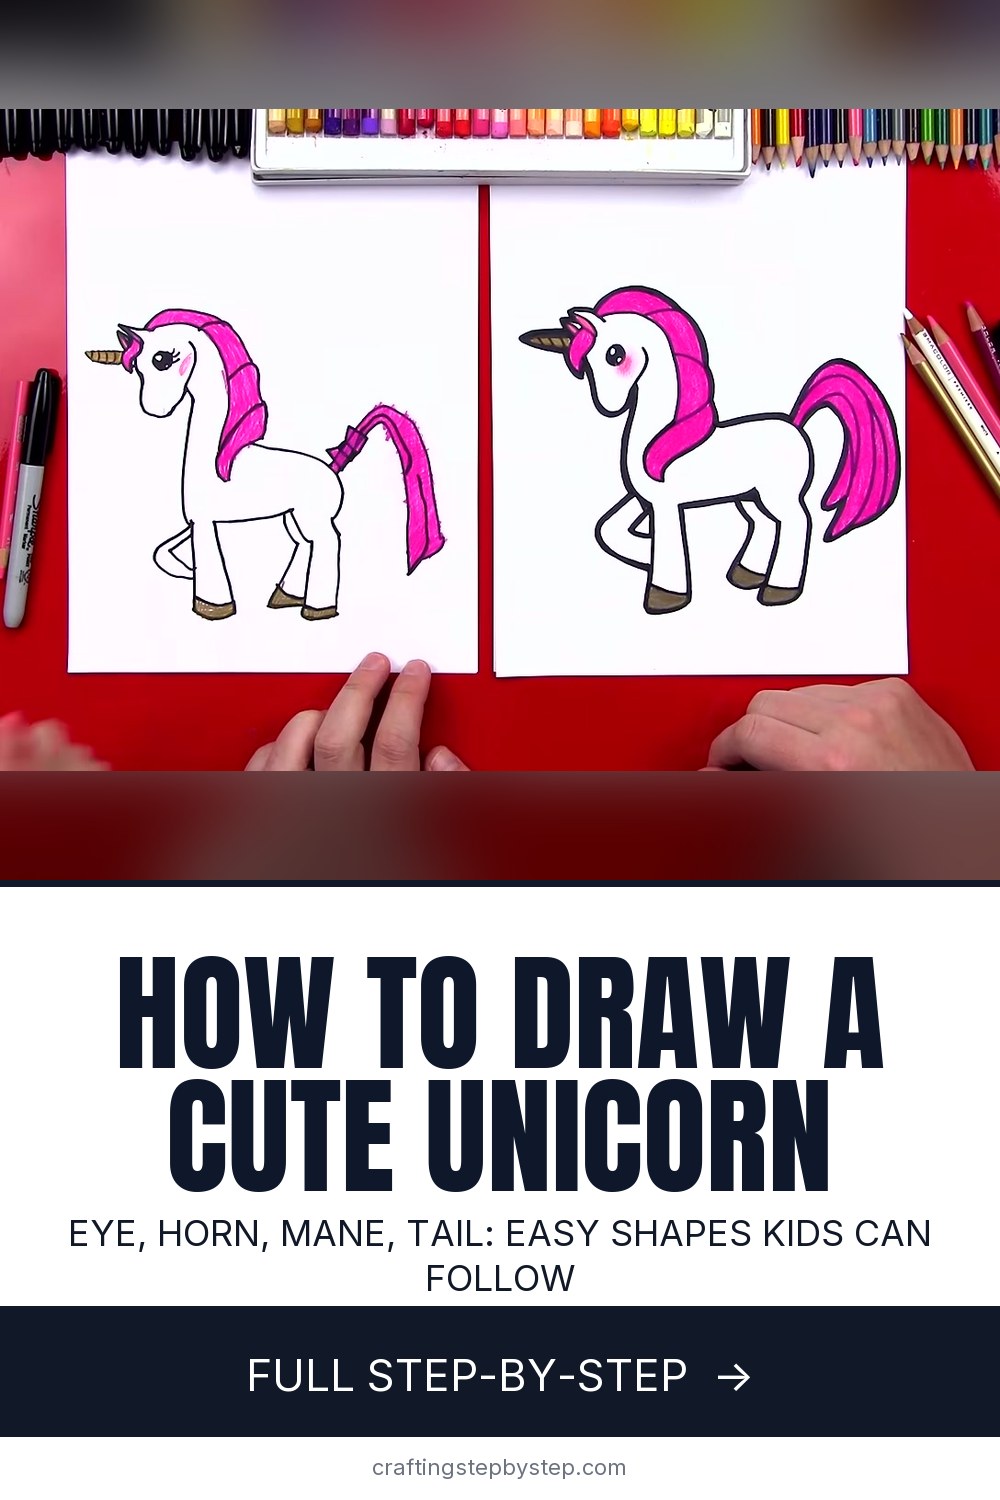
The finished result: How to Draw a Unicorn (Easy Cute Unicorn Drawing)
  • Difficulty: Easy
  • About 25 minutes
  • 10 steps

You tapped Save

Save this project for later

We'll email you a link, no password.

How to Draw a Unicorn (Easy Cute Unicorn Drawing)

  • Your saved projects in one list
  • Your ticked steps on any device

Check your inbox for an email from us. Not there? Look in your spam folder.

Print

Steps written out by Crafting Step by Step from Art for Kids Hub's video (opens YouTube) (11:19). Published .

A unicorn is a horse with a little magic added, and once you see it as a few curves and letter shapes it stops being scary to draw. Rob from Art for Kids Hub draws this cute unicorn side by side with his daughter Hadley, using a black marker and colored pencils. You start with the eye, build the head and horn, add a flowing mane, then four legs and a roller coaster tail. It takes about twenty minutes, coloring included.

How to draw a unicorn: the short version

  • Draw a round eye with two small highlight circles.
  • Add the forehead, a backwards J nose and an S curve cheek.
  • Draw a sideways A ear and a curly forelock.
  • Add the striped horn and the small back ear.
  • Draw the neck, chest and mane strands.
  • Add a front leg, the back, and a back leg with hooves.
  • Fill in the two far legs, one bent like she is walking.
  • Draw a roller coaster tail, then color.

What you need

A black marker and smooth white paper are enough to draw it. Rob colors with colored pencils, but markers, crayons, oil pastels or paint all work. A gold or yellow pencil makes the horn and hooves shine. If the marker makes you nervous, sketch lightly in pencil and trace over the lines you like.

The shapes that make it easy

Almost every line here is a shape kids already know. The nose is a backwards J. The ear and the horn are both sideways A shapes, so they look alike until you add stripes to the horn. The neck is a big question mark. The mane and tail are S lines. Saying the shape out loud before you draw it, the way Rob does with Hadley, helps a young artist know where the marker is going.

Leave room on the page

Start the eye in the upper left and keep the head small. The neck, body and tail need most of the page. If the horn runs out of room, that is fine. Hadley's did too, and she squeezed it in. A shorter horn still reads as a unicorn.

Drawing it with kids

Sit together and draw at the same pace. Pause after each step so everyone catches up. Younger children can skip the bent leg and draw four straight ones. Older kids can add eyelashes, stars, a rainbow or a flower crown. Remind them that it will not look like yours, and it should not.

Make it your own

  • Color the mane in rainbow stripes instead of one pink.
  • Add wings and you have an alicorn.
  • Draw clouds and stars behind her for a night sky.
  • Cut her out and glue her to a birthday card.

Common problems

  • She looks like a horse. Make the horn longer and add the diagonal stripes. Pink cheeks and lashes help too.
  • Legs too skinny. Let each leg flare a little wider at the hoof.
  • She tips over. Keep the far back leg shorter and higher. It sits further away from you.

Keep drawing

Practice the body with a horse, then try another magic creature with a dragon. Get smoother color with colored pencils, or draw a cat next. Want a unicorn you can hug? Crochet one.

Free printable

Print the steps and supply list for this project

One page you can take to the table. Free with a free account, no password.

Get the free printable

What you'll need

Free, for this project

Get this checklist by email

  • All 5 tools and materials, with tick boxes
  • A link to print all 10 steps on paper, to keep by you while you craft

No password. The whole tutorial stays free on this page.

Quick answer

Draw a cute unicorn step by step: eye, head, striped horn, mane, legs and tail, then color. An easy project: about 25 minutes. You need 5 things, including drawing or marker paper, colored pencils, markers or crayons and gold or yellow colored pencil. The 10 steps start with draw the Unicorn's Eye With Two Highlight Circles, draw the Unicorn's Forehead and Backwards J Nose, draw the Unicorn's Ear and Curly Forelock and add the Unicorn's Striped Horn and Back Ear.

Step-by-step guide

10 steps, about 11 minutes. Tap a picture to jump to that step. Your progress saves automatically.

Tick each step off as you go.

  1. Step 1: Draw the Unicorn's Eye With Two Highlight Circles

    Watch this step · 0:32

    Near the top left of your paper, draw a circle that is not too big. Inside it, near the top, draw a small circle. Add another tiny one near the bottom. Color in the big circle with your marker and leave the two little circles white. Those white spots make the eye look shiny and alive. Keep the eye close to the upper corner so the rest of the unicorn fits on the page.

    Tip:

    Go slowly around the small circles so you do not fill them in by accident.

    Back to all steps

  2. Step 2: Draw the Unicorn's Forehead and Backwards J Nose

    Watch this step · 1:08

    Draw a small curve above the eye for the forehead, close to the eye. From there, bring a line down for the front of the face and turn it into a backwards J for the nose, ending a little below the eye. Then start under the eye and draw an S line that comes up and curves around for the cheek. Now you have a head shape that looks like a horse.

    Tip:

    Keep the nose short and round. A short face makes the unicorn look cute.

    Back to all steps

  3. Step 3: Draw the Unicorn's Ear and Curly Forelock

    Watch this step · 2:05

    Above the eye, draw a sideways A shape for the ear: go up to a point, then back down. Add a small curve inside it. Now draw the forelock, the hair that hangs over her forehead. Make an S line that curves one way and back the other, then curl the end a little. Finish by curving the line back up into the ear so the hair and ear connect.

    Tip:

    The ear will look a lot like a horn. That is fine. The stripes in the next step tell them apart.

    Back to all steps

  4. Step 4: Add the Unicorn's Striped Horn and Back Ear

    Watch this step · 3:06

    Draw a second, smaller ear peeking out behind the forelock, with a curve inside. Then add the horn. Start under the ear and draw a long, thin sideways A that points out in front of her head. Bring the line back into the hair. Add diagonal lines down the horn for texture. The stripes are what turn your horse into a unicorn.

    Tip:

    Running out of room? Make the horn a little shorter. It still works.

    Back to all steps

  5. Step 5: Draw the Unicorn's Neck, Chest and Mane

    Watch this step · 4:30

    From the ear, draw a big question mark line out and down for the back of the neck. She is tucking her head a bit, so it curves. For the front, start under the cheek, curve out for the chest and come down. Then draw the mane with a few S lines that flow down the neck, each one connecting to the last. Add two more curves that fall in front of her chest.

    Tip:

    Let the mane strands overlap. Layers make the hair look full.

    Back to all steps

  6. Step 6: Draw the Unicorn's Front Leg and Hoof

    Watch this step · 5:40

    Under the chest, draw a straight line down for the front of the leg. For the back of the leg, start close to the first line and let it spread out as it goes down. That little flare at the bottom makes it look like a real leg. Connect the two lines at the bottom, then draw one more line across, a little higher, to make the hoof.

    Tip:

    Draw all the hooves at the same height so she stands level.

    Back to all steps

  7. Step 7: Draw the Unicorn's Back and Back Leg

    Watch this step · 6:40

    From the top of the mane, draw a long curve across for her back and round it down for her rump. Under the rump, draw the back of the back leg coming down, ending at the same height as the front hoof. Add a curve on the front of the leg for the thigh, then a line down. Close the bottom and add a hoof line.

    Tip:

    Make the rump nice and round. It balances the big mane at the front.

    Back to all steps

  8. Step 8: Add the Unicorn's Far Legs, One Bent Mid-Step

    Watch this step · 7:55

    Draw the belly line between the two legs. Then add the far back leg between them. Make it a bit shorter, because it sits further away. Close the bottom with a hoof. For the last front leg, draw a sideways V so the leg bends back, like she is walking. Add the back of the leg with a small, skinny hoof.

    Tip:

    Start the far legs a little higher on the body than the near ones.

    Back to all steps

  9. Step 9: Draw the Unicorn's Roller Coaster Tail

    Watch this step · 8:35

    Start at the rump, go up, and curve down like a roller coaster. That is the top of the tail. For the other side, start close to the first line and let it drift further away as you go down. Connect the bottom with two or three curvy points. Then add more lines inside the tail for texture. Finish with eyelashes or any small details you like.

    Tip:

    Pause the video here and add your own touches before you color.

    Back to all steps

  10. Step 10: Color the Unicorn's Mane, Tail and Hooves

    Watch this step · 10:00

    Put the marker aside and pick up your colors. Rob and Hadley use pink for the mane and tail, with gold for the horn and hooves and a little pink on the cheeks. Press harder in the shadows of the mane for depth. Use any colors you like. A rainbow mane or a purple tail looks great too. Leave the body white so the bright colors pop.

    Tip:

    Color in the direction the hair flows. It makes the strands look like real hair.

    Back to all steps

How to Draw a Sunset With Colored Pencils

Keep going

How to Draw a Sunset With Colored Pencils

Keep going with drawing

More on this topic, picked for this unicorn.

You reached the last step

Save this project to come back to it

Your ticked steps, the free printable and your other saved makes, together in My Projects. Free, no password.

You tapped Save

Save this project for later

We'll email you a link, no password.

How to Draw a Unicorn (Easy Cute Unicorn Drawing)

  • Your saved projects in one list
  • Your ticked steps on any device

Check your inbox for an email from us. Not there? Look in your spam folder.

Free printable

Printable sheet and shopping list for this project

The bonus is hidden until you sign up.

Free with a free account, no password. Every step above stays open to everyone.

Products Used

The Checklist

How to Draw a Unicorn (Easy Cute Unicorn Drawing)

Tools
2
Materials
3
Steps
10
Video
11 min

Tools we recommend

As an Amazon Associate we earn from qualifying purchases. Links on this page may be affiliate links - clicking them and buying doesn't change your price, but helps support Crafting Step by Step.

Tags

The Crafter's Weekly

New drawing tutorials, every Sunday

One short email with the week's best step-by-step guides. Free, no spam, unsubscribe anytime.

Did this work for you?

What's next

Related collections

Curated theme pages that include this tutorial.

Similar tutorials

Hand-picked next reads based on the one you just finished.

Liked this drawing tutorial?

Pick the crafts you want to hear about. One email every Sunday with new step-by-step tutorials. No spam, easy to unsubscribe.

Get more like this in your inbox

Weekly digest. Pick the categories you want. Unsubscribe anytime.

Send me tutorials about

We only email about new tutorials. Easy unsubscribe anytime.