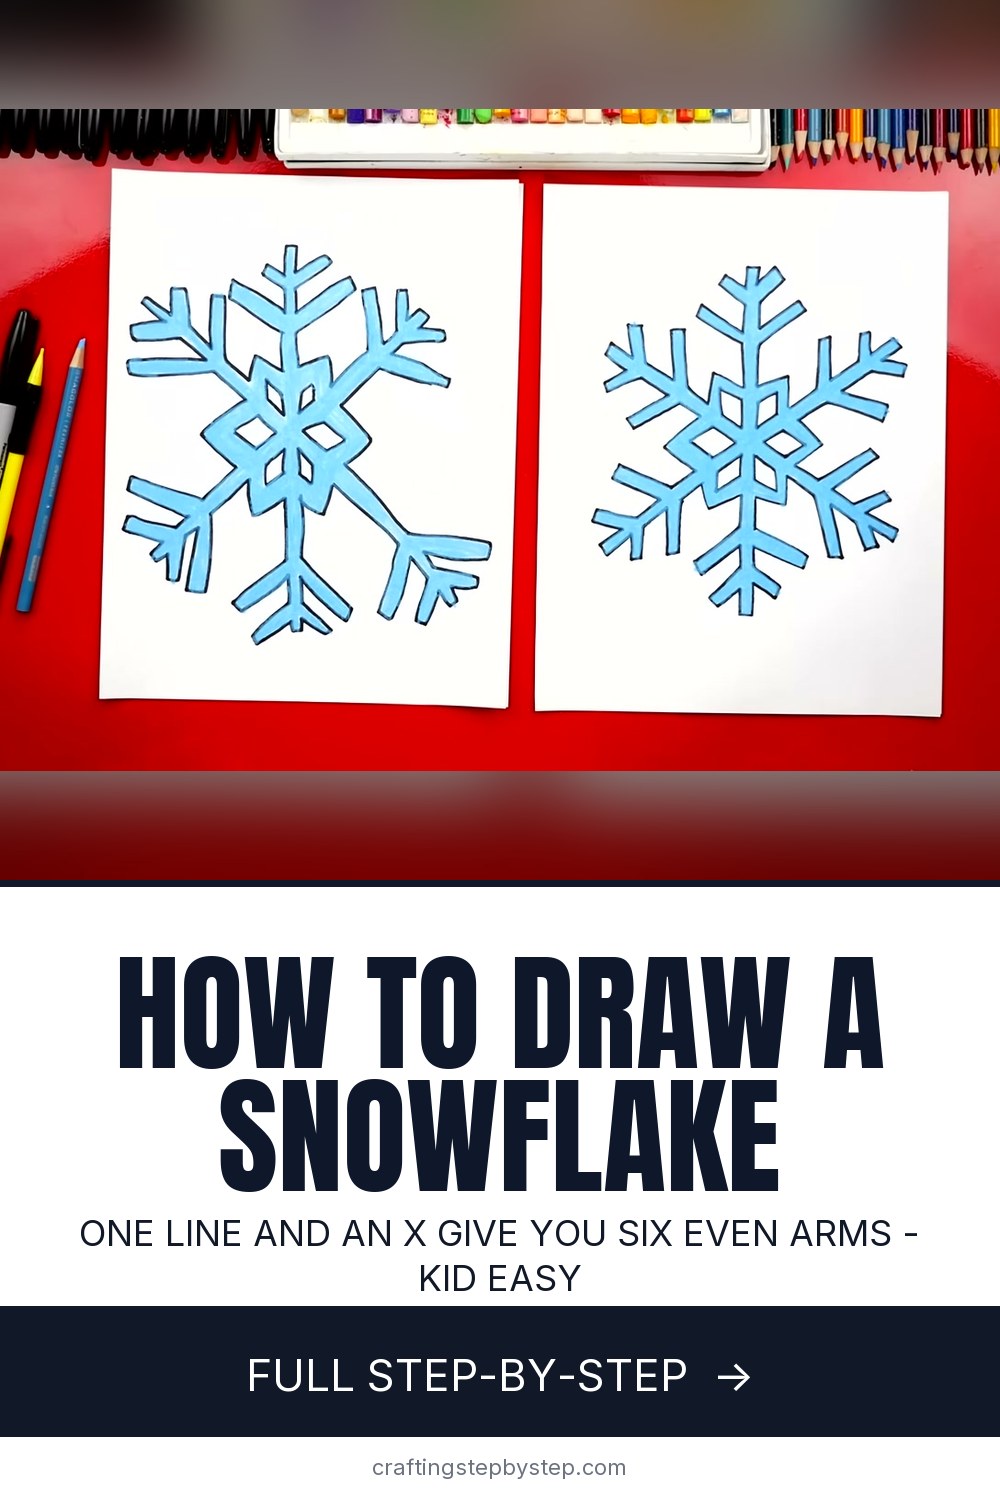
How to Draw a Snowflake

Save it for later. We'll email you a link, no password.

Find it again on your phone or computer, with your finished steps ticked.

You tapped Save

Save this project for later

We'll email you a link, no password.

How to Draw a Snowflake

  • Your saved projects in one list
  • Your ticked steps on any device

Check your inbox for an email from us. Not there? Look in your spam folder.

  • 9 steps
  • 5:38 video
  • Difficulty: Easy
  • About 15 minutes
  • Materials about $3 to $6
  • Drawing

Based on a video by Art for Kids Hub

Opens their YouTube channel

Steps written out by Crafting Step by Step · Published · Updated

The finished result: How to Draw a Snowflake

A snowflake looks tricky to draw because it has so many matching parts. The secret is a few light pencil guidelines. Once you have six evenly spaced spokes, every arm of the snowflake follows the same pattern, and you repeat it all the way around. This lesson comes from Art for Kids Hub, where Rob draws side by side with his son Jack. It takes about six minutes and works for kids as young as five.

You need a pencil, an eraser, a black marker, a sheet of paper and something to color with.

Why a snowflake has six sides

Real snowflakes form as ice crystals, and ice crystals grow in a six-sided pattern. That is why you start with one straight line and an X. Together they make six spokes, and each spoke becomes one arm. Try to keep the angles between the spokes about the same. You can use a ruler, but eyeballing it works fine. A slightly wonky snowflake still reads as a snowflake.

The bubble outline trick

This drawing uses a trick from bubble letters. You never trace on top of the pencil line. You trace around the outside of it, so every thin pencil stroke turns into a thick arm with a black edge. That gives the snowflake its chunky, cut-paper look and leaves room inside for color. Press lightly with the pencil so the guidelines rub out cleanly at the end.

Make your own snowflake design

No two snowflakes are alike, and yours does not need to match the video. Keep the line and the X, then change the details:

  • Add a third, smaller V near the tip of each arm.
  • Swap the V branches for little circles or hearts.
  • Draw a hexagon in the center instead of the star.
  • Put a tiny diamond at the end of every arm.

The only rule: whatever you draw on one arm, repeat on all six.

Coloring ideas

Light blue colored pencil gives the soft, icy look in the video. For more depth, color the edges a darker blue and leave the middle of each arm pale. Silver or white gel pen on dark paper looks great too. A black cardstock snowflake drawn with a metallic marker makes a nice night-sky effect. Older kids can use what they learned in how to shade to fade each arm from dark to light.

Winter and holiday uses

A snowflake drawing is handy all winter. Cut it out and tape it to a window. Draw a small one on the front of a folded Christmas card. Make a classroom snowstorm where every kid designs a different flake. Shrink it down for Christmas gift tags. If you want a 3D version, try a folded and cut paper snowflake, or a crocheted snowflake to hang on the tree.

Common snowflake drawing problems

  • The arms are different lengths. Mark a small dot at the end of each spoke before you draw any branches.
  • The marker lines touch. Leave a small gap around every pencil line as you trace. Thin arms are fine.
  • Pencil marks still show. Wait a minute for the marker to dry, then erase.
  • It feels lopsided. Turn the paper as you go so you always draw the arm closest to you.

New to drawing? Start with how to draw for the basics.

Free printable

Print the steps and supply list for this project

One page you can take to the table. Free with a free account, no password.

Get the free printable

What you'll need

Free, for this project

Get this checklist by email

  • All 5 tools and materials, with tick boxes
  • A link to print all 9 steps on paper, to keep by you while you craft

No password. The whole tutorial stays free on this page.

Quick answer

Draw a snowflake in 9 easy steps: a line and an X for six even arms, V branches, a bold marker outline and light blue color. An easy project: about 15 minutes. Materials cost about $3 to $6. You need 5 things, including drawing paper or sketch pad, pencil and eraser. The 9 steps start with draw a Line and an X to Make the Snowflake's Six Guidelines and draw Upside-Down V Shapes Around the Snowflake Center.

Step-by-step guide

9 steps, about 6 minutes. Tap a picture to jump to that step. Your progress saves automatically.

Tick each step off as you go.

  1. Step 1: Draw a Line and an X to Make the Snowflake's Six Guidelines

    Watch this step · 0:52

    Use your pencil and press lightly. Draw one straight line down the middle of the paper. Put a dot where you think the center is. Now draw an X through that dot, one diagonal line and then the other. Try to make all the lines about the same length. You now have six spokes, and each one will become an arm of the snowflake.

    Tip:

    Snowflakes always have six sides. A line plus an X gets you there every time.

    Back to all steps

  2. Step 2: Draw Upside-Down V Shapes Around the Snowflake Center

    Watch this step · 1:50

    Stay in pencil. Near the center, draw an upside-down V between two of the spokes, with the point sitting on a line. Turn your paper a little and draw the next V, starting where the last one ended. Keep turning and drawing until you have gone all the way around. The six Vs join up into a star shape in the middle of the snowflake.

    Tip:

    Turning the paper is easier than twisting your wrist. Draw each V the same way up.

    Back to all steps

  3. Step 3: Add Long and Short V Branches to Each Snowflake Arm

    Watch this step · 2:29

    Go to the end of one spoke. Draw a long V that opens up toward the tip, one line on each side of the spoke. Right above it, draw a shorter V. Those two Vs are the branches. Rotate the paper and repeat on the next arm, long V and then short V, until all six arms have their branches. Keep these pencil lines light too.

    Tip:

    Match the branch size on every arm. Draw one, then copy it five times.

    Back to all steps

  4. Step 4: Trace Around the First Snowflake Arm With a Black Marker

    Watch this step · 3:16

    Switch to your black marker. Do not draw on top of the pencil line. Trace around the outside of it, like a bubble letter. Start at the center, go up one side of the arm, around the long V, around the short V at the tip, and back down the other side. Each thin pencil line turns into a thick snowflake arm.

    Tip:

    Leave a small, even gap between the marker and the pencil line. It keeps the arm thickness steady.

    Back to all steps

  5. Step 5: Outline the Other Five Snowflake Arms in Black Marker

    Watch this step · 3:36

    Repeat the same bubble trace on the remaining five arms. Go up the side, around each V branch, around the tip and back to the center. Turn the paper as you go so you are always working on the arm closest to you. When you finish, all six arms should have a bold black outline, with the pencil star still sitting in the middle.

    Tip:

    Stop each arm a little short of the center star. You will close the gap in the next step.

    Back to all steps

  6. Step 6: Connect the Snowflake Arms Around the Center Star

    Watch this step · 3:46

    Now join the arms together. Trace around the outside of each upside-down V in the center, the same way you traced the arms. Connect from the base of one arm, around the V, to the base of the next arm. Keep going all the way around the snowflake once more. When you get back to the start, the outline is one closed shape.

    Tip:

    Go slow around the inner points. That is where the lines are closest together.

    Back to all steps

  7. Step 7: Draw Diamond Shapes Inside the Snowflake Center

    Watch this step · 4:12

    Look at each of the six sections in the center. Inside one, draw a small V. Then draw an upside-down V that connects both sides, so you end up with a diamond. Move around the snowflake and draw a diamond in every section. These little windows make the center look like a real ice crystal instead of a flat star.

    Tip:

    Keep the diamonds small so a band of snowflake shows around each one.

    Back to all steps

  8. Step 8: Erase the Pencil Guidelines Inside the Snowflake Outline

    Watch this step · 4:25

    Put the marker down and let the ink dry for a minute. Now grab your eraser and rub out all the pencil marks inside the snowflake. That means the six spokes, the center star and the V branches. Hold the paper flat with your other hand. What is left is a clean black outline of your snowflake, ready to color.

    Tip:

    Erase in one direction, not back and forth. It keeps the paper from wrinkling.

    Back to all steps

  9. Step 9: Color Your Snowflake Drawing Light Blue

    Watch this step · 4:47

    Pick a light blue colored pencil or marker. Color inside every arm, every branch and the center bands, but leave the diamonds white. Keep your strokes going the same way so the color looks smooth. Turn the paper as you work around the arms. When you are done, you have a bright, icy snowflake that stands out on the white page.

    Tip:

    Add a darker blue along the edges of each arm for a frosty, shaded look.

    Back to all steps

How to Draw a Gingerbread Man

Keep going

How to Draw a Gingerbread Man

10 steps · about 8 minutes

You reached the last step

Save this project to come back to it

Your ticked steps, the free printable and your other saved makes, together in My Projects. Free, no password.

You tapped Save

Save this project for later

We'll email you a link, no password.

How to Draw a Snowflake

  • Your saved projects in one list
  • Your ticked steps on any device

Check your inbox for an email from us. Not there? Look in your spam folder.

Free printable

Printable sheet for this project

The bonus is hidden until you sign up.

Free with a free account, no password. Every step above stays open to everyone.

Products Used

The Checklist

How to Draw a Snowflake

Tools
3
Materials
2
Steps
9
Video
6 min

Tools we recommend

As an Amazon Associate we earn from qualifying purchases. Links on this page may be affiliate links - clicking them and buying doesn't change your price, but helps support Crafting Step by Step.

Tags

The Crafter's Weekly

New drawing tutorials, every Sunday

One short email with the week's best step-by-step guides. Free, no spam, unsubscribe anytime.

Test your knowledge

Did the lesson stick? Start with this one.

5 questions covering what you just read. No signup, no score saved, and you can stop after this one.

Question 1 of 5

Why does a drawn snowflake start with six spokes?

Quick reference

Key takeaways from How to Draw a Snowflake

5 questions, answers, and one-line explanations. Tap to expand.

  1. 1.Why does a drawn snowflake start with six spokes?

    Answer: Ice crystals grow in a six-sided pattern

    The line plus an X gives six spokes, matching how ice crystals form.

  2. 2.Why press lightly with the pencil for the guidelines?

    Answer: So they erase cleanly at the end

    Light guidelines vanish once the ink outline is in place.

  3. 3.How do you trace each pencil arm with the marker?

    Answer: Around the outside, like a bubble letter

    Tracing around the line turns a thin stroke into a chunky arm.

  4. 4.Why turn the paper while drawing the arms?

    Answer: You always work on the arm closest to you

    Rotating the page keeps every repeat at a comfortable angle.

  5. 5.What should you do before erasing the pencil lines?

    Answer: Let the marker ink dry for a minute

    Erasing over wet ink smears the outline.

Did this work for you?

What's next

Related collections

Curated theme pages that include this tutorial.

Similar tutorials

Hand-picked next reads based on the one you just finished.

Liked this drawing tutorial?

Pick the crafts you want to hear about. One email every Sunday with new step-by-step tutorials. No spam, easy to unsubscribe.

Get more like this in your inbox

Weekly digest. Pick the categories you want. Unsubscribe anytime.

Send me tutorials about

We only email about new tutorials. Easy unsubscribe anytime.