How to Crochet a Scrunchie (Quick Beginner Project)

CrochetEasy11:278 stepsBrowse more →
Also in:Fiber Arts

By CraftingStepByStepPublished

Based on a video by Kendall Tai.

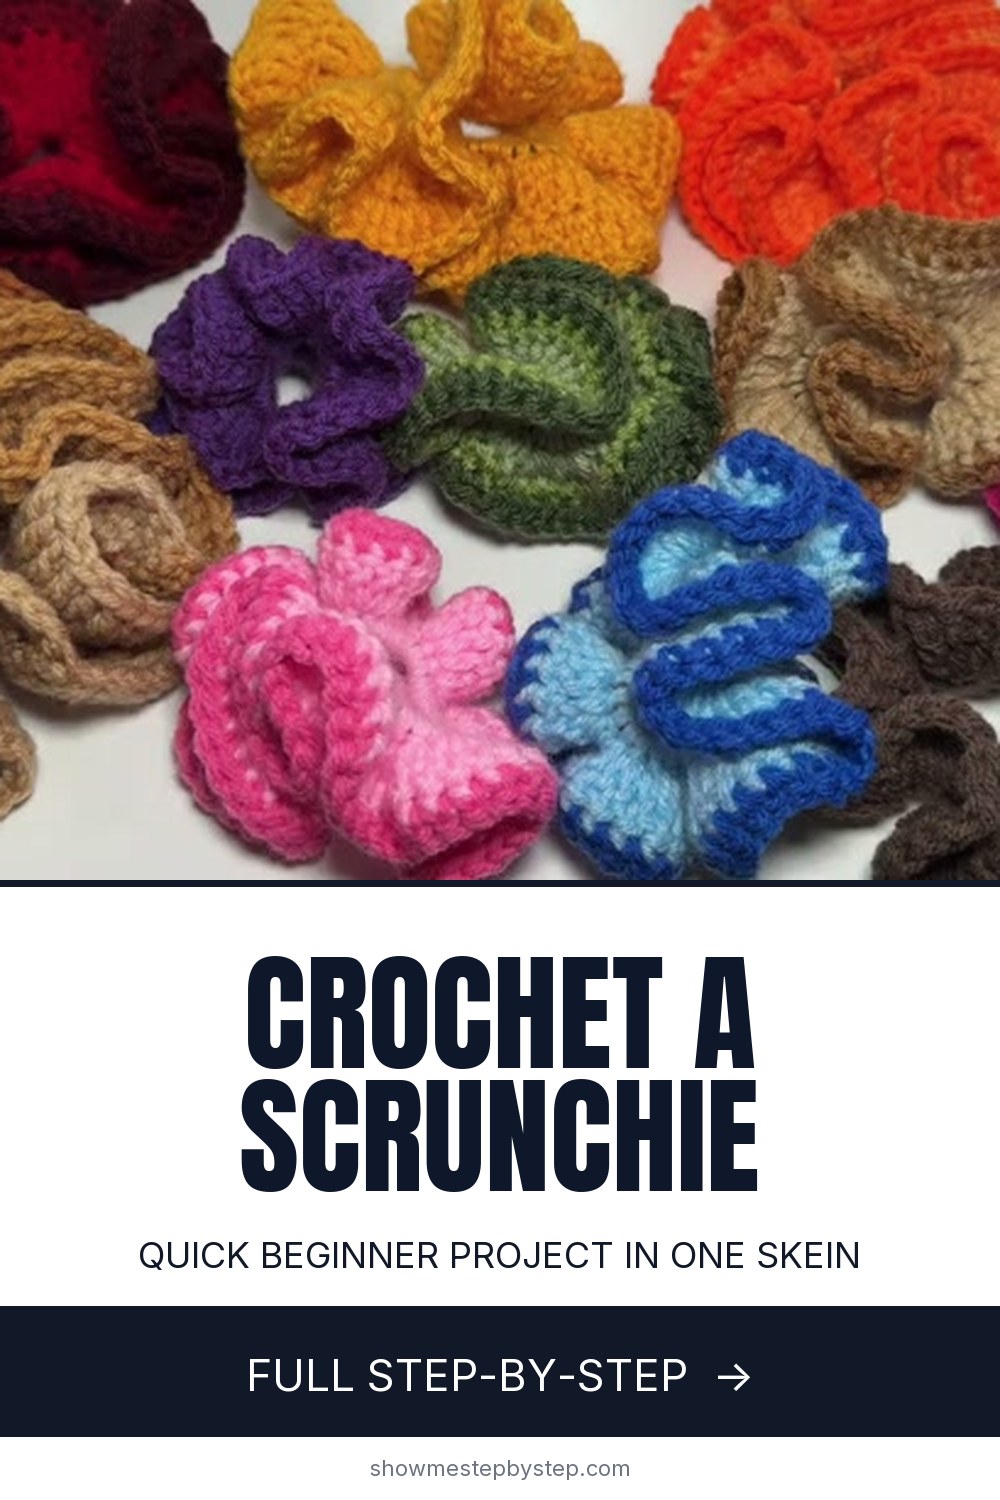
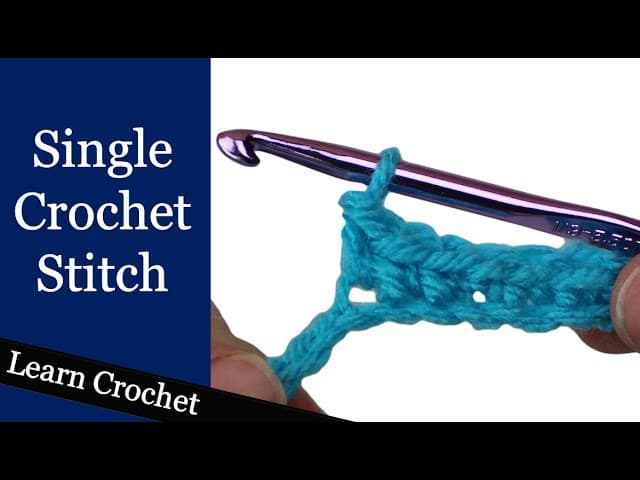
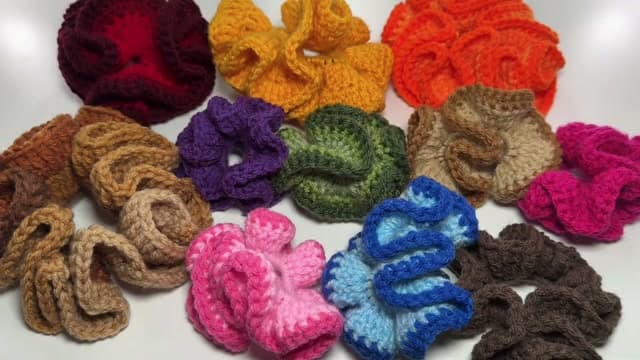
This is Kendall Tai's crochet scrunchie, and it's one of the best first projects you can pick up. You take a plain elastic hair tie, single crochet all the way around it to cover the band, then work a round of tall stitches to build the ruffle. That's really the whole thing. If you can make a single crochet, you can make this.

The magic is in the ruffle round. Packing three triple crochet stitches into every base stitch forces the fabric to gather and wave, which is what gives a scrunchie that full, poofy look. Change the stitch height or add a second round and you can make the ruffles bigger, smaller, tighter, or looser. It's an easy pattern to make your own.

Best of all, each scrunchie only takes a few minutes and barely any yarn, so it's a great way to use up leftovers. If you want to keep building your skills, try our guide on how to crochet a magic ring next, or make a matching accessory with how to crochet a tote bag.

Step-by-Step Guide

1

Step 1: Gather Your Yarn, Hook, and Hair Tie

0:25
Step 1: Step 1: Gather Your Yarn, Hook, and Hair Tie

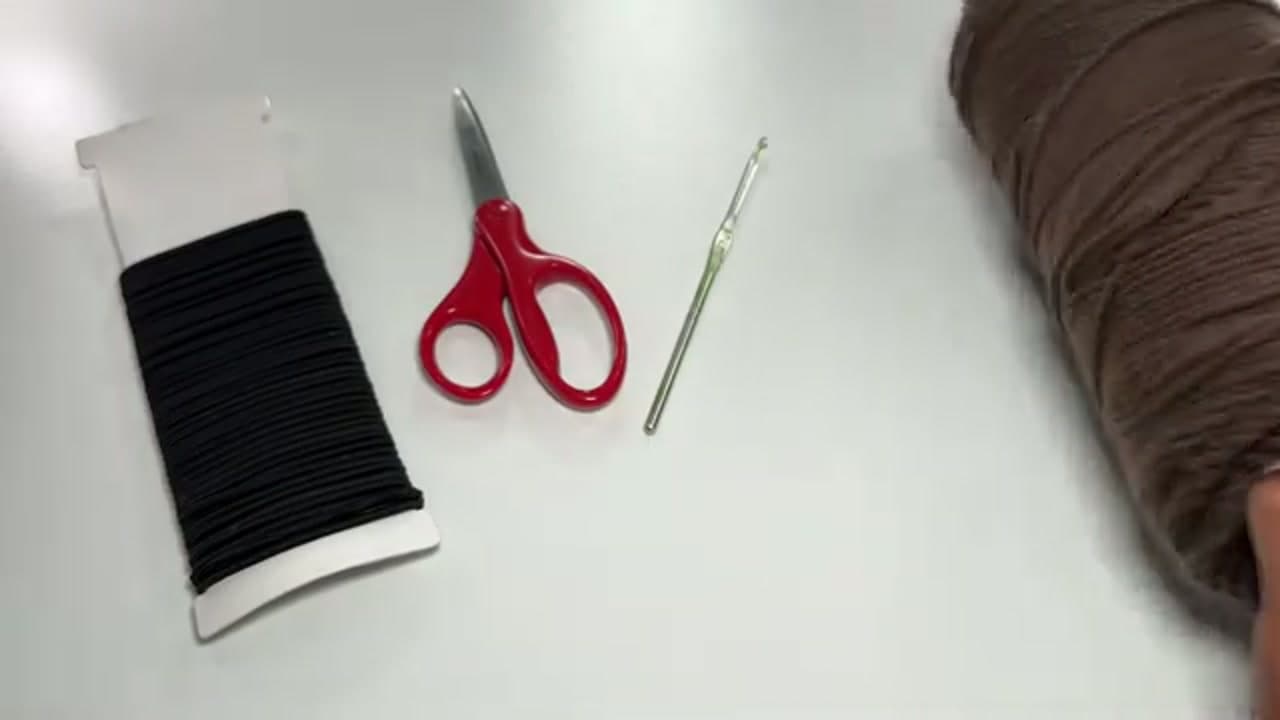
You only need a few things for this project. Grab a skein of worsted-weight yarn in whatever color you love, a 4.5mm crochet hook, a pair of scissors, and a plain elastic hair tie. That's the whole supply list.

Any medium-weight yarn works here, so this is a great way to use up leftovers from bigger projects. A thicker yarn gives you a fuller, poofier scrunchie, while a thinner yarn makes a daintier one.

Tip

Watch this step Pick a hair tie that already matches your yarn if you can. The band peeks through a little on the first round, so a close color keeps things looking clean.
2

Step 2: Make a Slip Knot on Your Hook

0:58
Step 2: Step 2: Make a Slip Knot on Your Hook

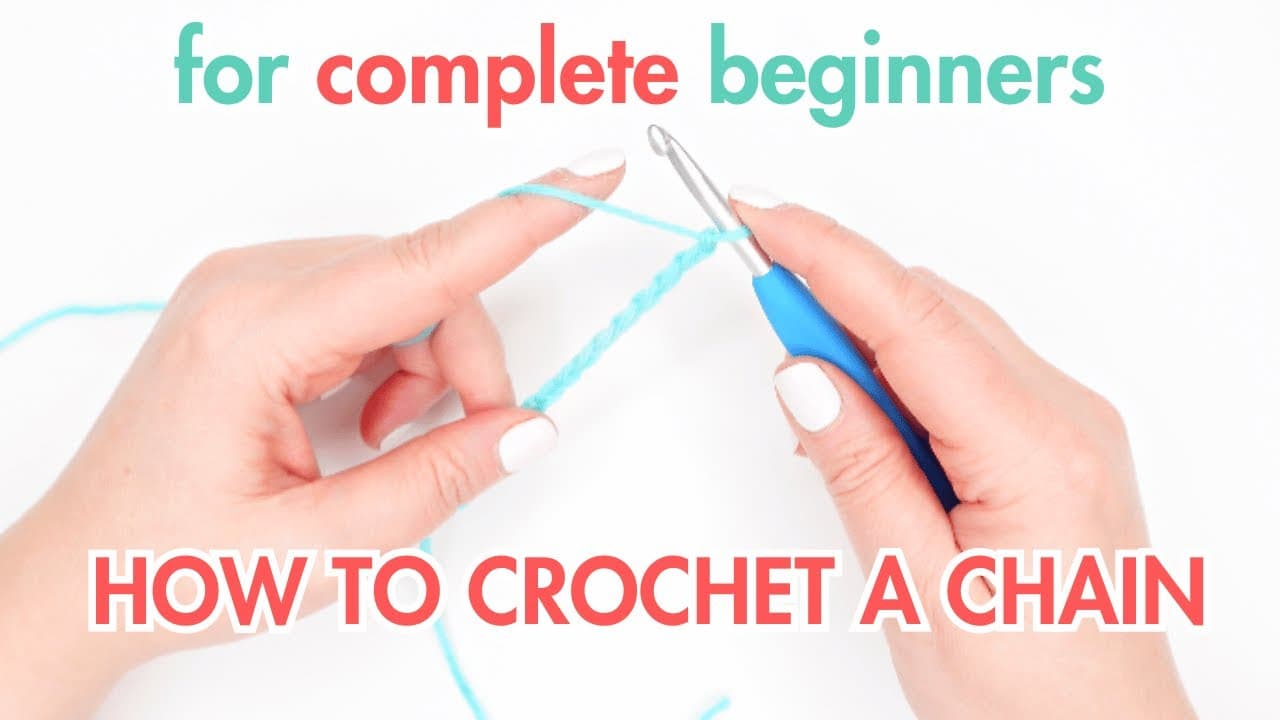
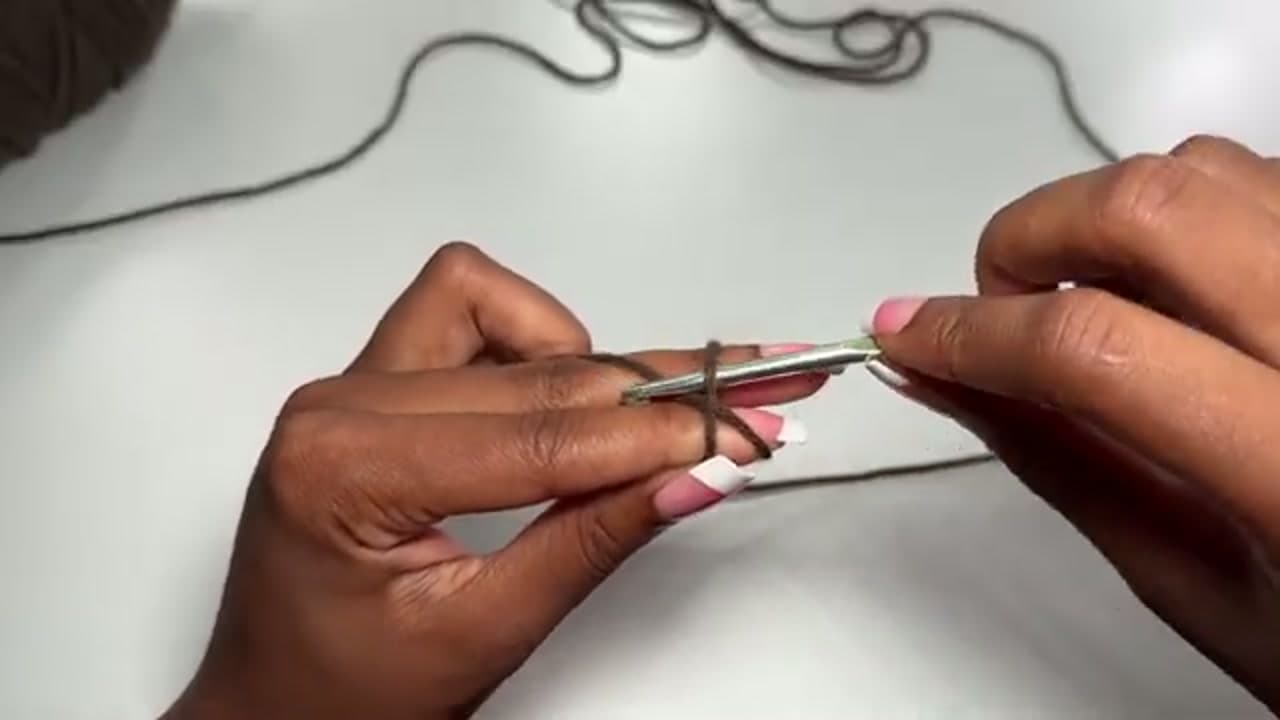
Start with a slip knot. Wrap the yarn around your fingers to make a loop, then pull the working yarn through and slide the loop onto your hook. Snug it up so it sits on the shaft without choking the hook.

If you crochet a lot, use whatever slip knot method you already like. The goal is just a secure starting loop you can build your first stitches from.

Tip

Watch this step Keep the slip knot a touch loose. You'll want a little wiggle room when you make that first stitch into the hair tie.

3

Step 3: Attach the Yarn to the Hair Tie

1:18
Step 3: Step 3: Attach the Yarn to the Hair Tie

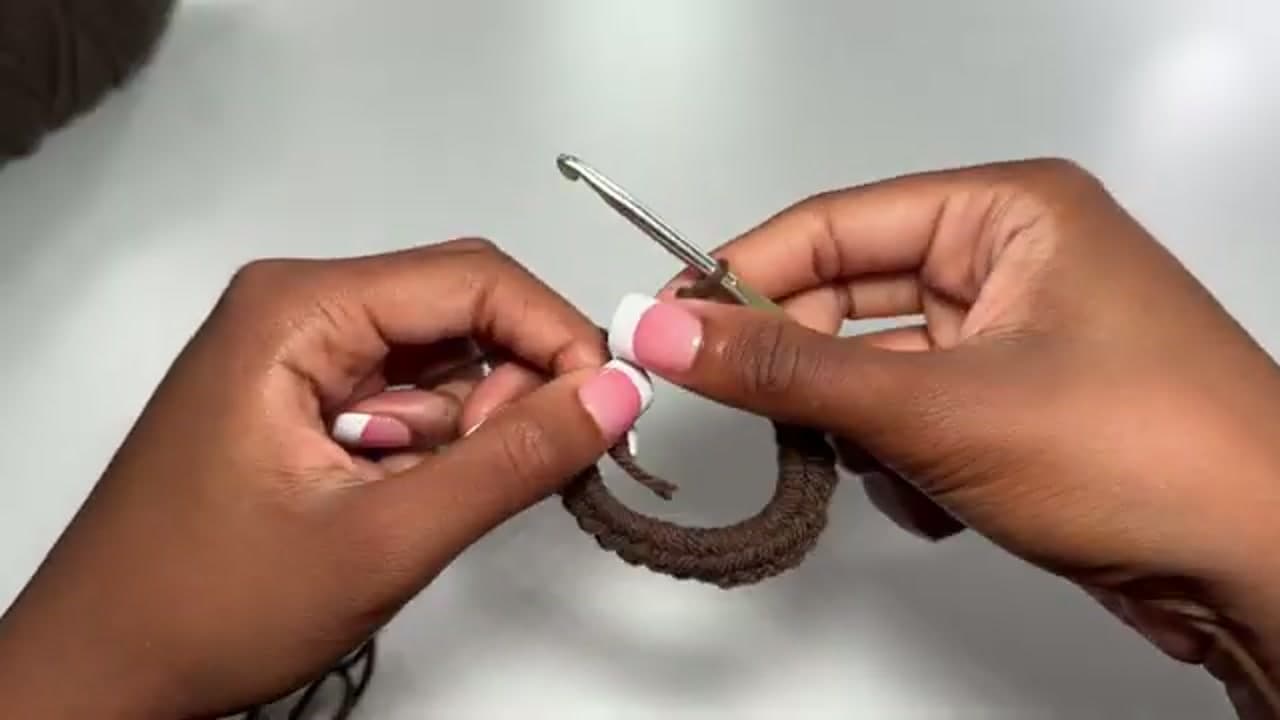
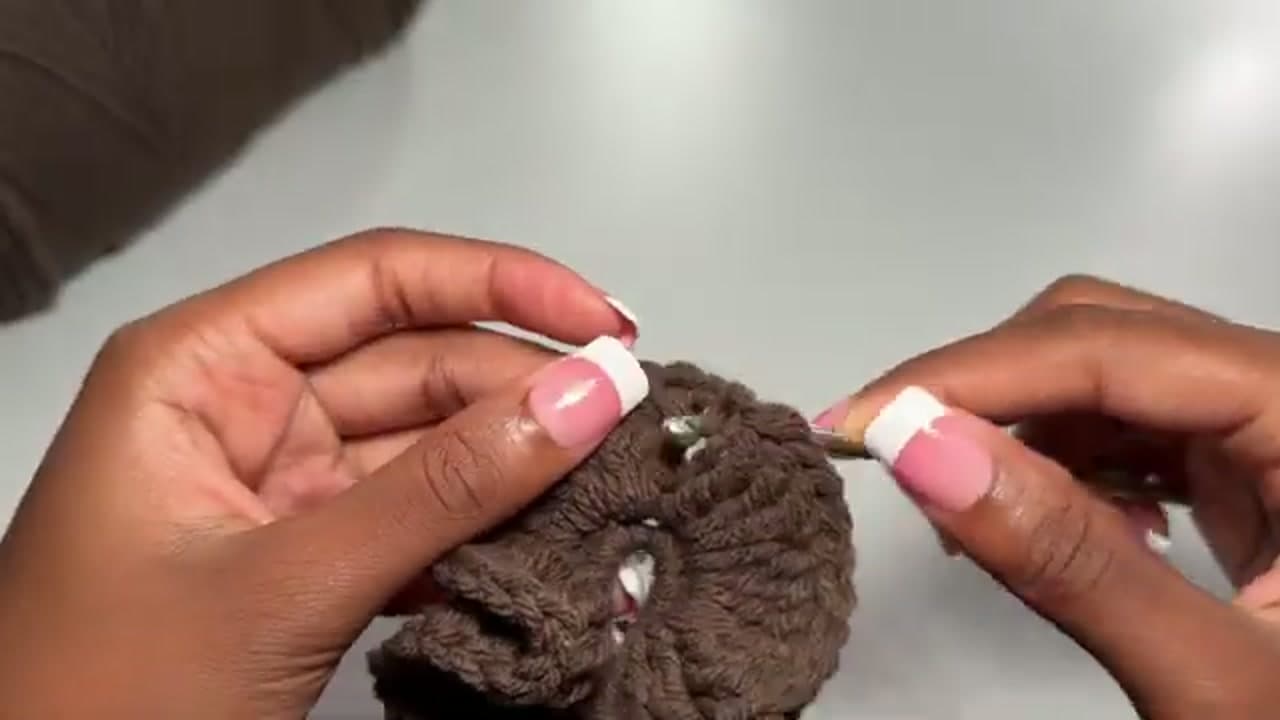
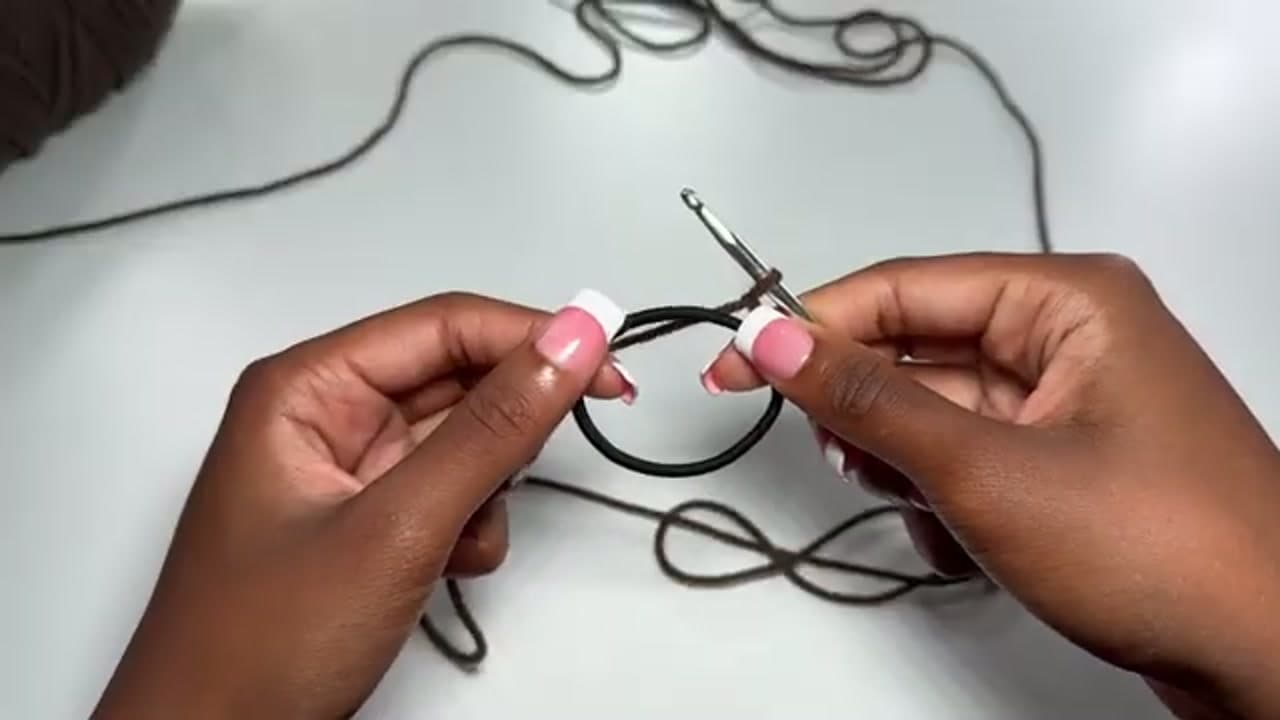
Hold the yarn tail flat against the hair tie with the same hand that holds your hook. Insert the hook into the middle of the elastic, catch the working yarn, and pull it through. Yarn over and pull through both loops to lock in your first single crochet.

This first stitch is the fiddly one. Once it's anchored to the band, everything after it gets easier.

Tip

Watch this step Work over the tail as you go so you don't have to weave it in later. Just lay it along the top of the hair tie and crochet around it.

4

Step 4: Single Crochet Around the Whole Band

1:56
Step 4: Step 4: Single Crochet Around the Whole Band

Keep working single crochet into the center of the hair tie all the way around. Aim for 40 to 50 stitches. More stitches give you tighter, fuller ruffles later, and fewer stitches make a looser, softer scrunchie.

As you stitch, push the loops together every so often so there are no gaps. You want the elastic completely wrapped by the time you get back to the start.

Tip

Watch this step Don't stress about hitting an exact stitch count. Just cover the band fully and keep your tension even so the ruffle sits nicely in the next round.

5

Step 5: Build the Ruffle with Triple Crochet

2:40
Step 5: Step 5: Build the Ruffle with Triple Crochet

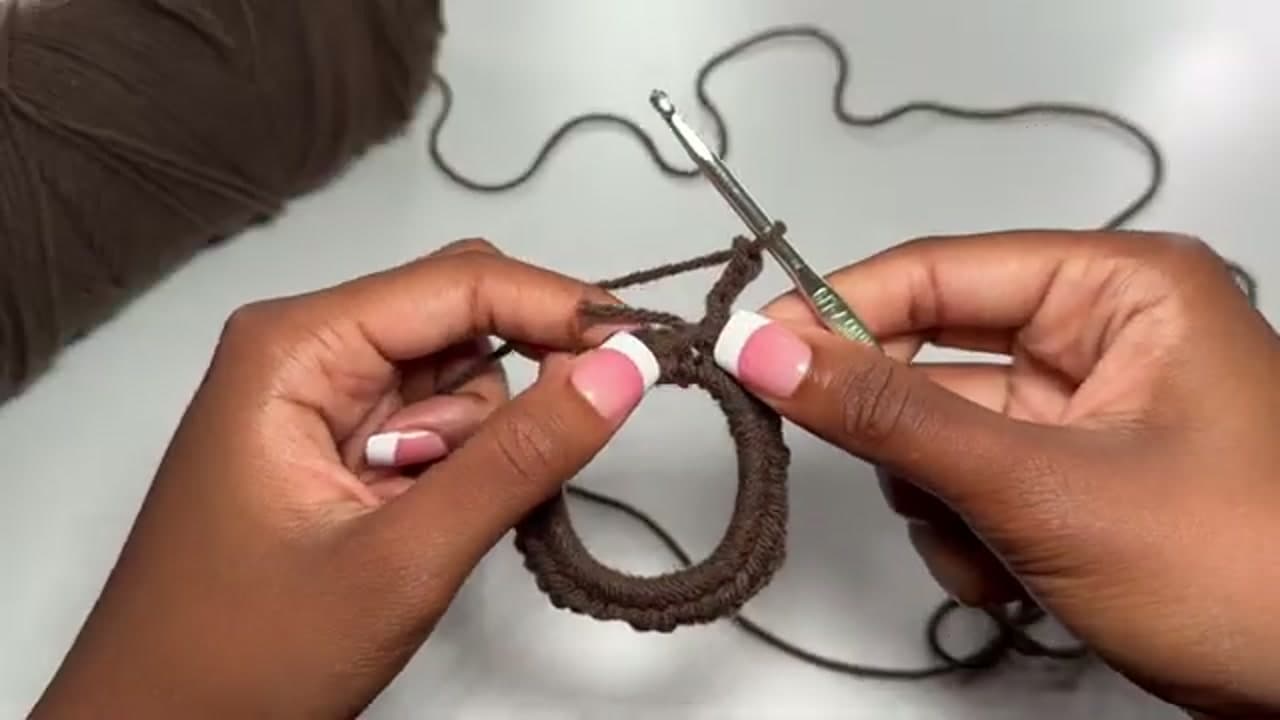
Close the foundation round with a slip stitch into your first single crochet, then chain three to start the ruffle. Now work three triple crochet into each single crochet all the way around. Yarn over twice, insert the hook, and pull through in pairs until one loop is left.

Packing three tall stitches into every base stitch is what forces the fabric to gather and ruffle. This is where the scrunchie starts to look like a scrunchie.

Tip

Watch this step Triple crochet is just a taller stitch. If it feels like a lot, remember it's the same yarn-over-and-pull-through-two move, you just repeat it three times per stitch.

6

Step 6: Keep Going Until the Ruffle Fills In

3:38
Step 6: Step 6: Keep Going Until the Ruffle Fills In

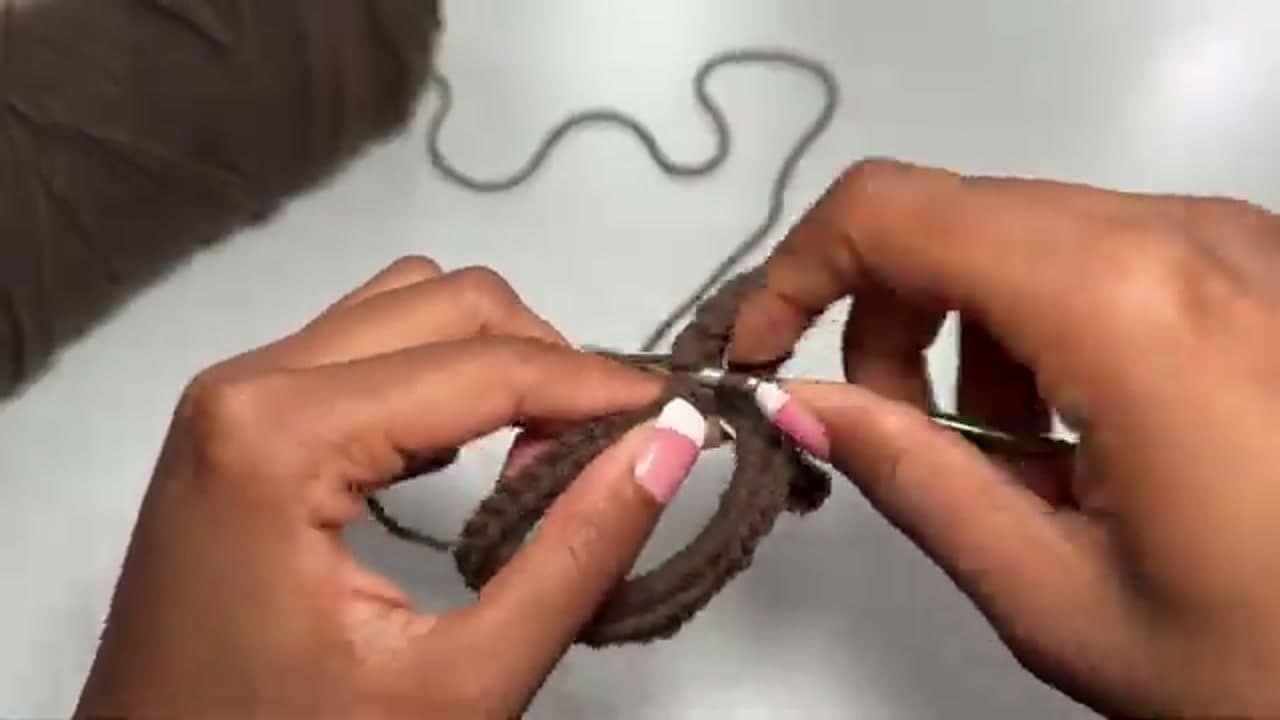
Continue those three triple crochet clusters into every stitch around the band. About halfway through you'll see the ruffle really take shape, curling and gathering into that full, wavy edge.

Keep your tension relaxed. If you crochet the ruffle round too tightly it can curl in on itself instead of flaring out the way you want.

Tip

Watch this step Want a bigger, poofier scrunchie? Add a second ruffle round of two triple crochet into each stitch before you finish. Kendall shows this larger version in the video.

7

Step 7: Fasten Off and Weave in the Ends

4:22
Step 7: Step 7: Fasten Off and Weave in the Ends

When you reach the end of the ruffle round, slip stitch into the third chain from the start to close it up. Chain one, cut the yarn, and pull the tail through the loop to lock it. Then feed the tail back through the bottom of a few stitches with your hook to hide it.

Snip the extra tail close, fluff and arrange the ruffles with your fingers, and your scrunchie is done.

Tip

Watch this step A yarn needle makes weaving in the end cleaner than the hook if you have one handy. Run the tail through in two directions so it never works loose.

8

Step 8: Make a Whole Colorful Set

9:05
Step 8: Step 8: Make a Whole Colorful Set

Once you've got the basic scrunchie down, the fun part is repeating it in every color you own. Swap yarns between rounds to make striped or two-tone versions, or change your stitch heights to get bigger and smaller ruffles.

Each one only takes a few minutes, so a rainy afternoon can turn into a full basket of handmade scrunchies. They wear great in your hair, stack as bracelets, and make quick gifts.

Tip

Watch this step To add a color, join the new yarn on the last pull-through of your final stitch in a round, then carry on. Kendall's description lists the exact stitch counts for two- and three-color versions.

Products Used

☐ The Checklist

How to Crochet a Scrunchie (Quick Beginner Project)

Tools
3
Materials
2
Steps
8
Video
11 min

Your Guide

Kendall Tai

As an Amazon Associate we earn from qualifying purchases. Links on this page may be affiliate links - clicking them and buying doesn't change your price, but helps support ShowMeStepByStep.

Tags

Free printable

Get the Crochet Cheat Sheet

Every basic stitch on one printable page. No spam, one-click unsubscribe.

Did this work for you?

What's next

Related collections

Curated theme pages that include this tutorial.

Weekly Digest

Liked this crochet tutorial?

Pick the categories you want to hear about. Weekly digest of new step-by-step tutorials. No spam, easy unsubscribe.

Send me tutorials about

We only email about new tutorials. Easy unsubscribe anytime.