How to Preserve Fall Leaves
Source: Red Ted Art (Maggy Woodley) • Full tutorial: www.craftingstepbystep.com/crafts/how-to-preserve-fall-leaves
- Difficulty
- Easy
- Hands-on time
- About 20 minutes
- Wait time
- 4 days
- Cost
- About $5 to $8
- Makes
- a batch of about 10 preserved leaves

Tools
- Scissors or snips
- Shallow glass dish
- A plate that fits inside the dish
Materials
- Vegetable glycerine
- Water
- Freshly fallen autumn leaves
- Kitchen paper
Steps
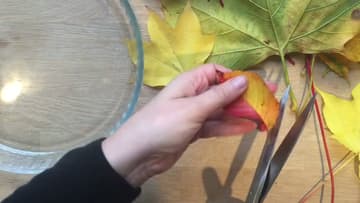
1. Trim the Bottom of Every Stem
Snip a little off the bottom of each stem before anything else. It is the same reason you cut flowers before they go in a vase - a fresh cut opens the stem back up so the leaf can draw liquid instead of sitting sealed.
Tip: Big leaves and small leaves work equally well. Just check they will actually lie flat in the dish you are planning to use.
2. Pour the Glycerine into a Shallow Dish
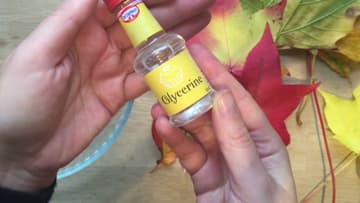
Glycerine sits in the baking aisle next to the food colouring, and a bottle costs very little. Empty the whole thing into a shallow dish.
3. Add Two Parts Water to One Part Glycerine
Fill the empty glycerine pot with water and tip it in. Do it twice for every pot of glycerine you used - two parts water, one part glycerine.
4. Stir It Until It Is Properly Mixed
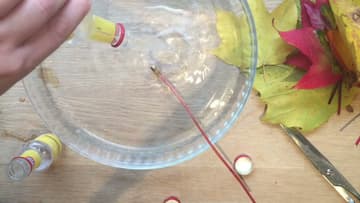
Give it a good stir. Glycerine is thick and heavy and it will happily sit in a layer on the bottom of the dish if you let it.
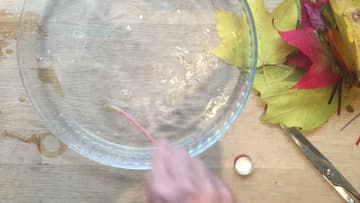
5. Lay the Leaves In, Stems Down
Put the leaves into the dish and press them under the surface. Make sure the cut ends of the stems are properly submerged, because the stem is what does the drinking.
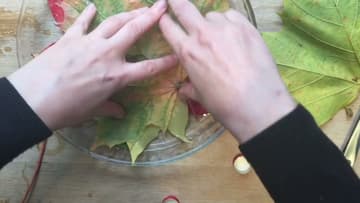
6. Weigh Them Down with a Plate
Set a plate on top so everything stays under. Leaves float, and any part of a leaf that sits above the surface simply will not take up the solution - you get a dry, brittle patch on an otherwise good leaf.
Tip: A saucer works better than a dinner plate. You want it small enough to sit inside the rim and press down, not span the whole dish.
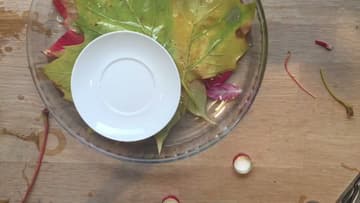
7. Leave It for Two to Six Days
Put the dish somewhere out of the way and forget about it for a few days. Check on it as you go.
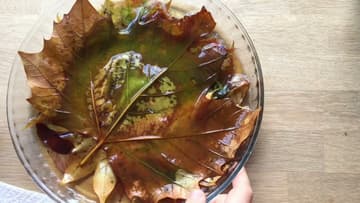
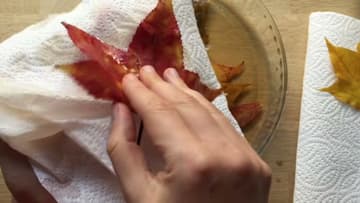
8. Lift Them Out and Pat Them Dry
Take the leaves out and pat them on kitchen paper. They come out soft and slightly leathery with a faint sheen, which is exactly what you want - a preserved leaf you can bend without it snapping.
Tip: They stay slightly tacky for a day or two. Leave them on fresh kitchen paper somewhere airy before you craft with them.