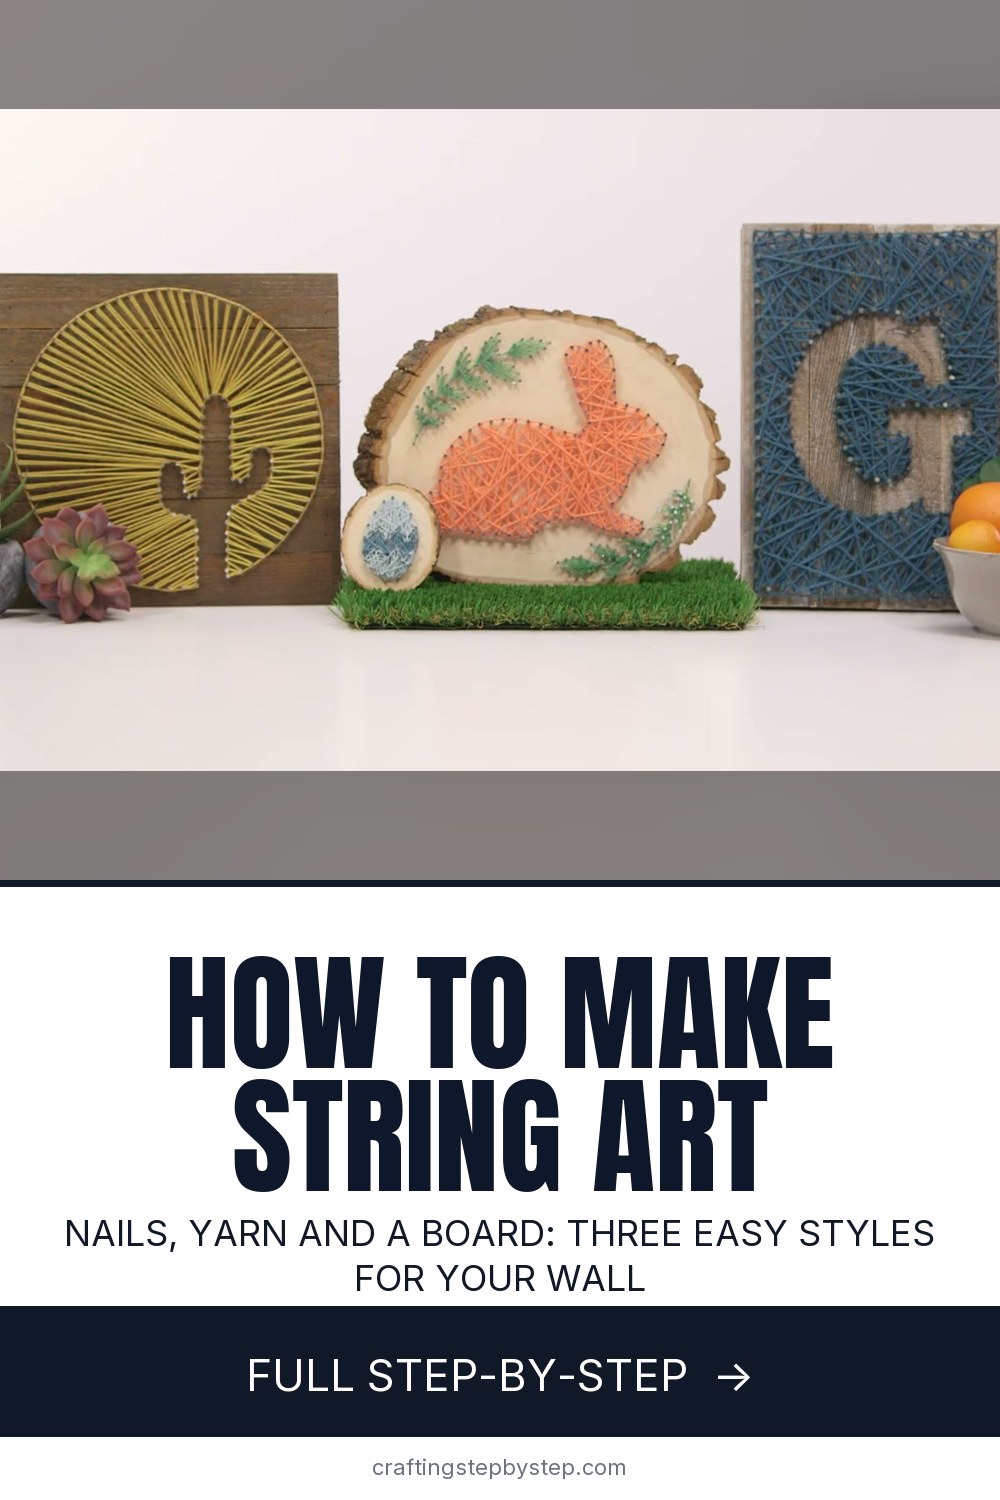
String art is one of those crafts that looks far harder than it is. A board, a box of nails and some yarn turn into a piece you would happily hang on the wall or give as a gift. The Hobby Lobby Creative Studio team walks through three styles in one short video: a filled-in bunny, a letter G where the string fills the background instead, and a cactus with string rays that pull your eye to the middle. Most pieces take under an hour.
How to make string art: the three styles
| Style | What gets string | Good for |
|---|
| Silhouette | The shape itself | Animals, hearts, states |
| Negative space | Everything around the shape | Letters, initials, names |
| Focal point | Straight rays from a border to a shape | Sunbursts, flowers, stars |
Choosing wood, nails and string
Any board at least half an inch thick works: a wood slice, a pallet-style sign or a scrap of pine. Thin plywood can split. Pick nails with heads so the string cannot slip off, and long enough that about half an inch shows above the wood. Worsted weight yarn fills quickly and hides small gaps. Embroidery floss gives a finer, more delicate look but takes longer to fill.
Templates
Print a simple shape at the size you want, cut it out and tape it down. Bold outlines with few skinny parts are easiest. For letters or detailed shapes, leave the paper whole and nail straight through it, then tear it away. That is what the video does for the letter G, and it keeps every curve in place.
Tips for a neat finish
- Space nails evenly. About a quarter to half an inch apart, closer on curves.
- Keep heights even. Uneven nails catch the string and look messy.
- Hold tension. Push the string down the nails as you go so there is room for more later.
- Hide your knots. Leave a tail at the start and tuck both ends into the design.
Doing it with kids or grandkids
Hammering is a grown-up job for little ones, but the stringing is perfect for small hands. Set the nails yourself, then let them choose the colors and wind the yarn. Older kids can hammer with a lightweight tack hammer while you hold the nail with pliers. A finished piece with their name on it makes a proud bedroom sign.
Common problems
If nails lean, the wood is too soft or you are hitting off center. Hold them with pliers and tap gently. If the outline looks wavy when you wanted it smooth, you switched wrapping direction. Go clockwise around every nail. If a nail punches through the back, use shorter nails or a thicker board.
Gift and decor ideas
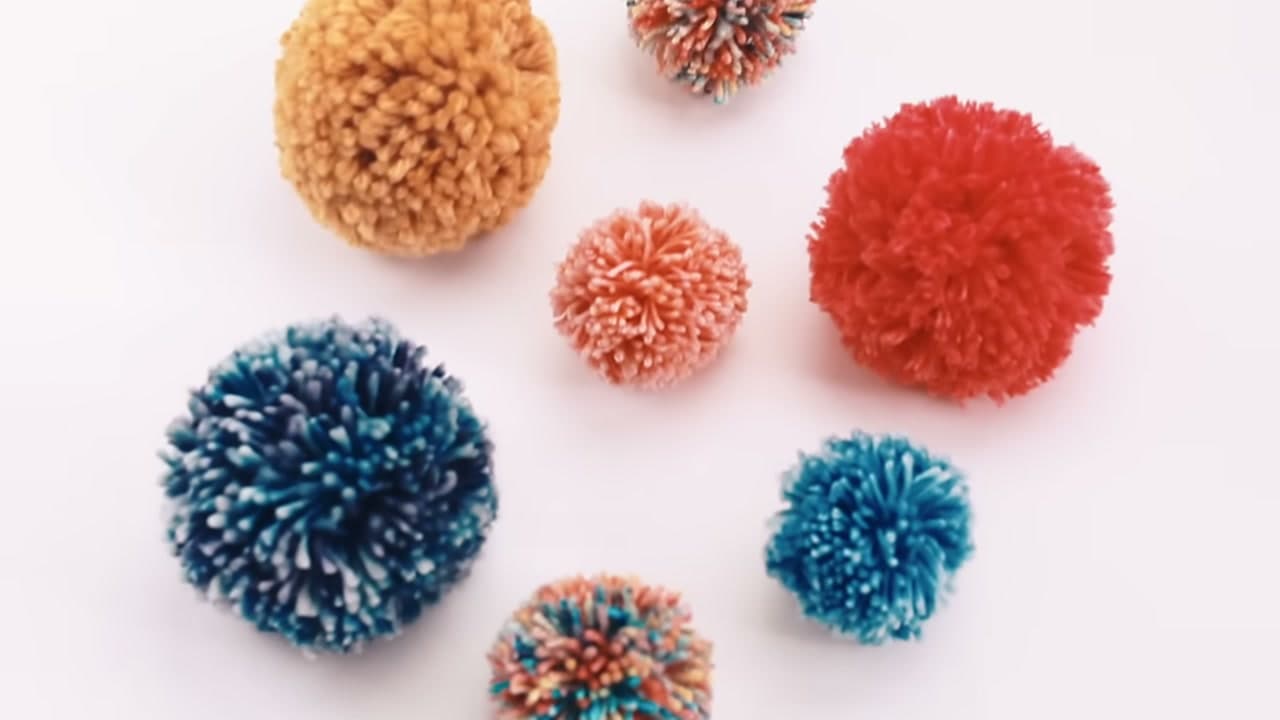
A child's initial for a bedroom door, a heart for a wedding, a home state for a new neighbor, or a pumpkin for fall. Pair string art with other yarn crafts like a yarn pom pom or a tassel hanging from the corner. For more wall decor, try a macrame wall hanging, or add a wood burned name to the board before you start.