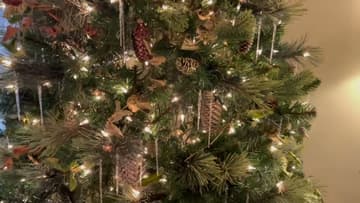
How to Make Pinecone Christmas Ornaments
Source: Wren Haven HOME • Full tutorial: www.craftingstepbystep.com/crafts/how-to-make-pinecone-christmas-ornaments
- Difficulty
- Easy
- Hands-on time
- About 45 minutes
- Wait time
- 5 hours
- Cost
- About $8 to $15
- Makes
- a set of about 6 pinecone ornaments

Tools
- Chip brush
- Spoon
- Shallow bowl or plate
Materials
- Properly dried pinecones
- Mini eye hooks
- Mod Podge
- German glass glitter
- Metallic craft paint
- Ornament hangers
Steps
1. Fit the Eye Hook
Twist a mini eye hook into the top of a properly dried pinecone, using your fingers to screw it down tight. Give it a tug with the hanger before you go further.
Tip: Any pinecone works. The one used here is uneven at the tip and it makes no difference to the result.
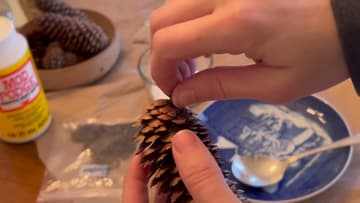
2. Brush On the Mod Podge
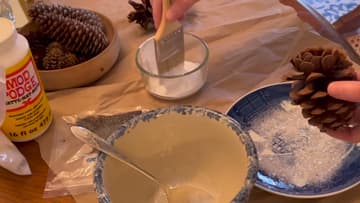
Load a chip brush with Mod Podge straight from the jar - no need to dilute it. Work against the grain of the scales with a jabbing motion so the glue goes on evenly instead of pooling.
Tip: Use a brush you do not care about. This motion wrecks good brushes.
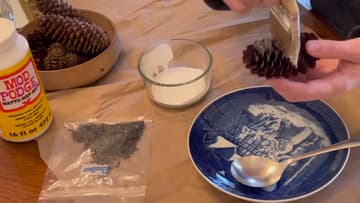
3. Work the Glue In
Push the glue a little way down between the scales rather than only coating the tips. Keep the layer thin.
Tip: Mod Podge dries clear, so a coat that looks milky now will disappear.
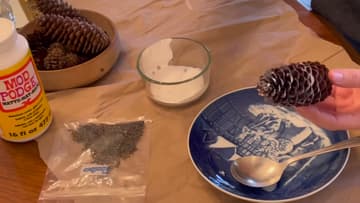
4. Spoon On the Glitter
Hold the pinecone over a plate and spoon German glass glitter across it, shaking gently so it falls like snow. Turn the cone as you go so it lands evenly on every side.
Tip: Nothing is wasted. Whatever misses lands on the plate and tips straight back into the jar.
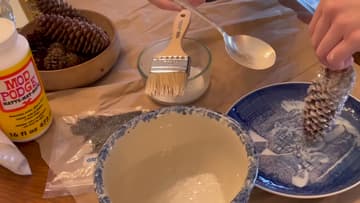
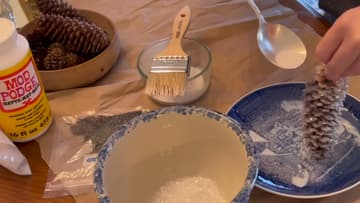
5. Tap and Dip
Tap the pinecone against your hand to knock off the loose excess. Then dip the tip straight into the bowl of glitter to catch the spots the spoon missed.
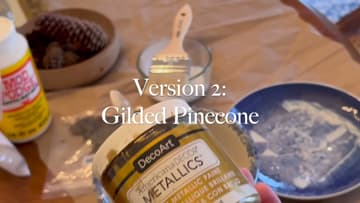
6. Gild the Second Version
For the gilded variation, paint a pinecone with metallic craft paint and let it dry completely first. The gold does not really read as gold once the glitter is on.
7. Glue and Glitter the Gilded One
Treat the painted pinecone exactly like the natural one - chip brush, thin coat, then glitter. Be generous.
Tip: Missed a patch? Leave it. Once these are on a tree you will not find it.
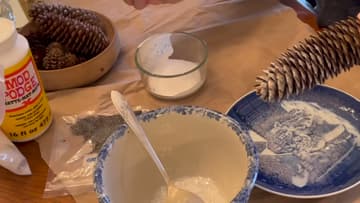
8. Do Some Larger Cones
Big sugar pinecones make good display pieces rather than hanging ornaments. Go heavier with the glue and push it further in, since the scales are much larger and there is more gap to fill.
Tip: Mixing sizes across a display gives it more variation than a row of matching ones.
9. Let Them Dry
Hang the ornaments up and leave them four to six hours minimum. Overnight is better.
Tip: These do shed a little glitter once dry. Not badly, but do not hang them over food.

10. Hang Them on the Tree
Hang the finished cones where the lights sit behind them so the glass glitter catches. Put a natural one next to a gilded one and you can just about tell them apart.